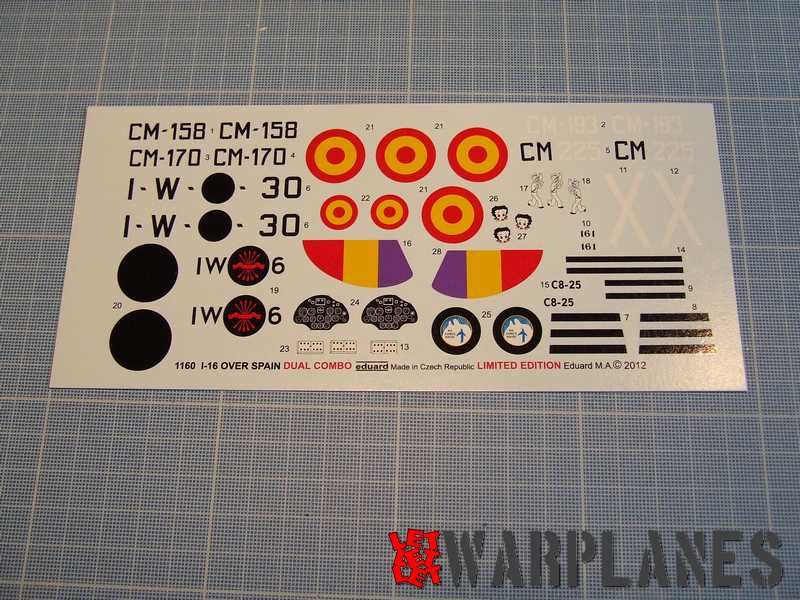
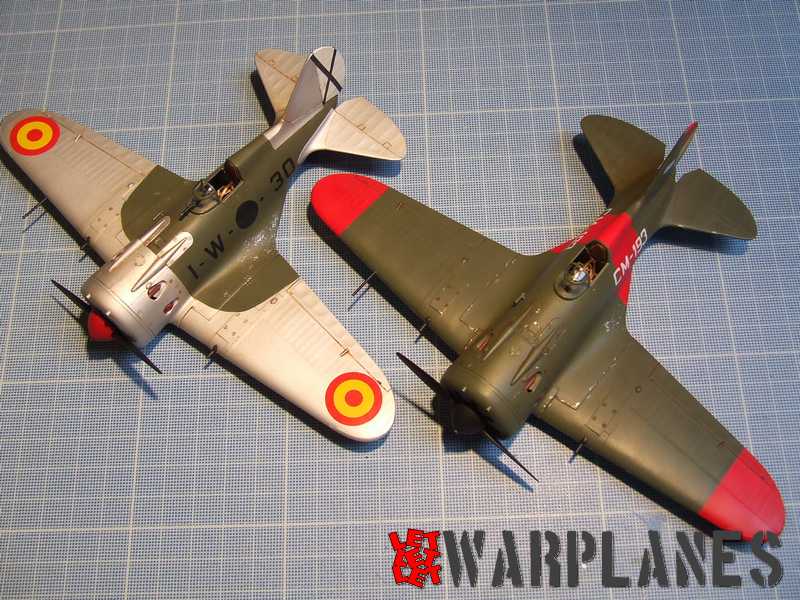
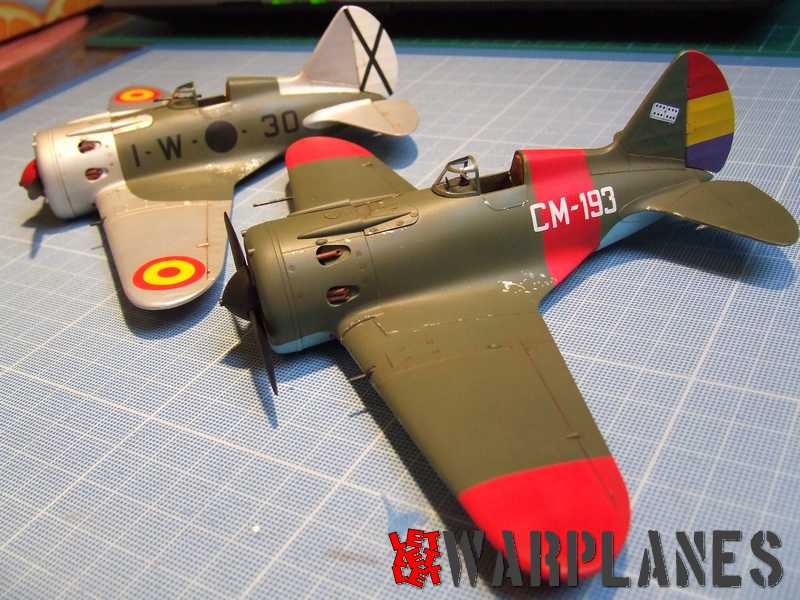
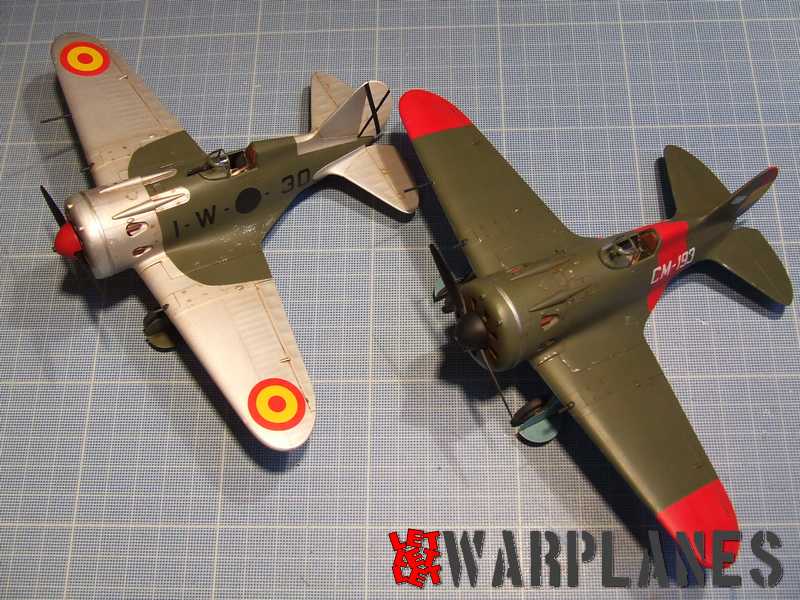
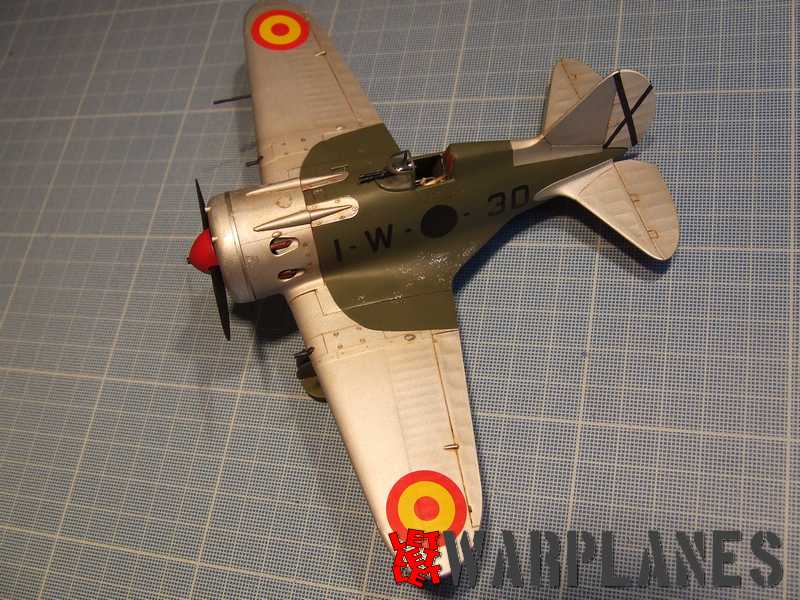
I-16 Type 10 Over Spain Dual Combo
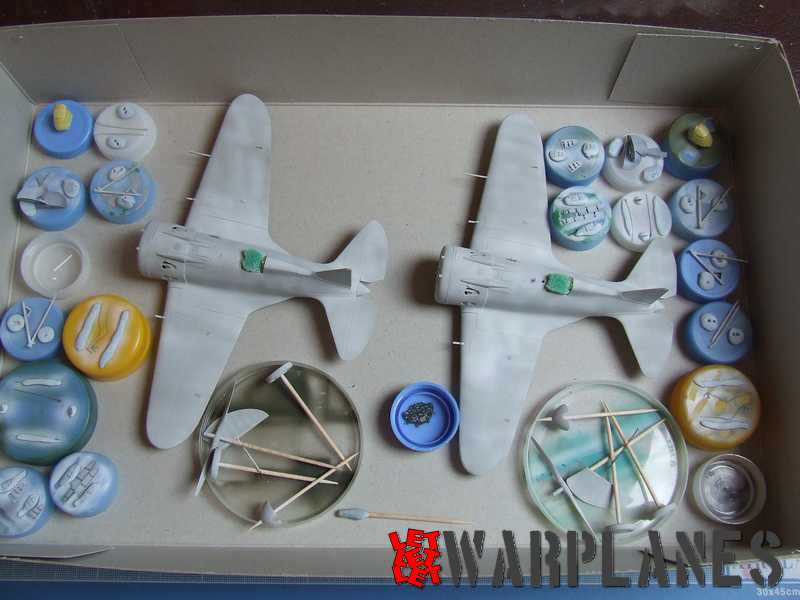
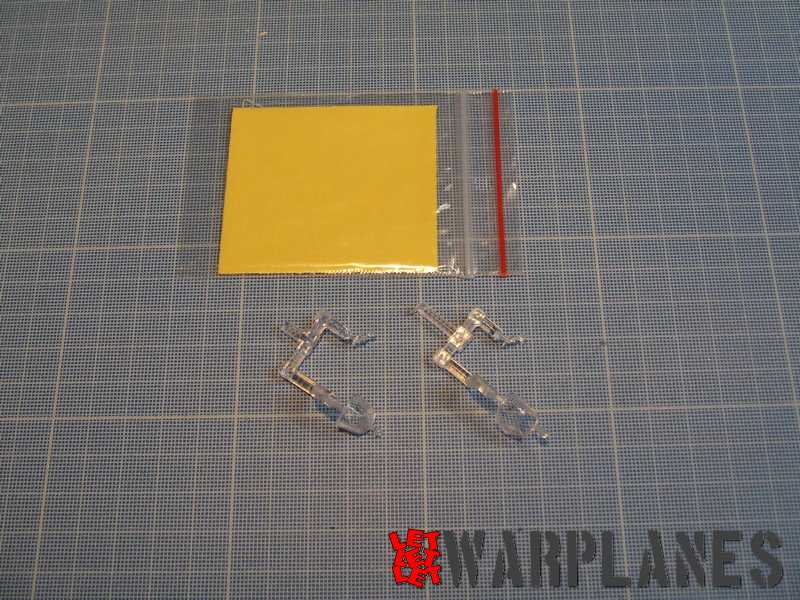
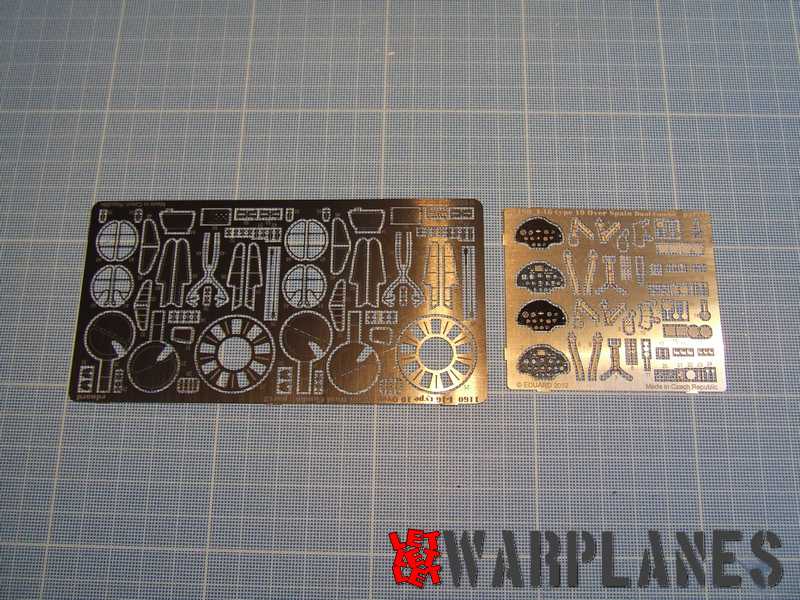
The content of the box is simply gorgeous: two nice little I-16; decals for 6 aitcrafts (3 nationalists and 3 republicans), photoetch, masking tape… All you need (well, nearly…) is included in the box! The only restrictive elements are: you cannot build two nationalist nor two republicans, you have to build one of each side…

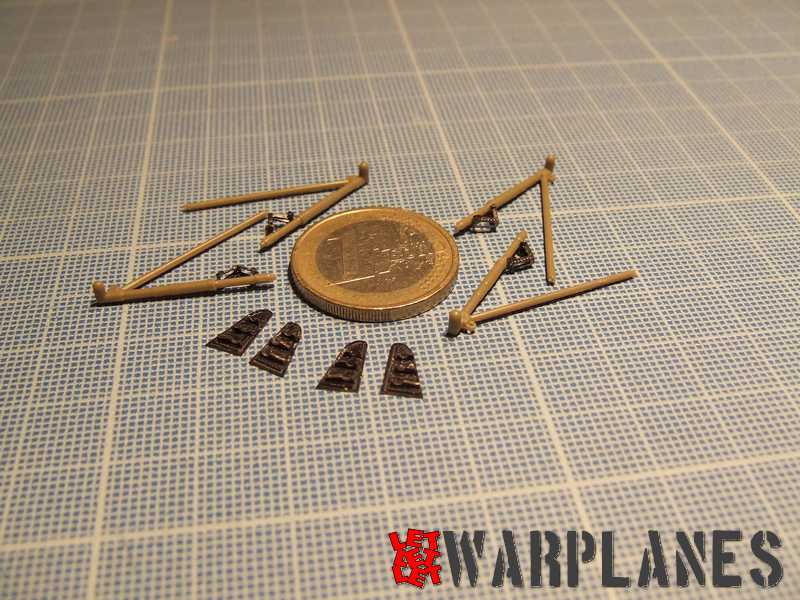
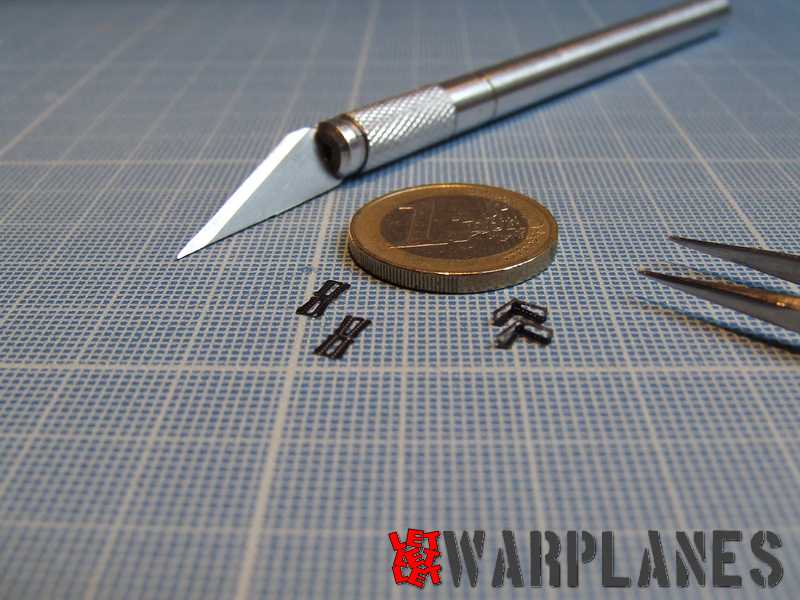
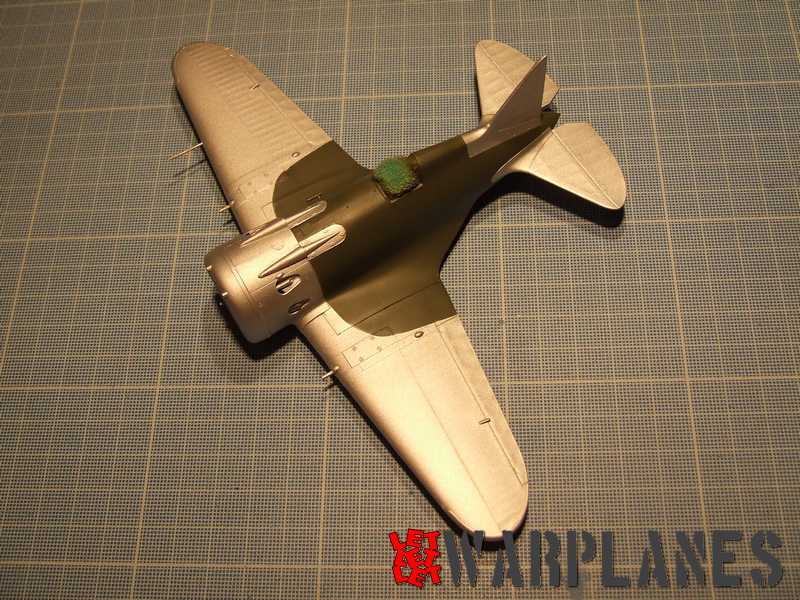
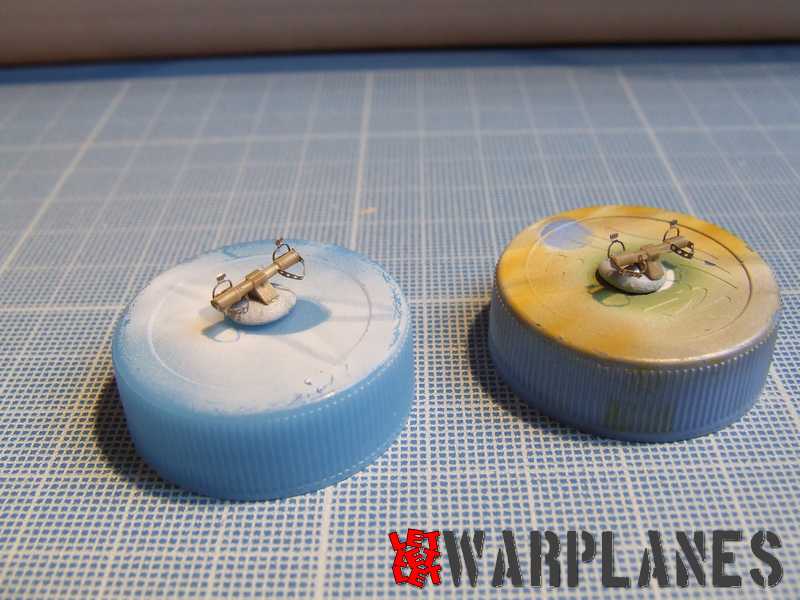
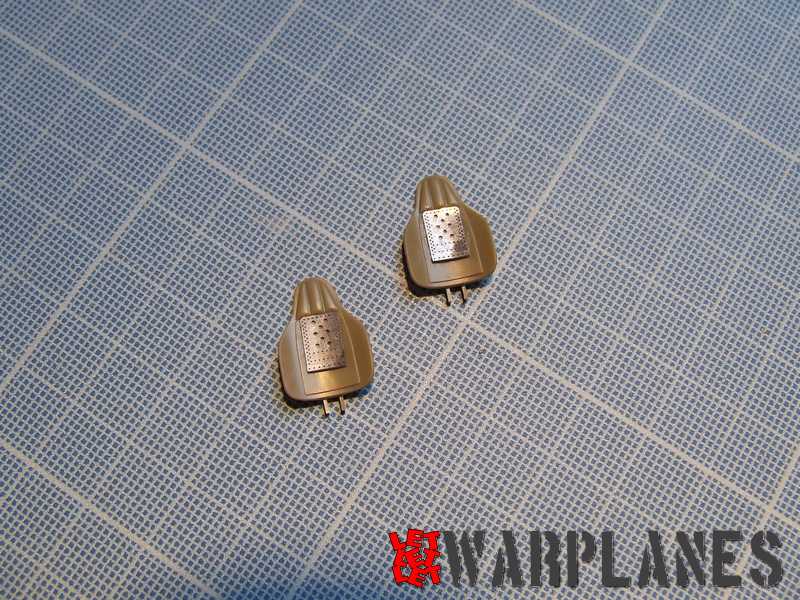
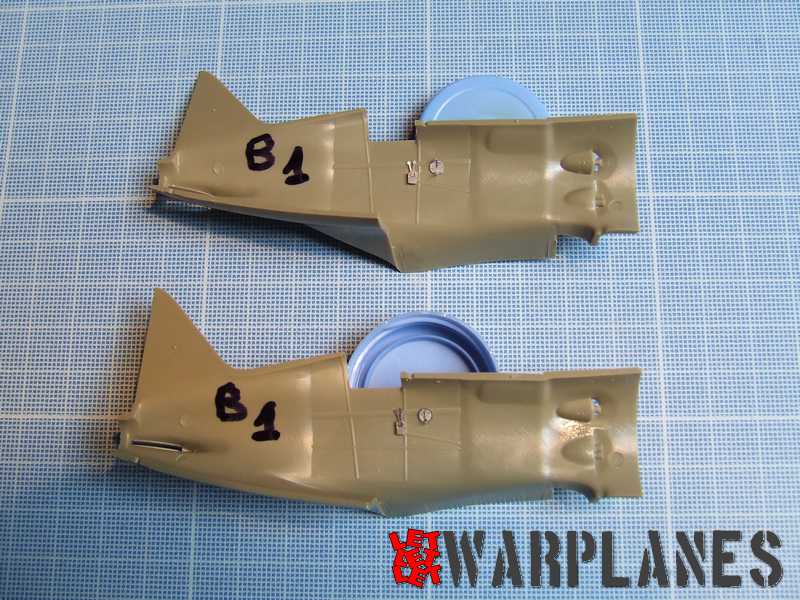
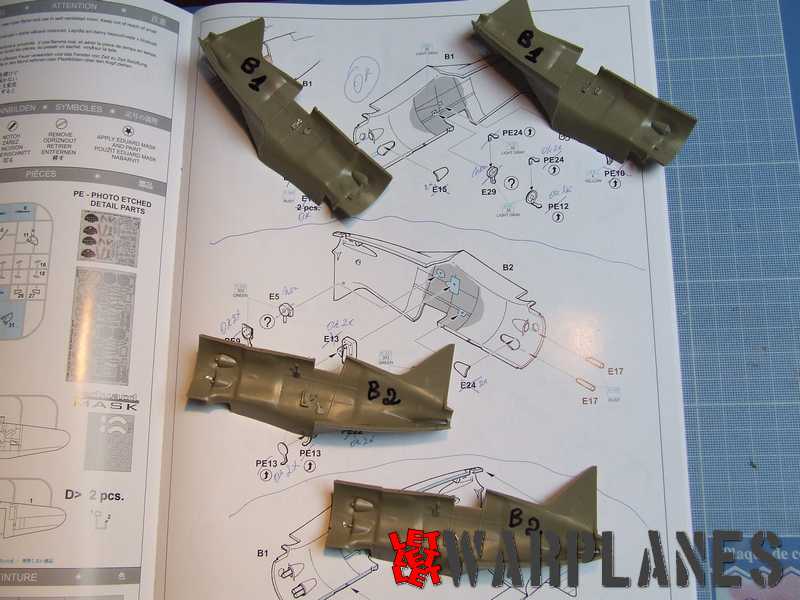
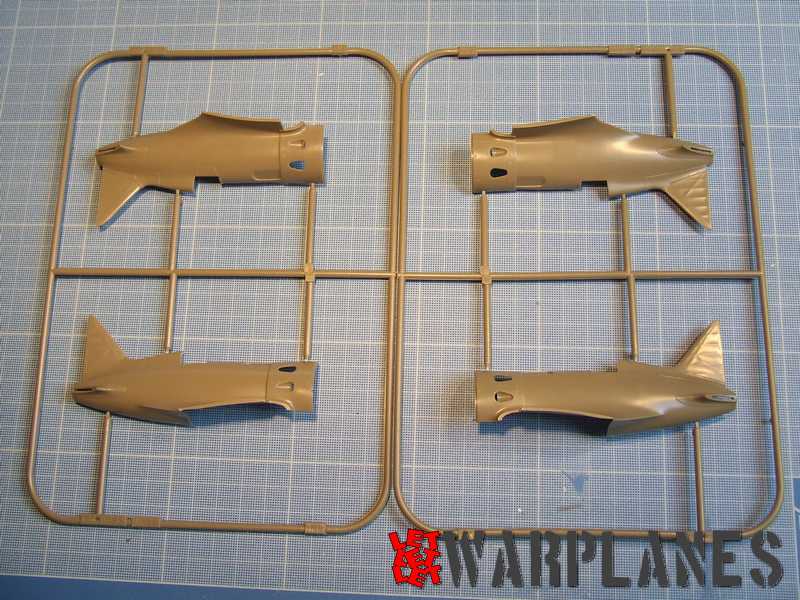
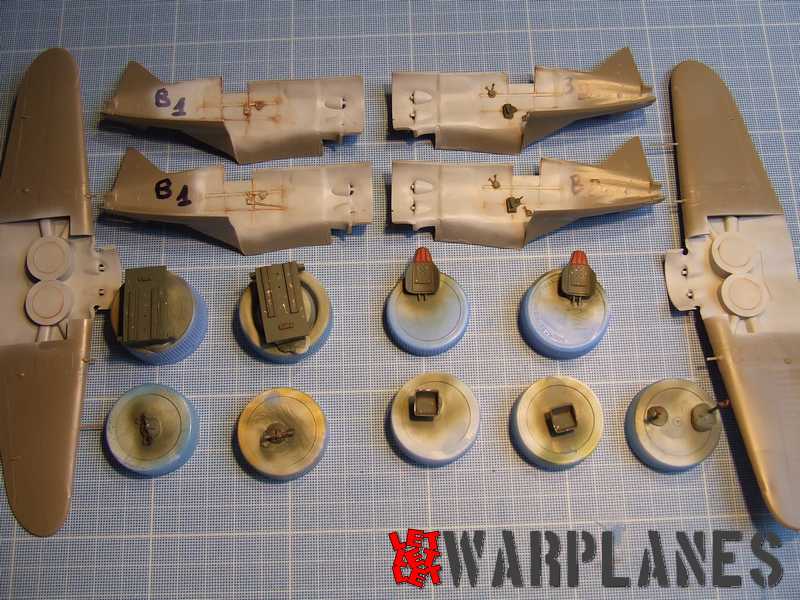
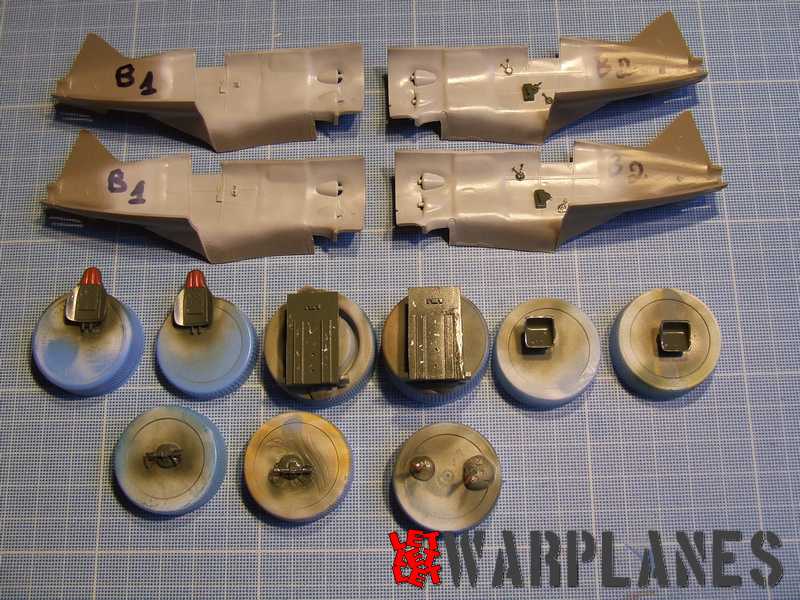
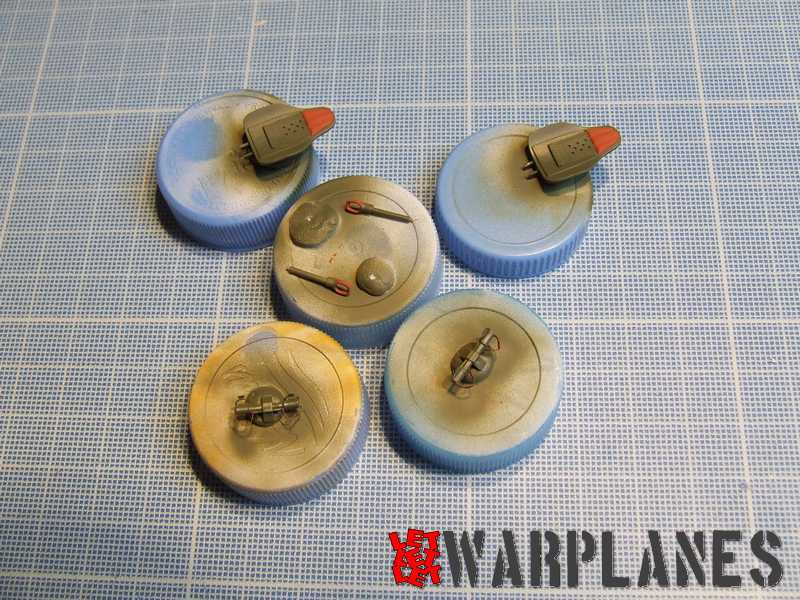
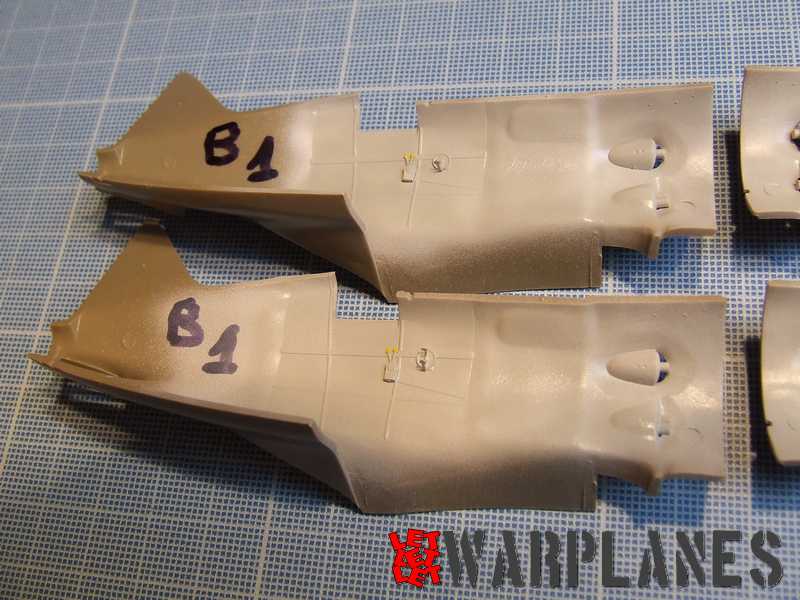
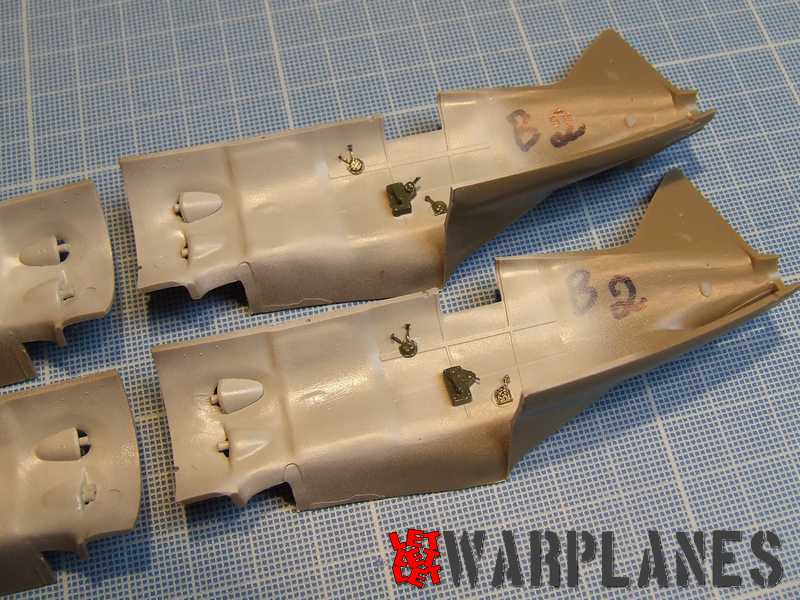
First, as the plan shows the half fuselage inverted on the first page, to avoid any mistake I’ve numbered the half fuselages with a marker…I have placed the photoetch elements inside the fuselage, and the exhausts – For the exhausts it was not so easy to place, but no real problem anyway.
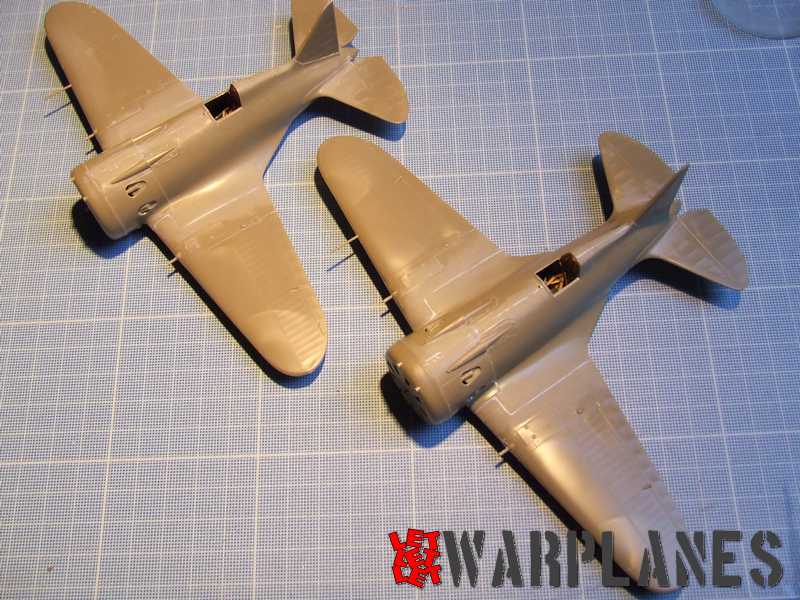
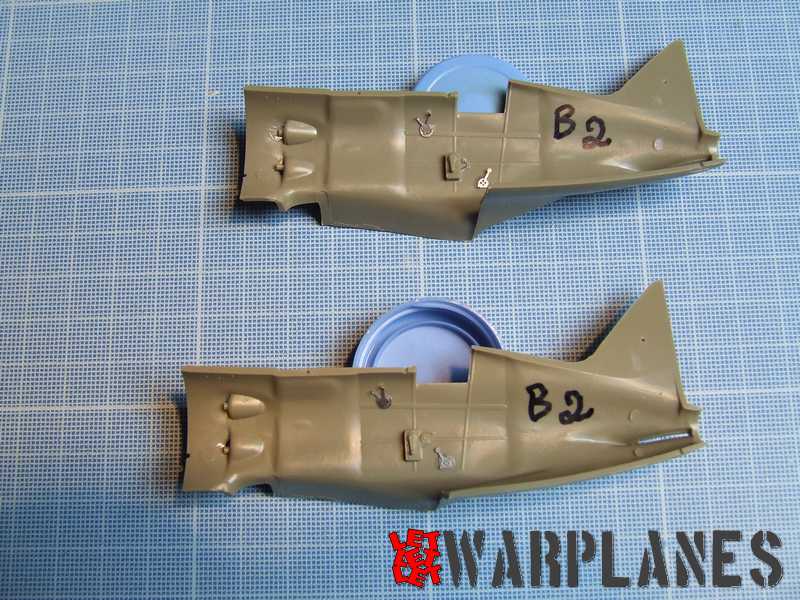
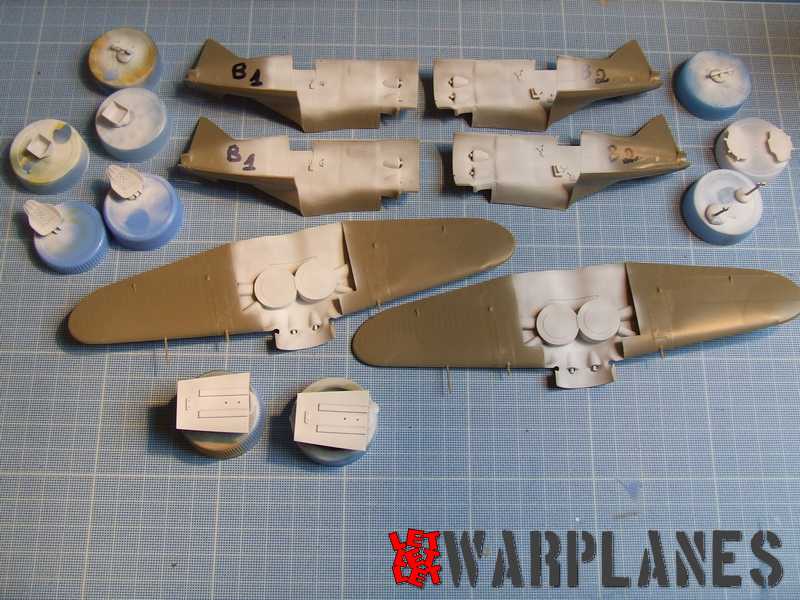
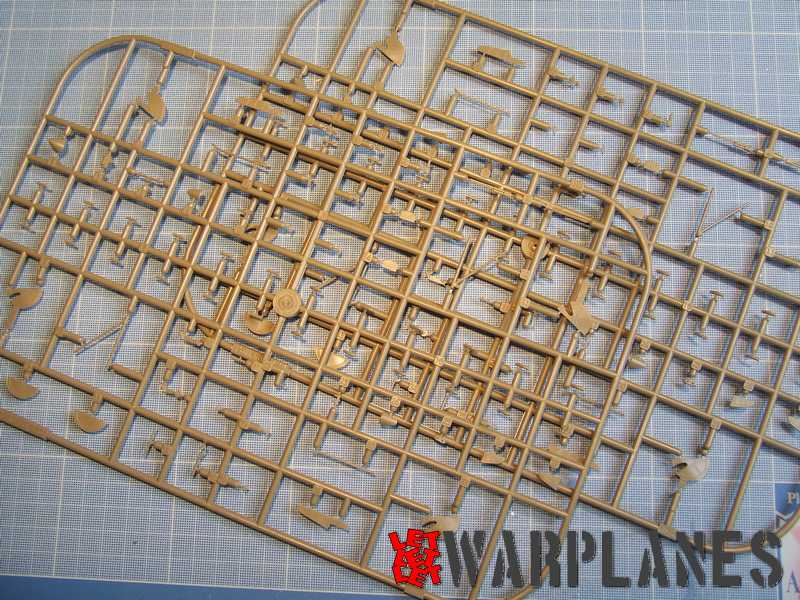
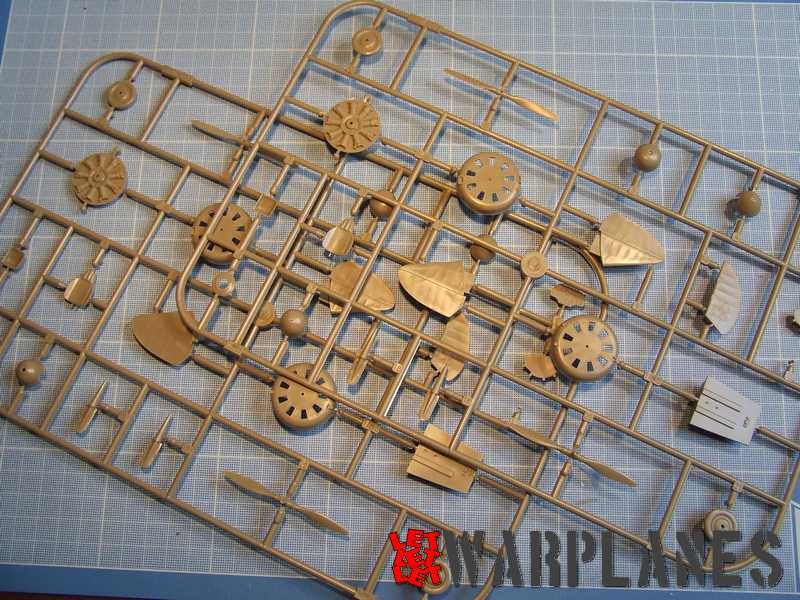
In the process I’ve lost a tiny PE element; fortunately the part existed in injected so for one aircraft I’ve used that one instead. Cockpit elements are removed from sprue. I’ve also glued the wings, guns and pitot tube… I removed the sides of the floorboards so that you can see down to the wing area as on the original; otherwise the floor interferes with the sidewall detail.Then, white primer is airbrushed. I’ve paintbrushed the instruments on the interior of the fuselage – Strange to note that Eduard gives grey color on a side and green on the other – But OK, let’s go…

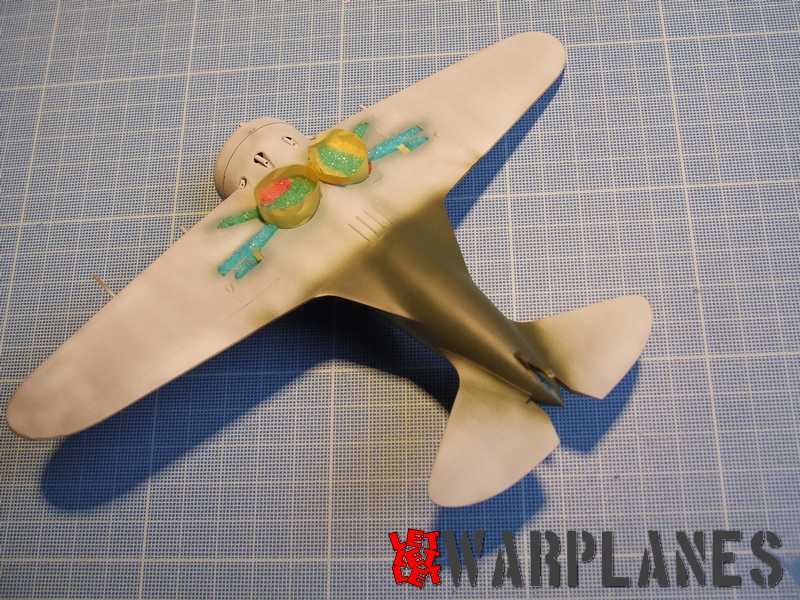


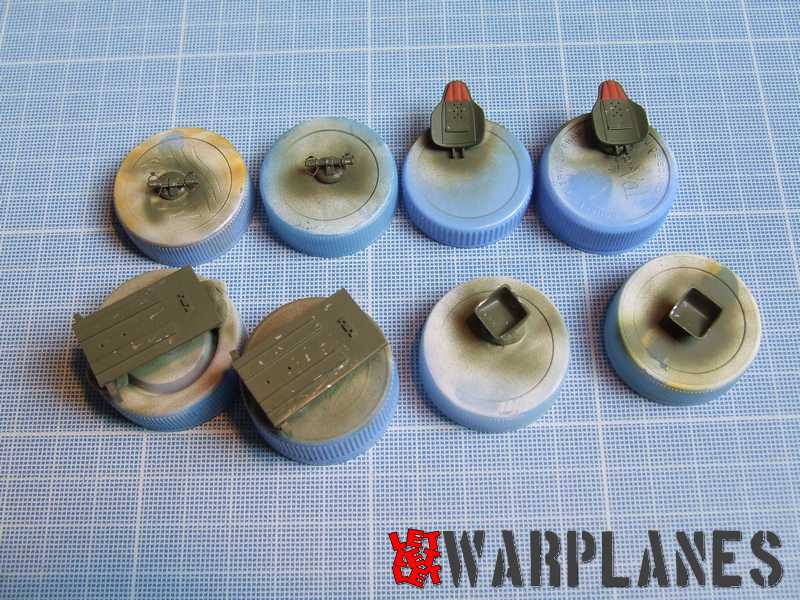
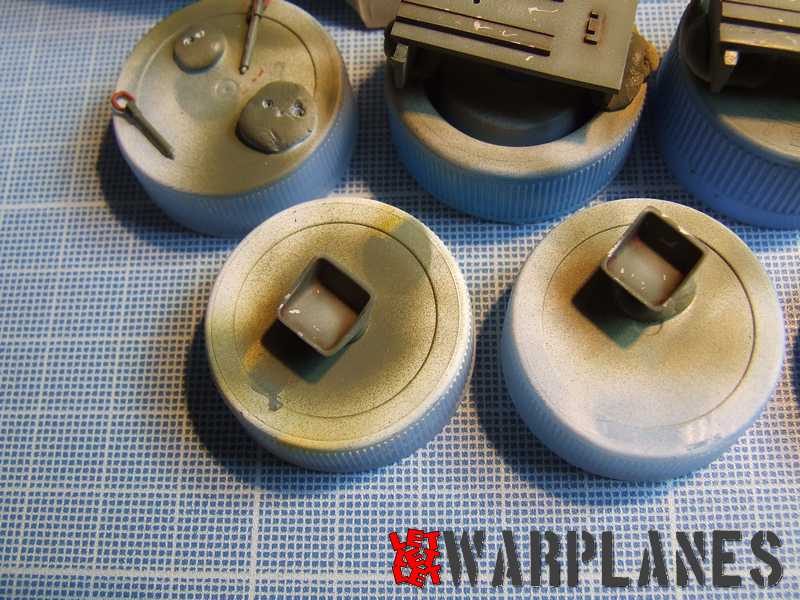
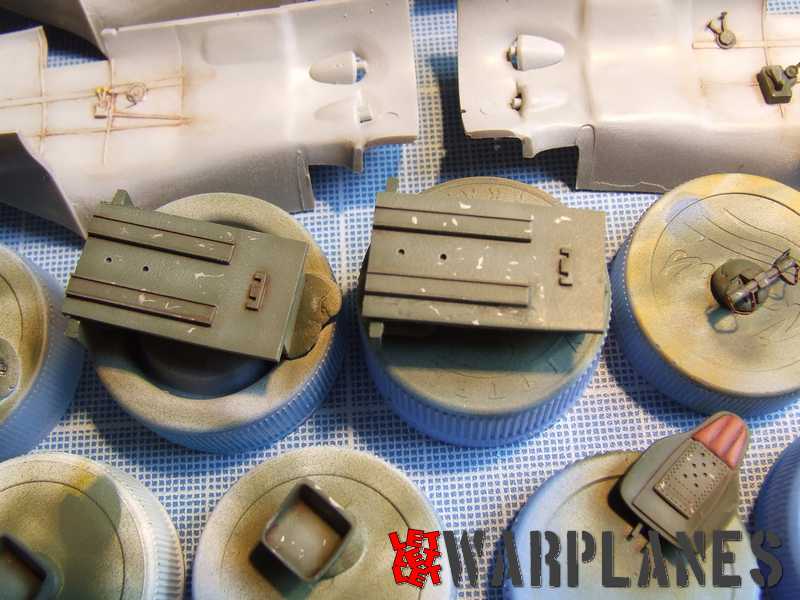
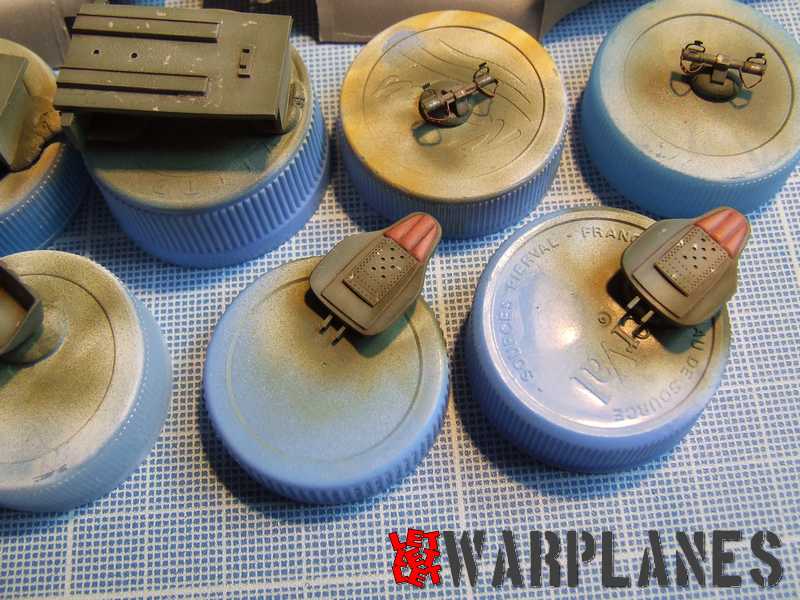
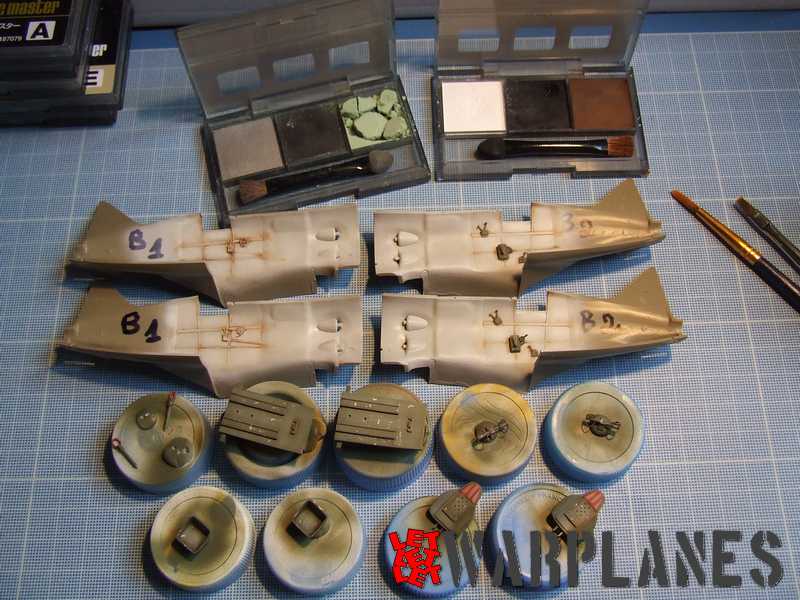

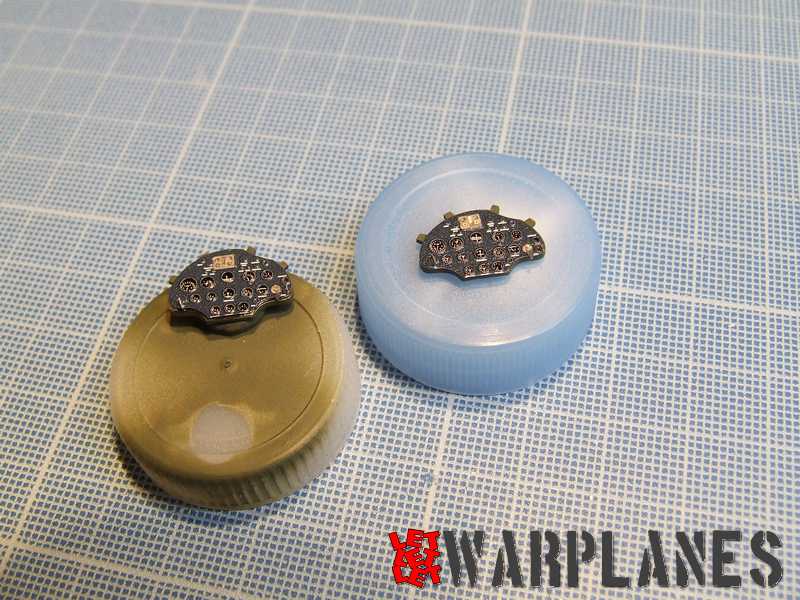
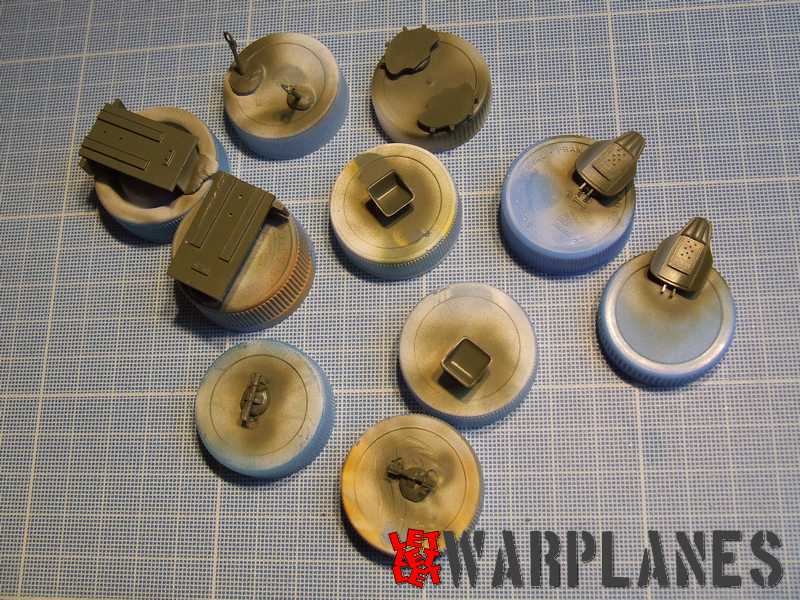
Then, assembly of the instrument panels and finally, red leather where needed for… Some weathering, and then Pébéo gloss varnish ; oil wash, Pébéo matt varnish and finally weathering with Tamiya pastels. I like those pastels… Easy to use, and excellent result!
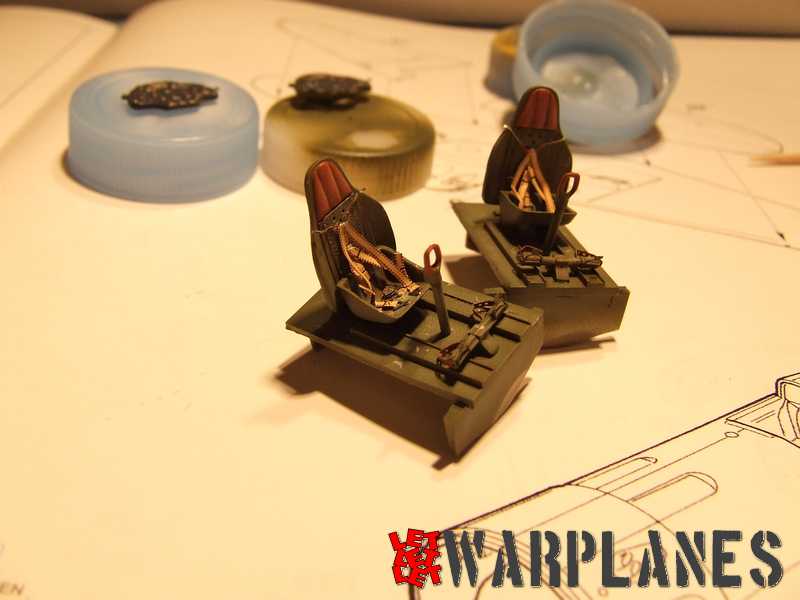
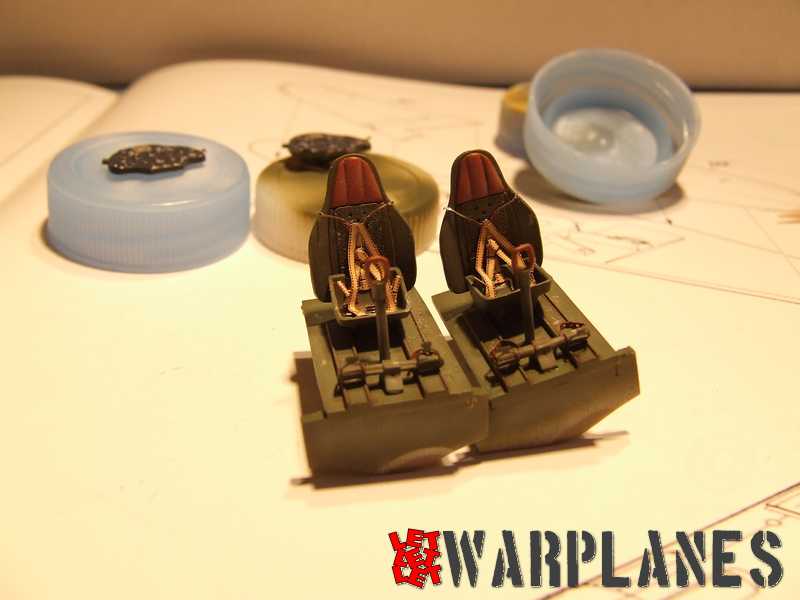
…But how to assemble the seat and cockpit interior with the addition of the seatbelts?
The best way I have found is the following: the lateral seatbelts were glued on the seat itself; the other seatbelts were glued to the backseat. The seatbelts were positioned so I had no problem to assemble seat + backseat; then I glued definitively all the seatbelts.
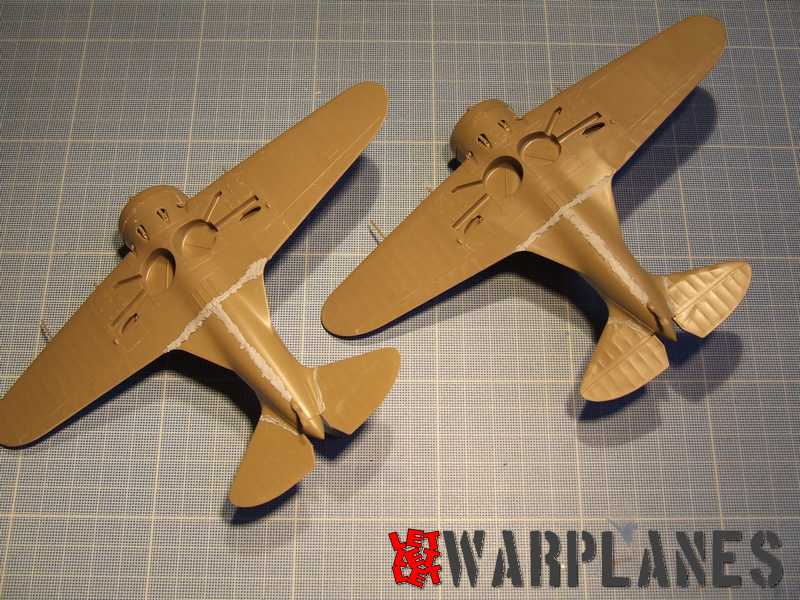
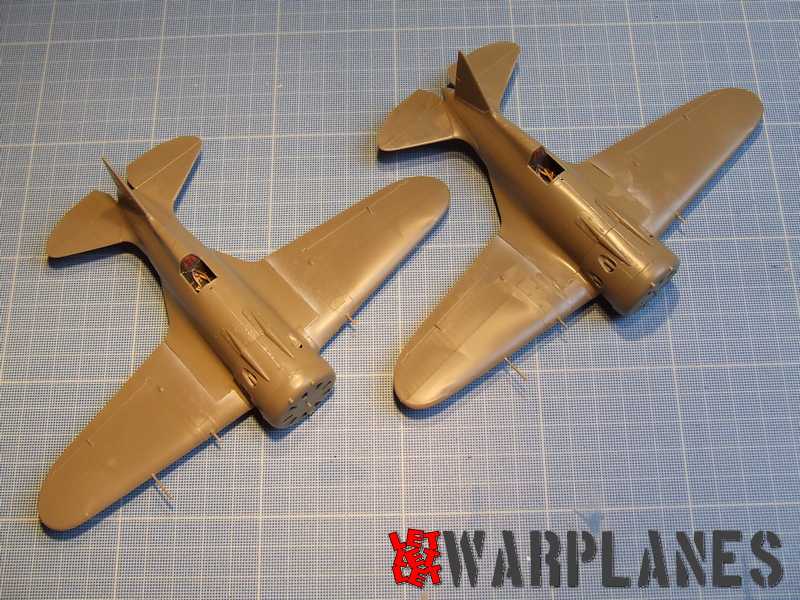
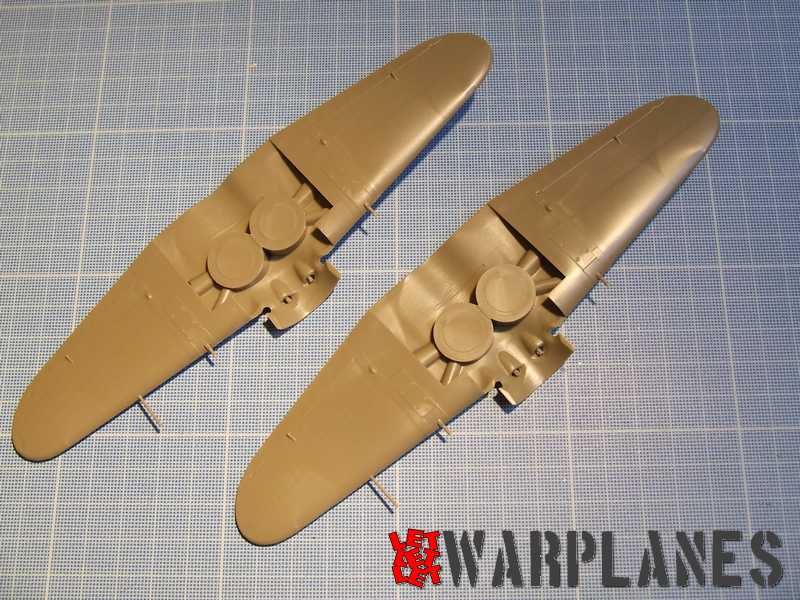
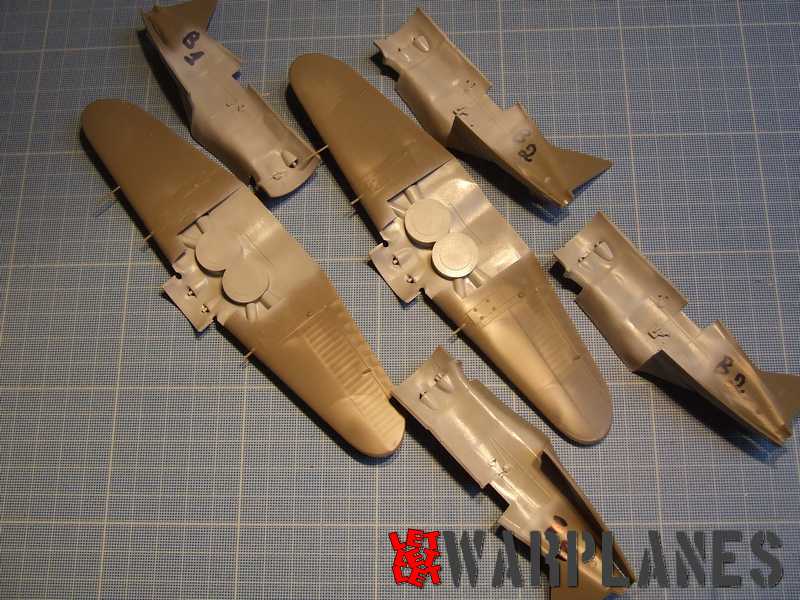
After that I assembled the half fuselages, glued the cockpit interior and the instrument panel (a pitty: you see practically nothing of that panel…) and then the fuselage to the wings. Fitting was not really good, I had lot of problems and nervously it wasn’t easy…
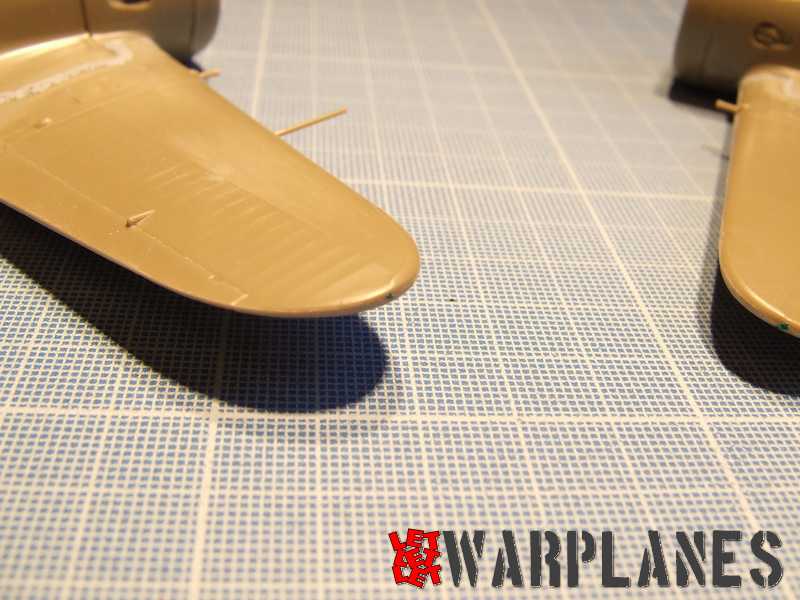
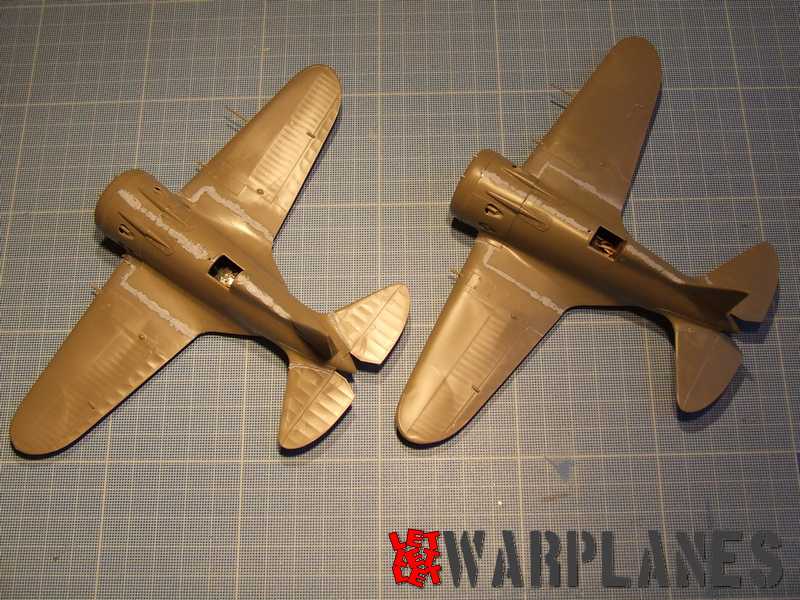
Then I glued other elements to the wings/fuselage. Lot of sanding is needed, and putty also: I’ve applied a mix of putty & aceton.
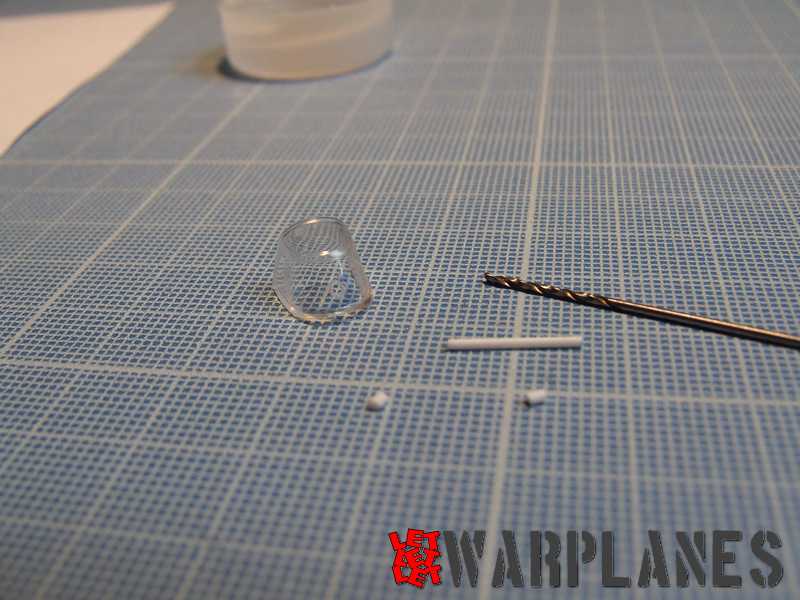
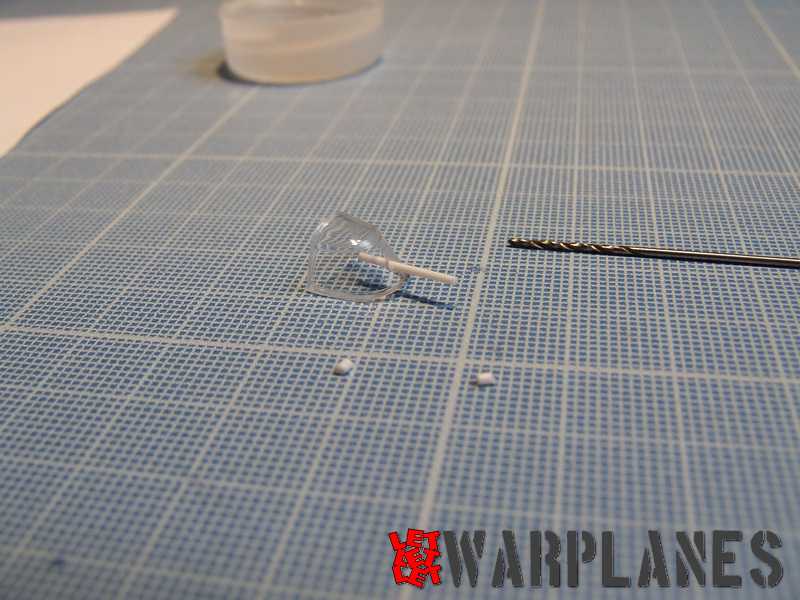
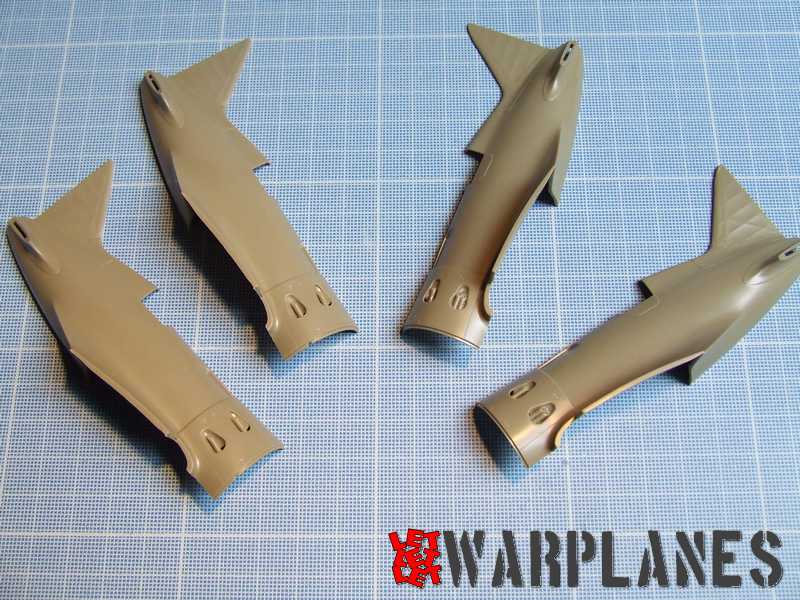
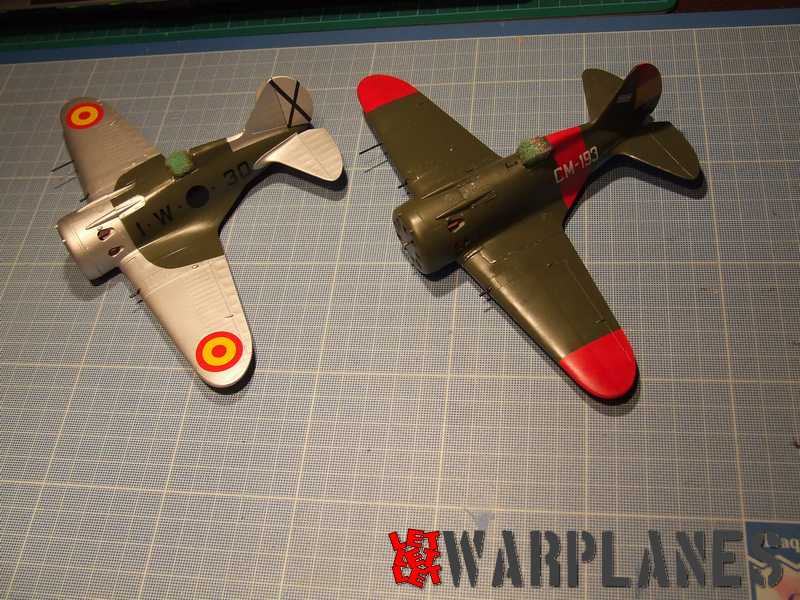
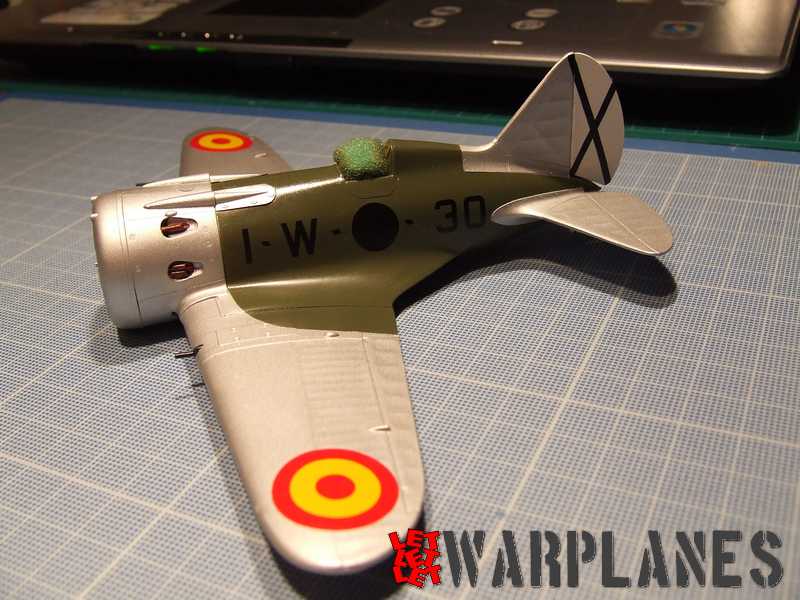
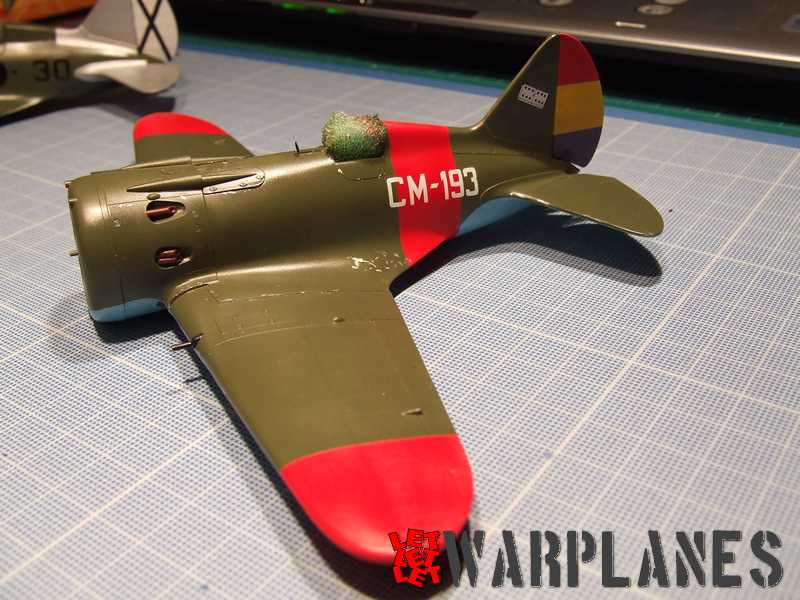
That combo box is wonderful, but Eduard made a mistake: the first deco proposed cannot be built “as is” from the box: you have no telescopic visor, and the canopy must have a hole…

…Hard work, because any mistake should have been catastrophic – But I was successful! The visor will be made with Evergreen.
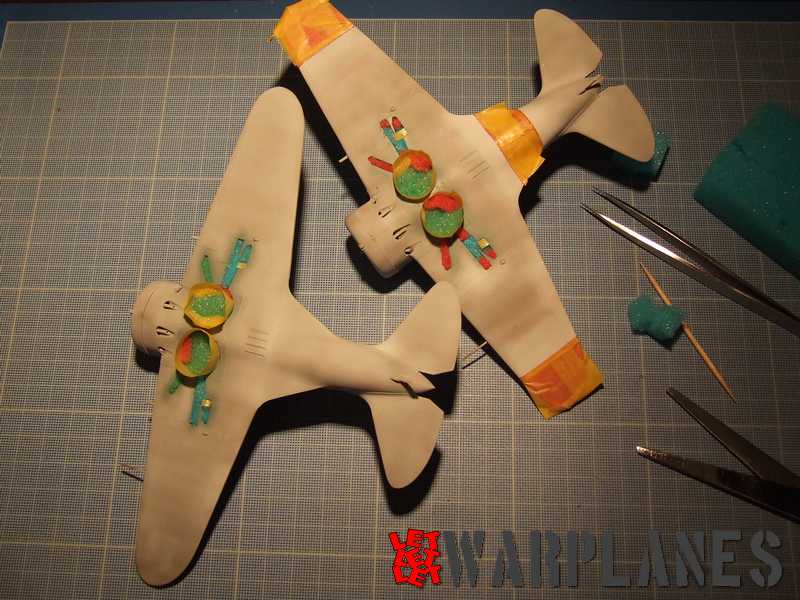
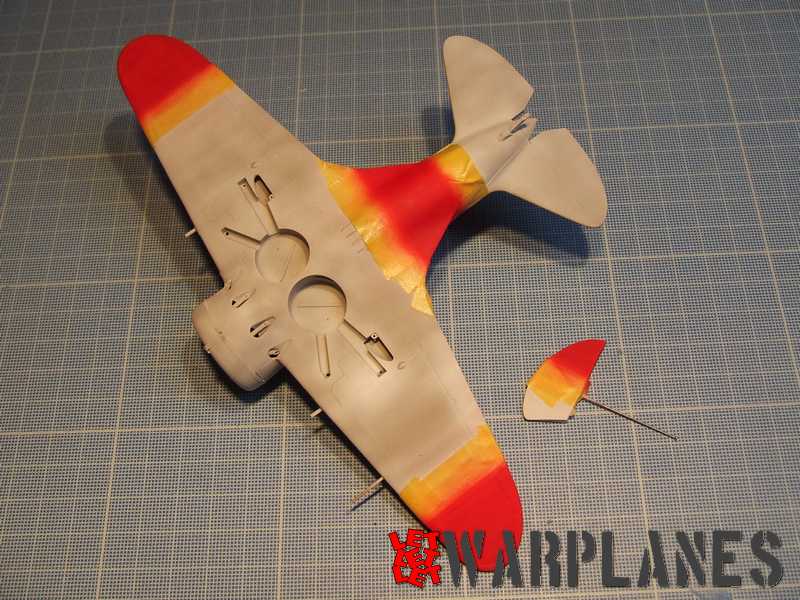
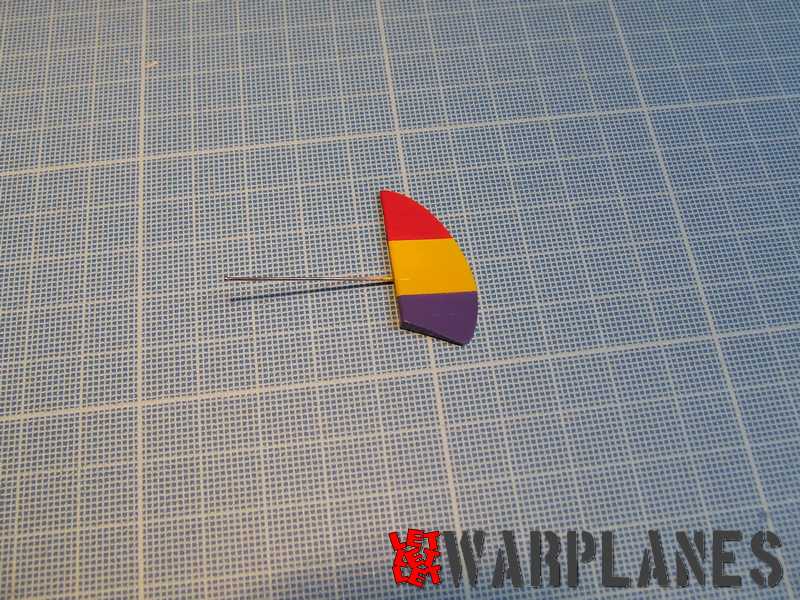
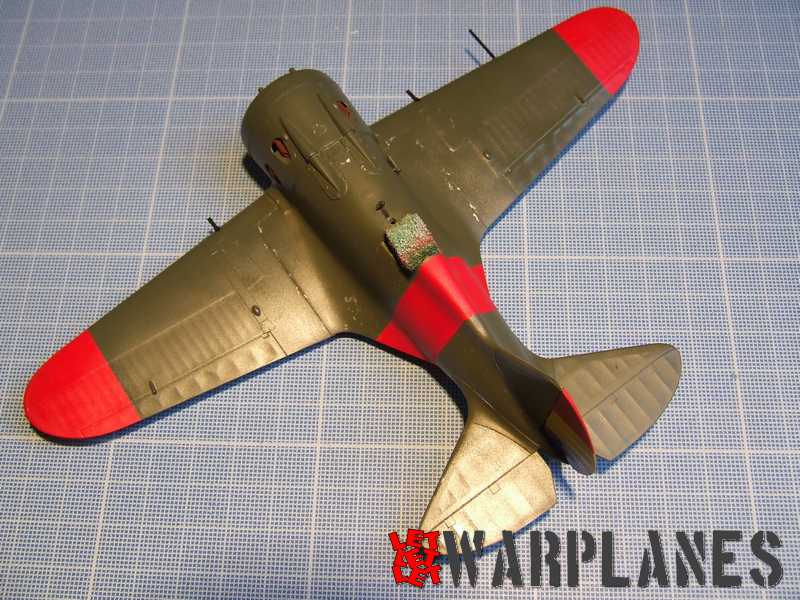
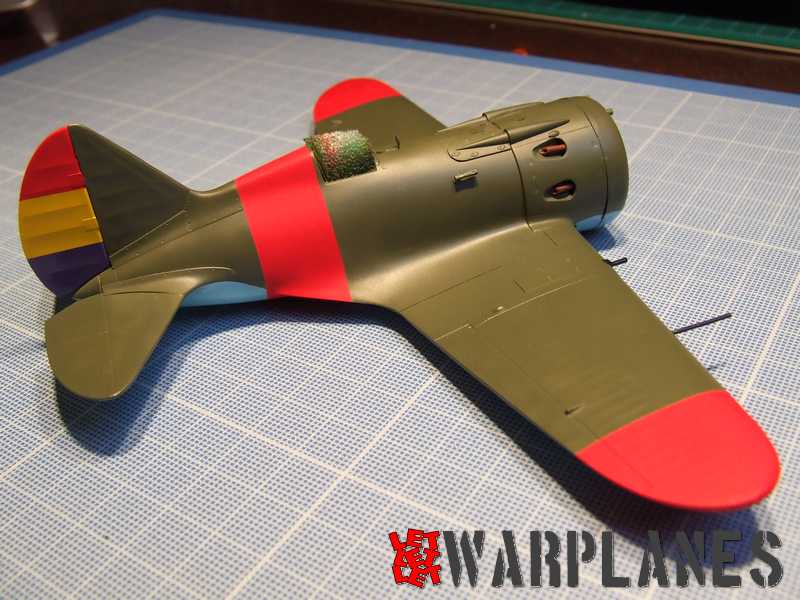
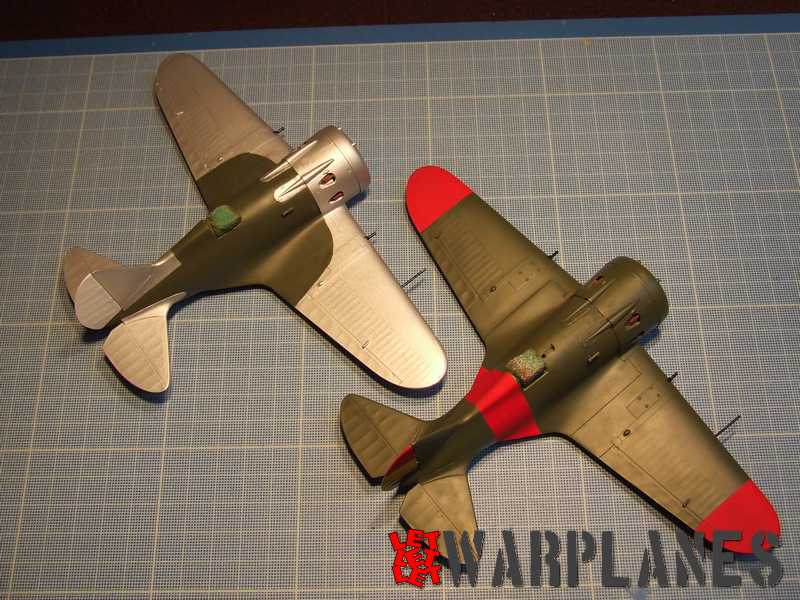
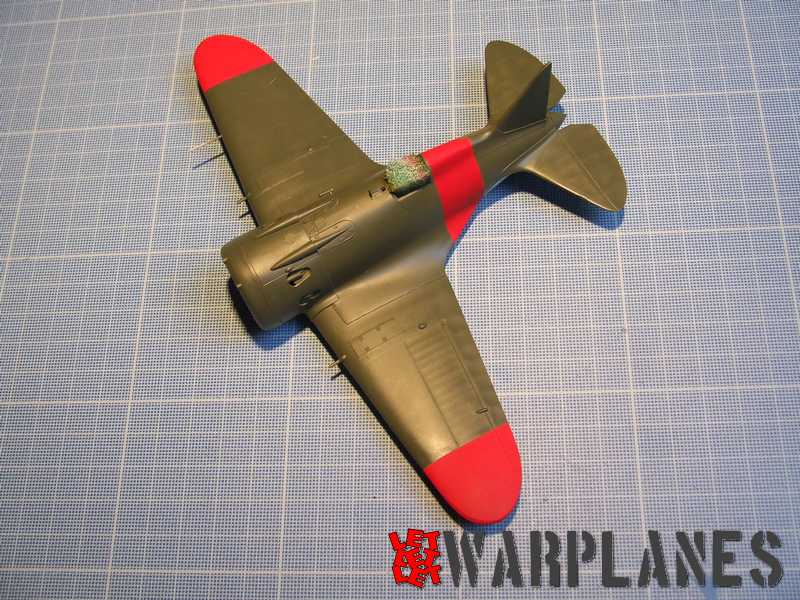
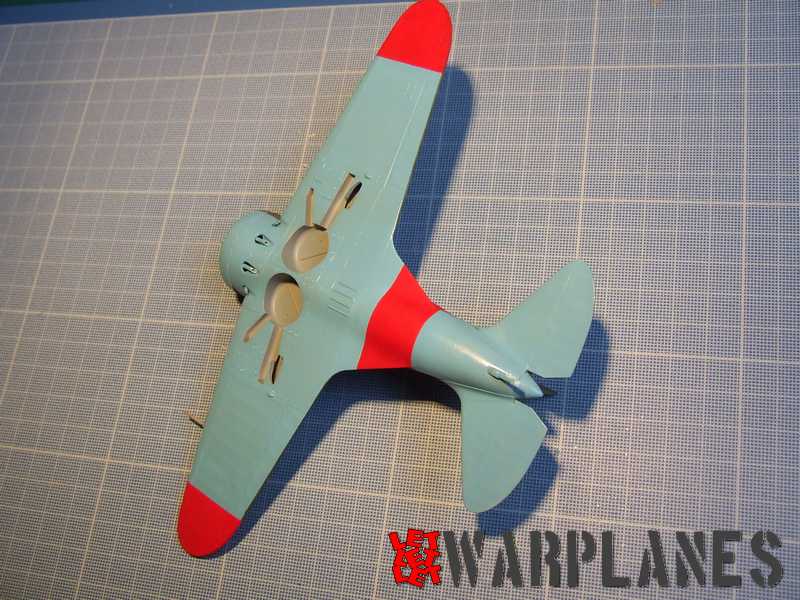
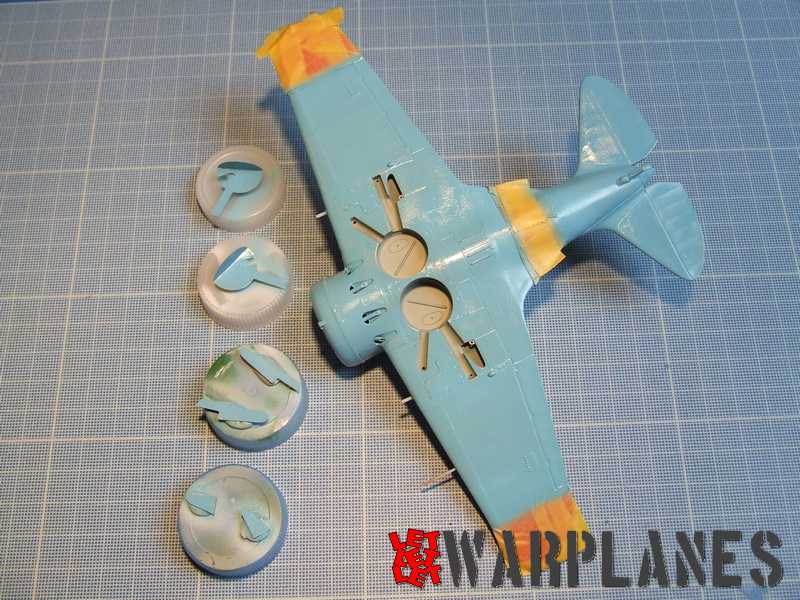
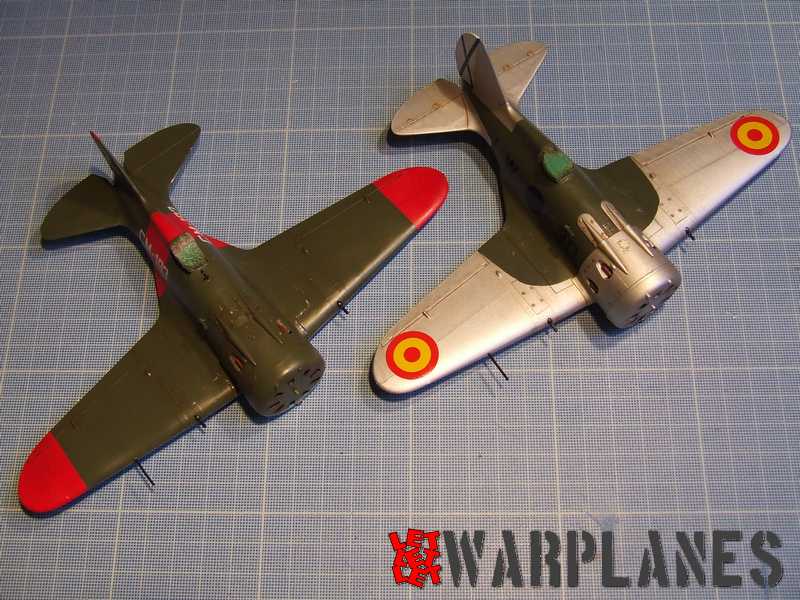
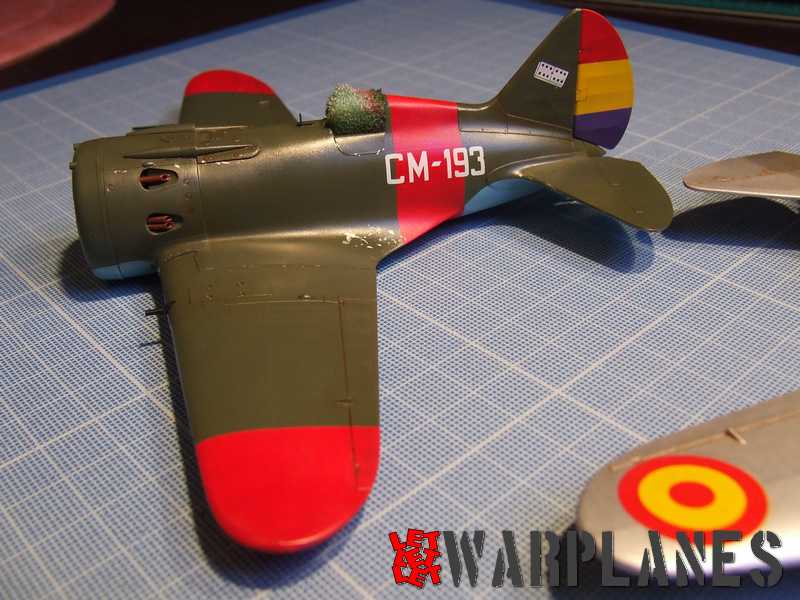
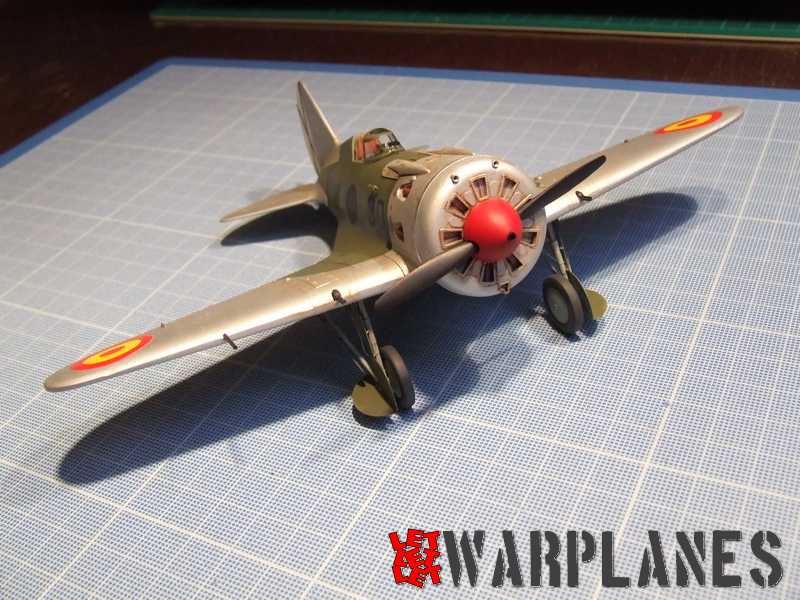
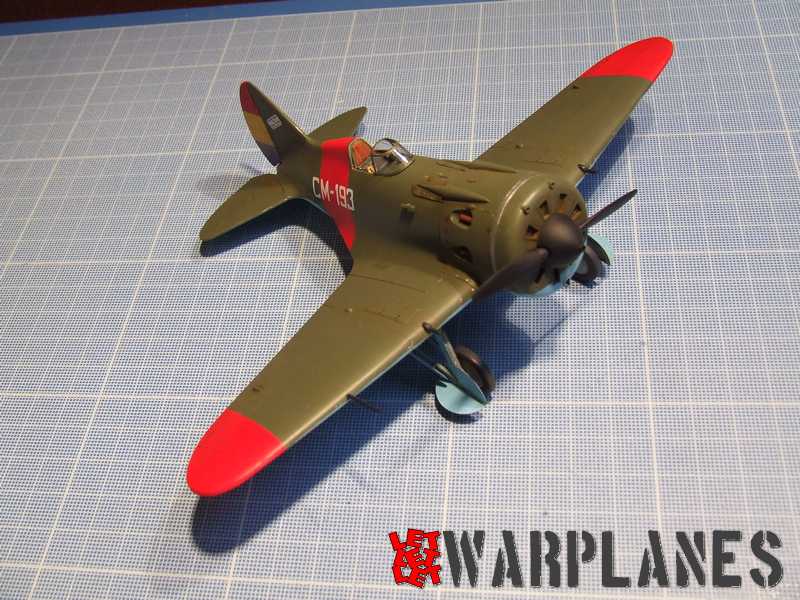
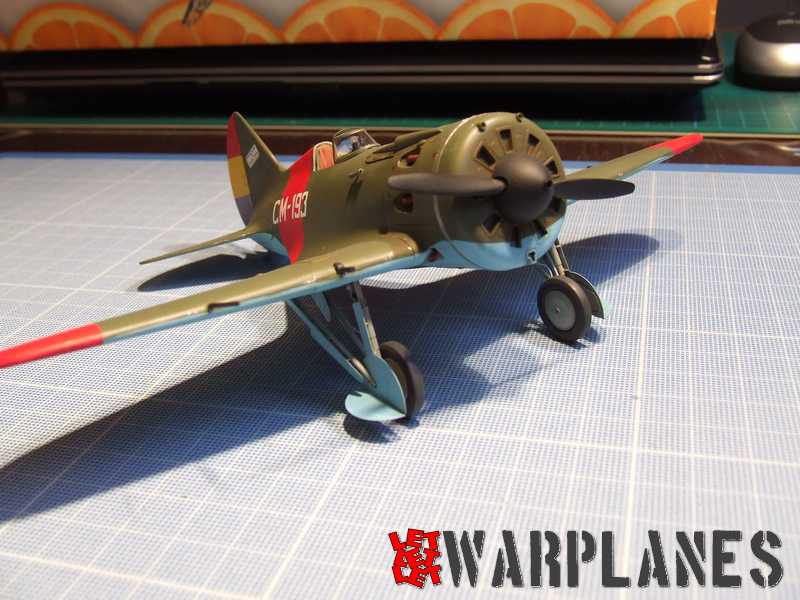
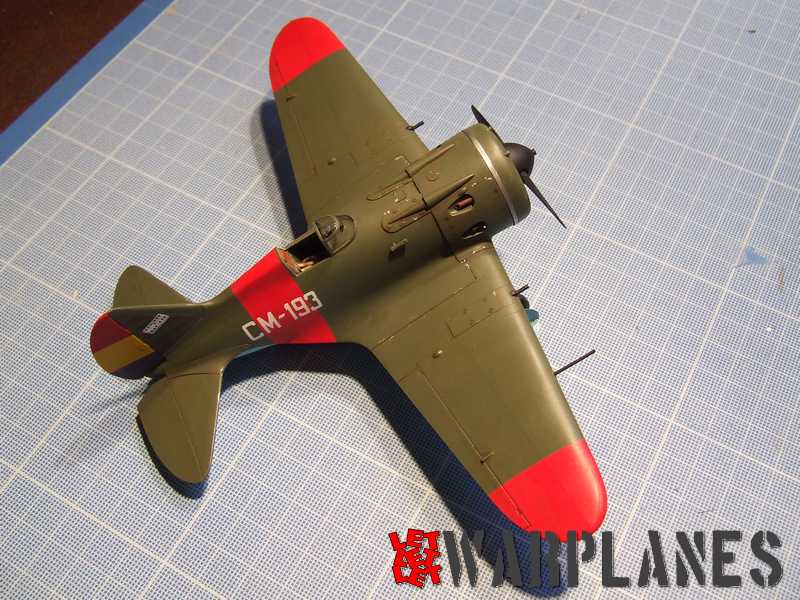
After a primer on bith aircrafts, I airbrushed the red color on the Republican I-16. Followed the yellow and mauve of the fin flash, and the blue of the undersurfaces. Tamiya tape was used of course.
Then, Airbrushing of green paint on both aircrafts. Then I removed the masks on the Republican… Only three minor correction to make with paint.
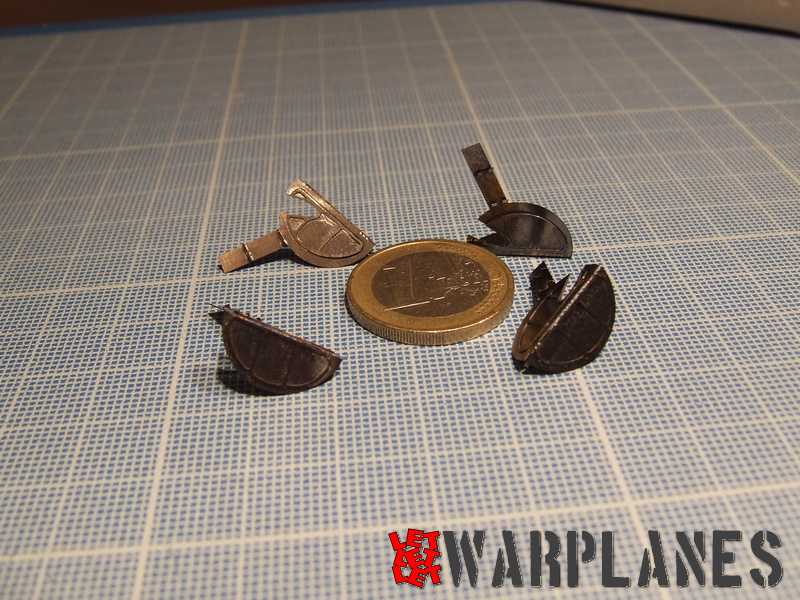
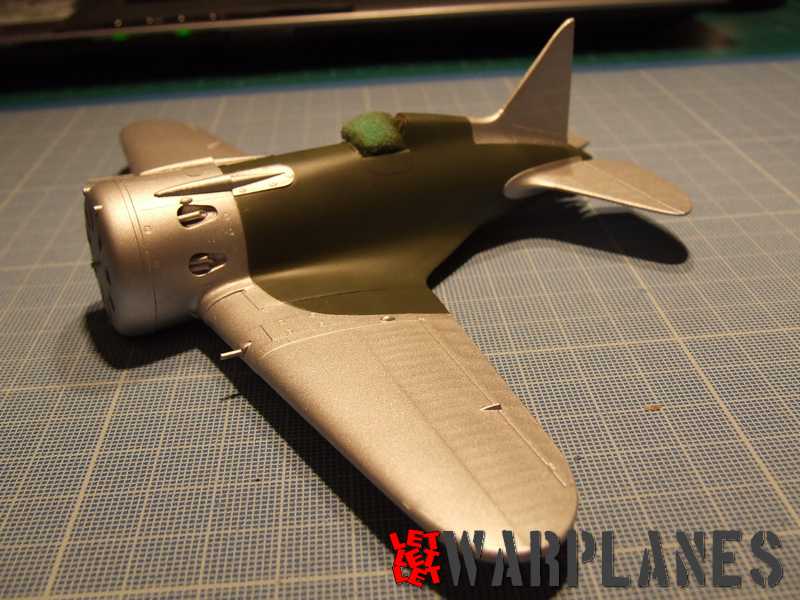
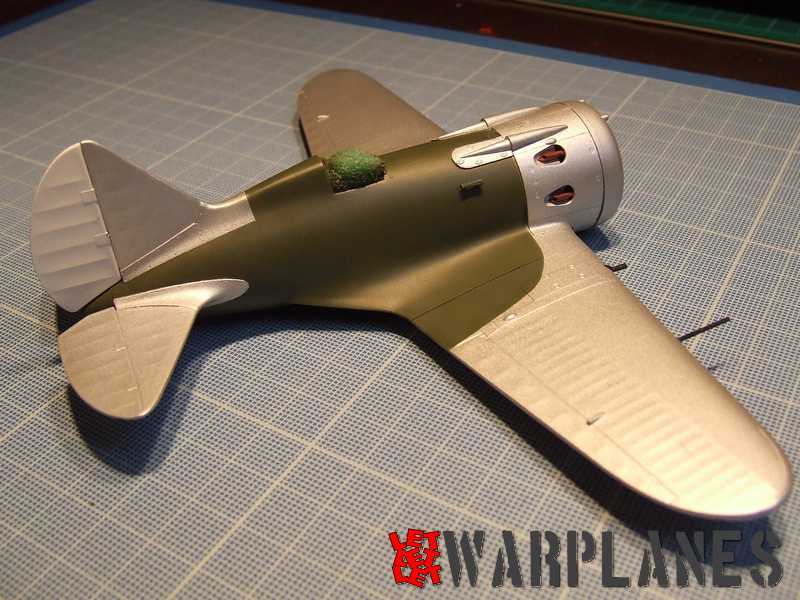
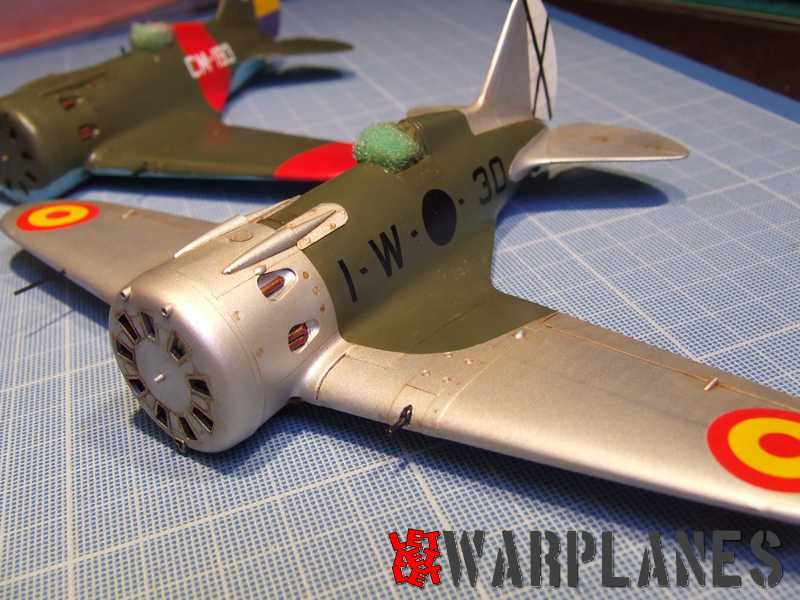
I masked the Nationalist and Aluminium was airbrushed. Exhaust pipes and machineguns are painted; the rudders are glued. Then: Pébéo gloss varnish. Followed the decal session for both aircrafts. Placement was delicate but not too hard. Again, Pébéo gloss varnish, then oil wash. Matt varnish from Pébéo airbrushed, then I’ve glued the canopies.
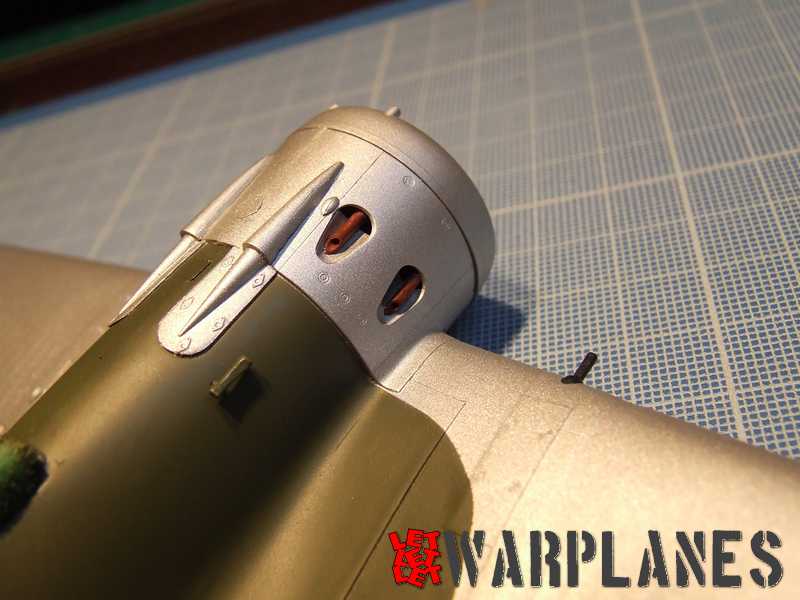
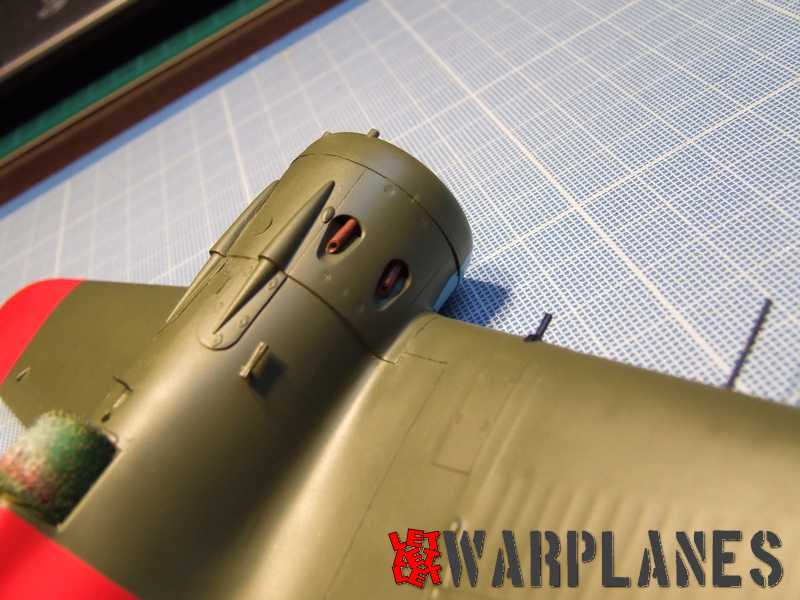
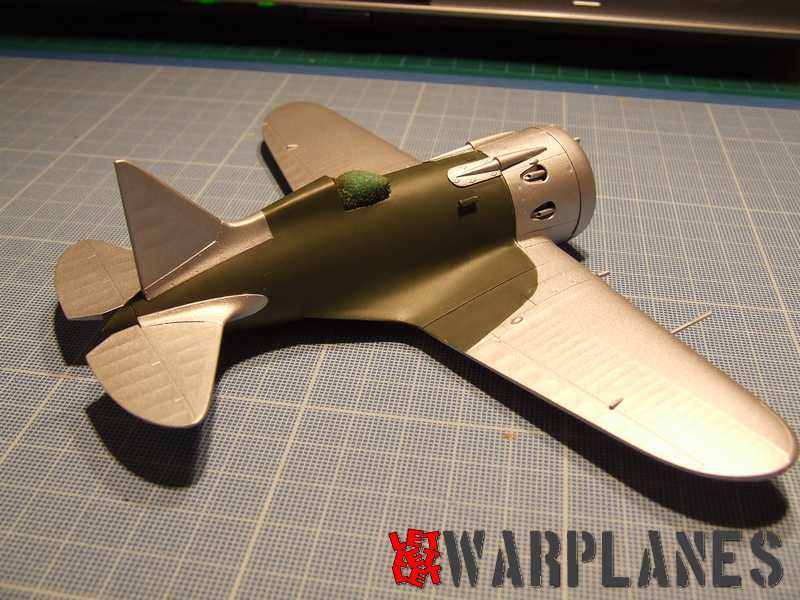
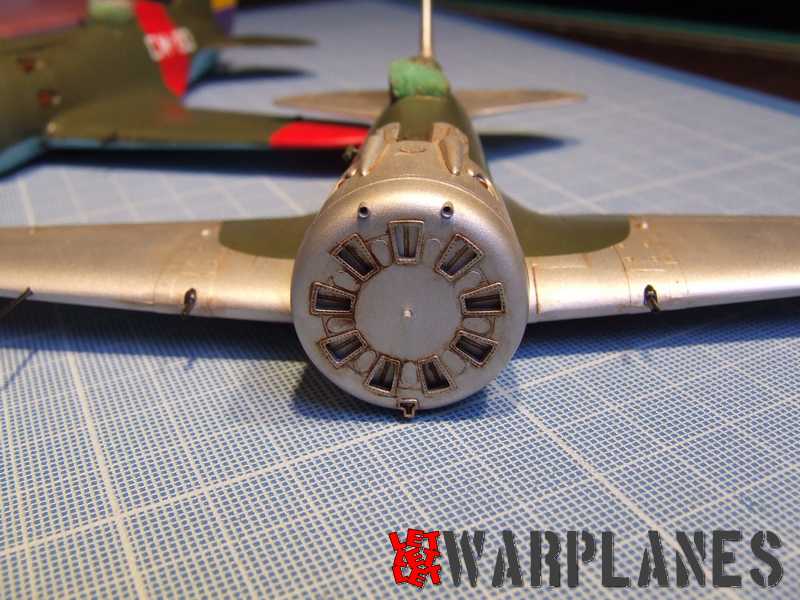
Time to finish: the metal ring over the engine cover is painted with “Agama Metal”. It was the first time I used that kind of product on a kit; I must say that using the right technique, that gives stunning result!!! First, Tamiya tape to isolate the “ring” to be painted from the rest of the engine cover. Then, with a piece of sponge (maintained with tweezers), I’ve applied the “Steel” metal from Agama. You let dry a few minutes only, then with a Q-tip you lustrate the metal that becomes brilliant with a real metal effect!
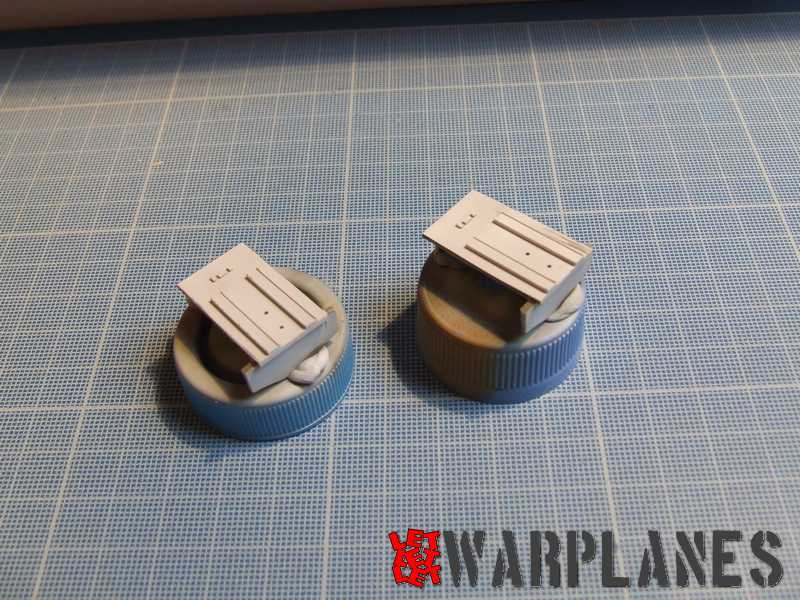
Well, nice kits! The placement of the landing gears was undoubtedly the most difficult stage of that build… With my shaking hands, it was a hard job but with tenacity, I was finally successful.
It was really an excellent idea from Eduard to give us that combo box… get your sample here!
Daniel Clamot