Eduard Bf 109G-10 82119
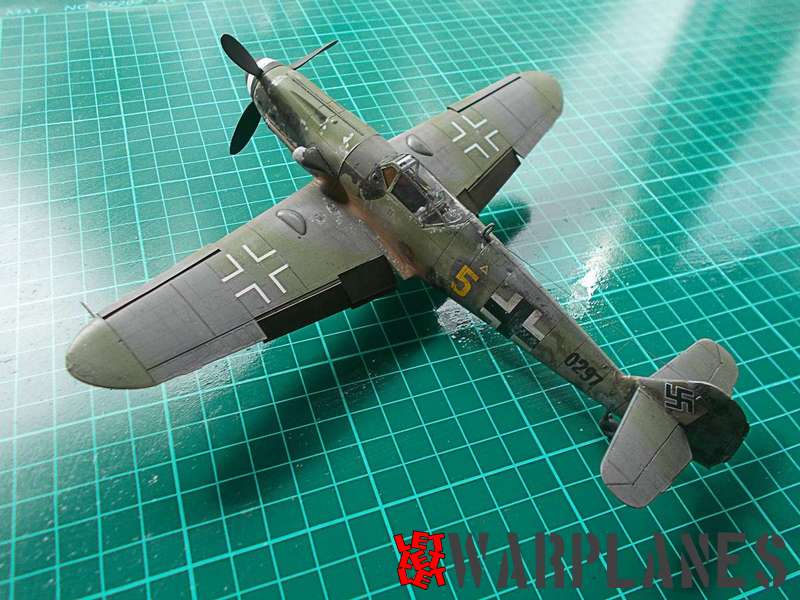
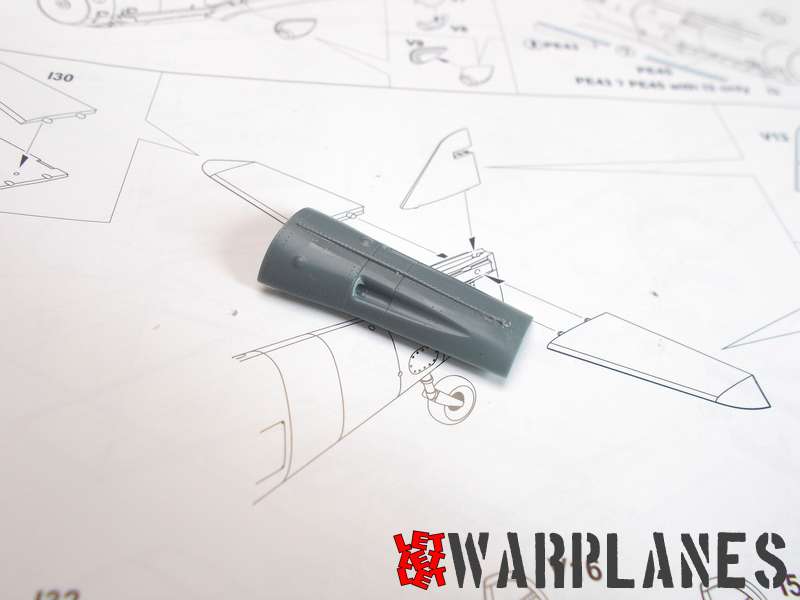
For me, Bf 109G-10 is so attractive airplane, more interesting then other of the type. There is no special reason for that, when I was so young, first advanced version of the Bf 109 I have seen, was G-10 model, its high tail and more streamlined cover over engine cannons make nice impressions. But this is just personal and this personal result that in life I have built few Bf 109 with this features, not all was G-10. This time my real pleasure is to made Bf 109G-10 made by Eduard, in 1/48 scale.

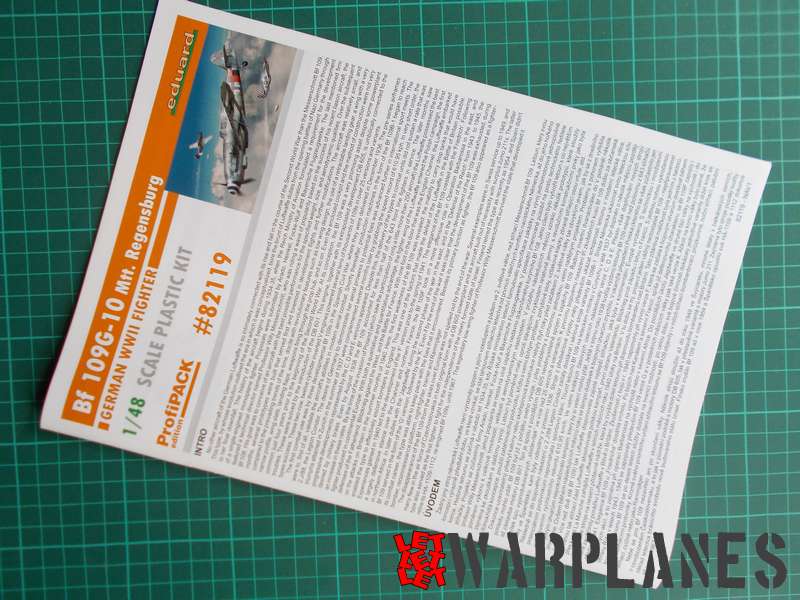
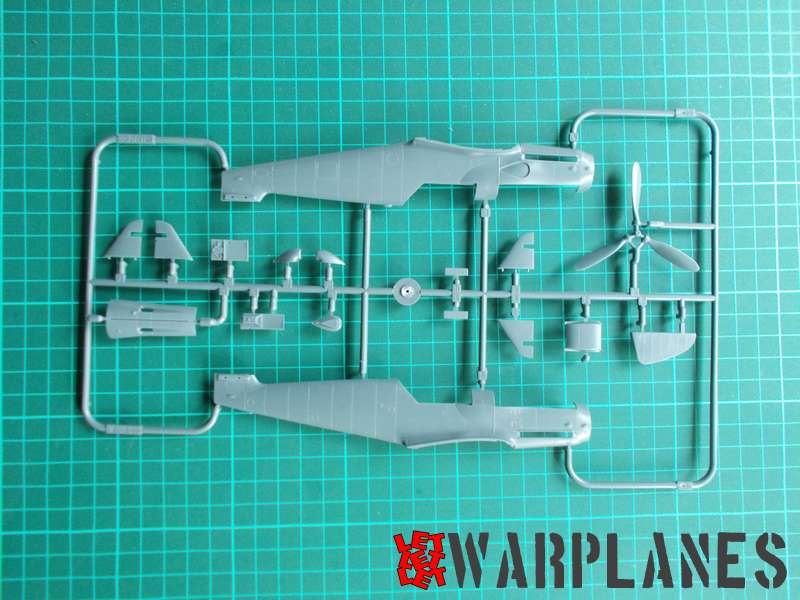
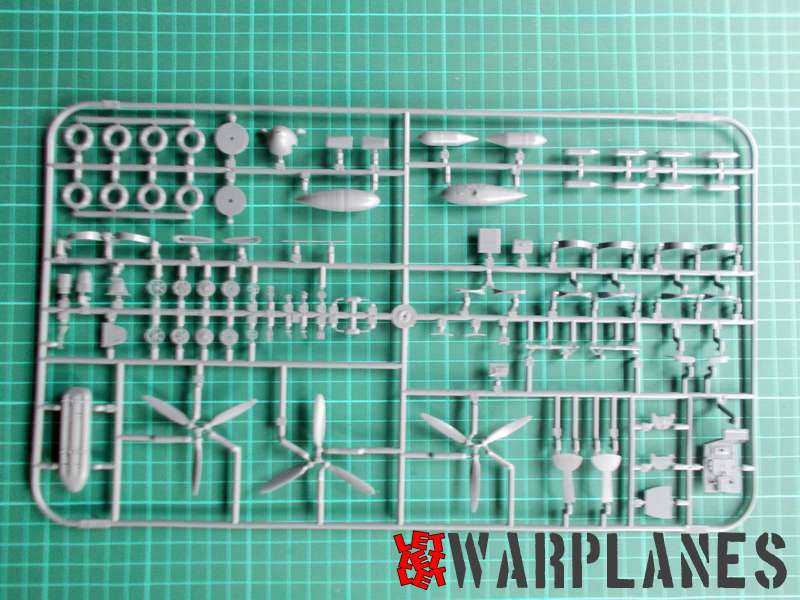

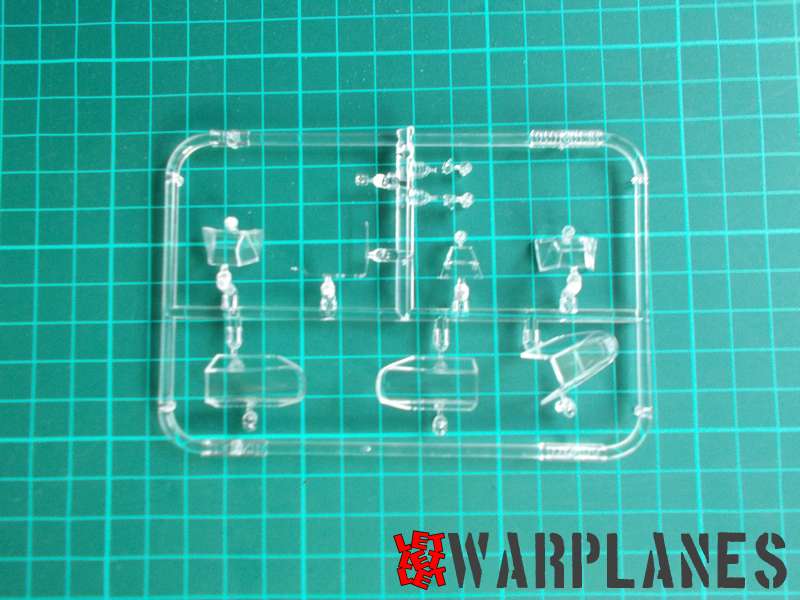
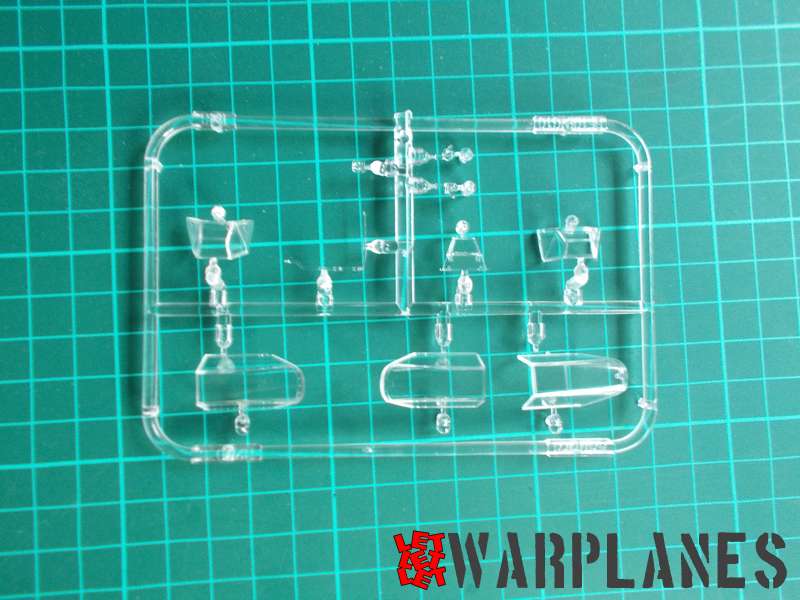
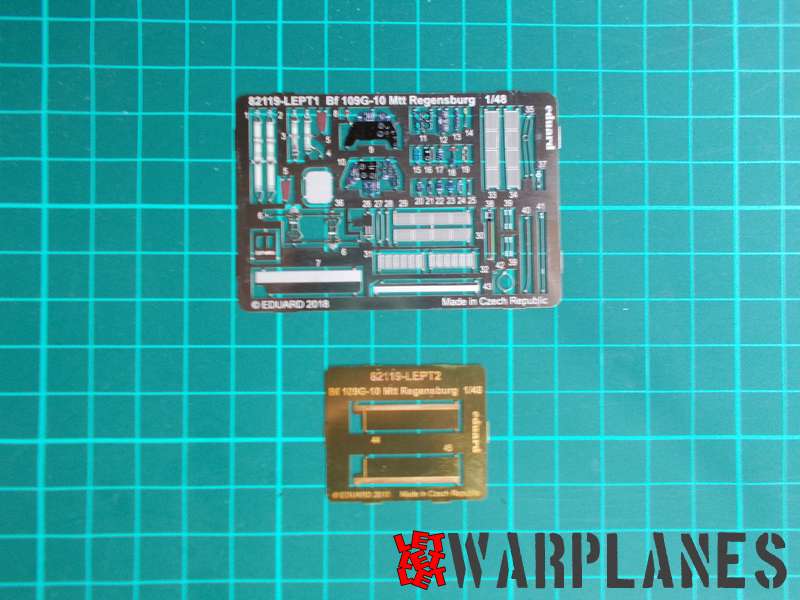

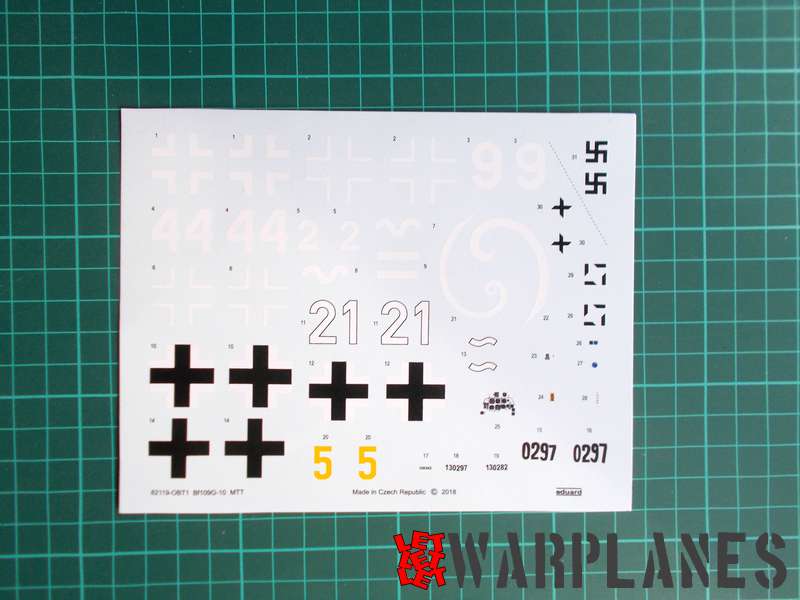
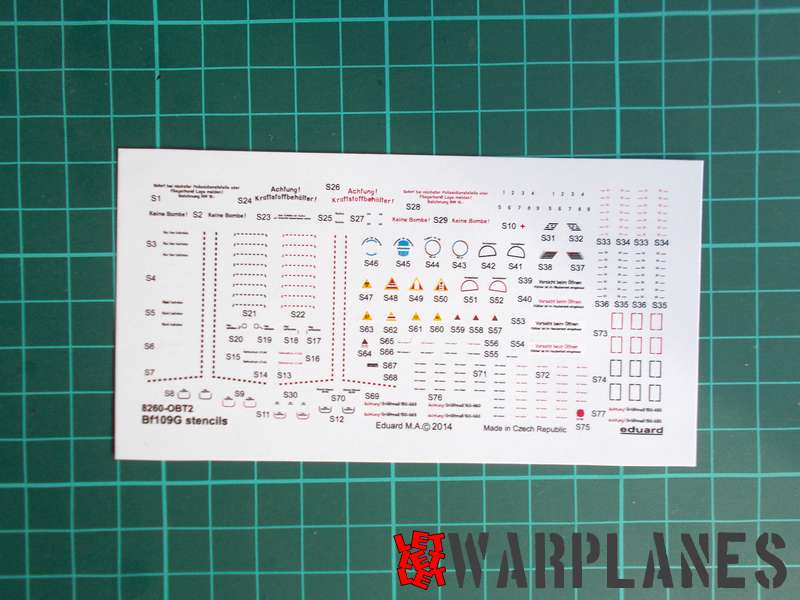

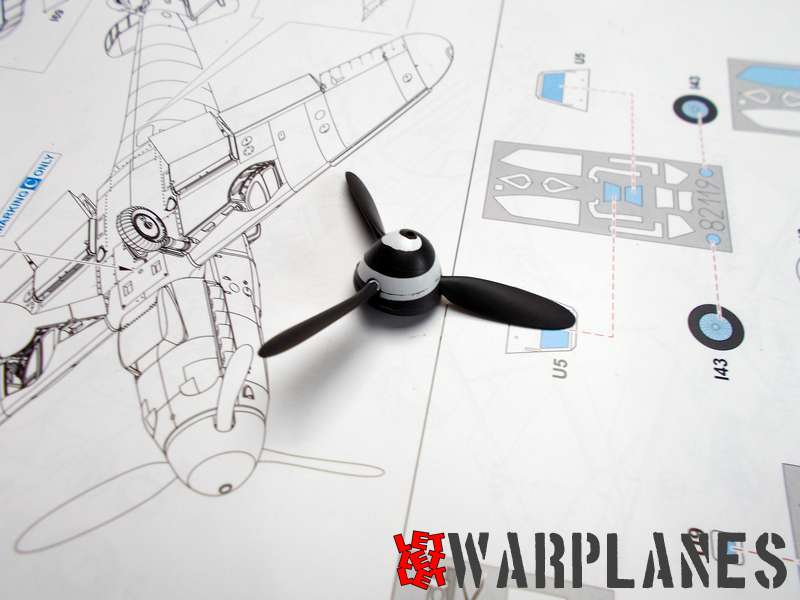
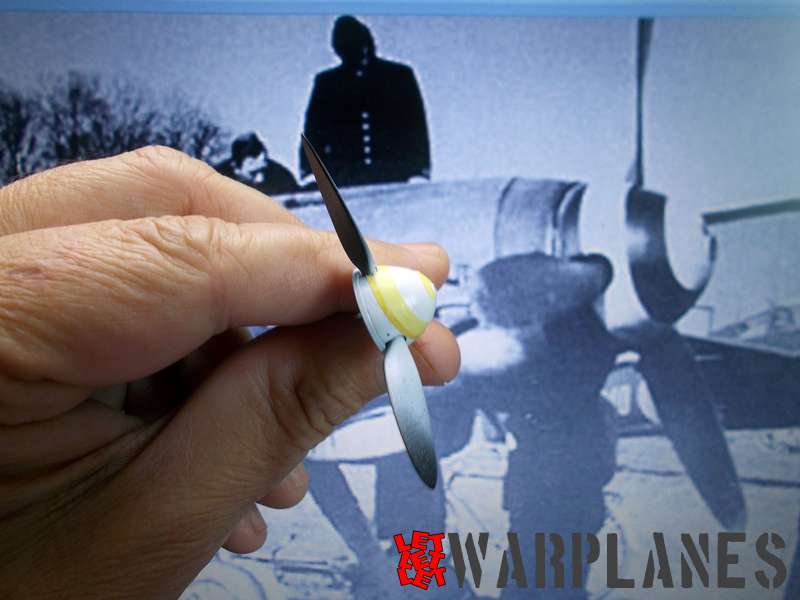
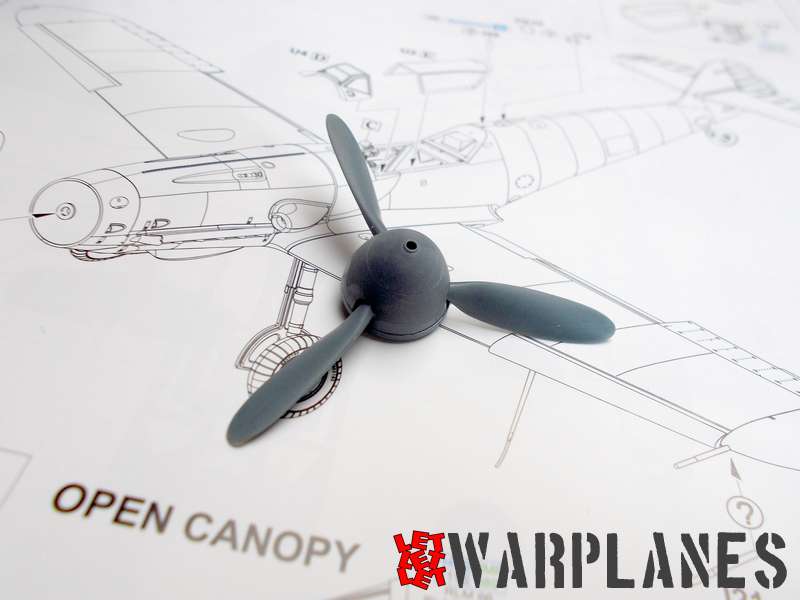
Starting with amazing cover art, this ProfiPACK kit is so nice, inside of the box is five frets of plastic parts, one of those is with transparent elements. What make this kit G-10 model is fret V, which include different fuselage, propeller, engine top cover, vertical surfaces as well interior details. Kit also include two etched set sheets, one of those with pre painted elements. There is also mask to use with transparent elements.
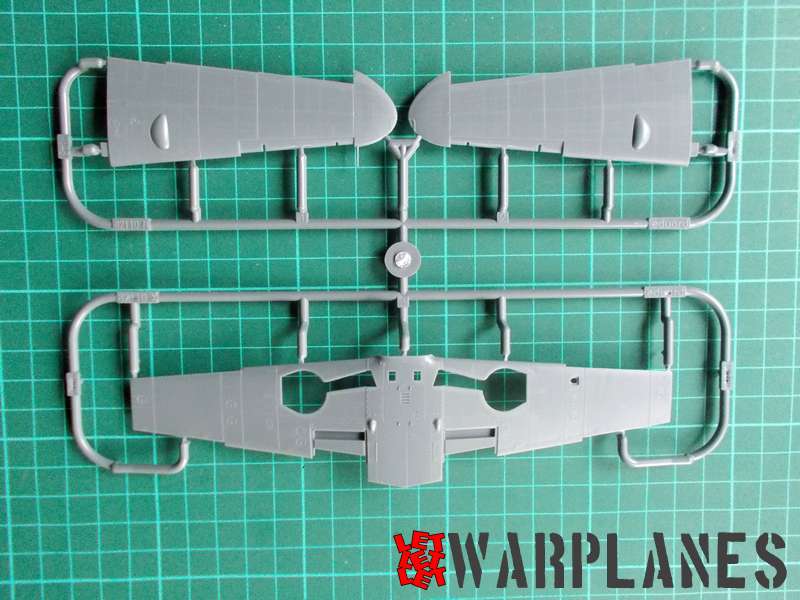
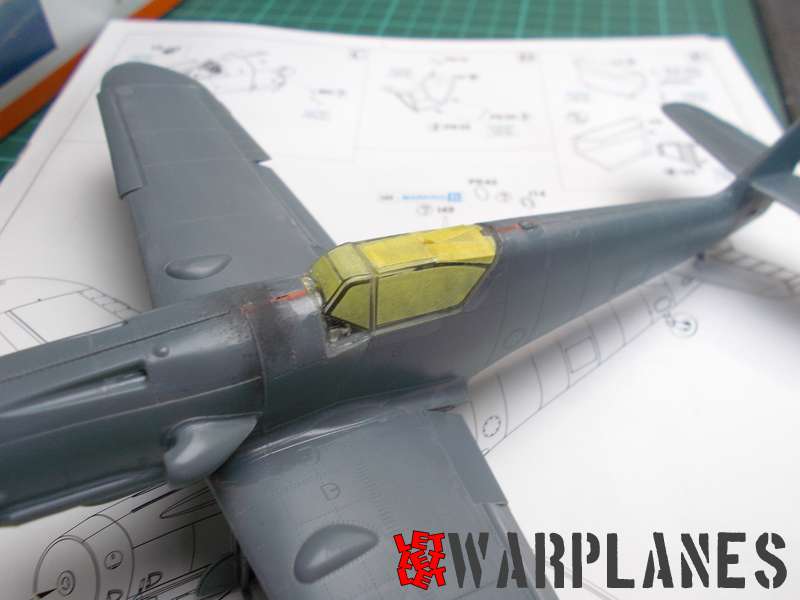
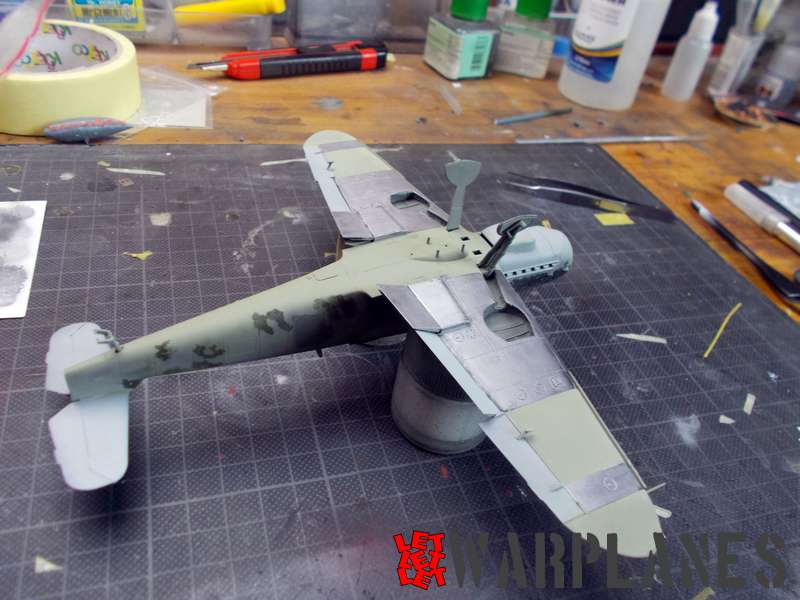
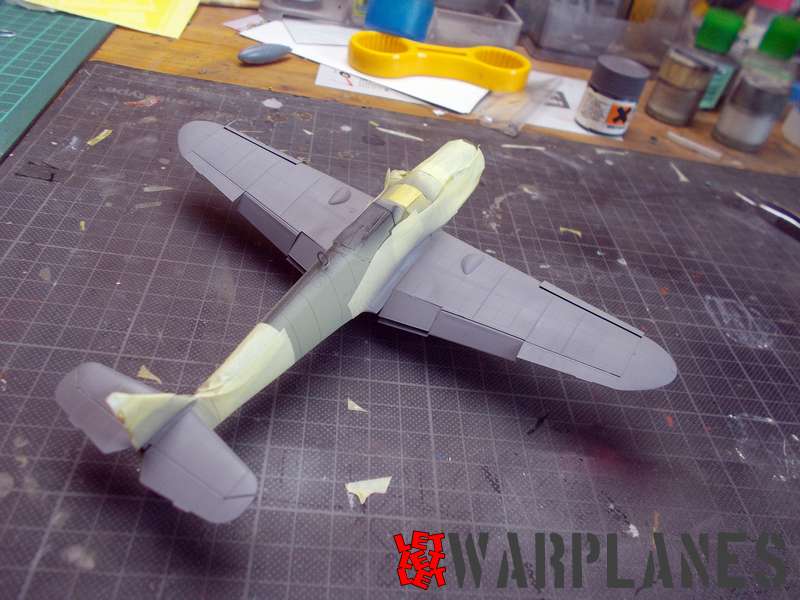
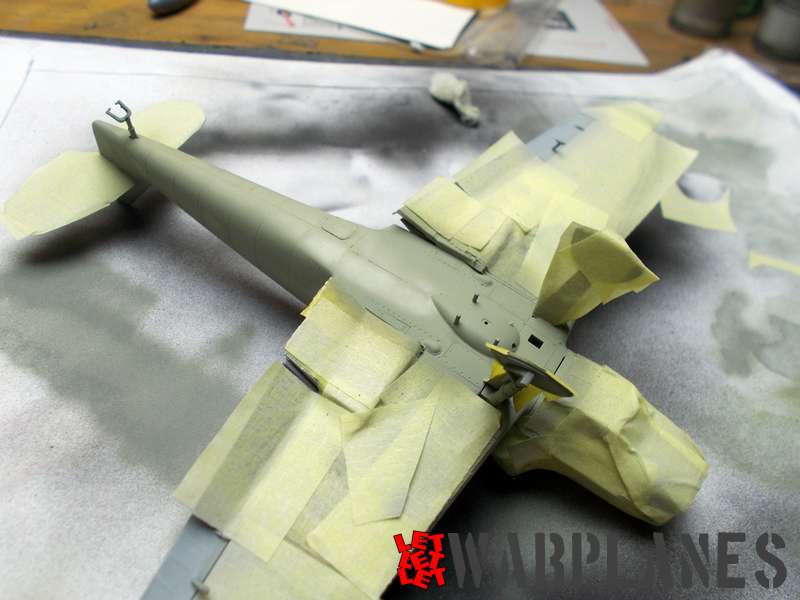
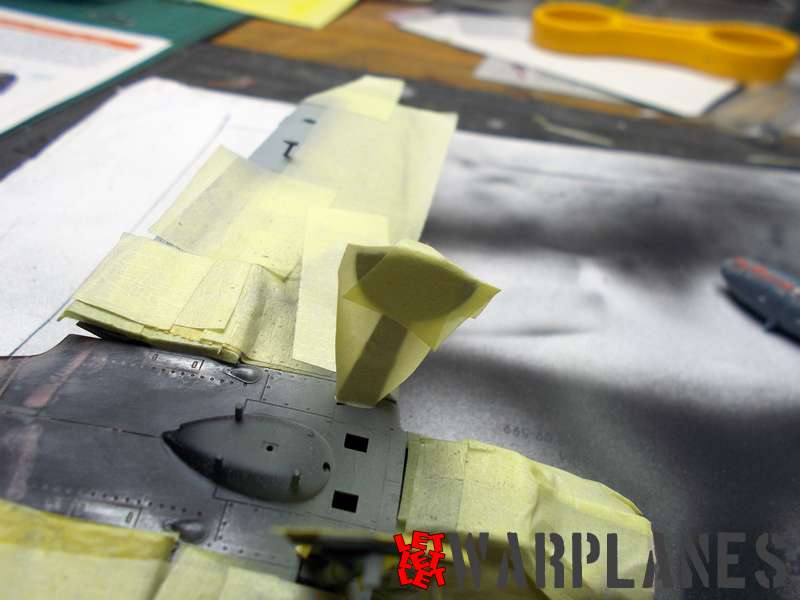
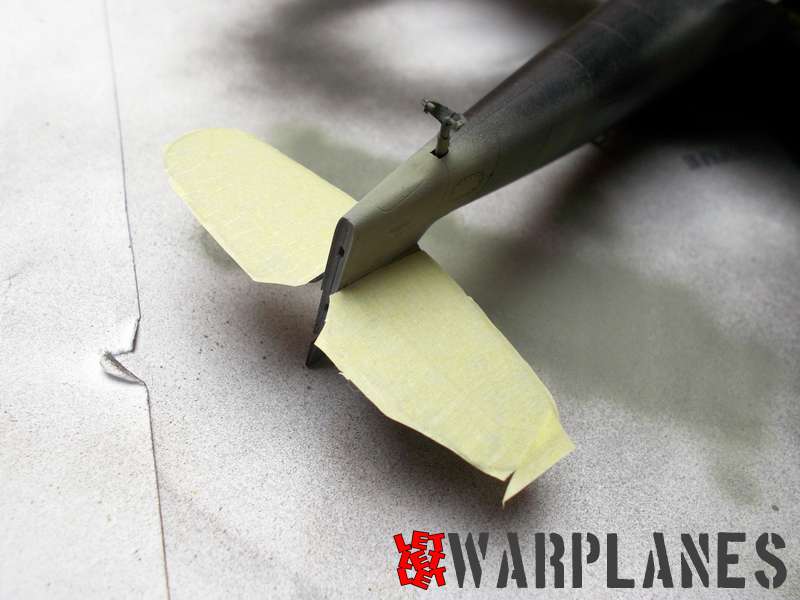
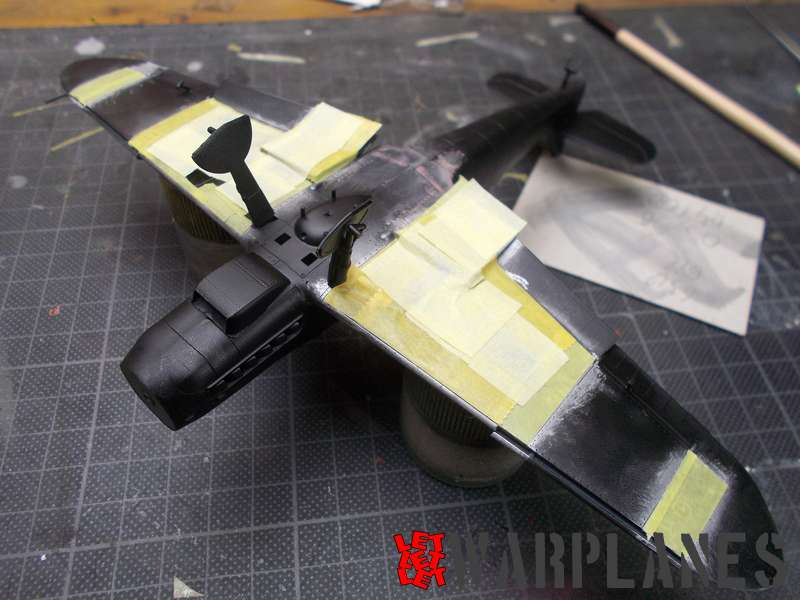
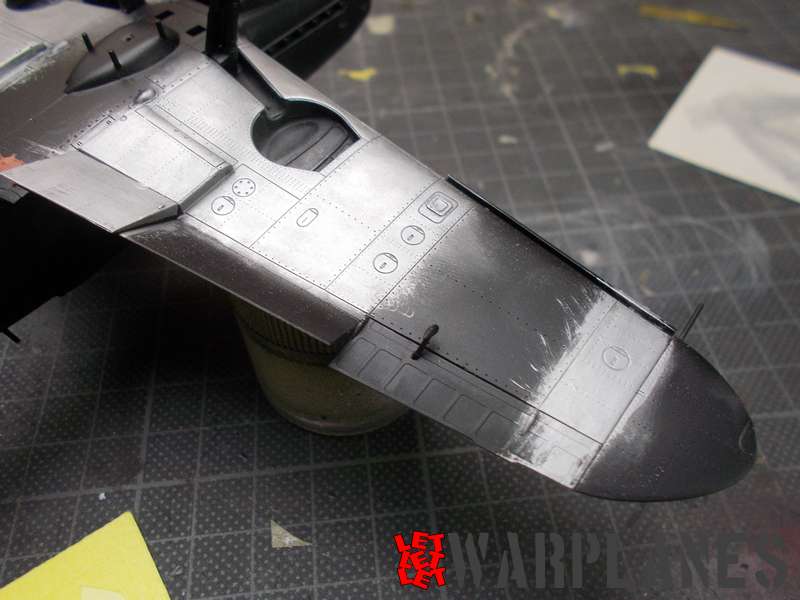
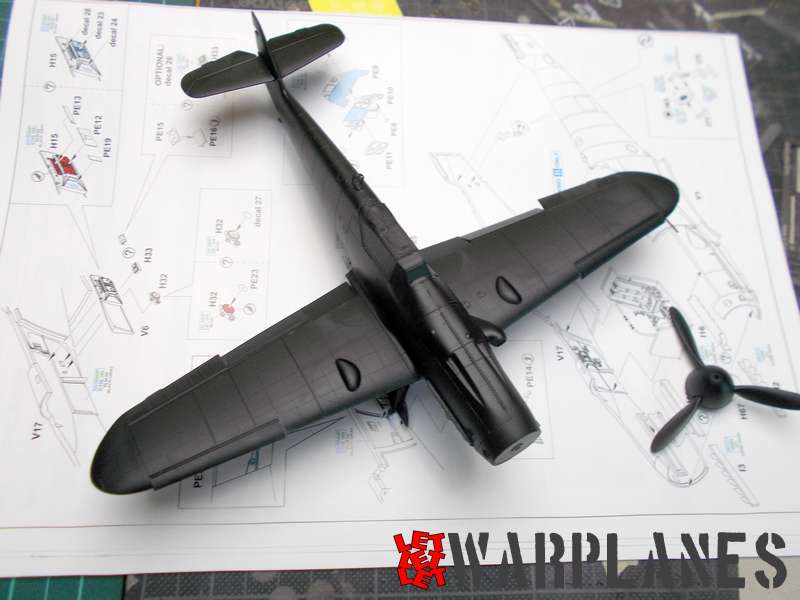
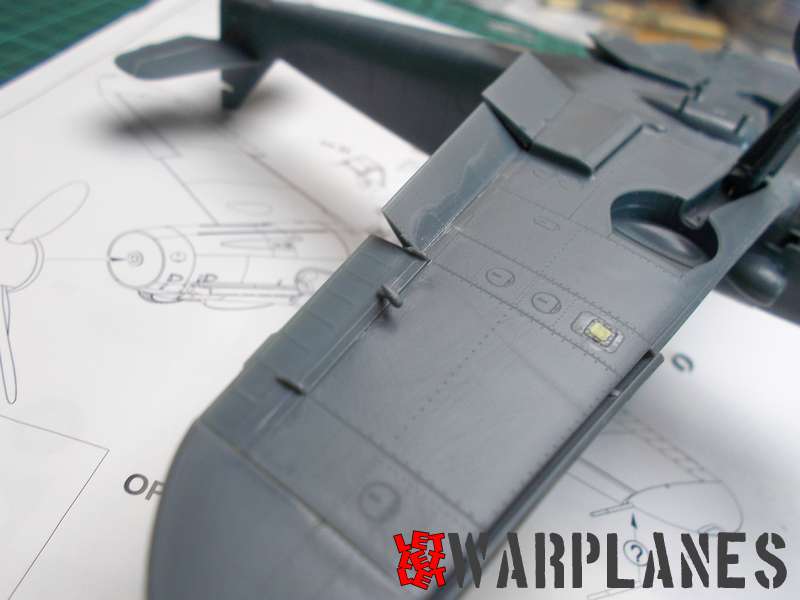
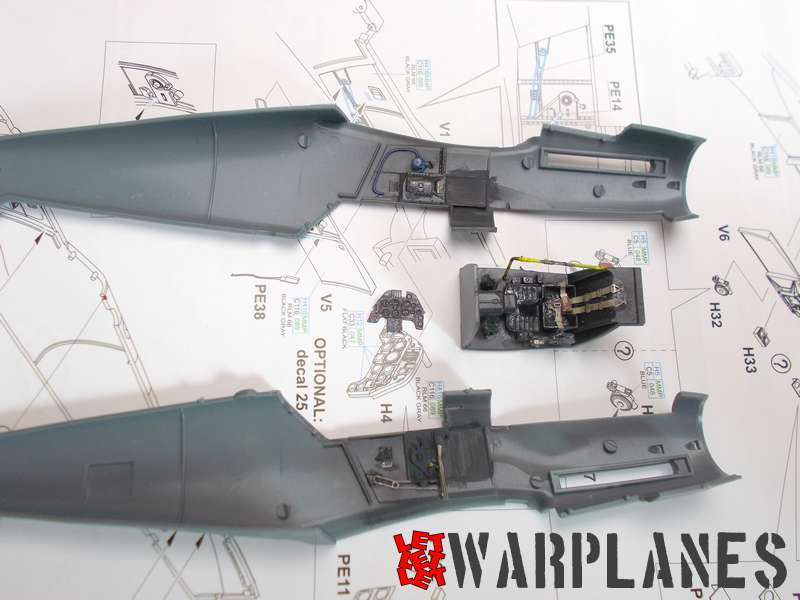
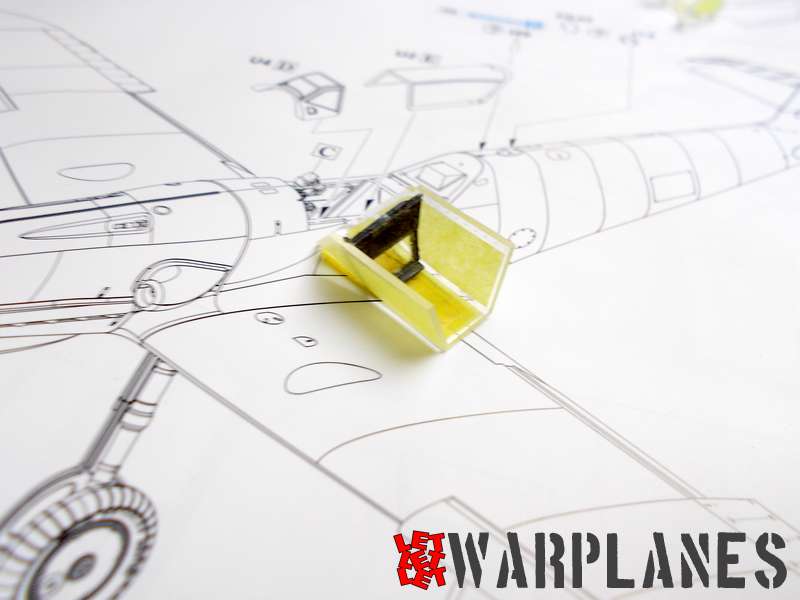
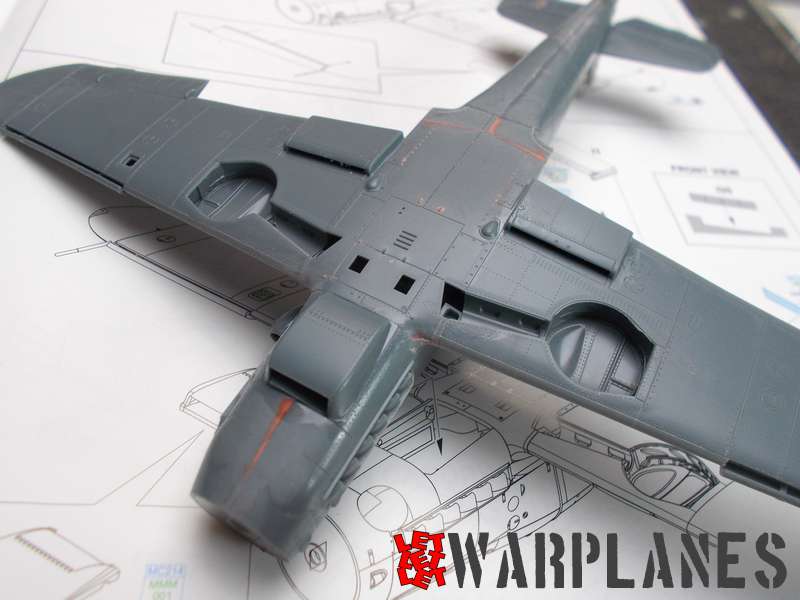
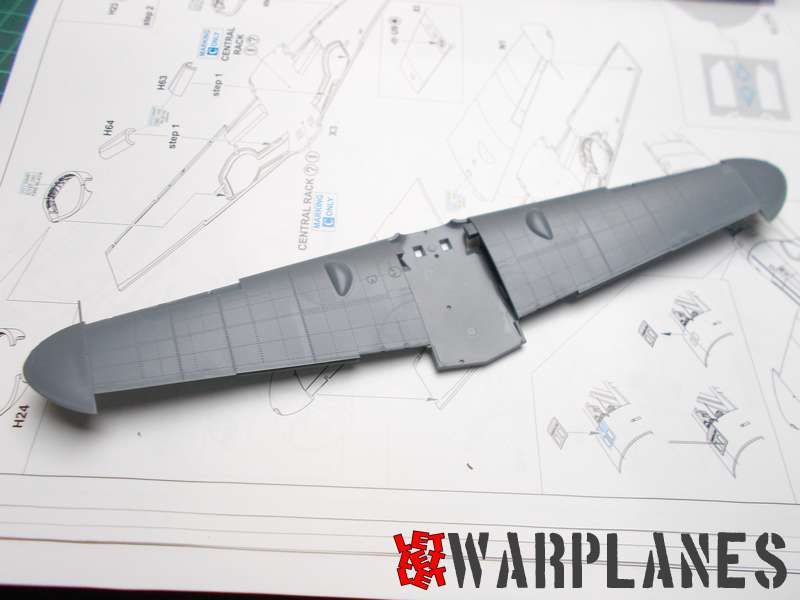
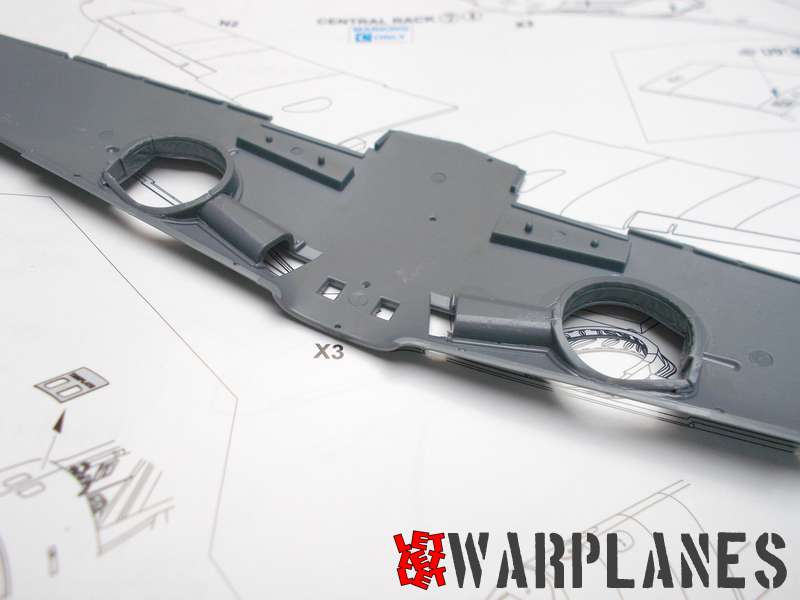
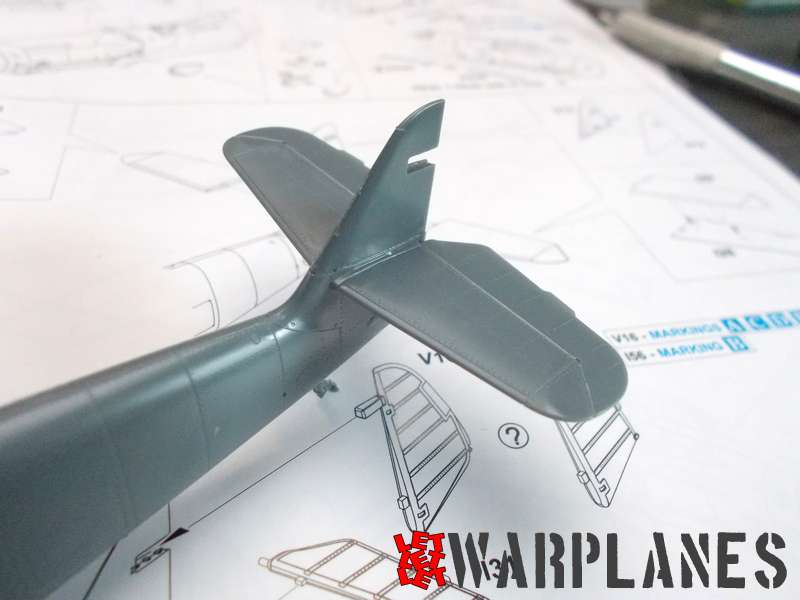
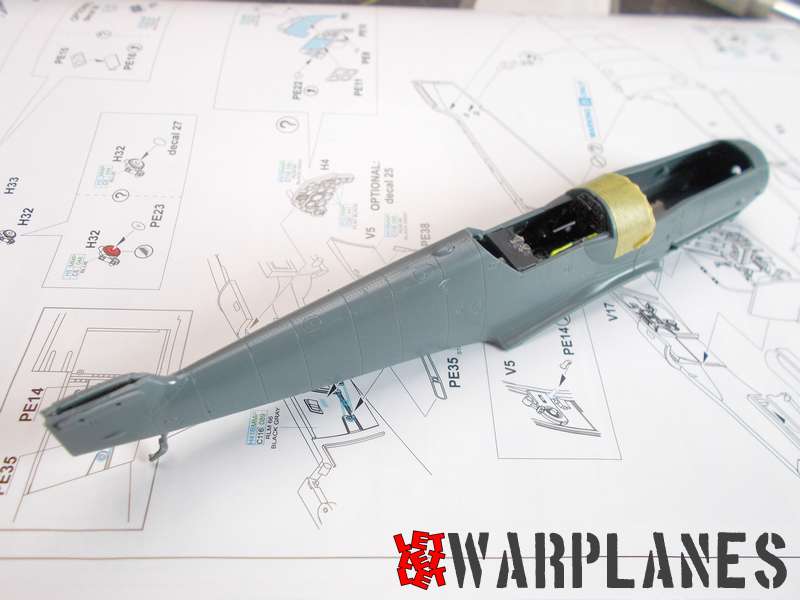
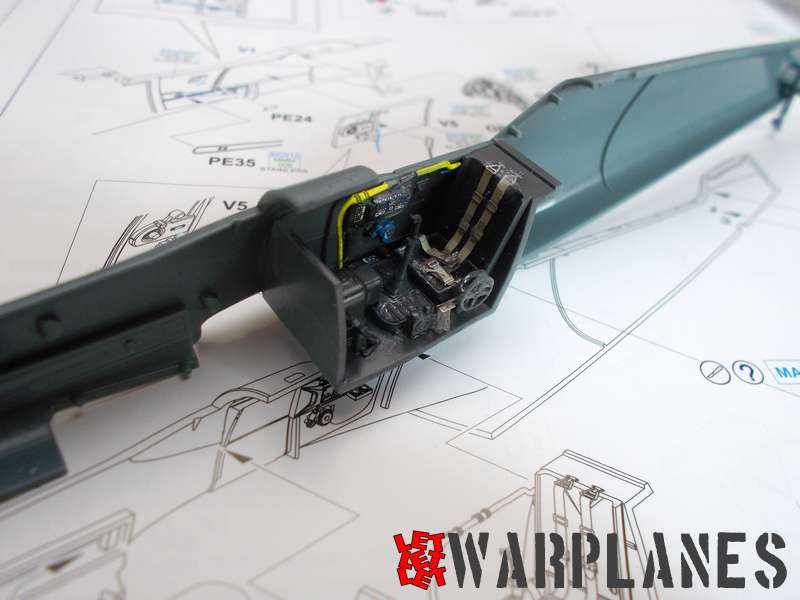
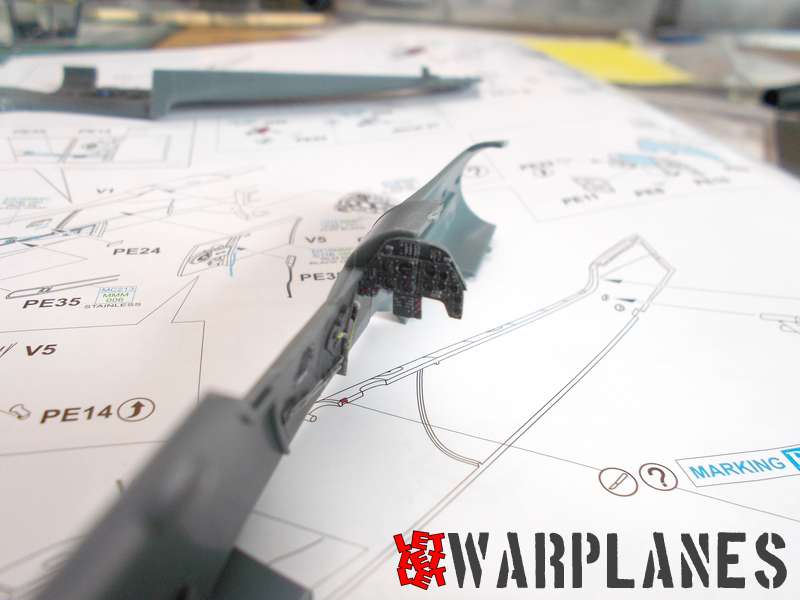
If you have build before any of Eduard G kits, this one does not have much differences, main notable first come in cockpit, where on side walls goes elements V5 and V6, which compared with previous parts, is extended. Main interior color still remain RLM66. Rest elements used in previous kits, goes in same way. There is variation of use entirely plastic exhaust elements or plastic with combination with etched parts, both options is good, it is on your personal preferences. When you complete fuselage, next step is to finish tail surfaces, including vertical. Take care first which kit you will do as well there is two options for verticals. No matter what vertical you will use, it is better not to cement it in this step but finish it separately and join at ending assembly step to the rear fuselage. On real airplane they was separately painted and their pattern, like spots, does not match rest of airframe. In this case, also take care that there is options, sample C, to use fuel tank, so there will be need to drill hole in the wing bottom, before assembly wing elements.

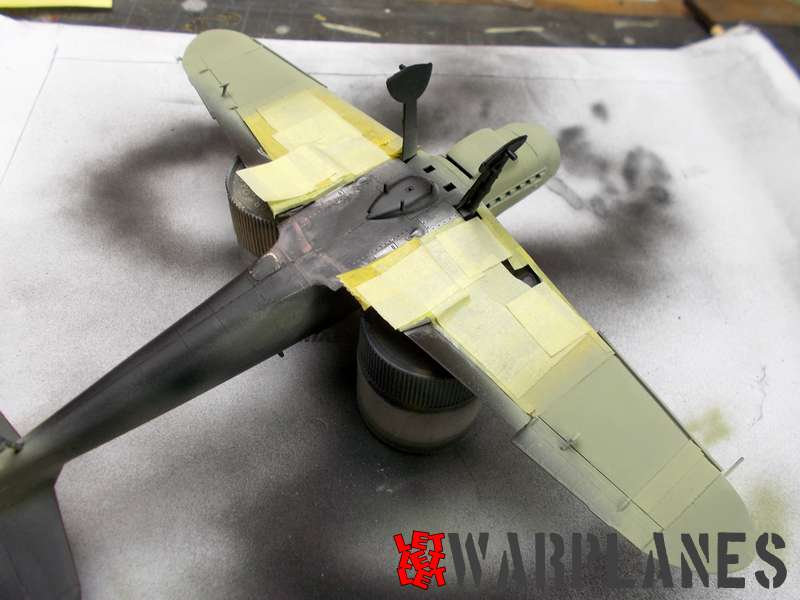


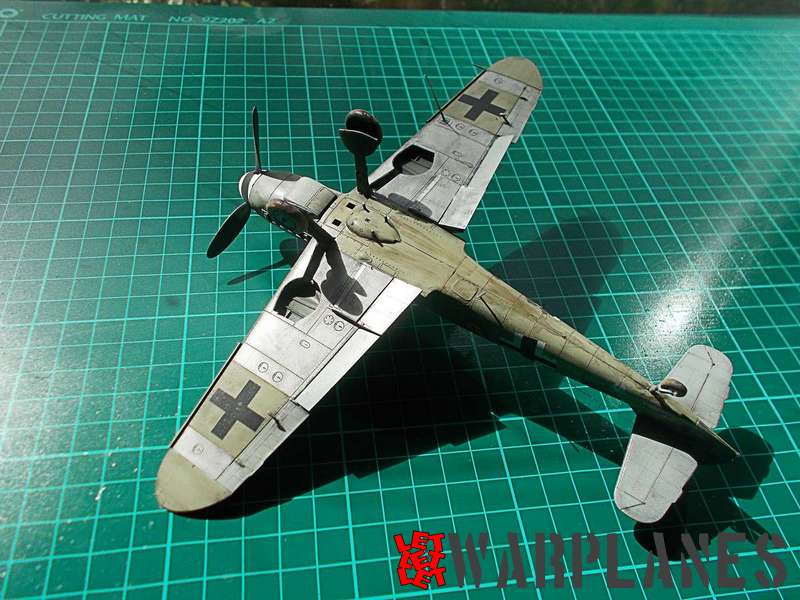
How ever you decide to make it, result will be so attractive kit and once again, Eduard did great job in producing of this kit! My special thanks goes to my friend Jean Claude Mermet, who help me in build my knowledge about this airplane as well direct assistance during the build and big thanks goes to Eduard for provide me sample kit for review. If you like this kit, please find out it here!
Srećko Bradić


Hi !
Great build and very good rendering.