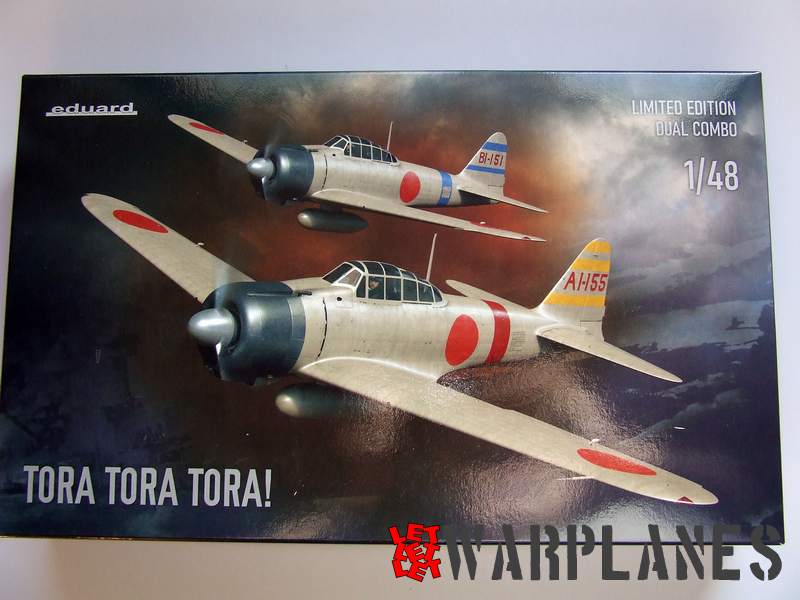
Tora Tora Tora
Amazing kit!!! No idea why Eduard choose to do this famous WW2 fighter and this selection make real pleasure to me. Mitsubishi A6M2 Rei Shiki was bitter experience to the US pilots on Pacific. Same fighter was state of art of design, done in excellent balance of horse power, weight, and firepower. With turn radius of 250 meters, was able to outturn any fighter of the period. Many of reason was why is like that made, one of them is special alloy of aluminum, problem is that its structure crystalize so post war flying machines need to remove original plate to be in flight condition. Kit I present here is Eduard’s dual combo kit, specially dedicated to the Pearl Harbor attack. Its limited edition kit, scale 1/48 and stock code 11155 and inside is two kit.

Among first thing what came on my mind is that Eduard will for sure make series of this fighter and must be there version A6M5. So my intention was when time come, I will ask for sample and convert it into fighter with upward firing cannon, like on German Schrage Music fighters. And on my great surprise, I find what I need- on transparent fret A, there is part 11, you will notice angled hole in port rear side of cockpit canopy!! So Eduard prepare for us some extraordinary subjects!!
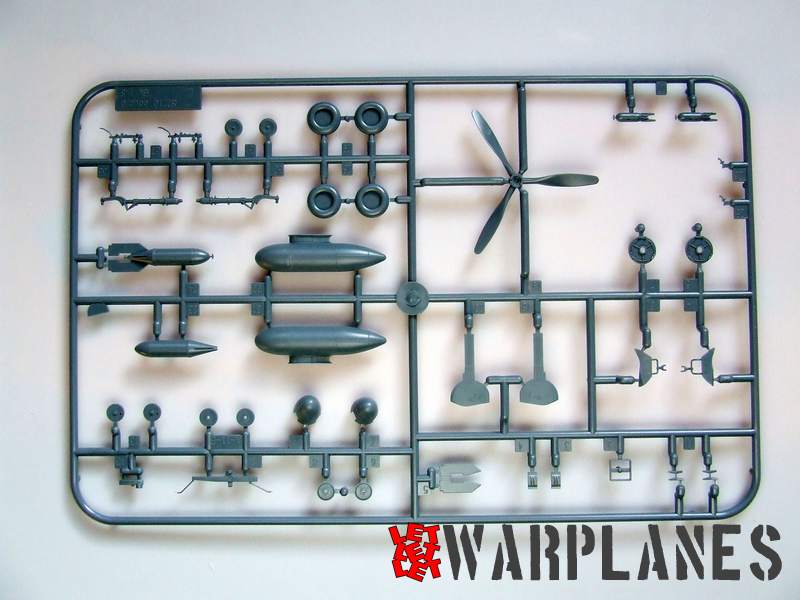
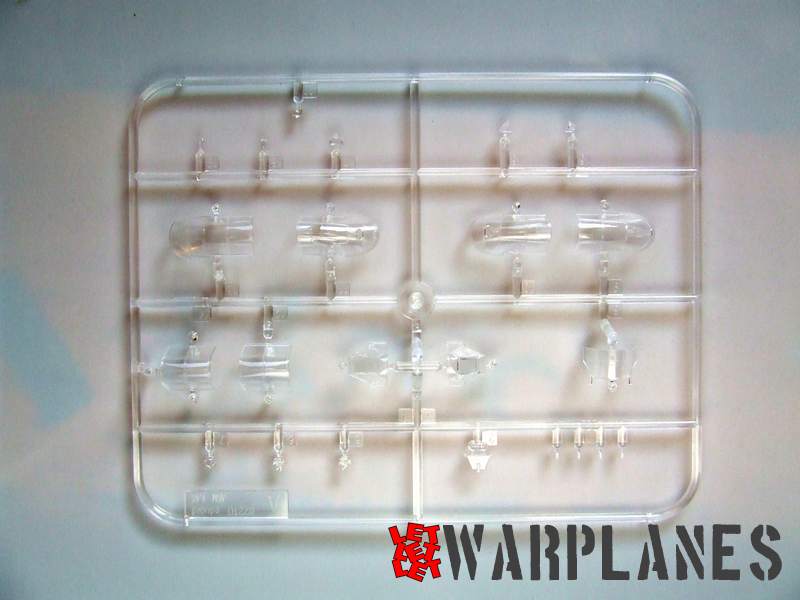
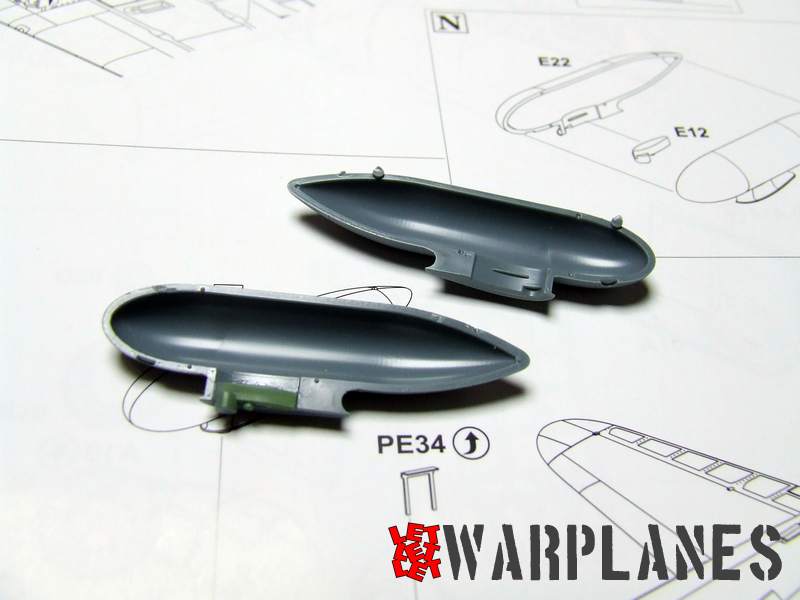
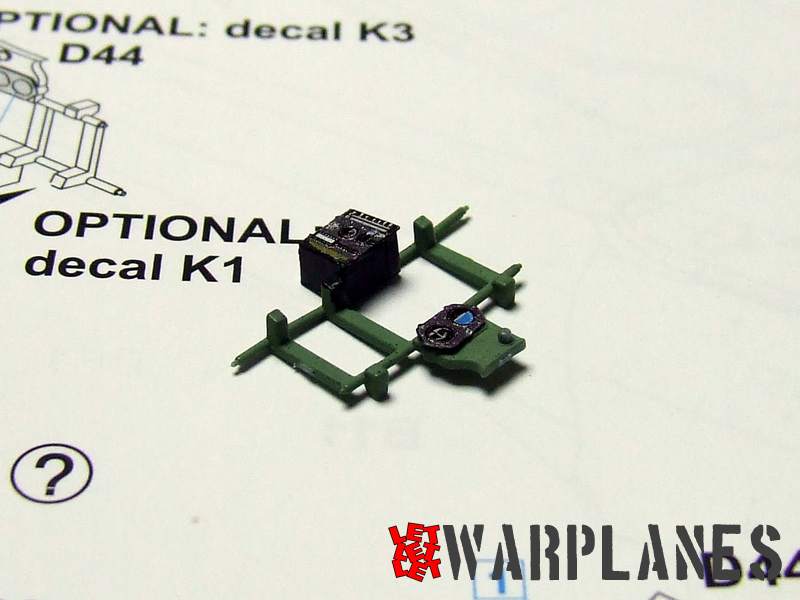
So what’s in this beautiful designed box? Nice instructional leaflet, where first part was covered by historic story of the Pearl Harbor attack, nicely told by Jan Bobek, Eduards artist. After this come list of parts, explanation of elements, work steps and end with nice selection of proposed samples to do. You will have nightmare what sample to take, all are attractive and parts for two kits inside is not enough to do all what you like. As I say, total parts are for two kits, almost all is doubled but main decal sheet. Frets inside are marked A, B, C, D, E and including parts not only for current version of kit, but also future samples. Therefore, some parts are not going to be used. There is nicely painted etched set (two), two mask for transparent parts and one big decal sheet.
Build
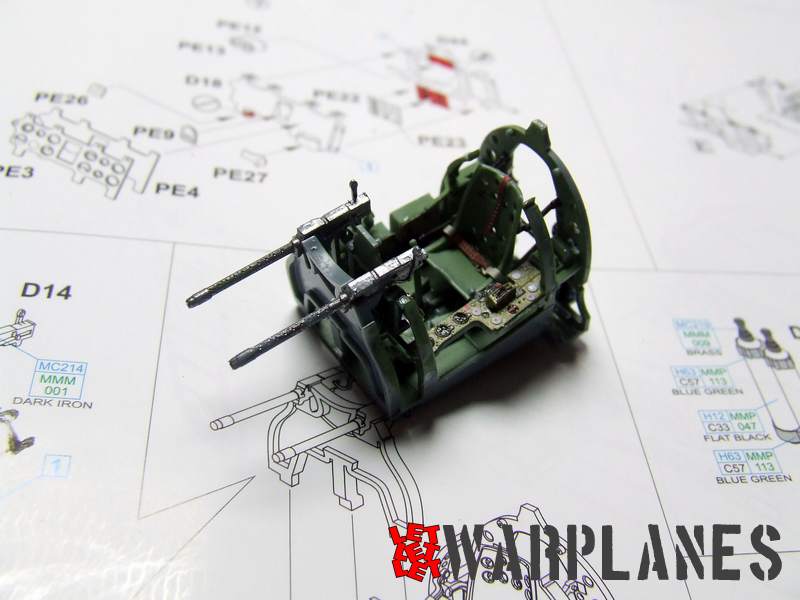
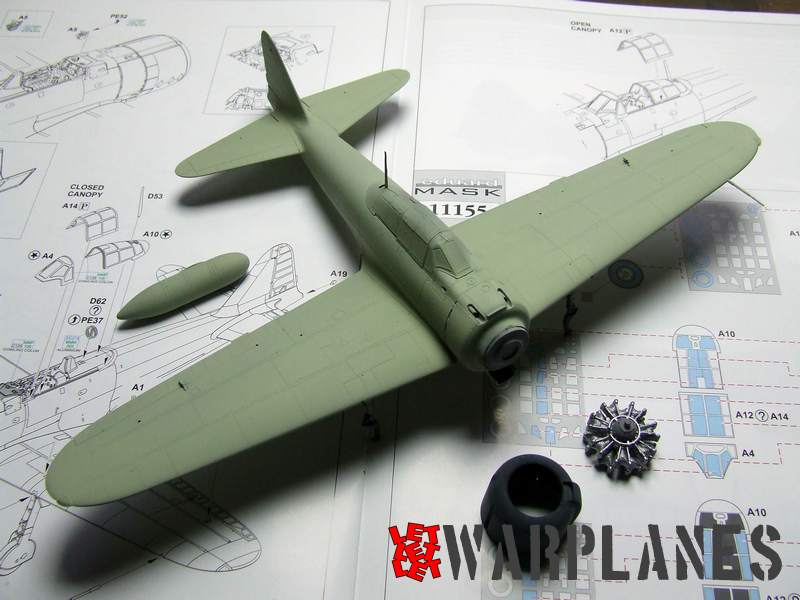
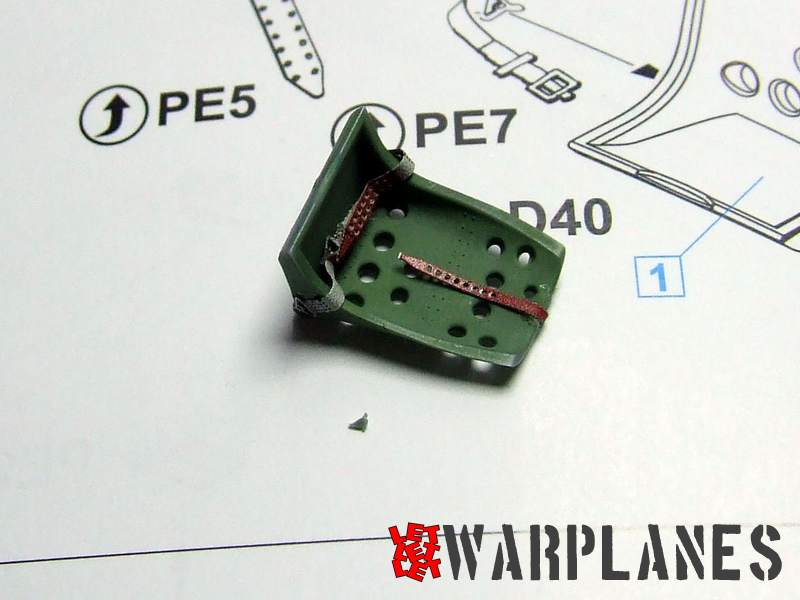
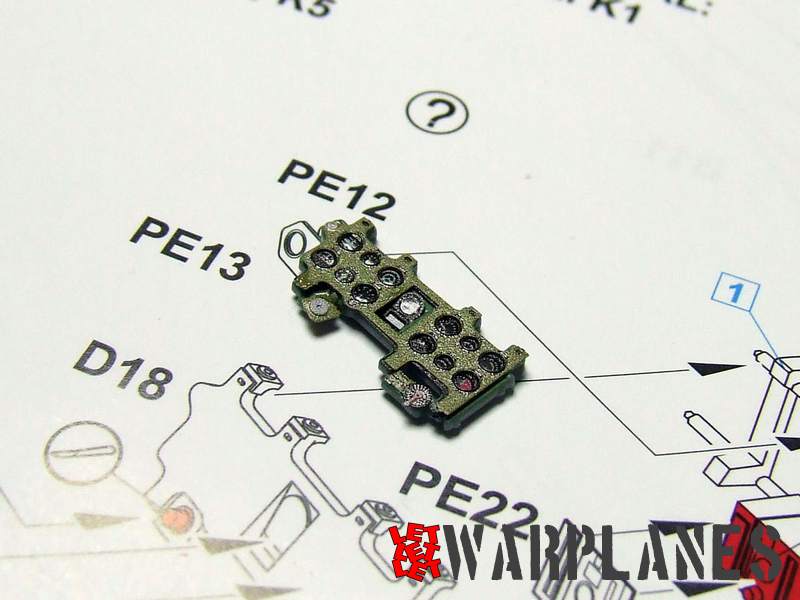
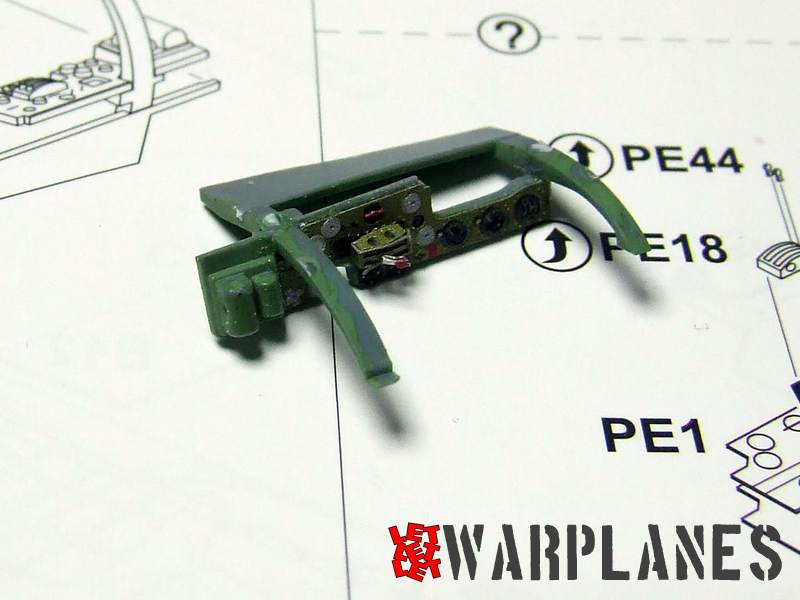
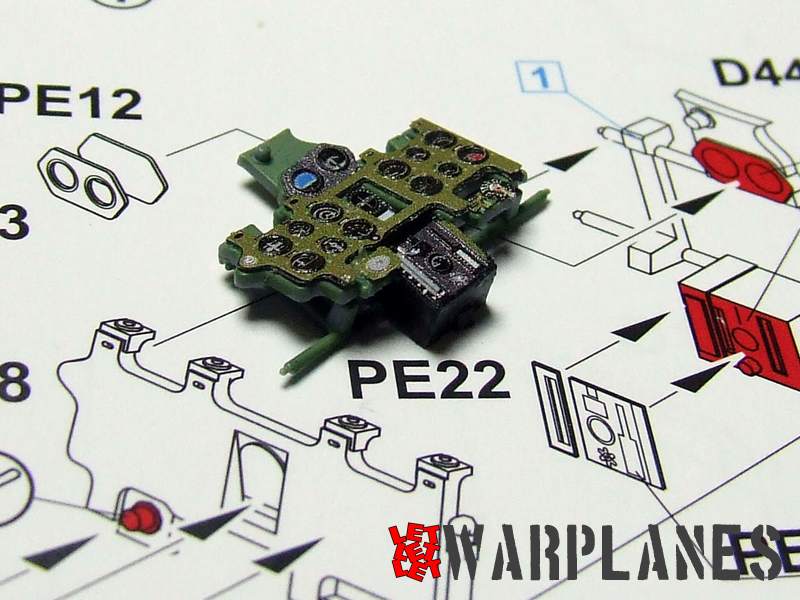
Build start standard, select elements of cockpit interior, merge them and paint. For interior color was proposed one sort of green and metallic blue. I used Tamiya XF76 as well test of the preserved samples do show absolute match to this paint. To regret, this color do not precisely match painted elements of the etched parts. I have take a look a photos of preserved interior parts and some do look as paint I use but some do not. So, do not use paint I use, maybe I am wrong. After all elements were painted, i put etched parts on some side consoles. Build of cockpit consist of built bottom section, which include floor, seat, pilot stick, pedals, side frame, which include some instrument consoles, rear and front frame, which have just few elements. What definitely impress me is how precisely this subassemblies fit to each other, impossible to make mistake, no need to any extra fit, all slide so smoothly!


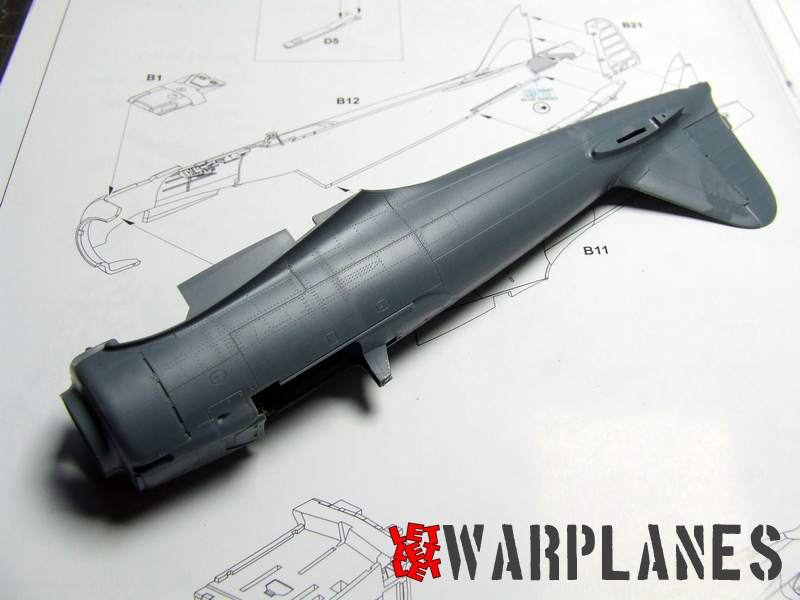
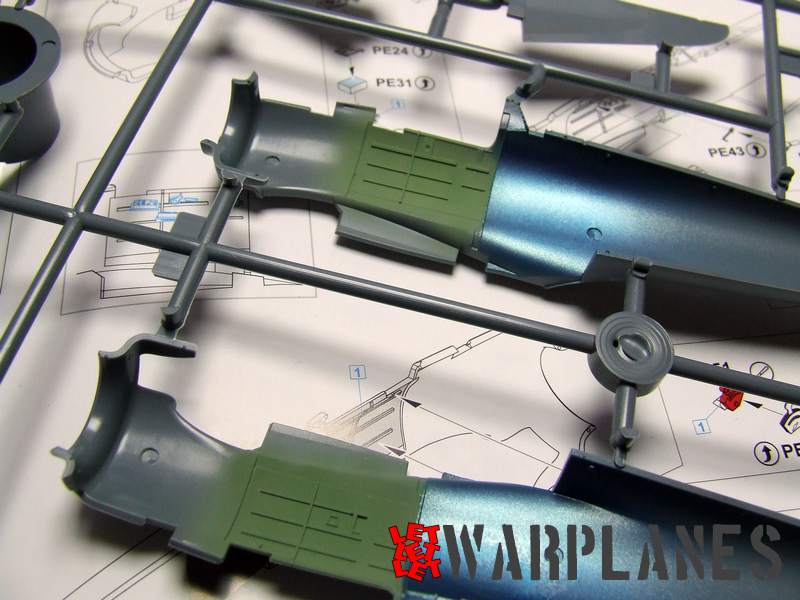
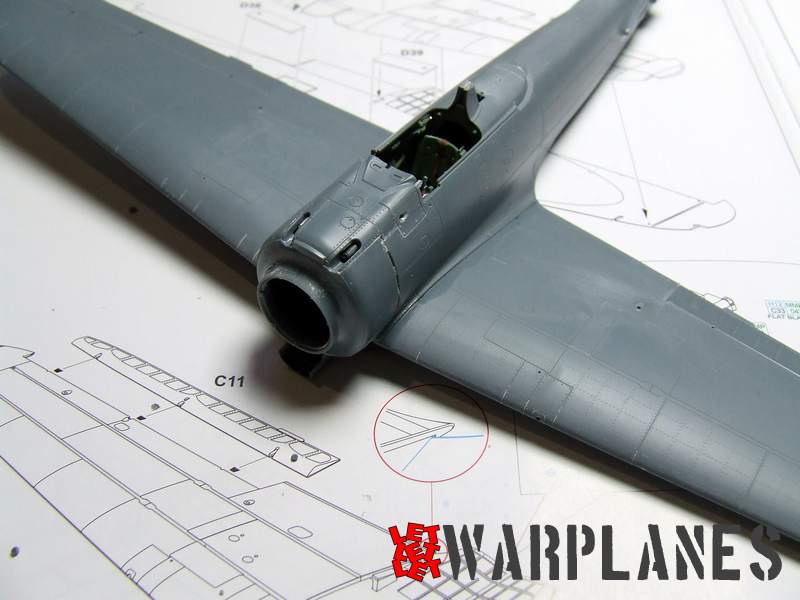
When main elements of cockpit were assembled, with two machine guns at the top, next step is assembly of fuselage hafts. There is really not many parts, two fuselage half’s, bay for hook and this is it. Parts fit to each other and absolute no filler need there!! Best part come when I need to insert cockpit inside fuselage. It come inside fuselage from bottom, there is two frames which come into proper place in fuselage, and all I do is slightly pressure from above and cockpit set into fuselage with one nice click! Even glue was not need!
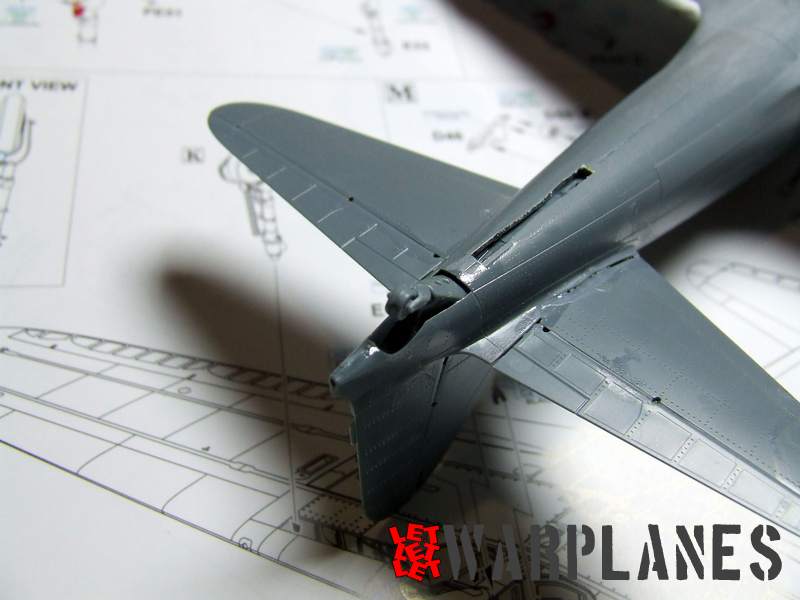
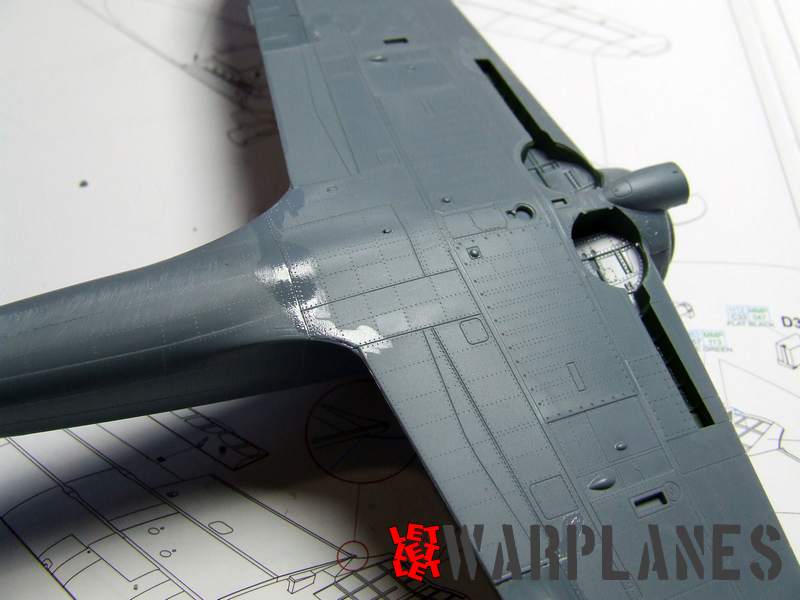
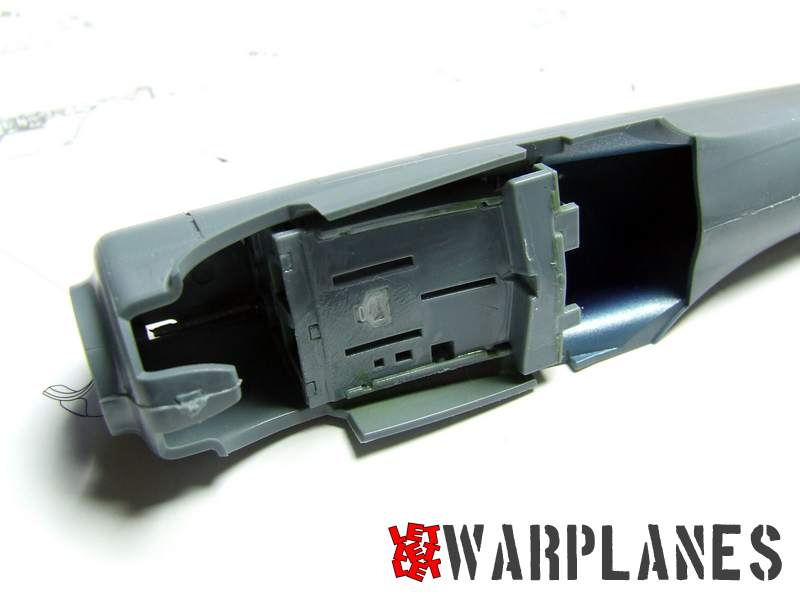
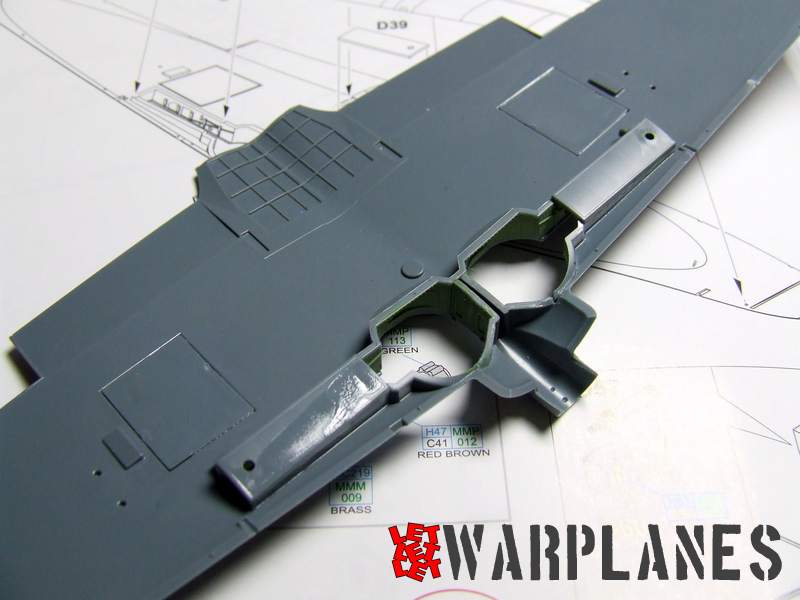
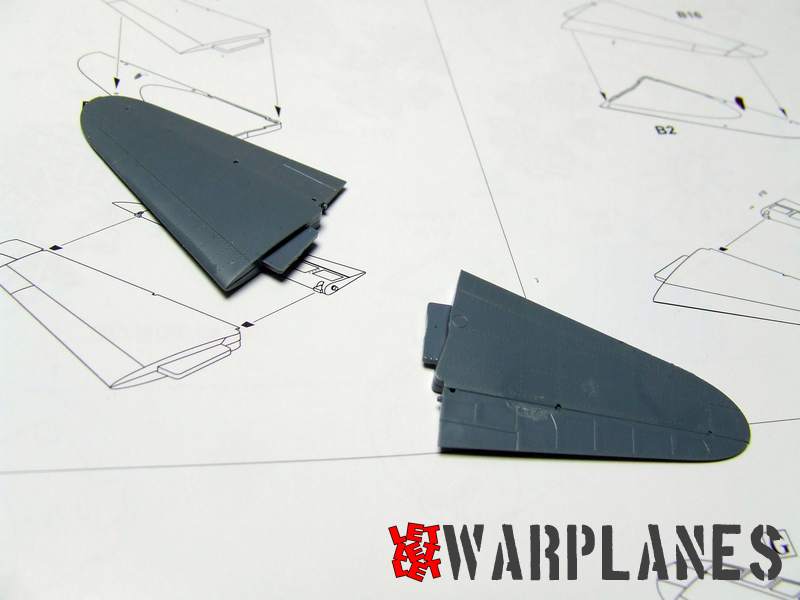
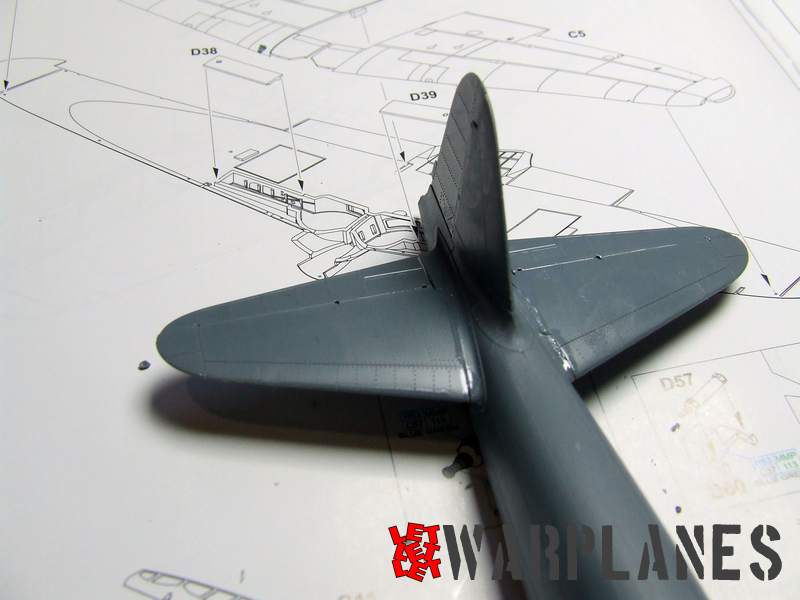
Wings are next and they also are not complicated, there is one bottom part and two top part. Main job is assigned to this bottom wings, need to make landing gear bay boy, with elements there. Again, there come again into highlight precision of parts made, this come fast and once completed, two top wing half’s cover it and wings are almost done. Small detail to do is to paint into metallic blue small intake in root, and place etched part there. On rear section of bottom wing could be seen frame construction and there comes two boxes painted black and one bottle, mostly in metallic blue color. Sadly, all this nice details can not be seen once wings fit to fuselage. With this wings are completed and so easy then placed at bottom of the fuselage. Join was perfect!
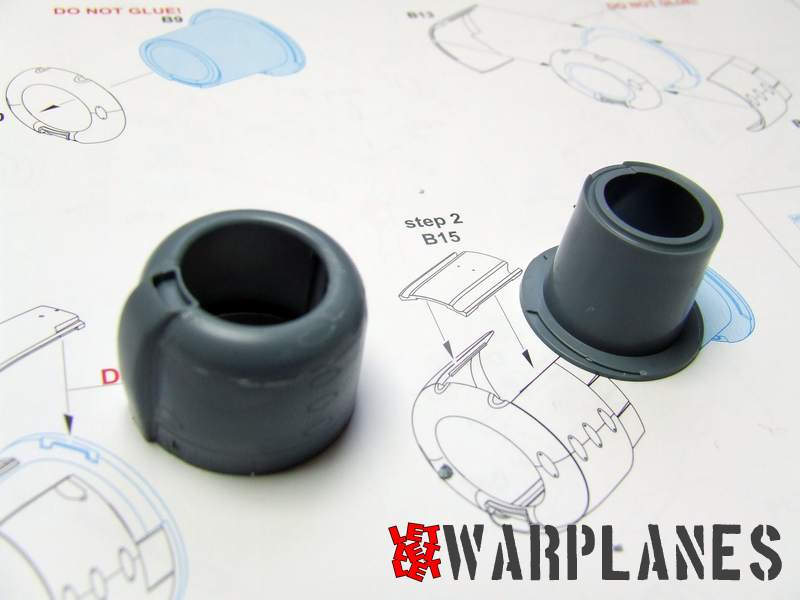
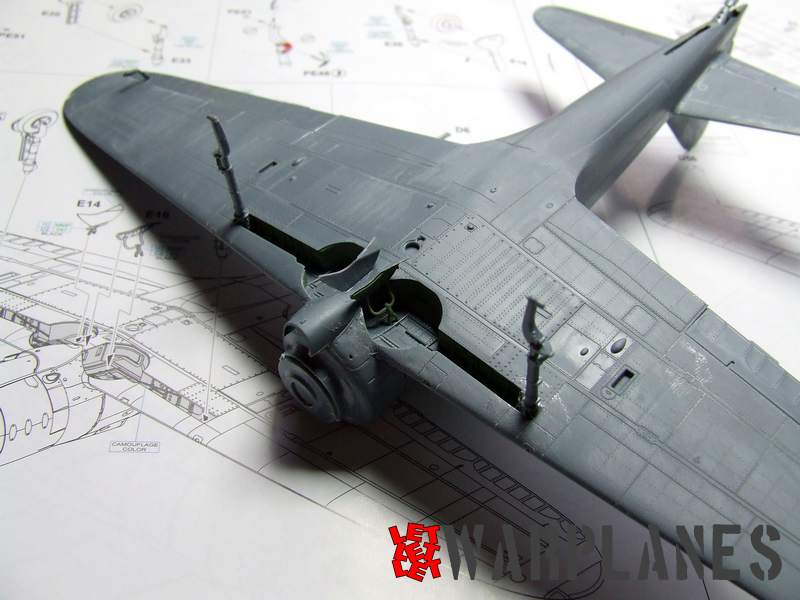
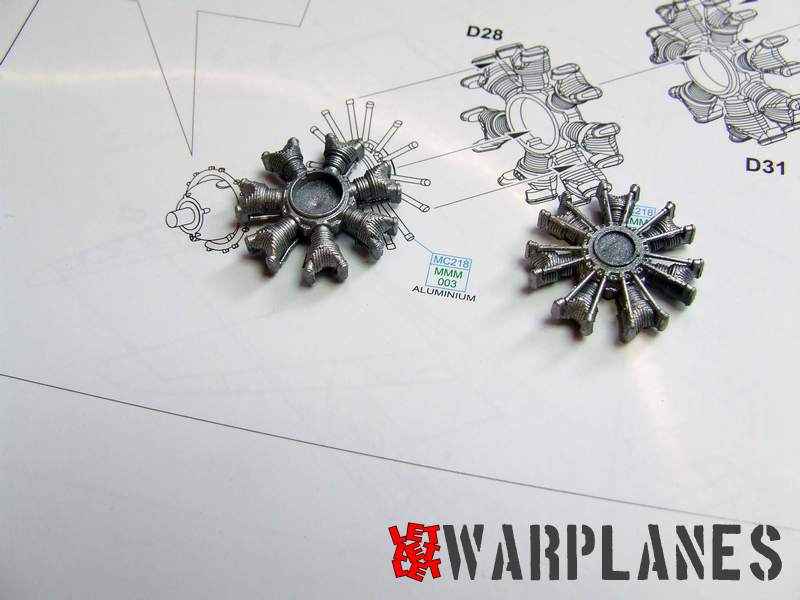
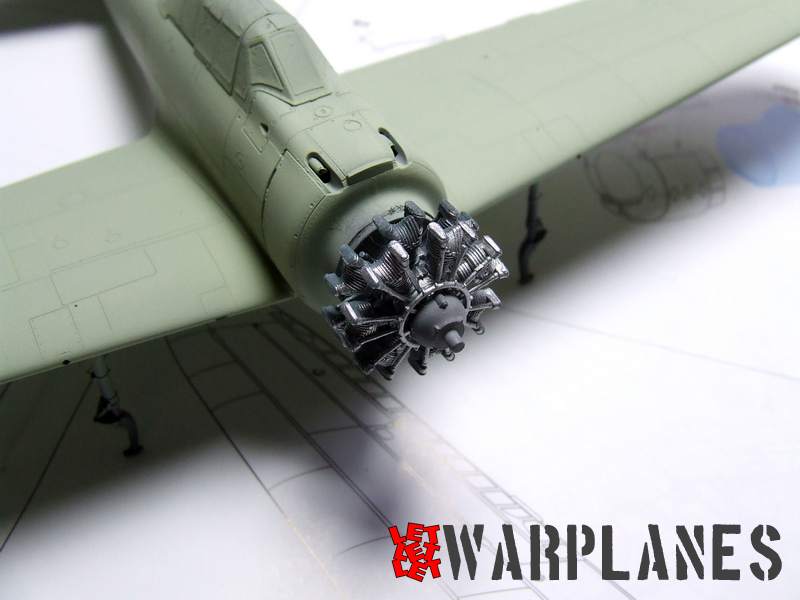
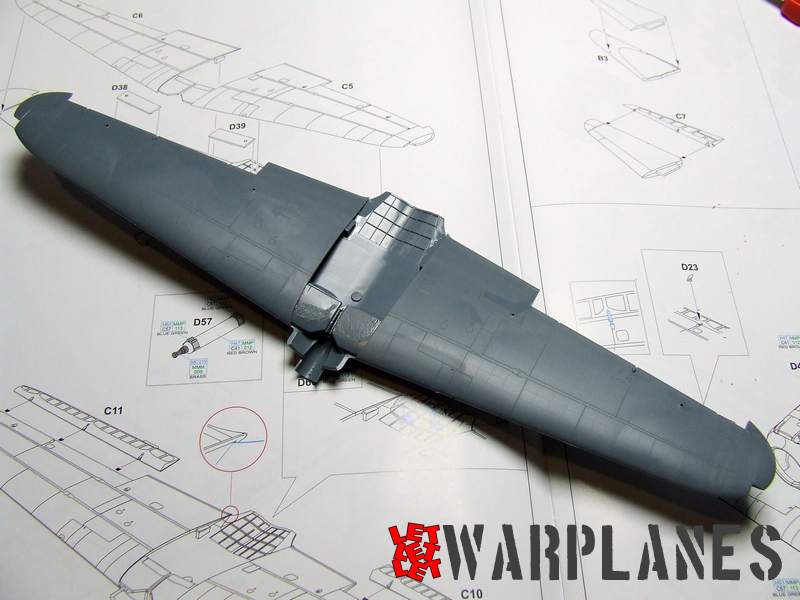
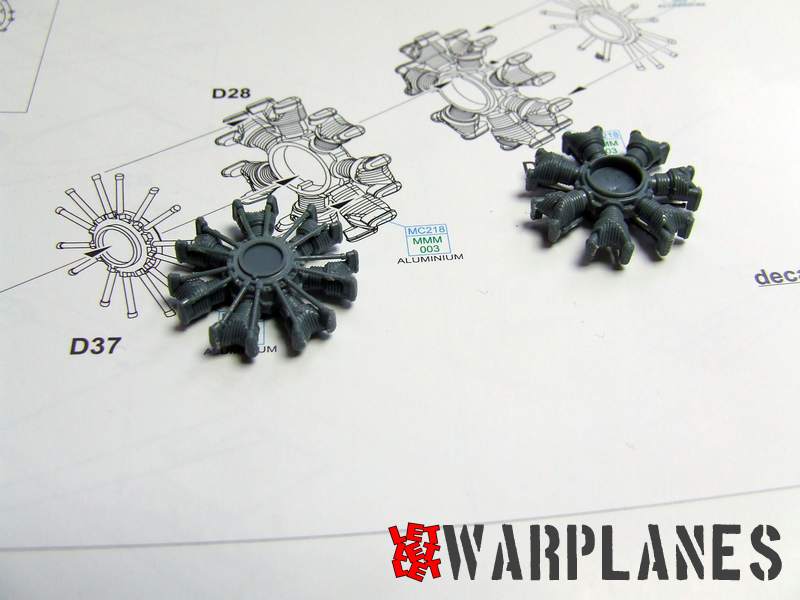
Engines here are interesting story, as we know, Rei Shiki used radial engine and the one provided by Eduard are made really simply but detailed. Main elements are two row of cylinders where rear, invisible, section, have depression/hole, not full cylinder work. Idea is so good as well this details are not visible, simplified tool design and who want, can use resin engine, also available from Eduard. This two elements need to be paint in aluminum color, bottom section of each cylinder are a bit darker shade of aluminum, on each of them come part which present ignition rods, front gear box with another row of rods. Only gear box differ in color, it need to be grey color. Another excellent detail is tool for assembly of engine cowling. Engine cowling consist of few parts, plastic is so tiny, and to assembly those elements to each other, need to place part by part on the tool and when all come into proper place, just fix with thin liquid cement. Tool used here have slots where engine cowling elements set perfectly, so it is not problem at all to manage good fit to the engine cowling.
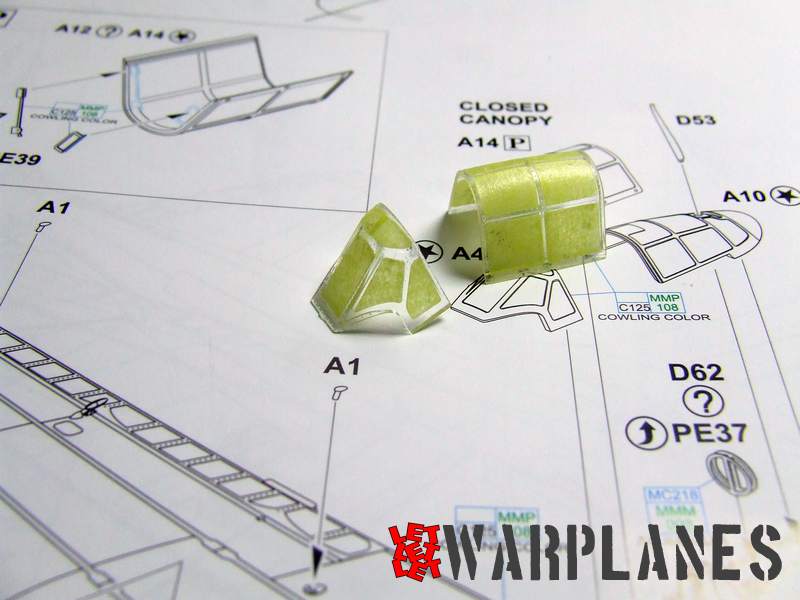
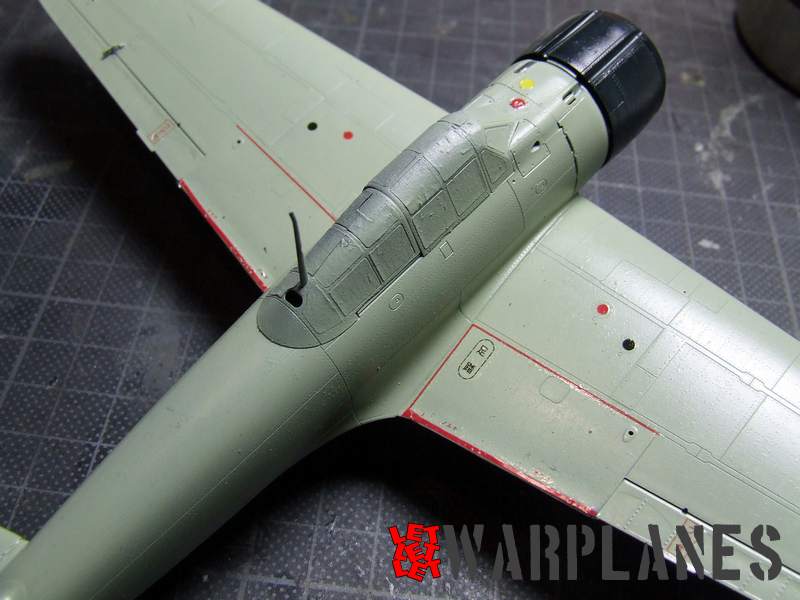
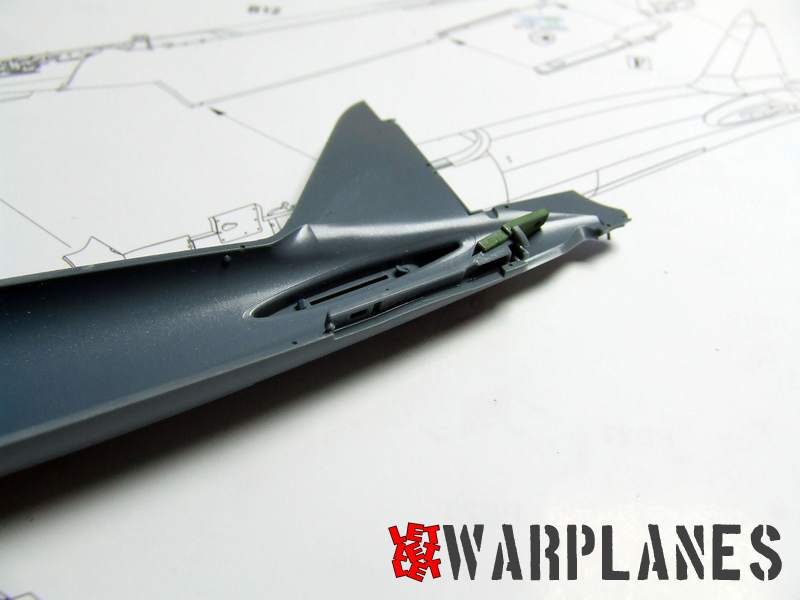
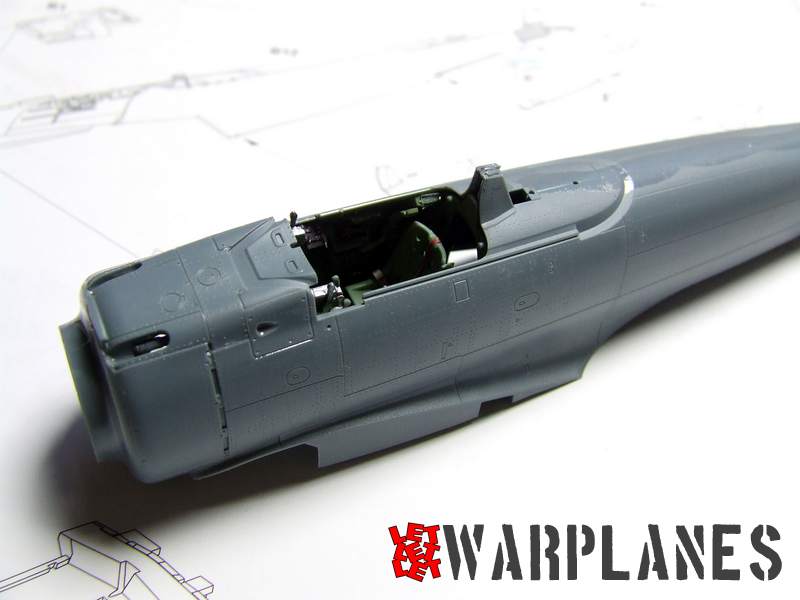
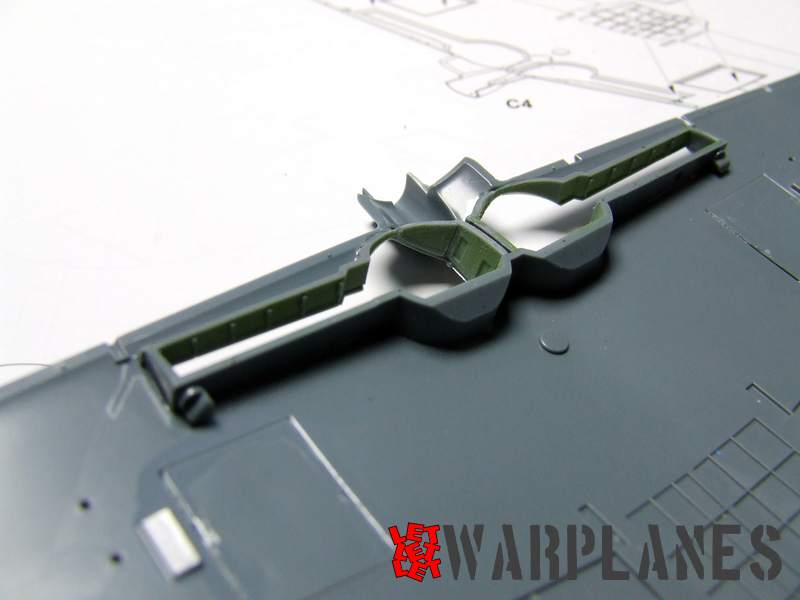
Build continues with separately made fuel tank, made of three parts, one small central is so important as well it have pins which later set into proper hole on fuselage. Main landing gear is next I have place, it is so simply just two main legs, no additional struts. Few elements need to be replaced by etched parts, but even if you keep original elements, kit will not suffer from lack of details or authentic. Note that legs need to be angled a bit inward, to fuselage, this position is noted in assembly of the kit. Final assembly prior the painting is dedicated to the cockpit. I have first used mask to cover cockpit canopy. You have two options, to make it open or closed, and what make difference is the middle element. I select closed version and have with easy mask all parts on it which need to stay transparent. Same cockpit have several parts to be add, first at all gun sight, it is transparent part which need to be paint in black and on front side, need to add small etched part which present front aim. Inside cockpit canopy goes few etched elements and behind pilot head goes just two parts, ring aerial and aerial pole. With this elements add, cockpit canopy can be cemented in place. To note again- parts are made of great precision, and absolute good fix is managed with each part of the kit.
Exceptions
No need to blindly follow instruction and put all elements as there is take. Some order need to be changed and that make work easy. First big exception need to be do, is present on page 14, attach engine on front fuselage (assembly section I). Better leave this step after camouflage paint is finished, less problems with protection and change absolute nothing. Same situation with engine cowling, assembly element J, and it is present on page 15. It need to be paint in completely different color, black blue, so better leave it for later assembly, once when main airframe is completely painted. Another two parts need to be left for late assemblies main landing gear doors, parts E20 and E18. It will be more easy to make some wash and stain over landing gear leg if doors are not attached, so it is maybe better to do it later. Same situation with wheels, they are completely different color and better to put it on kit at the very end of build. Wheels are once as well wheel cover come as separate part, so all elements can be painted separately and after that cement together.


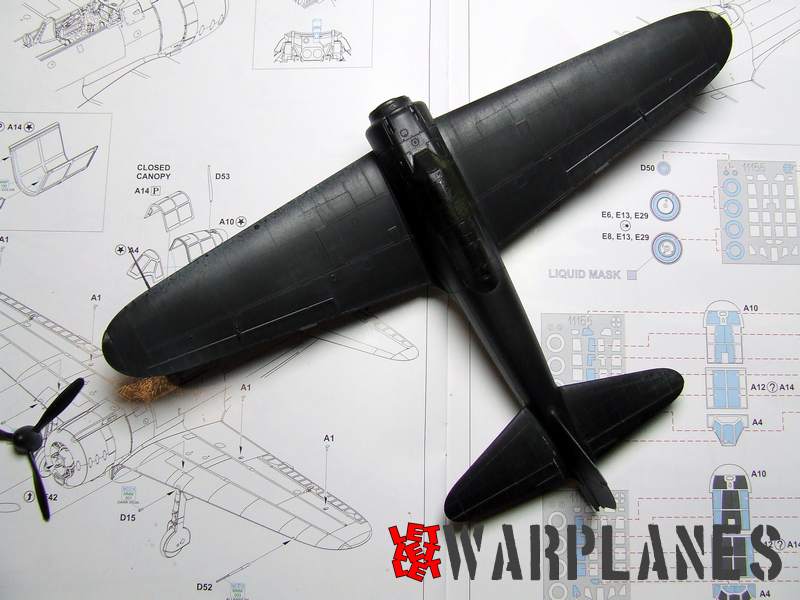


In this parts come hook, you have two options, hook in down position and up position. Hook is mainly in black color, with rear section in camouflage color, Also, my advice is to complete it separately and put on kit on very end of work. In similar manner I left fuel tank, assembly element N, paint it separately and put on kit at very end. This fuel tank have decal on it top, so in case you cement it on fuselage, you will not have access to put this decal on. Propeller is mainly in metal color, with front side of propeller blade in polished metal, rear side in red brown color, typical finish for Japanese propellers. This is also separately made and set on kit at absolute end of build.
Painting
Best info I have received about the painting of famous Mitsubishi fighter, comes in past from David Aiken, well known researcher of Pearl Harbor attack and Japanese aviation. He said- The Zeros used at Pearl Harbor were “flight restricted” (no quick dives, speed restricted to keep the ailerons attached) and had the ‘quick fix’ of hanging aileron balances. As soon as the internal fix was made, the front line IJN units received new UNrestricted Zeros. The high ace T. Iwamoto cited the receipt of his new Zuikaku Zero in January 1942. Soryu leader Iyozo Fujita got his new BI-151 when in the Celebes in March 1942. Tainan Kokutai got theirs when they arrived to Lae, New Guinea.
Within this new shipment of Zeros to Tainan Kokutai, one was recovered by the Australians in New Guinea in early May 1942…coded V-110. That Zero’s fuselage/wings was NOT painted with the M1 Hairyokushoku…but it was painted with J3 GRAY (Hai-iro).
Similar to US manufacture methods, the rudder was SUB-contracted. The sub-contractor was ahead of the main plant. The stock pile of Zero rudders were painted in M1 gray-GREEN…and the new unrestricted Zeros had to have the rudders over painted with J3 GRAY (Hai-iro). The Australian investigator cited that the intermediate color on the rudder was similar to the RAF/RAAF “Sky”.
In Japanese the color term Hairyokushoku means Gray-Green. Restoration of crashed A6M2 NI’IHAU Zero relic Pacific Aviation Museum.
The overall color at Pearl Harbor was a gray-green, Japanese color code M1… the “Iida Relic” came from the crash at Kaneohe Naval Air Station, 7 Dec 1941. The photo of the wing tip shows the color, too. There is a report about a color change in early 1942 from M1 to a gray J3. The first we find about this is a report about V-110. The color was again changed in the A6M3 model 22 back to M1. The color was changed yet again in the A6M5 to J3.

Mitsubishi built A6M landing gear covers and wheel wells are the undersurface color. Nakajima built Zero landing gear interior and gear wells are blue Aotaki. Mitsubishi used a blue-black paint for both the cowlings and the fuselage deck underneath the cockpit. Nakajima used a true black color. No Nakajima built Zeros were constructed in time to be at Pearl Harbor. For this Aotake was mentioned that this is transparent blue color over bare metal that give impression as metallic blue color.
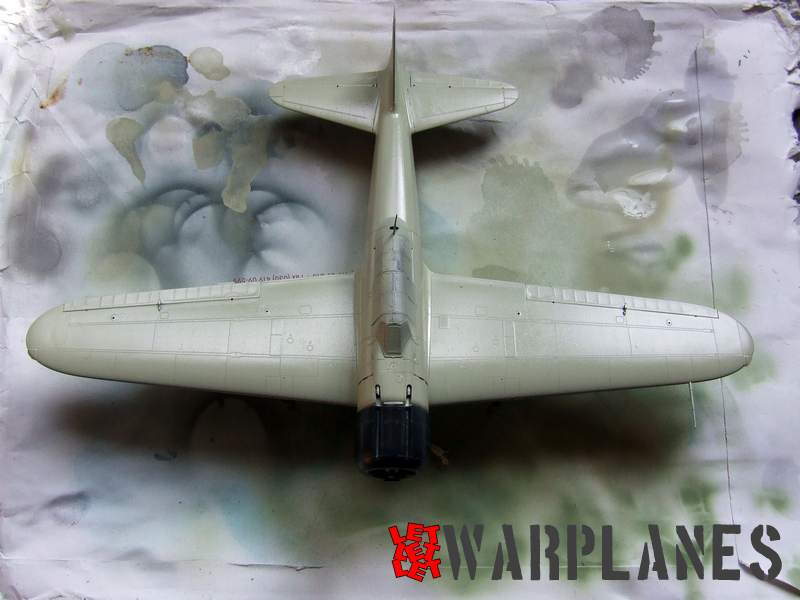
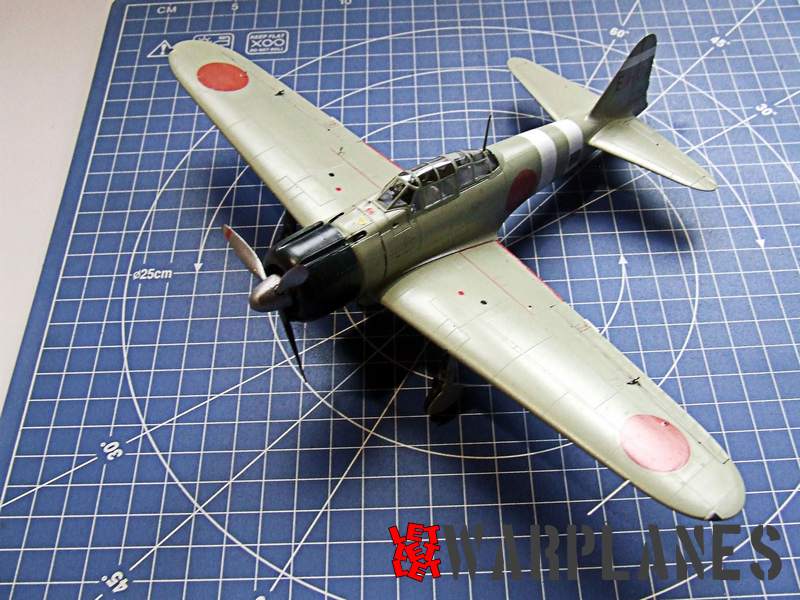
So from above mentioned and preserved relics, I select paint which is grey green and perfectly match restored sample and original paint preserved. Not caramel look paint as can be seen on some works. For the cowling I select own mix of blue and black color and this work great! To regret, I have no idea how look like MMP paints recommended in Eduard assembly leaflet but I have no doubt that selection of this paints are good. So, don’t use my method of painting as guide.
Decals
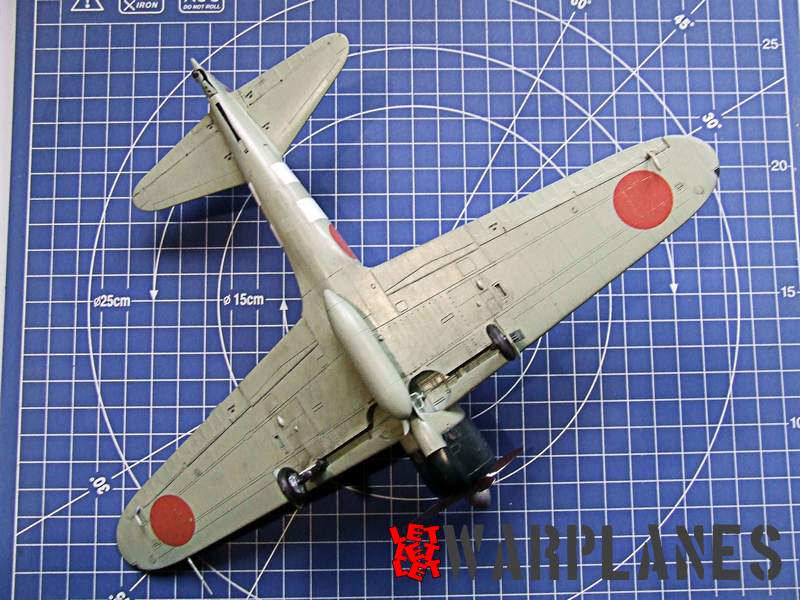
My choice for paint of kit fell on sample machine flown by Tetsuzo Iwamoto, from Zuikaku. He was prominent fighter pilot with 80 confirmed air claims, but from his diary can be noted that he had 202 attacks. He survived war and died in 1955. He become ace in China while flying on A5M fighter. His A6M2 was simply marked, EII-102 was on both side of vertical rudder, above that number was white strip and on fuselage was two white strip. That’s all, so simple.
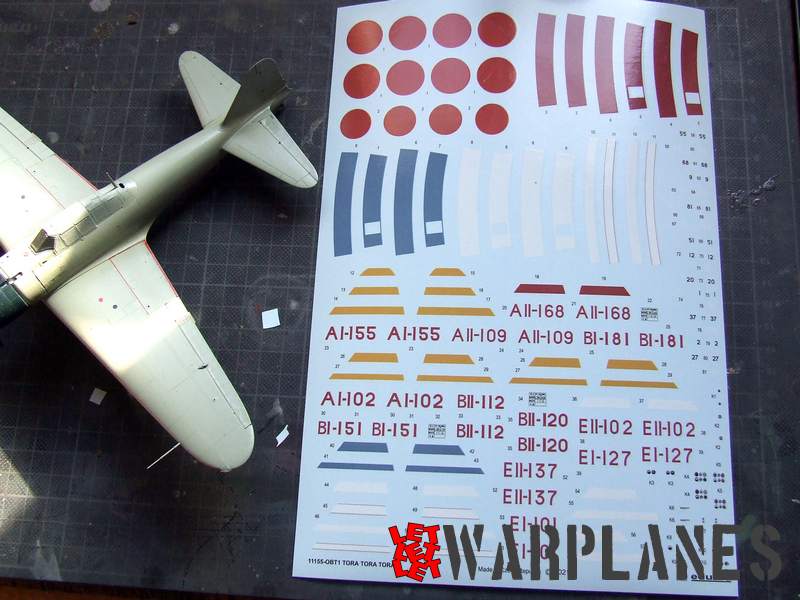
First what need to do is to place service markings on kit. I remember for a many years in past I monitor discussion and post of various researcher regarding A6M and their new discoveries, for me was for sure most interesting web site of Motodami Fukudomi, where so many interesting, new and fascinating info were published. Eduard include all available info for this decals here, every tiny detail was covered so even worse rivet counter will not find any omission!!! Is there exception with decal use as will plastic parts? Yes, decal decal S6 and S7, this is factory painted table data and they come on port rear side of fuselage, in front of the horizontal rudder. Sample kit I do have square hole on its band, so there could be seen this table data. To be sure all will come in place, I have left this decal for very end of decal work, because this rear fuselage band, is far more easy to set in place and then, on blank area of this decal, put one of decals mention above (S6 or S7). Then you can be sure all is perfect done, into proper position.
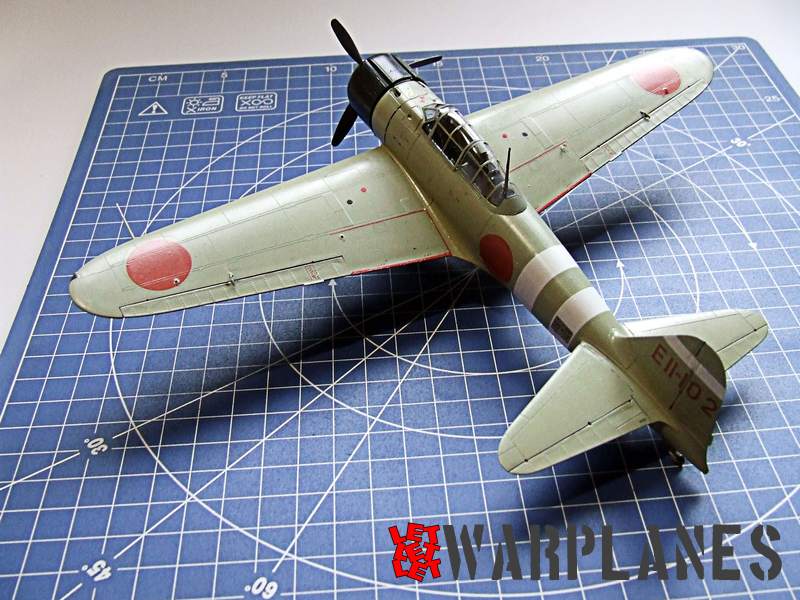
What is also so important to mention is Hinomaru color (Japanese red insignia), they are close to brick red, not bright red as we seen many time before on kits. Eduard also did that part perfectly, color is just that one! As I have hear in past, there is variation in paint used for Hinomaru, various red, but in general, never bright red as we adopted to see. Great point from Eduard!
Last step and conclusion
So, kit painted, decals, on place, next step is cover all of this with varnish. I use satin varnish as well Japanese used such paint. This make protection of decals, so after all dry, I continue to final assembly. I did not use much wash, on photos of wrecks from Pearl Harbor attack, I realized that they was so clean, so I add just few details, nothing much. After that, I continue with assembly and there come all elements mentioned above, which use I skip in particular moment. That took some hour to do, nothing more.
Excellent kit in every aspect! Accurate, very detailed, easy going and simply to built, excellent researched and look pretty nice once completed and on desk!! Eduard follow their strategy so with this kit they released many of other product associated with this kit, so future options for build projects are wide! Congratulation to Eduard for this excellent released project, big thanks for sample kit and click here if you want to get your sample! This is Limited Edition, so hurry up!
Srećko Bradić


