Junkers J.I
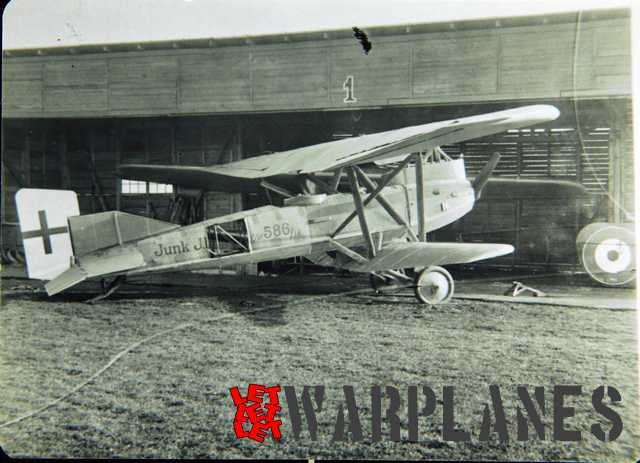
The Junkers J.I is the father of the attack airplane and definitely a milestone in aircraft development. It was made in WW1 and its main advanced features were all metal construction, corrugated metal skin on the wings and the entire front fuselage made of metal plate. This armor constructed front fuselage was capable to sustain infantry fire and provide good protection for crew, fuel and engine.
One of the best kits on the market of this kit in 1/72 scale is this Eduard kit. This is a bit older kit; it is dated 2003 and in the last months it is reissued as a ProfiPack edition with stock code number 7046. The kit comes in three plastic frets and one additional set is one etched part sheet. Inside is also an excellent instructional booklet as well as two sheets of decals, one for lozenge and the other one for the aircraft markings.


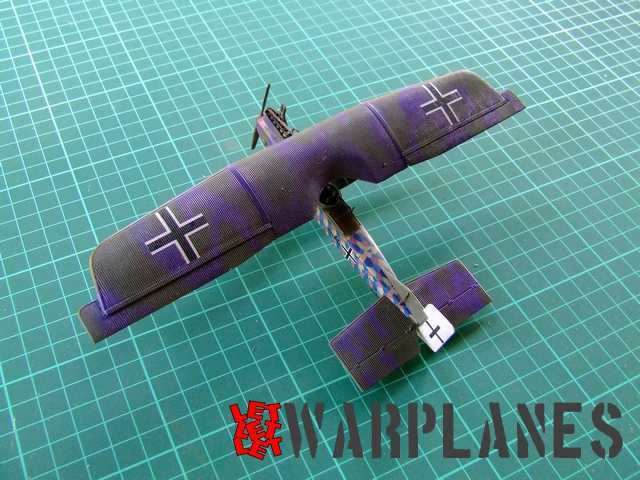
Since this is a biplane, standard approach in work demands to complete assembly in sections, completely painting them and final assembly with other elements. This kit starts assembly with cockpit and engine compartment and before you go to this step, you have to check out what sample machine you are going to build because there is variation in the engine elements as well in the tail parts. Variant options are the benefit of the Eduard kits in general. Kit has enough of details and it is in this stage easy to build. When the wings and fuselage are completed, but not joined together, these elements should be painted. I chose a sample machine from 586/18. It has attractive camouflage pattern and rear fuselage is completely in lozenge.
After fuselage and wings are dry, some small parts can be made, before fuselage and wings assembly. Most important is the machine gun portion and there is a ring with machine gun there. On machine gun is use many etched parts like barrel skin, ammo belt and gun sight.
Things go easily until the moment of assembly of fuselage with the wings. The problem is so many struts and the configuration. Lower wings are mounted on the pylon under the fuselage and with four small struts attached to fuselage. Then come six struts on the wings and two on the fuselage which are attached to and hold the top wing. Problems are mutual, first of all surfaces are painted as well it would be extra hard to paint them later and this makes work so sensitive, you need to cement struts in their point, no cement should go astray or you will damage the paint. Second problem is a bit heavy top wing and this make the entire structure fragile. And finally, struts are positioned in a bit complicated positions and this additionally make their attachment hard.
If you and the kit survive strut mounting, the rest of the job is easy, mostly dedicated to putting control anchor on rudders and mounting of landing gear and wheels. I spent six days on the build of this kit and result is very interesting historic machine.
I like this kit but due to the complex problems of strut mounting, this is not for the beginner and maybe even for medium skilled modeler. Other thing I have mention is total absence of bombs and I hope they will release a Brassin set to cover this. No matter of that, I find this kit interesting and would like gladly to recommend it to you. Thanks to Eduard for sample kit and you can find your sample here.
Srecko Bradic


