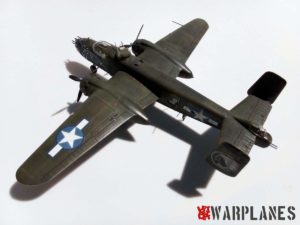
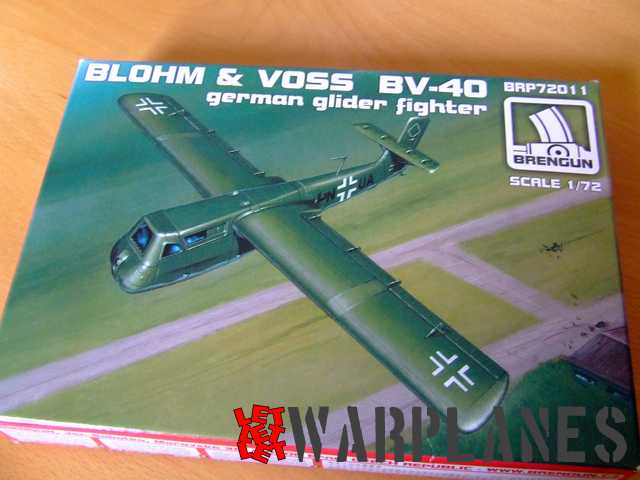
BV-40 from Brengun
There were many strange projects laid out on drawing boards and few of them were even released as prototypes. One of these projects was the Blohm & Voss glider fighter BV-40. The desperate situation in Germany was the reason for making projects like this. Besides the few prototypes, manufacture of the first series of this fighter was started but destroyed in an air raid. The idea was to tow the glider far above a bomber attack, release it and the glider fighter then was to dive and in a single pass destroy a bomber with its two 30mm cannons.
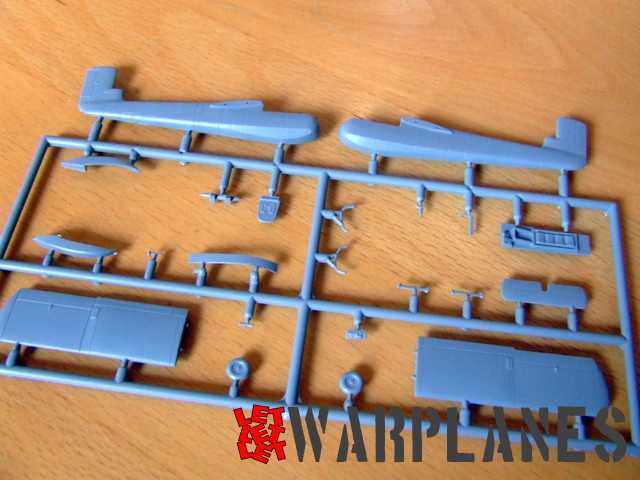
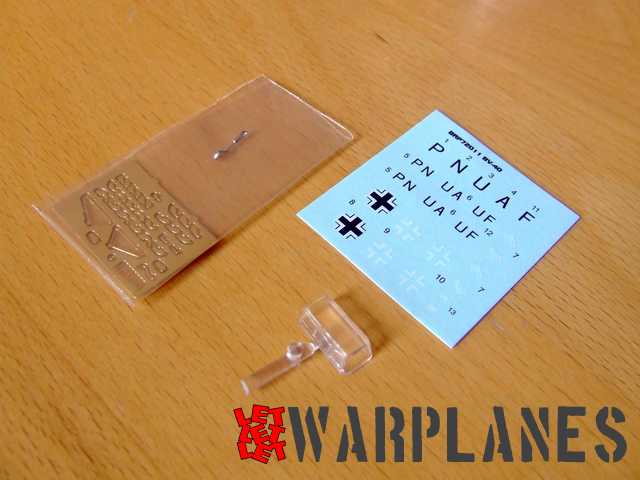
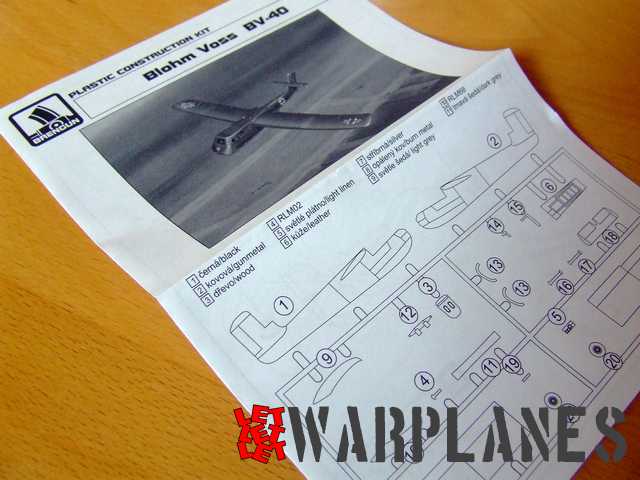
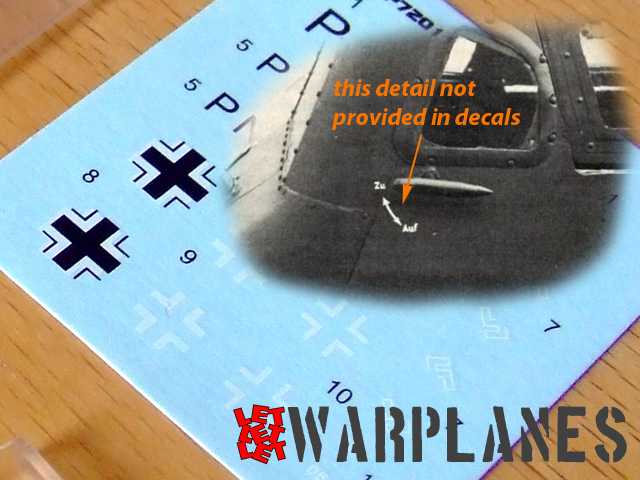
Interesting that no matter it was of minor value in history, this glider has seen some limited manufacturers release in a few scales and the last one is the Brengun kit in 1/72 scale. This kit has stock code BRP72011 and it comes in a nice and well illustrated soft box. The kit is very simple, it consisted from one grey plastic fret with parts, one fret with cockpit canopy, etched parts sheet and decal sheet. Parts are very well designed, just on the small parts are visible some flash which is easy to trim with a sharp knife.
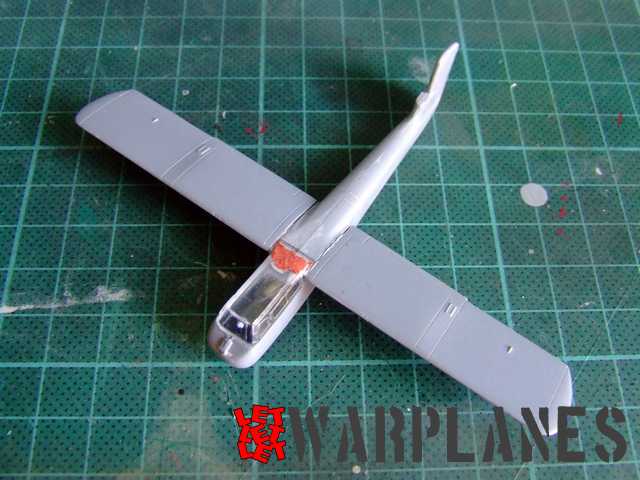
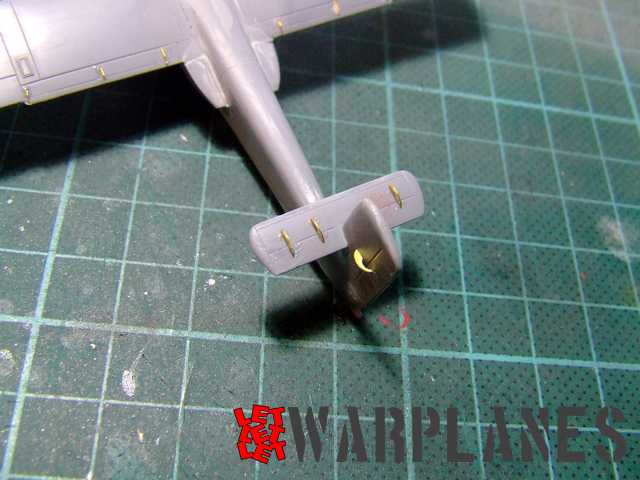
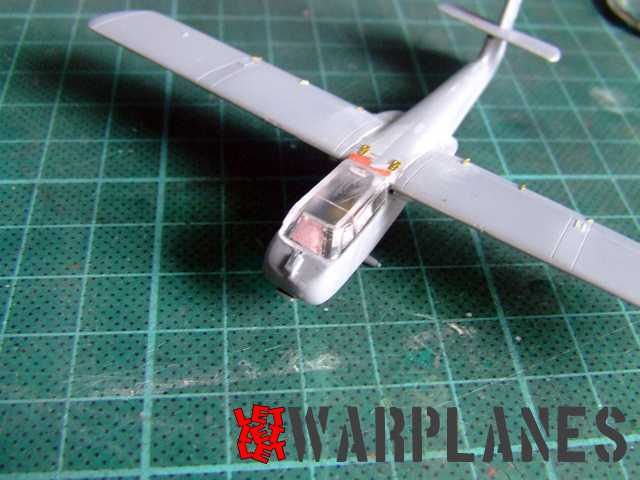
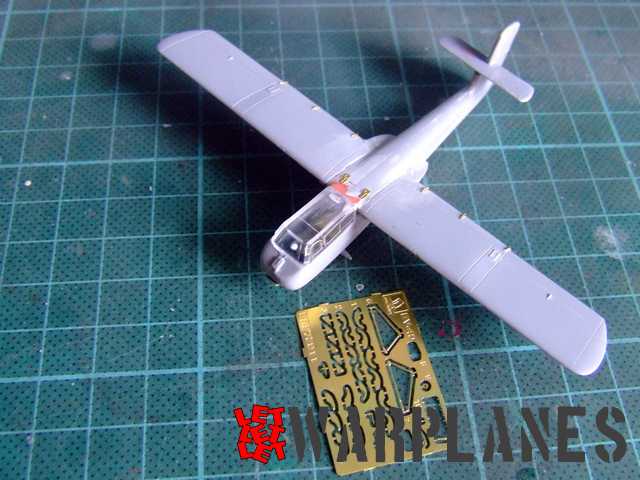
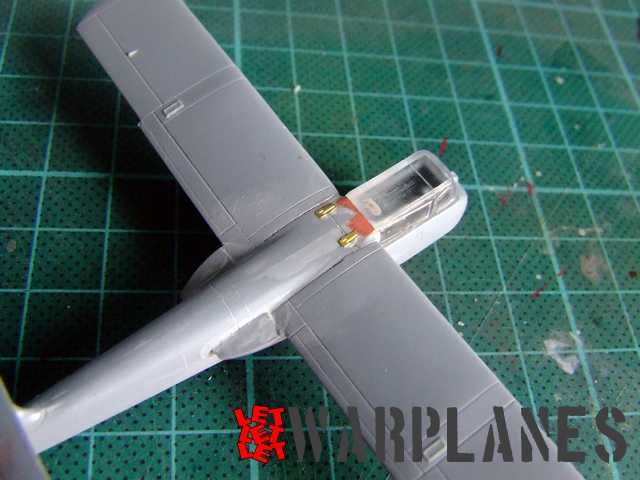
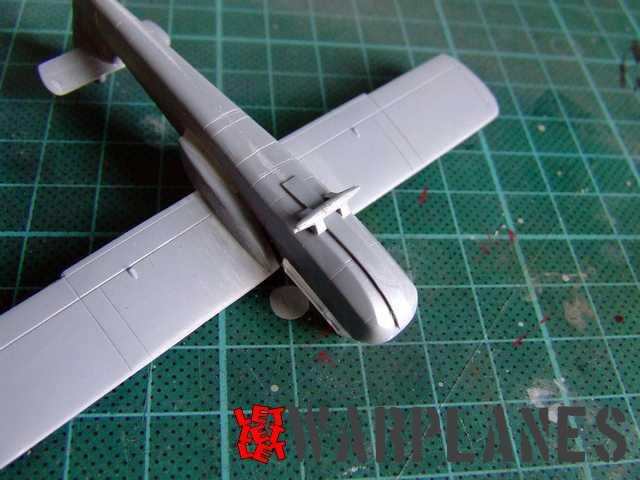
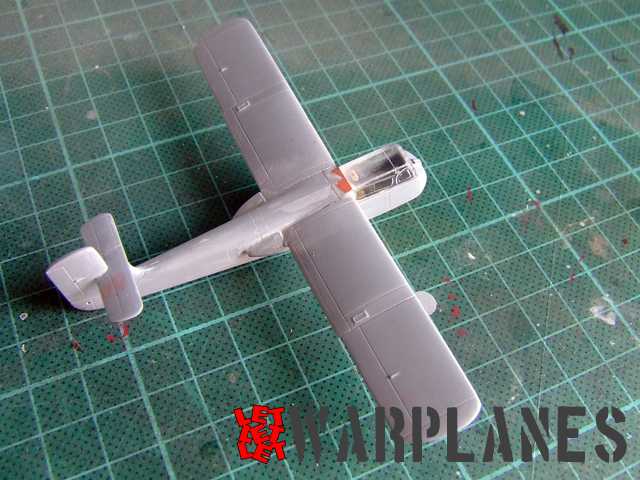
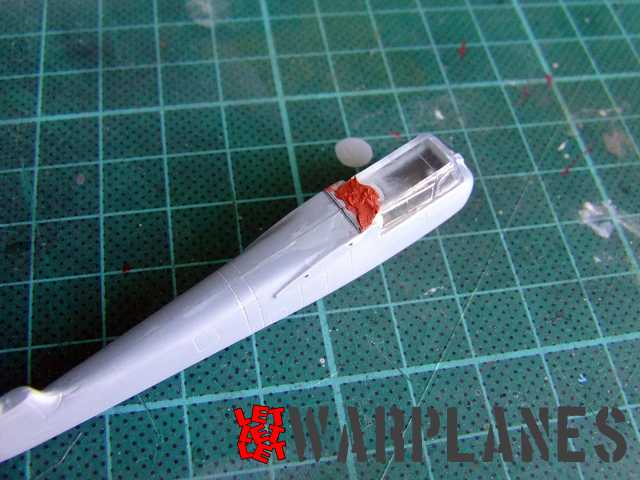
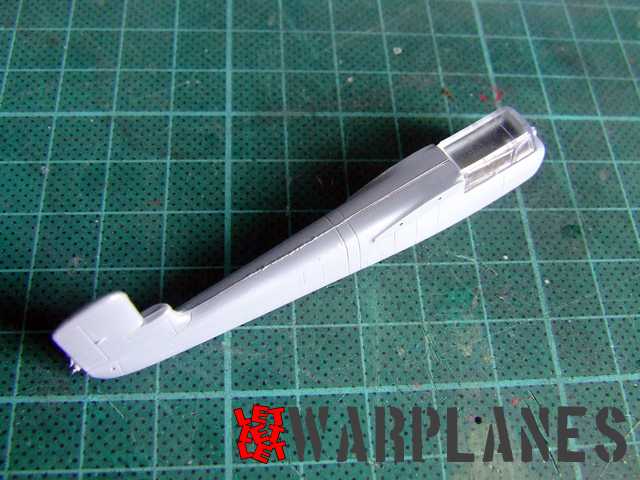
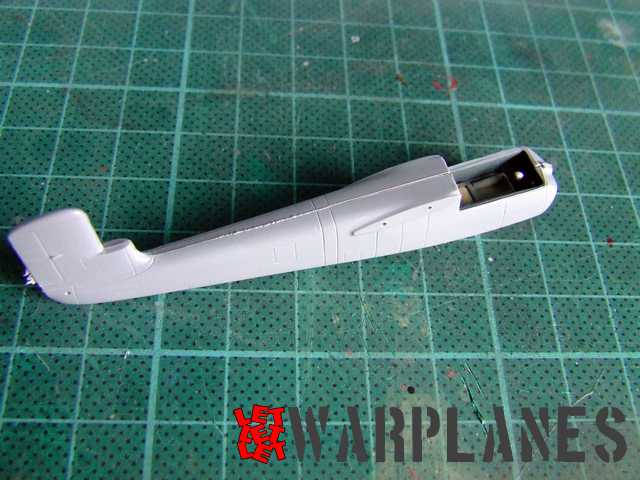
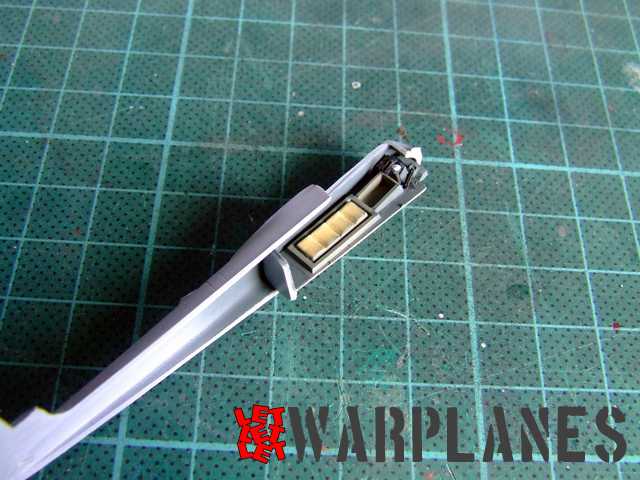
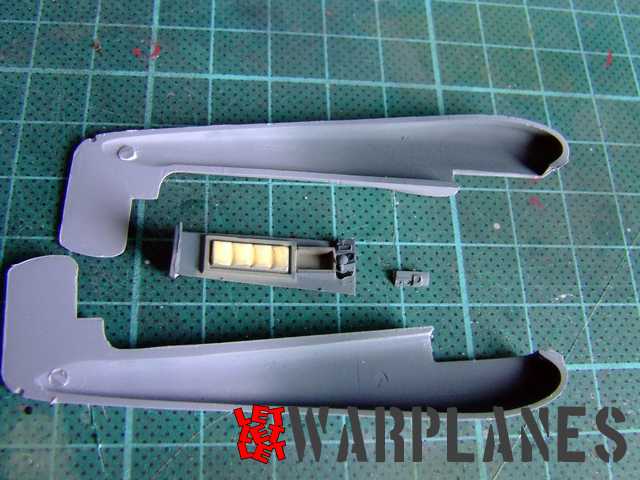
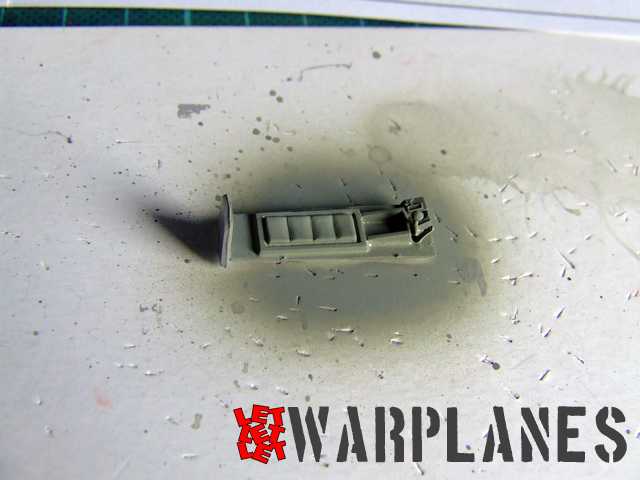
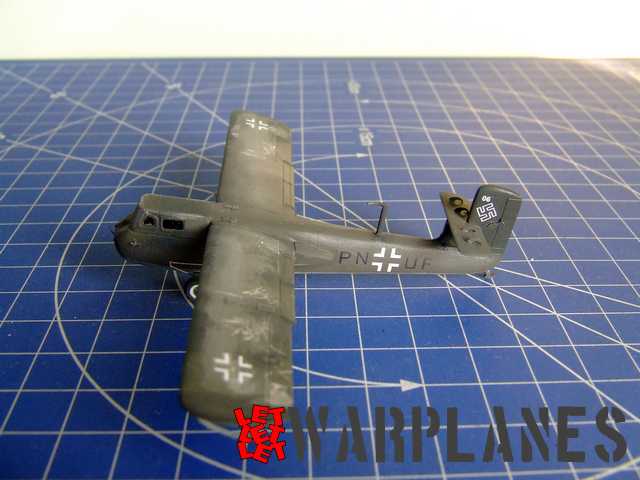
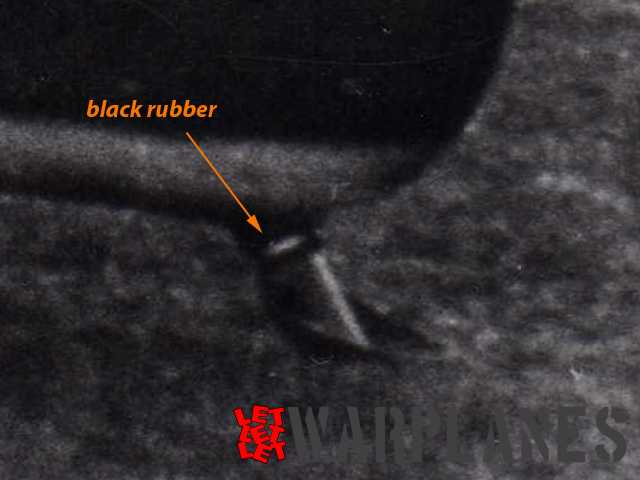
Assembly starts with the cockpit and there are just a few parts. From the available images of the cockpit, main interior is in dark paint, possible RLM66, pilot seat in light shade, possible RLM02, cushion in some natural color, leather or fabric and instrument panel black. Its really doesn’t take much to complete the cockpit interior. There is no need to work on instruments and seat belts since the windows are so small that almost nothing can be seen inside, this could be only considered if you want to open cockpit canopy. Fuselage halves as well as the cockpit canopy goes on when the cockpit is completed. Note- you need to completely cover rear edge of the canopy and engrave door line, canopy hinge is in the line of the first span of the wing. On this line on later step need to be placed brass hinges.
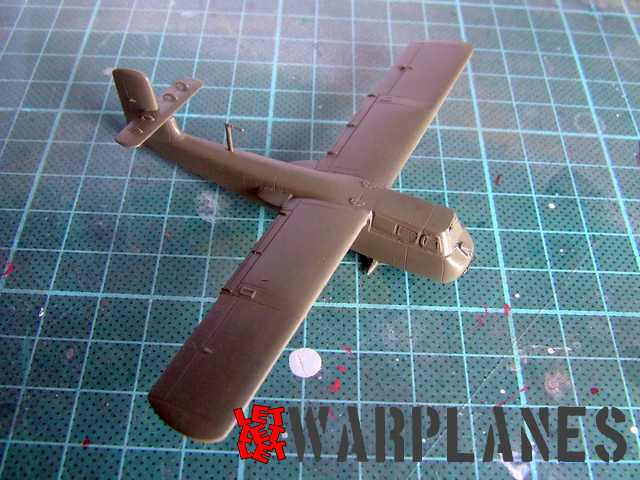
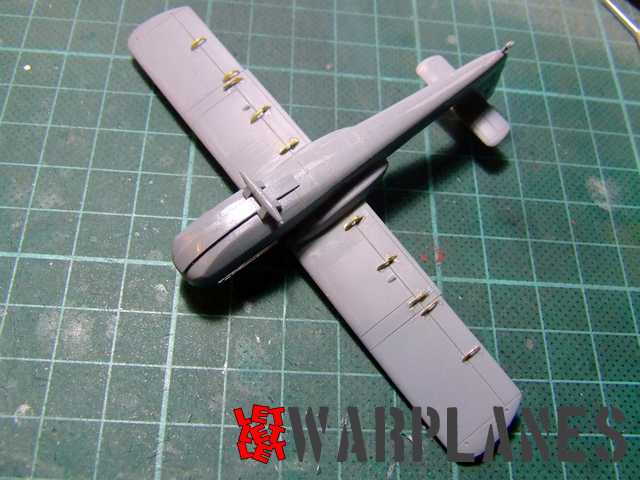
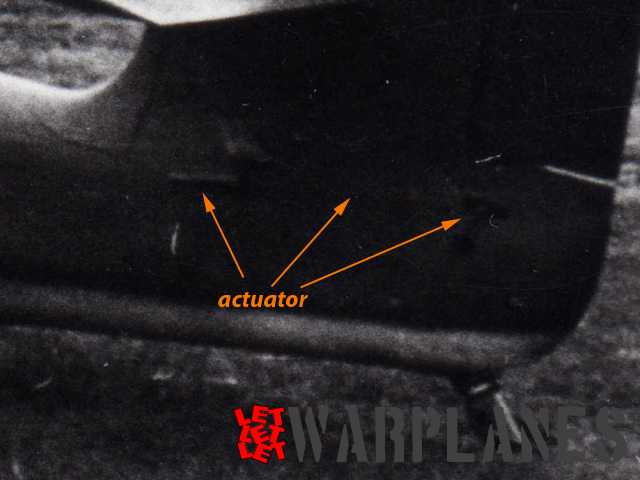
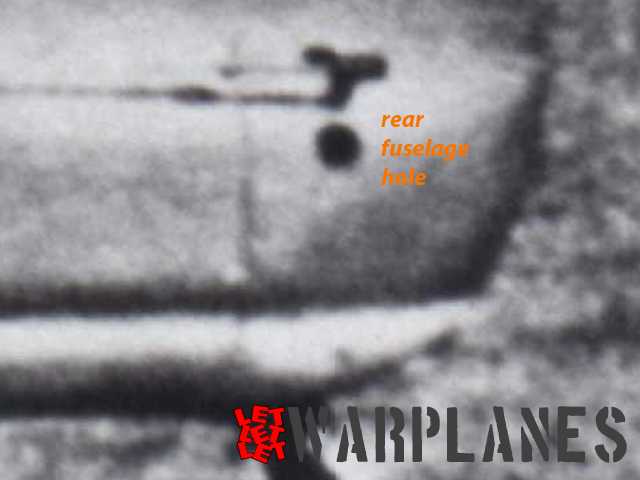
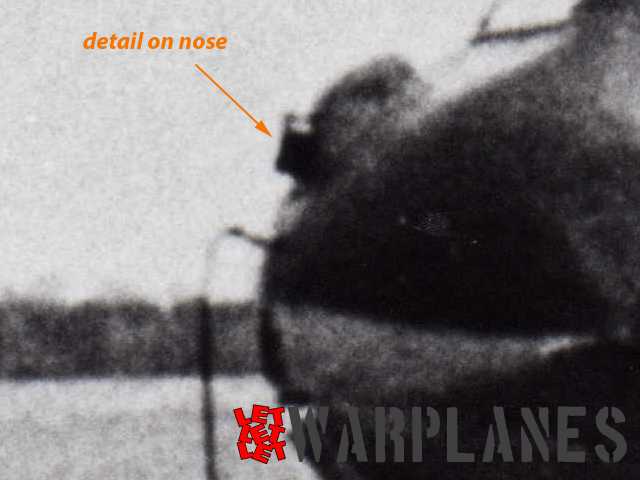
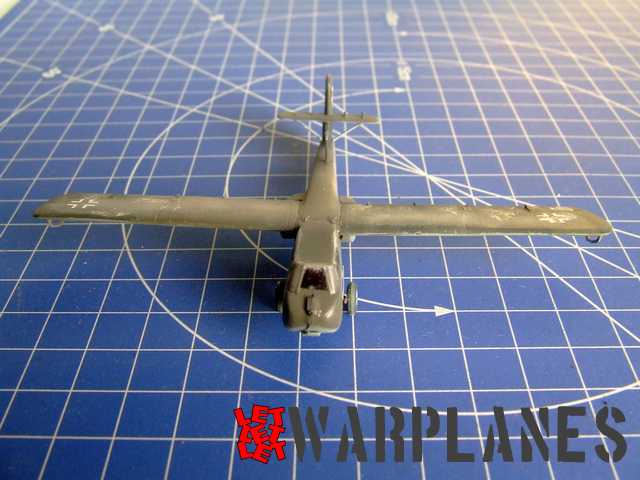
After cementing the wings and horizontal tail, there are a number of actuators that need to be placed all over the wing and tail surfaces. I must say that Brengun has captured these details with great precision. No matter that it looks a bit complicated, placing of all these parts goes easily and each of them have pointed position in plastic. But the kit is not perfect, there are things that need to be corrected and you have details in gallery at the bottom.

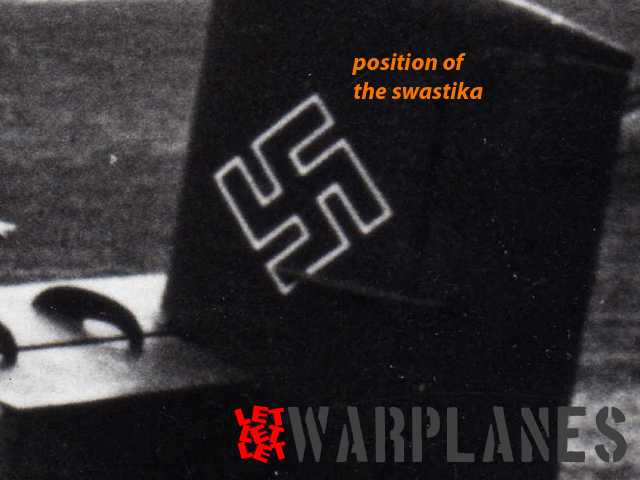
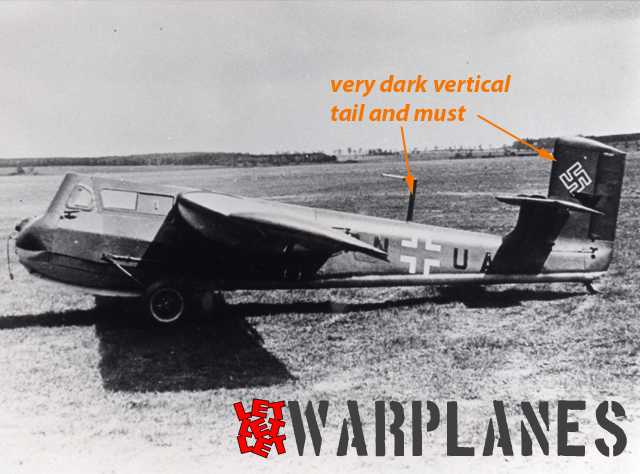

Painting is a bit strange to me. It was given that glider need to be painted in single top coat of green color at the top and single top coat light blue at the top. It is all right for the bottom but I have to refuse solution for the top surface. First of all- who says it is green? Second, it is not a single coat, some images clearly show splinter pattern on the wings top. Also, vertical tail as well as the aerial are in a very dark color, possibly RLM70. And as well it was a fighter; note that in the time of its testing RLM grey was still in use for camouflage. No, this is a not criticism directed to Brengun, they did the kit in best way and in regard to the available documentation, but point on all those who propose solution like that. At least high resolution scans of the original images show all details clearly. My choice was sample glider with much worn out top surface where the basic protective grey paint is visible as well as scratches to the metal.
No matter of above mentioned, this is very nice kit and I gladly recommend it. Some minor problems could be simply solved (scriber and filler we all have, so use it) and with easy result it into very nice small kit. You can find your sample here!!!
Big thanks to Brengun for sample kit.
Srecko Bradic