Bf 109E instrument panel
Royal Class presents the top in product packaging delivered by any plastic manufacturer and this product is now well the well known brand of Eduard from theCzechRepublic. Their Bf 109E kit has gotten much attention from modelers so it is no wonder that Eduard decided to give another push and deliver this interesting package.
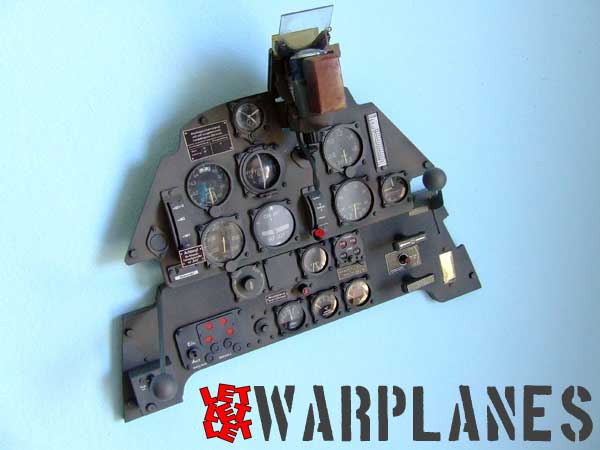
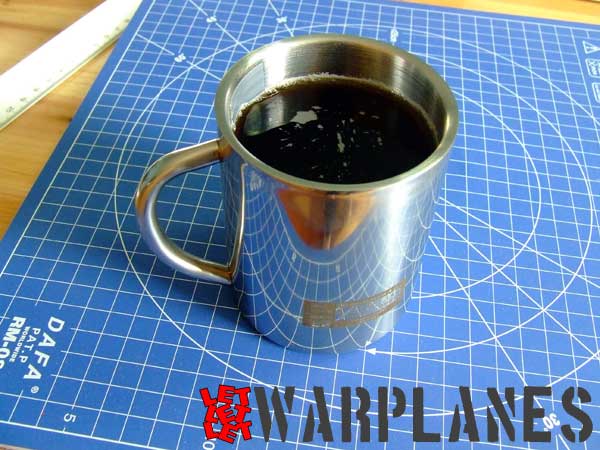
The contents inside the nice black box are great; you haves two complete plastic kits (with photoetched frets and resin parts), a ¼ scale instrument panel, and a metal cup with the engraved Eduard company logo and a Bf 109E data plate. I will present here the instrument panel and metal cup. I did not forget the basic kit; feel free to watch our build here!!!
The instrument panel for the Bf 109E comes on two plastic frets, decals, another fret in transparent plastic, and two sheets of etched parts. At the very start I have removed most of the large parts from their frets and sprayed them in the RLM 66 color. The 66 was also sprayed on one of the etched sheets, the one with handles. What really attracted me was the Revi gunsight, and I started with the assembly of this component. The model featured here is the Revi 12D. There are several original samples preserved in excellent condition and I used these images as a source for assembly and painting. What I’ve noted is that in all known cases the entire body of the sight was painted the dark grey RLM 66 with some areas in black. Note that there are two glass panels and that the one that is to be mounted on back must be tinted in a dark grey/brown color. There is also a variation of the leather block on the front of the sight, this could be black, dark brown, or light brown. Finally make note that on the Revi gunsight you have index marks on the port side that you need to paint.
The instrument panel is built in several stages. First I painted everything requiring the grey. Next I applied all the instrument decals. After that I installed the instrument needles, painted a few small details in other colors (mostly red), and then continued with the instrument frame bezels. Note that several of the instrument glass covers have decals on them, so be careful to place these in the correct positions. They are reverse printed so that you will read the letters correctly when you apply them to the glass. Note that each lens has a rim on the edge and this rim directs you to the right position.
When all the instruments are completed I placed all etched parts into position. Many of them represent data plates but some are part of the plastic components. Note that two of these need to be placed on the right side of the lower panel. This is not always the case as these handles could also be red with no label on them.
Final assembly is so easy, you simply need to place the two panel sections together and mount the gun sight to the upper panel. When completed this instrument panel looks great. I keep it in my work room on the wall in front of me, and the cup is always on my desk—now it has become my official drinking cup in the work room.
The Royal Class Bf 109E can be order here!
Srecko Bradic




Hi Team,
My father Bill Martin is after translations of what is on the date plaques on the BF 109 E model and the Stuka JUS7 please.
I can be contacted at
louisemaree1966@yahoo.com.au
Kind regards,