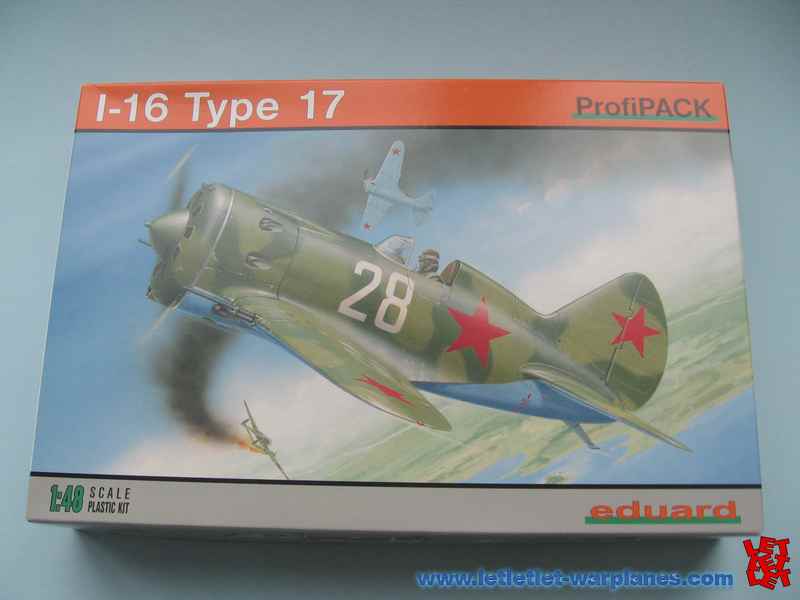
Eduard Polikarpov I-16 type 17 1/48 Profipack kit 8146
Polikarpov I-16 was a Russian fighter designed during the 1930’s and it was the first fighter airplane to combine cantilever monoplane wings with retractable landing gear. This strange looking bird was capable to meet Bf-109 on equal terms in the early stages of Spanish war, so it is no strange that the first ever airplane to shot down a Bf-109 was Polikarpov I-16. However I-16 was tricky to fly and dangerous to an inexperienced pilot, but in the hands of an experienced pilot it was a truly successful fighter. At the outbreak of Great Patriotic War, majority of VVS was equipped with the I-16, but at that time this little bear barrel was not a match to Bf-109 and Fw-190. Polikarpov I-16 was finally withdrawn from the first-line of the front during the 1943. On secondary fronts I-16 continued to serve on the front-line till 1943, when they were replaced with more modern fighters. I-16 did play an important role in protecting Moscow, Leningrad and other cities from German air raids. One of the most successful regiments equipped with I-16s was the 13th IAP (later 4th GvIAP) KBF, flying on “Ishaks” of last models till 1943. With his Ishak, one pilot of this regiment, Vasilii Fedorovich Golubev, shot down 40 enemy planes. A total of 7,005 single seat and 1,639 two seaters were produced.

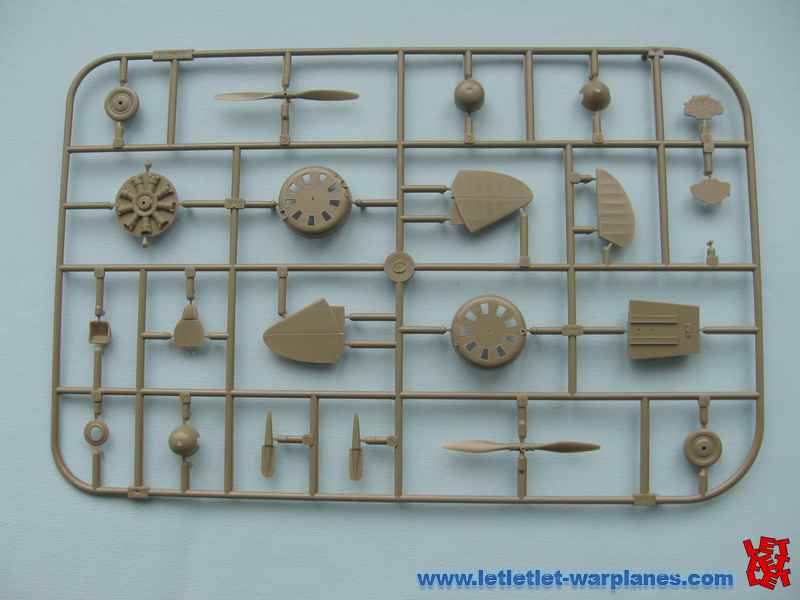
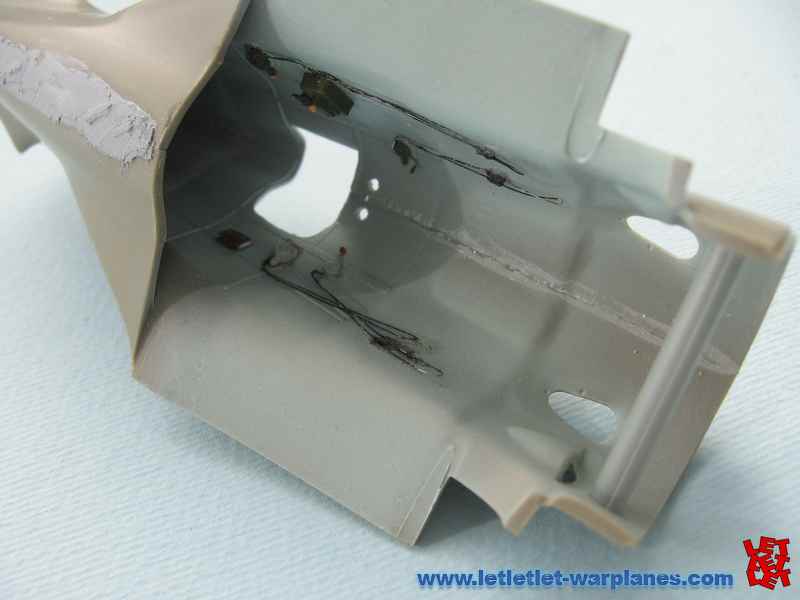
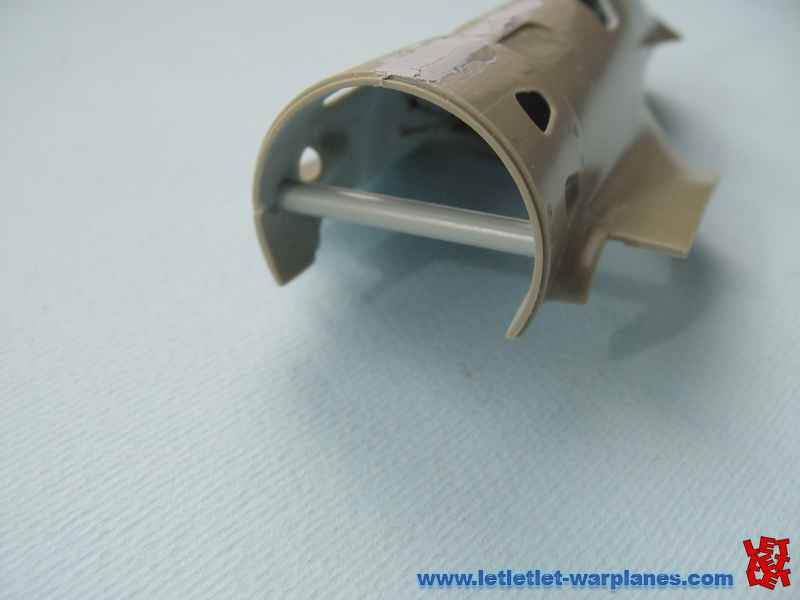
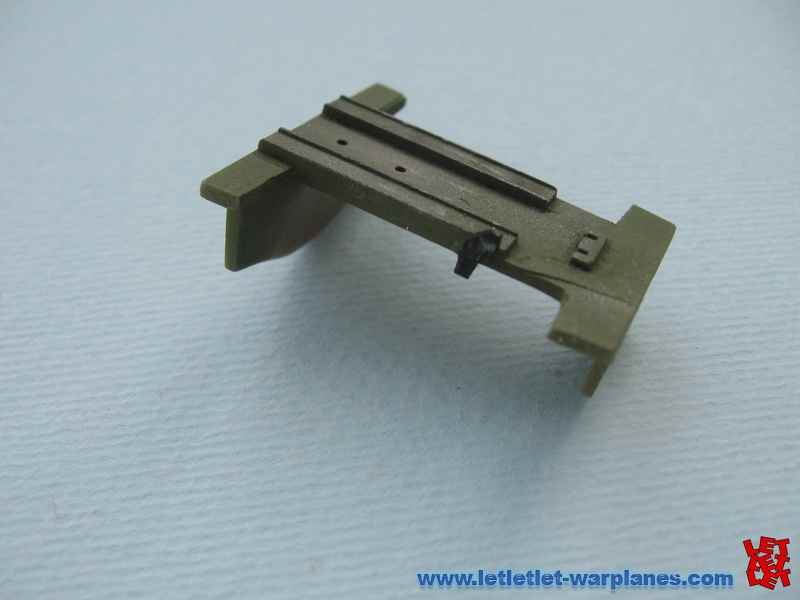
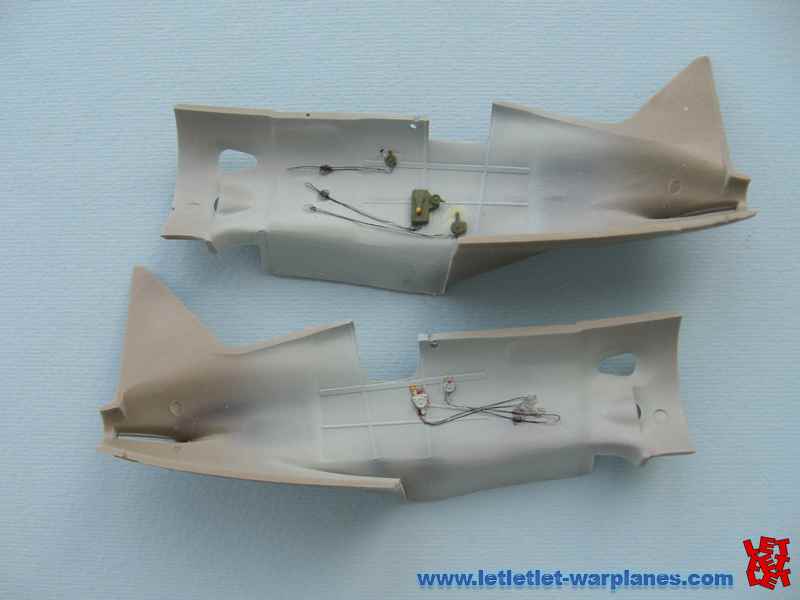
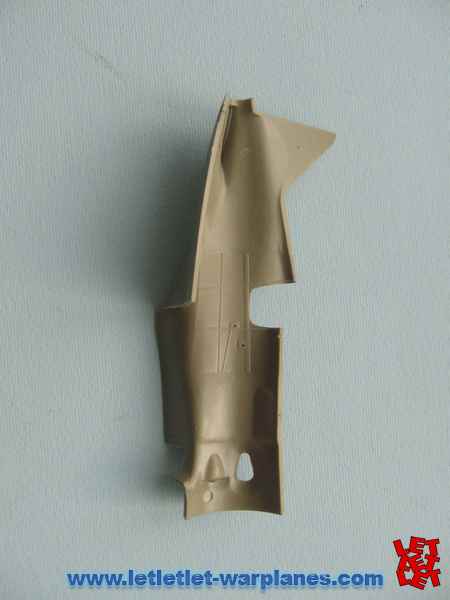
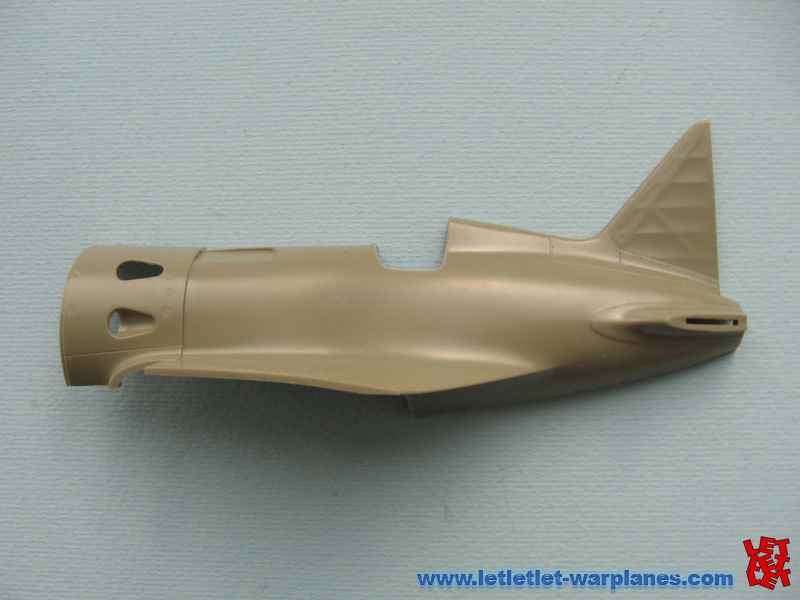
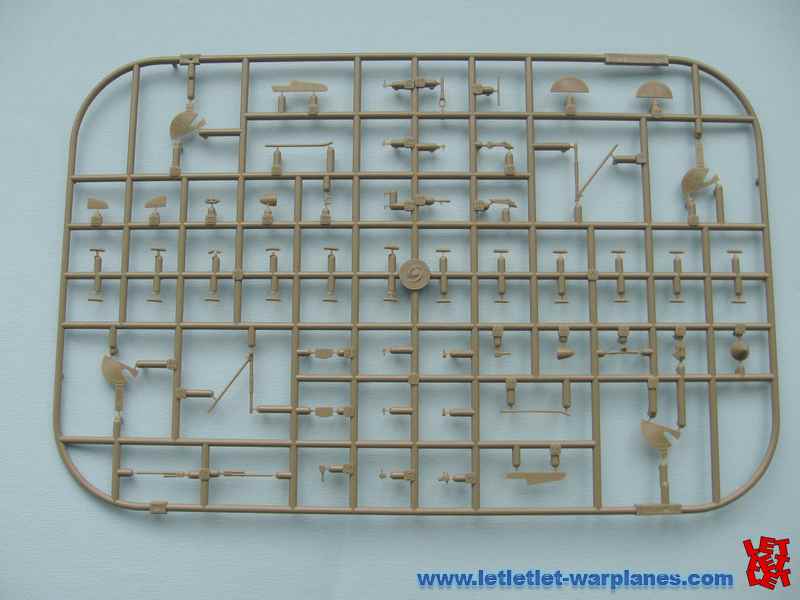
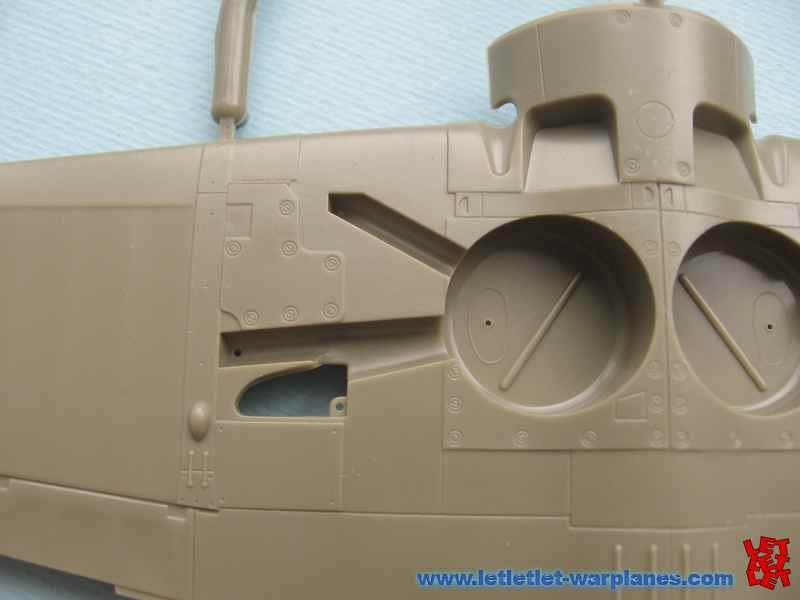
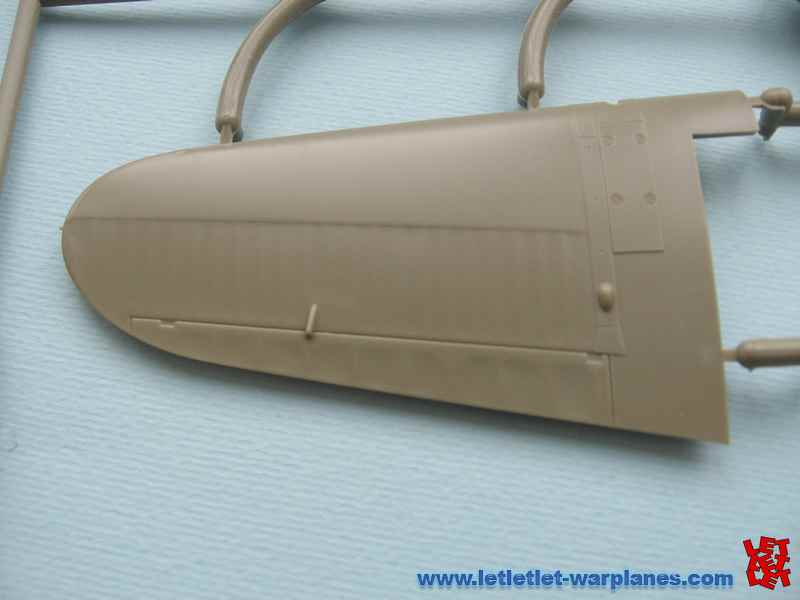
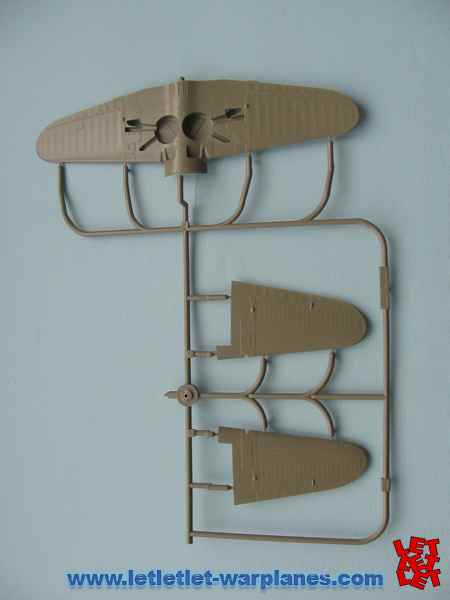
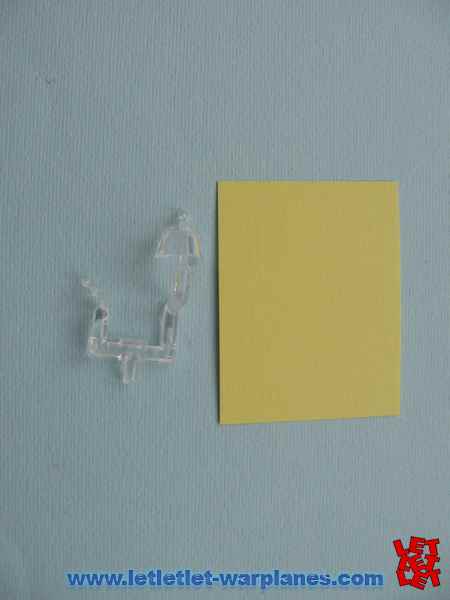
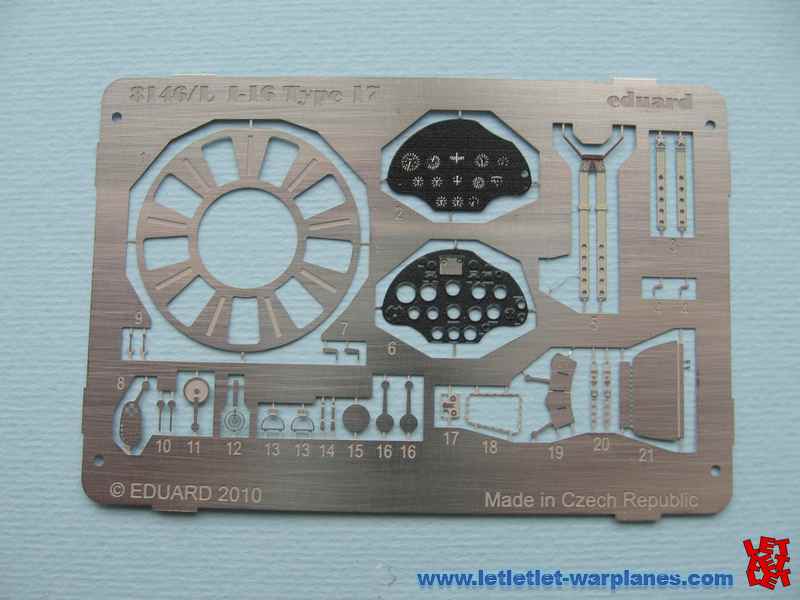
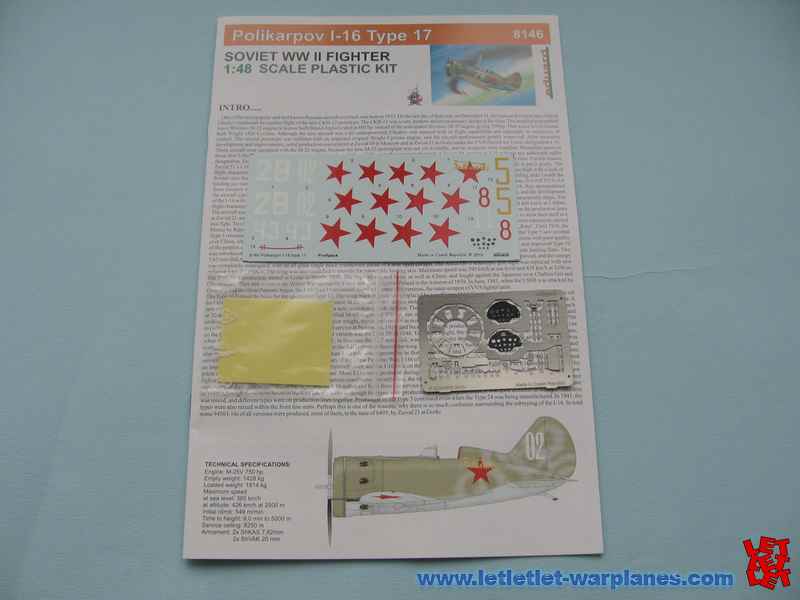
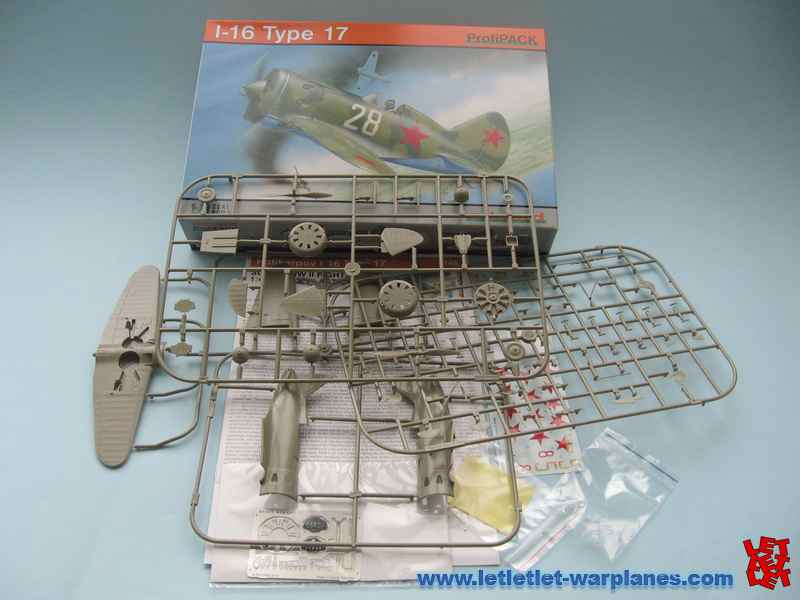
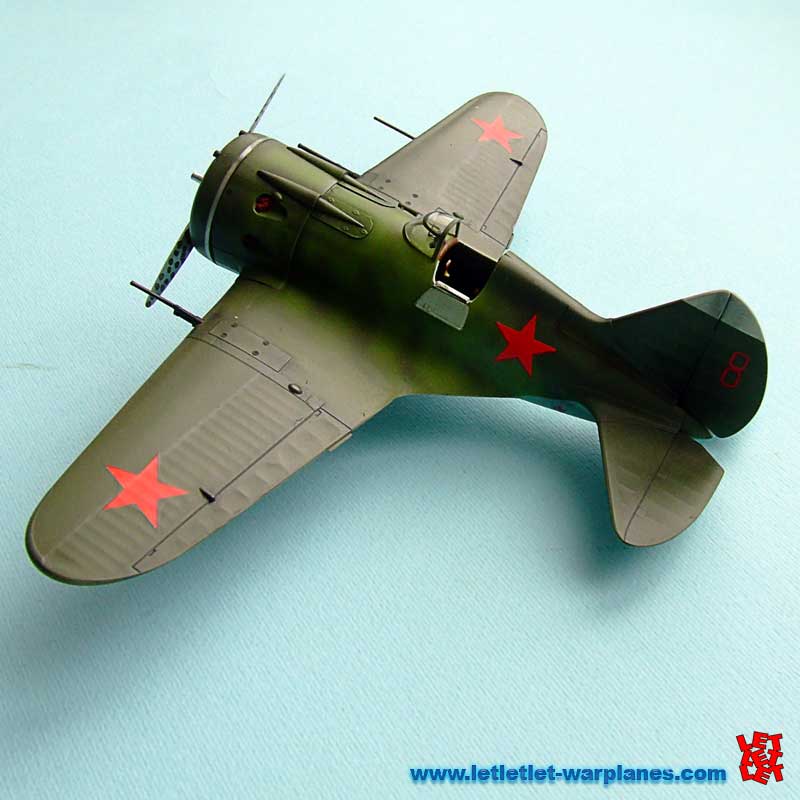
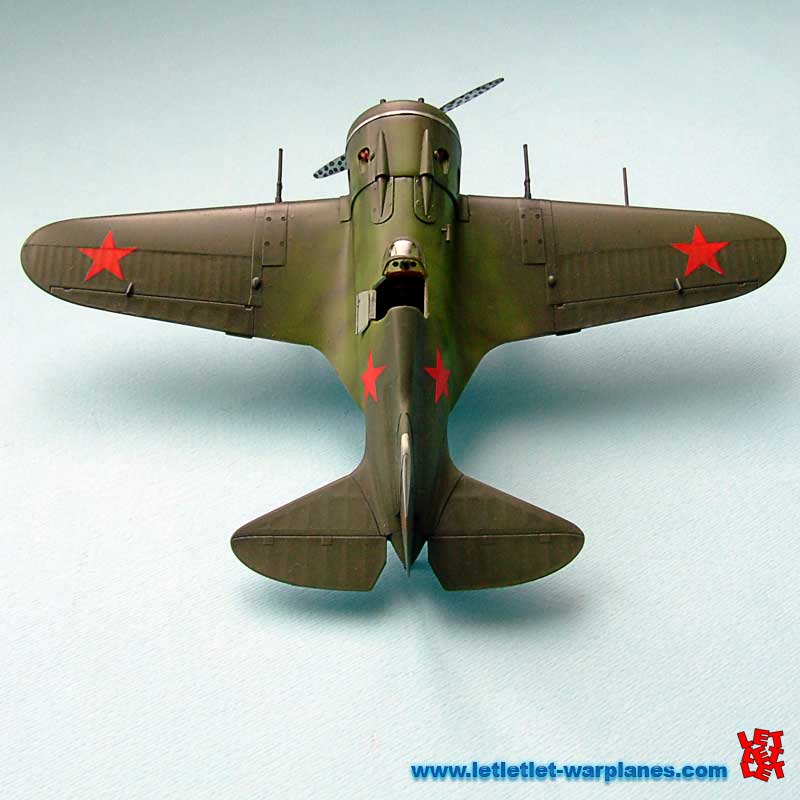
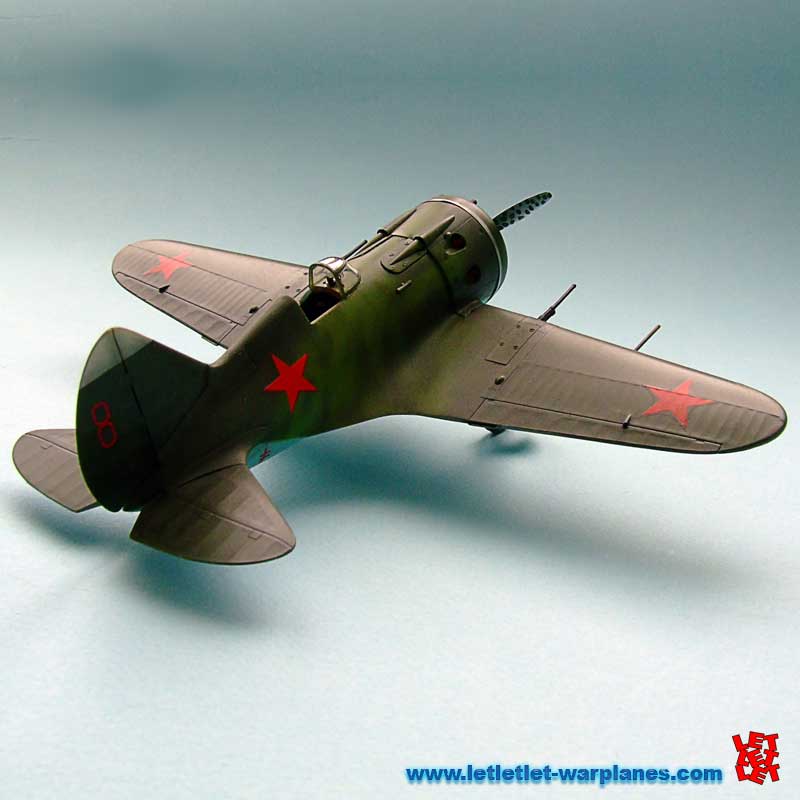
The newest addition to the I-16 family by Eduard is kit 8146 I-16 Type 17 1/48 scale profipack edition. The kit comes packed in a box with a beautiful box art of this fighter wearing most interesting markings for Soviet Ace Vasiliev. Kit is beautifully molded in traditional Eduard Olive plastic with some fantastic surface detail. The panels are a mixture of fine engraving and subtle raised panels. The representation of the fabric surfaces is superb. Inside the box you will find four sprues with parts, one sprue with clear parts, one small photoetched fret with 30 parts and as we used to from Eduard masks for precise painting of the canopy and wheels. I started this build from the cockpit which is well detailed with excellent detailed levers, some of these are provided as photoetched parts. I added some small pieces of wire to reproduce electrical cabling. As I decided to build my kit with side door open, I fixed the cockpit floor and added some details like a little bag on side wall and a gun. I painted the cockpit with the White Ensign ACS 06 IMUP blue-gray metal primer. I used Eduard’s photoetched instrument panel rather than plastic one or the decal, and I must emphasize it looks great. I drilled two holes in front of cockpit one on each side of gunsight to represent a natural light openings, Eduard has engraved these openings as panels but they were actually two holes with glass on top. At this time I could glue the fuselage and start working on wings. First step in this stage for me was to cut out the little window inside the right wheel well. Although Eduard provided a photoetched frame for this window, and perhaps it could be done easier just simulating the glass with paint, I decided to make it a real clear part (no fuss at all). Engine is well detailed and it is a shame that once installed it could hardly be visible but I like to say I know it is there. I drilled gun barrels and venture tube and replaced pito tube with hypodermic needle. The undercarriage is precise and absolutely in scale. At the first moment I thought it could easily snap but when I joined them it is very compact and rather strong. Undercarriage doors are a bit complicate to install but if you follow the steps in the instruction sheet it is really easy and if I may say with all those rivets look realistic and effective. At the very end I added a piece of stretched sprue from the centre of wheel hub to the small hole at the roof of the undercarriage bay to reproduce gear retraction system. Almost no filler was needed during assembling of this model, but I like to fill joints just in case. The one and only joint that is a bit problematic was belly side aft wing-fuselage joint, but it is easily solved using filler and rescribing it afterwards.

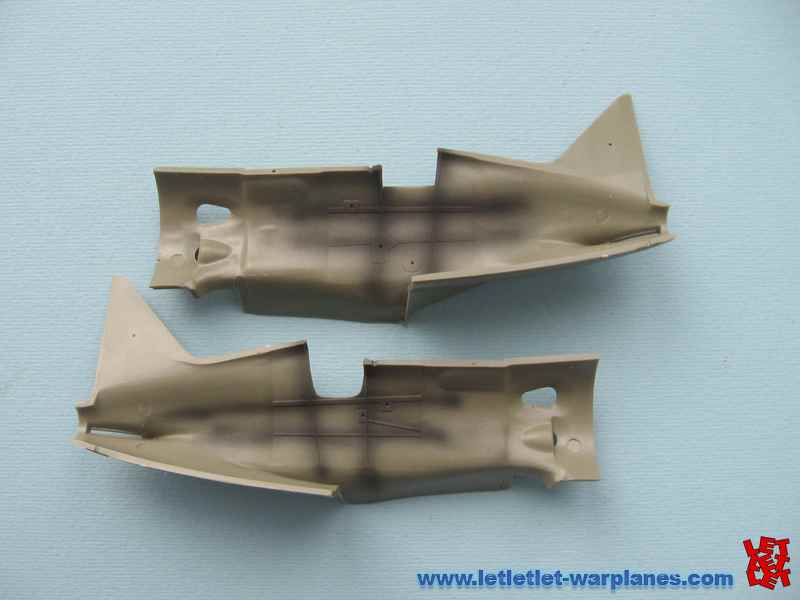
I sprayed a primer coat of Mr. Surfacer 1000 onto the aircraft and then filled in any remaining gaps and seam lines. After I have done some preshading using my Paasche Talon TG airbrush, and the I-16 was ready to be painted. My decision was to represent machine flown by 1st Lt. Gennadiy S. Zhuikov during the summer 1941 member of 191st IAP credited with 17 victories. I used White Ensign ACS 03 for basic lighter color and ACS 08 for darker shades as top colors and White Ensign ACS 02 for bottom, all colors received some lightening in order to shade some areas and panels. After few coats of Klear I applied decals which are very thin, and no decal solution was needed just one more layer of Klear. Decals in a sample I received were a bit out of register, but I presume it is not a case in all boxes. Next step was wash and weathering and at the end a final coat of mat coat.

This kit is easy to assemble and I really enjoyed building it, this is one of those kits you could really finish very fast. I-16 type 17 looks great on shelf so it is highly recommended for both novice and expert modelers!
Sample kit is provided by Jan Zdiarsky from Eduard
Darko Mladenovic


Wonderful review. Well written and informative. Thank You! I will subscribe to notices from your group. Ric Walters
Ric,
Thank you for your kind words,
All the best,
Darko