286
Aircraft Modeling / Re: ME262A1 U3 - Hobbyboss 1/48
« on: November 21, 2011, 03:05:10 AM »
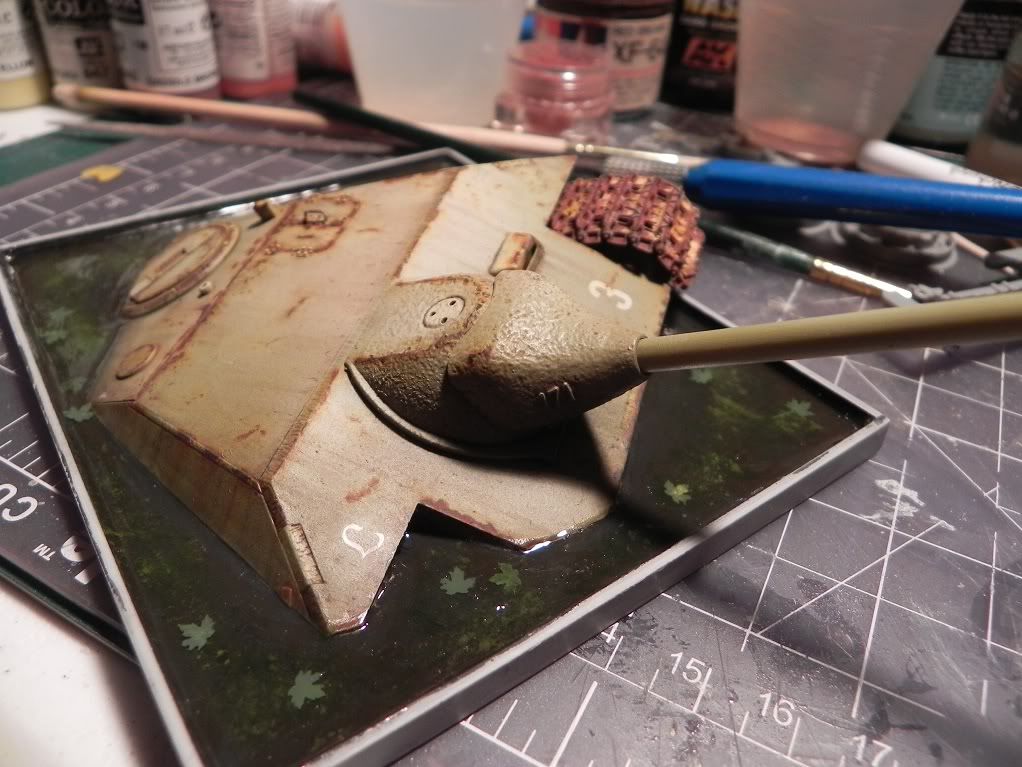
Very nice work on the "squiggles" that type of painting is always diffacult for me.
Ernie
Ernie


Forum is closed for new members. All content is private and can not be shared
This section allows you to view all posts made by this member. Note that you can only see posts made in areas you currently have access to.
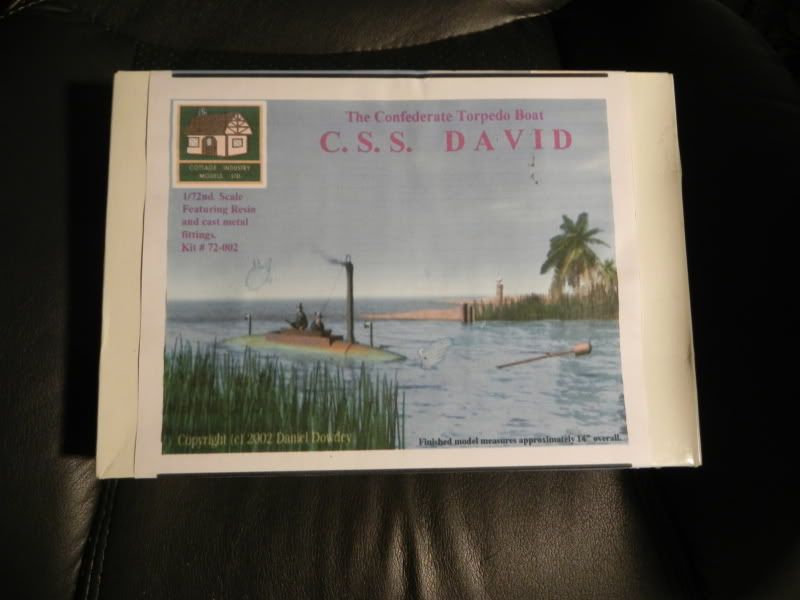
Nico info mateOne old and effective method used by manufactured was cooking wax with oil of turpentine and then hot brushed over surface. In the joint was used thin rope which is deep into that solution or something similar and push inside with small hammers. But it is possible in the rush that no protection was used, they are simply delivered for fast actions. Design is very nice for that time.
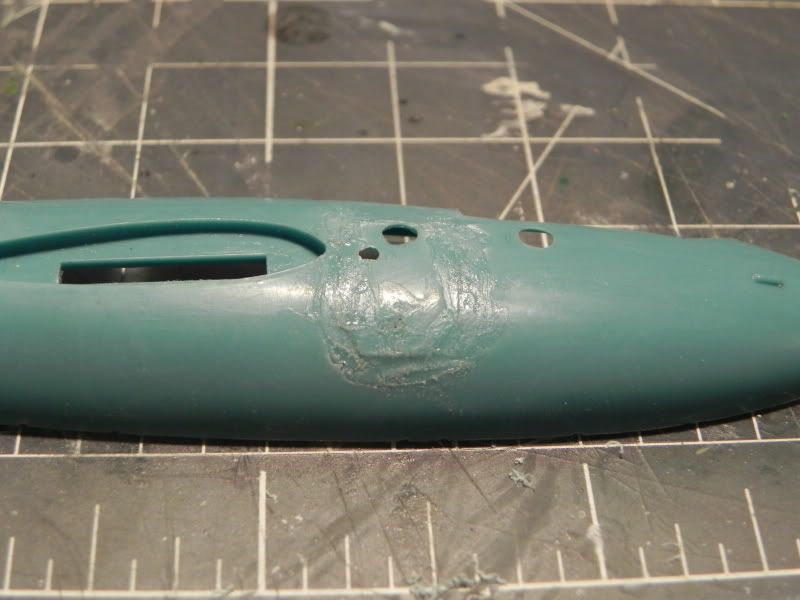
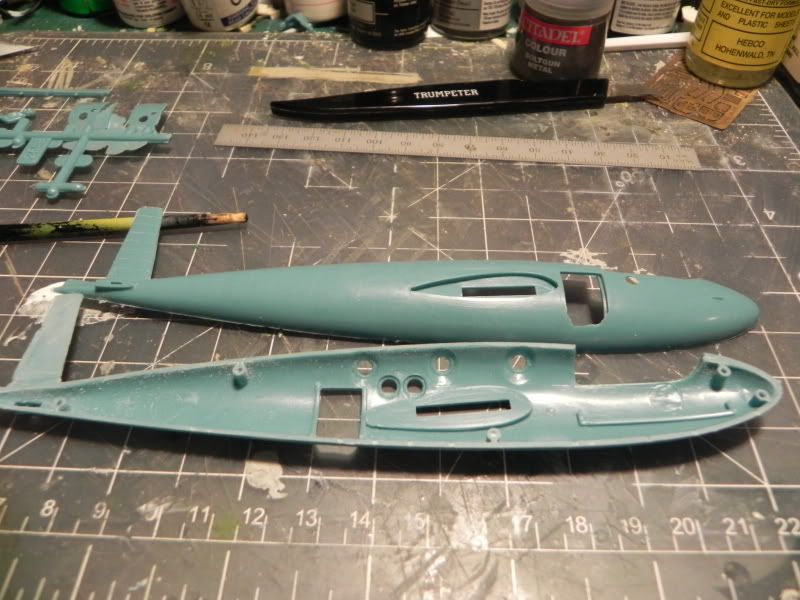
QuoteI should have more photos of the progress so far in a little while.Yes, maybe you could put images of that area after sanded.