A bit of a change-of-pace, making your own letters or numerals.
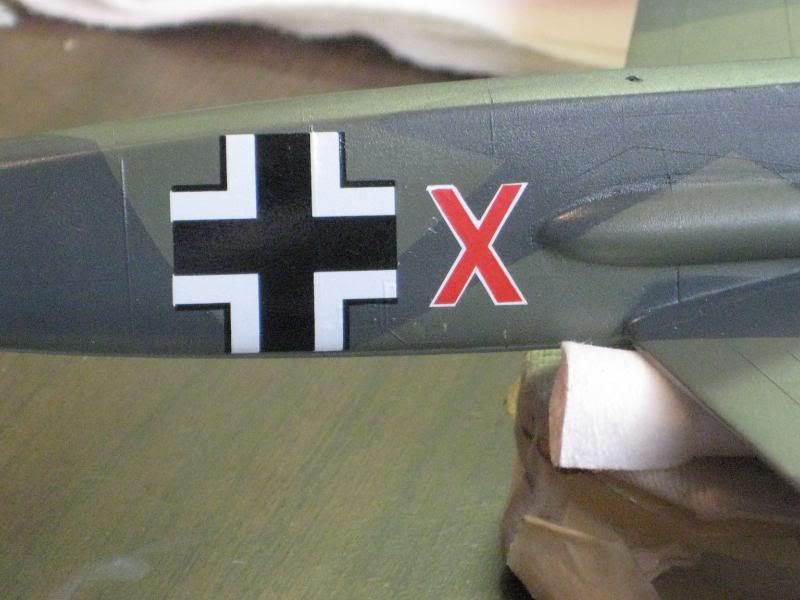
Often I find that the markings I need for a particular model are just not available. In such a case I find a photo or drawing of the marking and copy it into the scale I'm building on my printer. Here is an example of this, using a Luftwaffe code letter. This one is easy since it's all straight lines, but I've had good results with other shapes as well.
First, trim the character you need with enough surrounding paper to tape it to the appropriately colored decal material. Tape the perimeter of the copy to the sheet so that it cannot move during the cutting process. I cut the decal paper in small segments just a little larger than the printed subject so as to save decal paper. Use a very sharp hobby knife blade to then cut around the entirety of the character, making sure to cut deeply enough to scribe the decal.
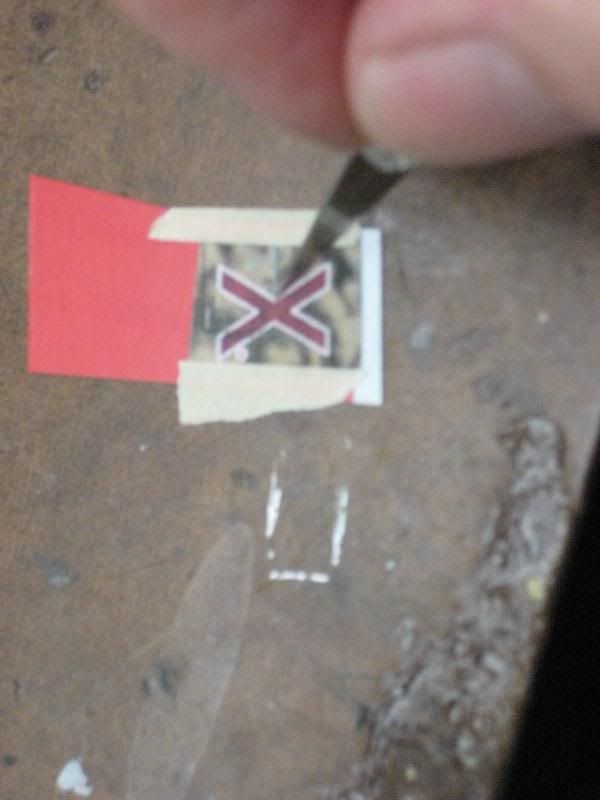
The next step is to soak the decal and then very carefully remove the excess from around the figure. Notice in this instance that one triangle of material was stubborn-I hadn't quite cut through all the way. A careful pass with the X-Acto blade corrected this.
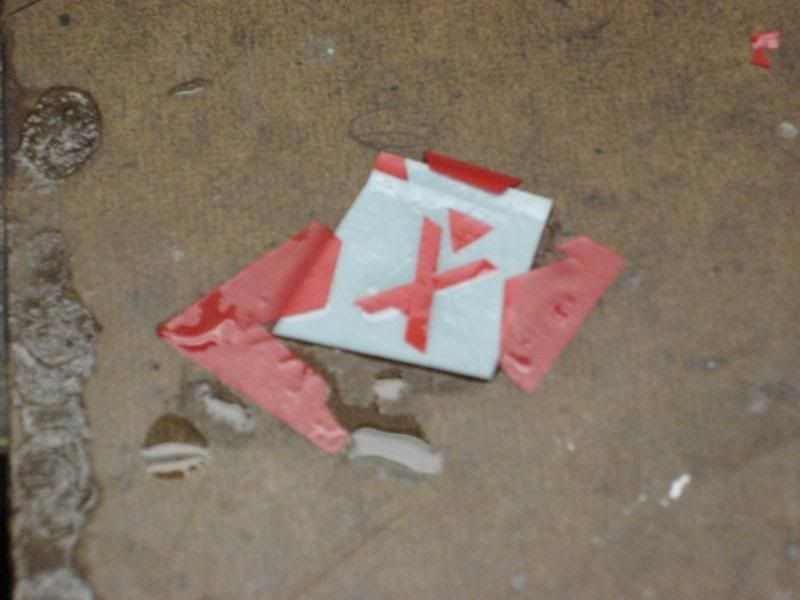
If the figure is one color only, simply apply to the model. In my case the letter has a white outline. To accomplish this I simply dab almost all of the moisture off of the red character and then slide it onto the white decal material. Make sure not to transfer too much moisture from the first decal film onto the second sheet. Now make sure that everything is dry before proceeding. The next step is to simply cut the correct width outer border color.

The final step is to wet the second sheet and repeat the removal of the excess decal film you cut free. Then transfer the two-piece decal to the model. In some cases I spray a light coat of clear over the two decals before this step to bond the top film to the lower.