Great progress, No.1, and the Eduard set is a great improvement for the interior of the Monogram kit!
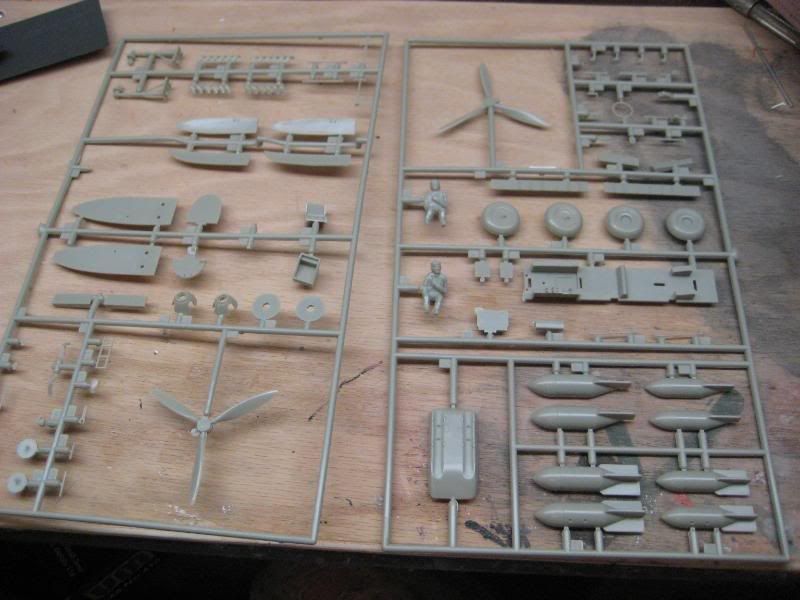
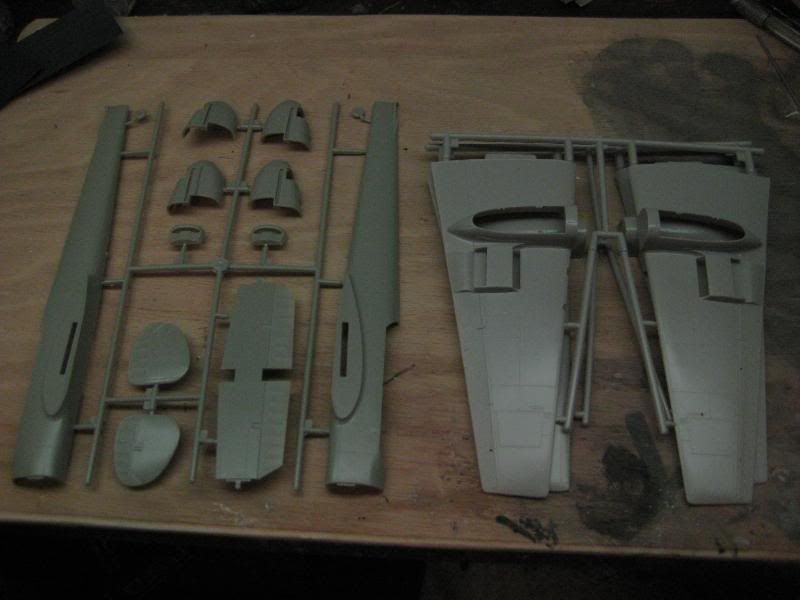
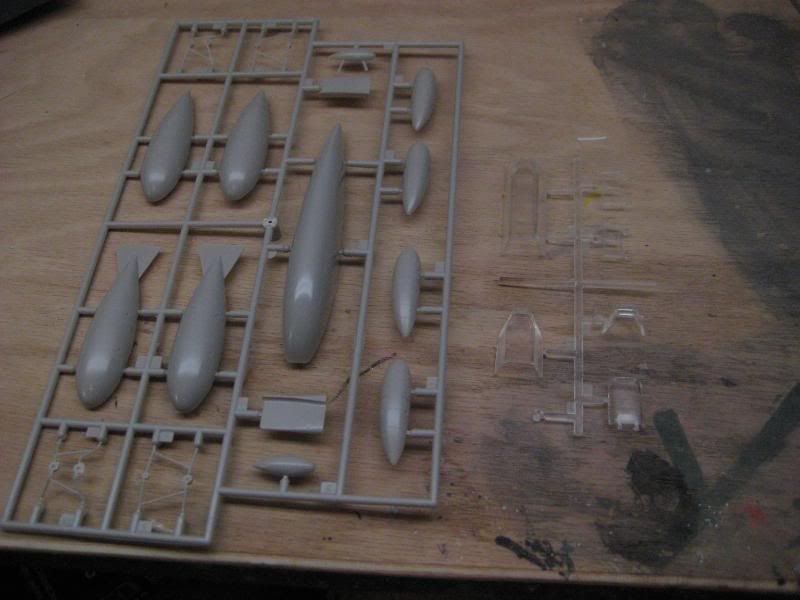
Progress on my 1/48 Fujimi D. Since this kit was first available where I lived I always wanted one but for some reason never purchased one. Well, a few months ago I started looking on the auction site and found a listing for two complete kits and some extra parts all in one package deal. I ended up as high bidder and got not only the kits and three drop-tank trees, but also a True Details resin cockpit and some other goodies. I'm going to build the plainer one first and then tackle the detailed kit later. Here's an overview of the parts that make up a single kit:
May Group Build--Bf-110
May Group Build--Bf-110
May Group Build--Bf-110
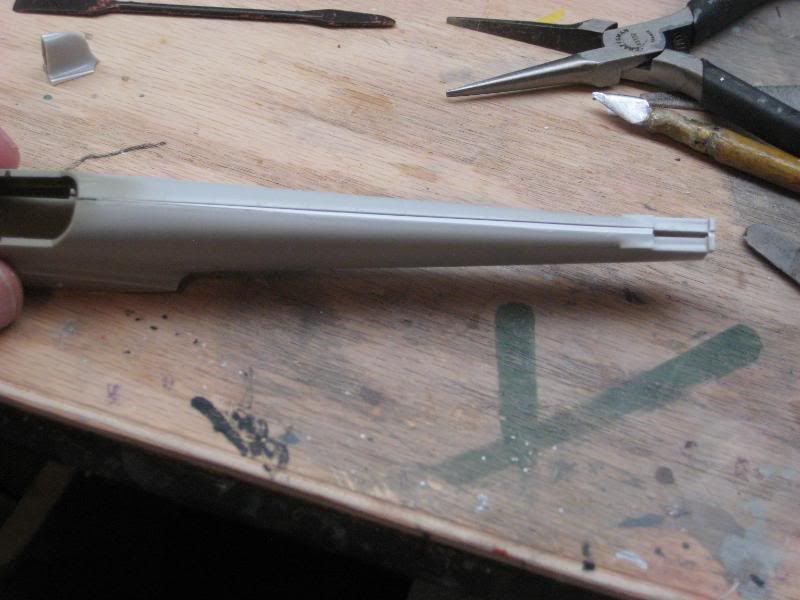
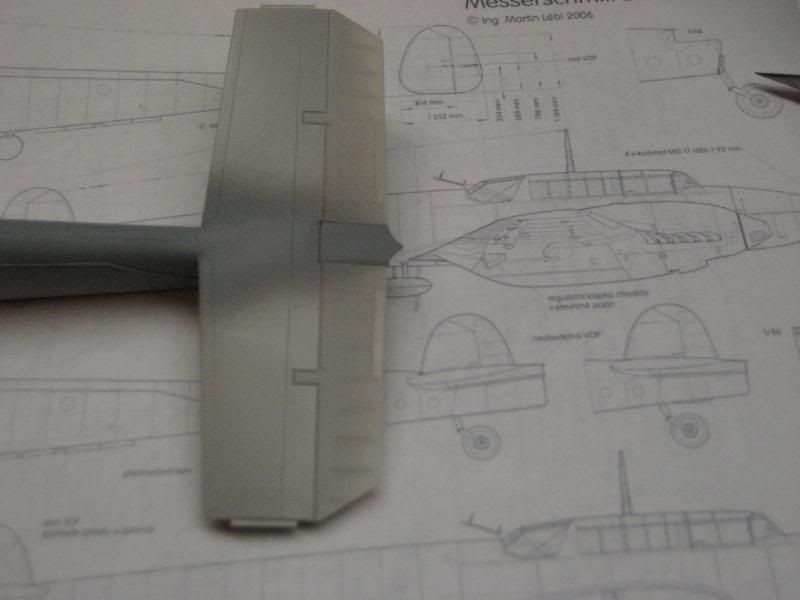
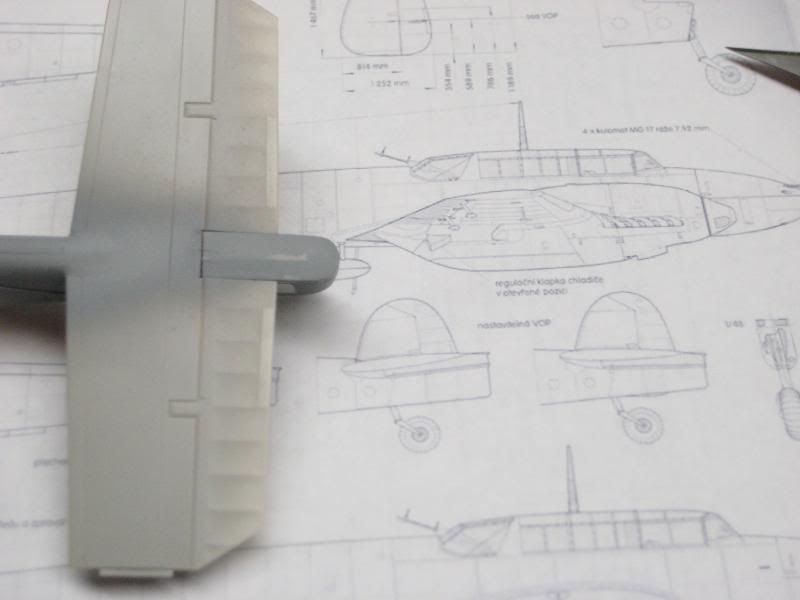
This Fujimi kit has one major error in shape, that being the aft fuselage is too narrow in vertical profile. To fix this is not difficult. I simply manufactured a shim of styrene stock that tapers from just aft of the gunners opening to the extreme tail. Once this is determined the horizontal stabilizer/elevator opening is filed to a wider opening so that it will sit properly in the fuselage groove.
May Group Build--Bf-110
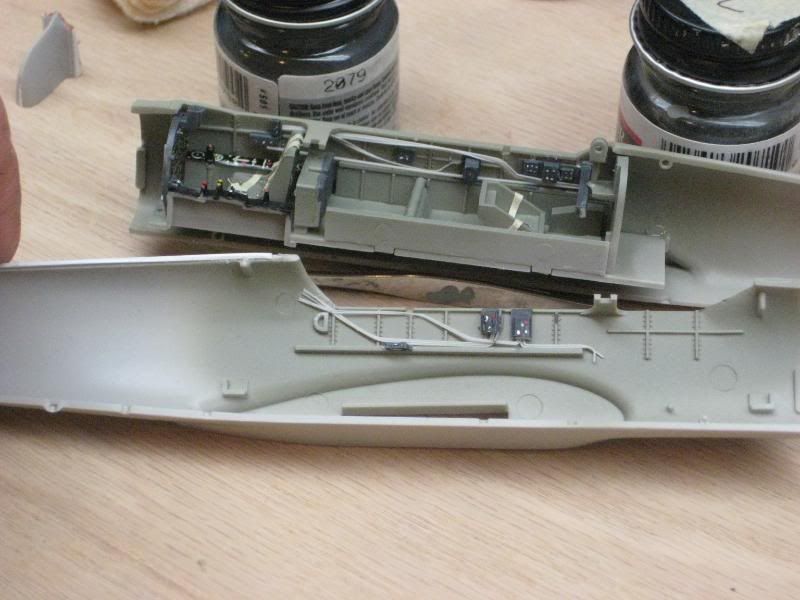
Next I used styrene sheet and shapes along with some stretched sprue and copper wire to detail the cockpits a bit. Some junction boxes and a few bits from the spares bin and the fuselage halves were joined. As with the Monogram kit I started earlier, not fully detailed but enough to make it look interesting through the canopy.
May Group Build--Bf-110
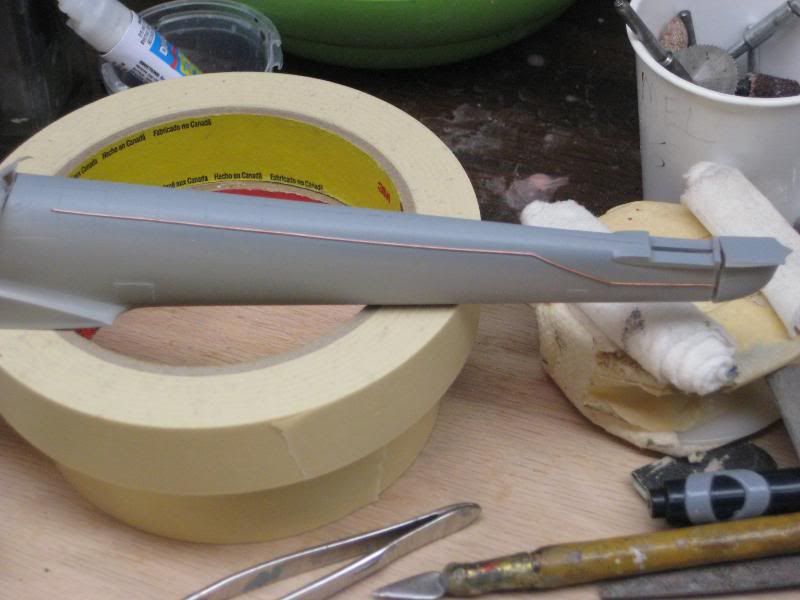
Once the fuselage halves were joined another small modification was added. The D and other long-range variants of the Bf-110 had an extended tailcone with a liferaft inside. To deploy the raft the gunner/radio operator would pull a release lanyard in the aft cockpit. The cable that controls this device ran down the side of the fuselage on the left side. I made this from copper wire and simply glued it to the airplane, extending it to its terminus at the tailcone.
May Group Build--Bf-110
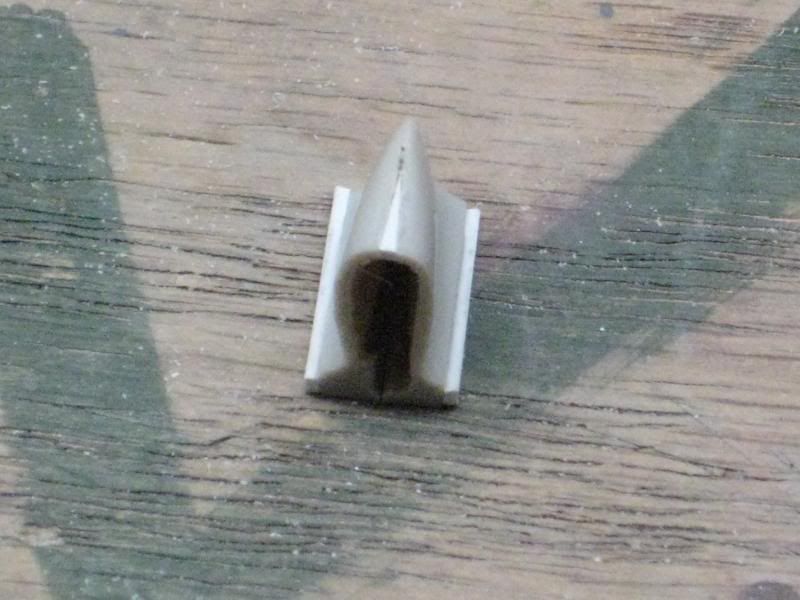
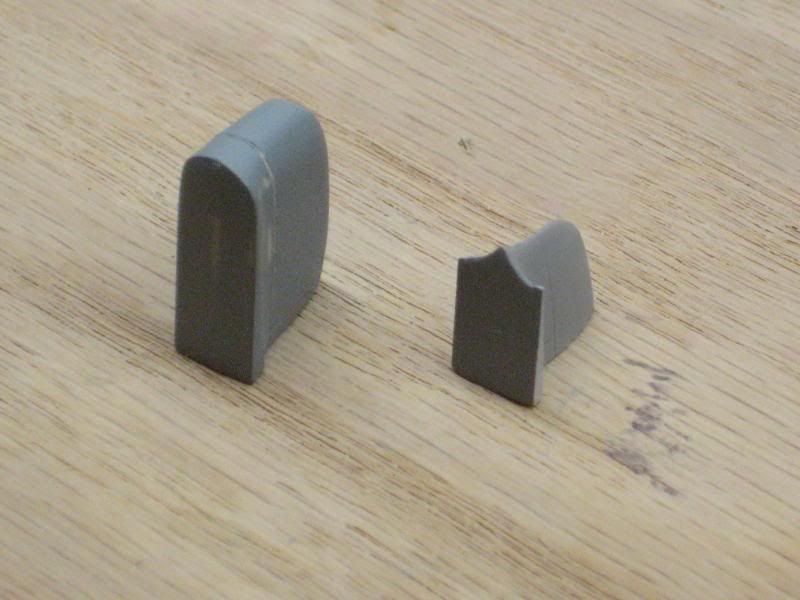
This leads directly to the tailcone/liferaft fairing. Fujimi kindly provided both the short and "duckbill" tail pieces in the kit. I didn't especially agree with the shape of the liferaft fairing so I scratchbuilt one of my own from styrene and resin. Again, these tailcones must be widened to correspond with the wider fuselage cross-section and to nest into the elevator cutout. The first photo is of the short tailpiece and then both versions side-by-side for comparison. The following photos show the two installed in the fuselage.
May Group Build--Bf-110
May Group Build--Bf-110
May Group Build--Bf-110
May Group Build--Bf-110
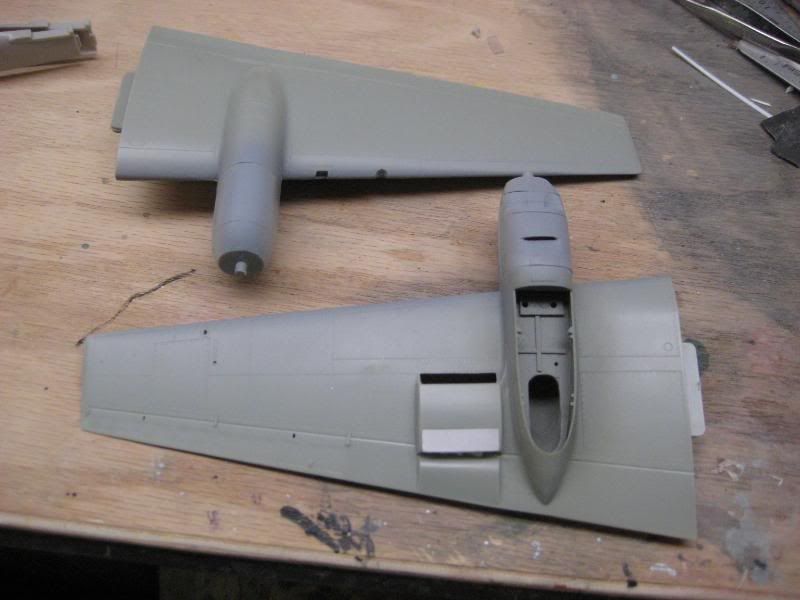
On to the wing assembly. The wheelwells are quite bare and need some work. First the cutout must be made in the gear well where the tire rested when retracted. Then I added some structural elements with Evergreen strip and shapes. Also, though not visible here, the radiator openings in the wing have to be boxed in or the wing interior is visible. Not difficult at all to accomplish with sheet plastic. Then just a simple matter to glue the wing halves together and add the engine nacelles. One small item that may be particular to my old kit only--the wings were a bit warped and took some finessing to get the proper dihedral of each assembly. Not bad considering the 35 years they spent in the box.
May Group Build--Bf-110
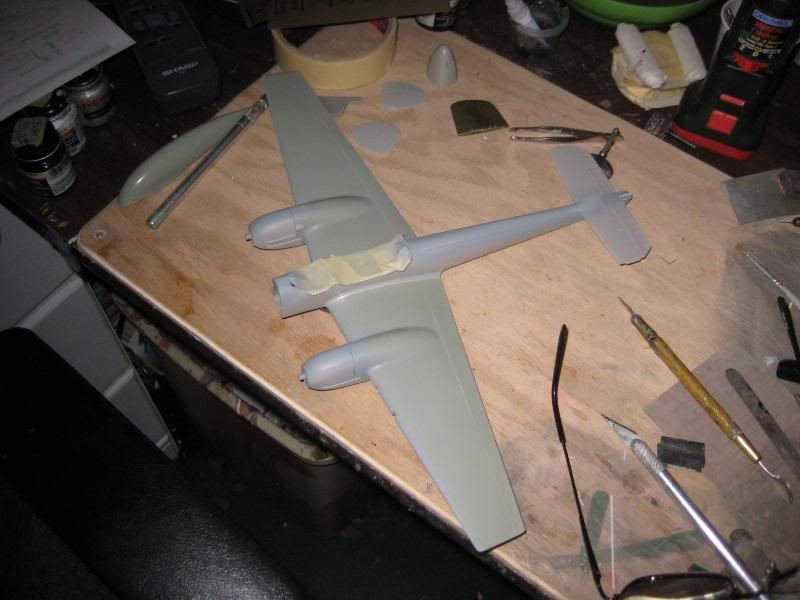
Next I assembled the main components into an airplane. This kit requires very little filler other than the surgery on the aft fuselage. The fit is really very nice.
May Group Build--Bf-110