Bf 109F Eduard 84147
Want to relax? Eduard kits of Weekend edition are just made for that and my choice to relax this days was this Bf 109F from Eduard. It is not first time to built their Weekend edition kit but in most cases, I use them as platform to test various Eduard upgrade products. This time I built it with all of its basic features and I am definitely pleasure.
Weekend edition mean no standard Eduard offer like protective mask, etched set resin (ooopsss… Brassin) and rich decals for choose final version. It is like so many other kits and very good. Kit featured here is Eduard Bf 109F in 1/48 scale, similar products is presented before and this one is with stock number 84147. Box is different designed, instead of in action art, it have two color profiles there, subjects are airplanes provided as options to be built. Inside is, first to mention, assembly booklet, standard as others, full color. In past Eduard has been provided much simpler printed assembly instruction but now they are not differ from others instruction booklets. Parts are given on four grey plastic frets and one transparent and this time I was lazy to make photo of them, buy product and you will em. There is two sheet of decals, one of service data and other unit markings and national insignia.


I use back liner for all corners and result is fine. After it is dried, I place Eduard’s belts and they are provided as decals. Must say that I am impressed with results that I even wanted to suggest em to print decals for belts as standalone product, I am sure many would like to have them. They set good and comfort to surface perfectly. All right, real belts do not set perfectly to surface, they bent in their own way and decals are enough flexible to turn em as you like.
Inside two fuselage half’s goes cockpit assembly, two gun muzzle parts, exhaust, front circular plate and tail. And then you can close fuselage half’s. Then thing accelerate and next to go is horizontal tail and vertical rudder. I skip use rudder in this early assembly step as well in both version provided, they are of entire different color then rest of the airframe so I decide to pain em separately and at very end fit to kit. And that was done like that. Few more parts to go in front fuselage is air intake on side and hinge at the top of engine (idea to make it as separate part is so good!). Rear plate goes into cockpit and some later will be add last part in cockpit, gun sight and then it can be closed with cockpit canopy.
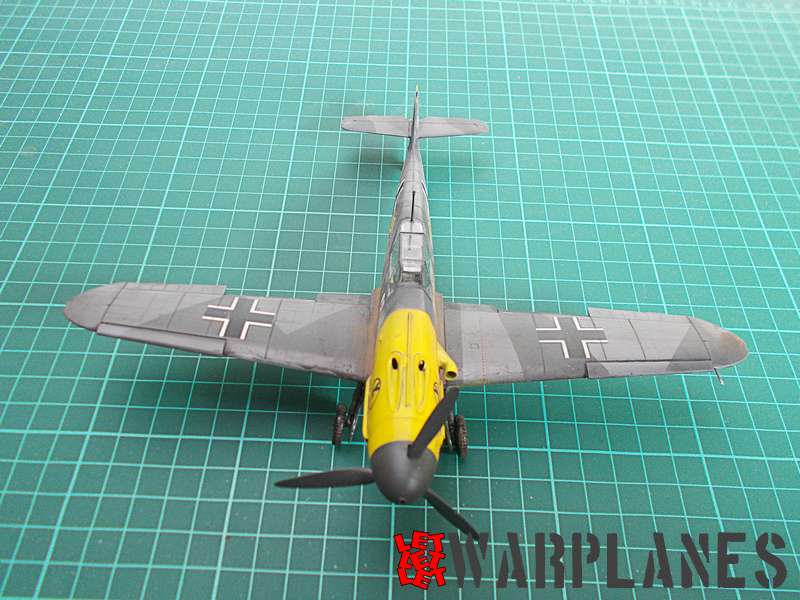
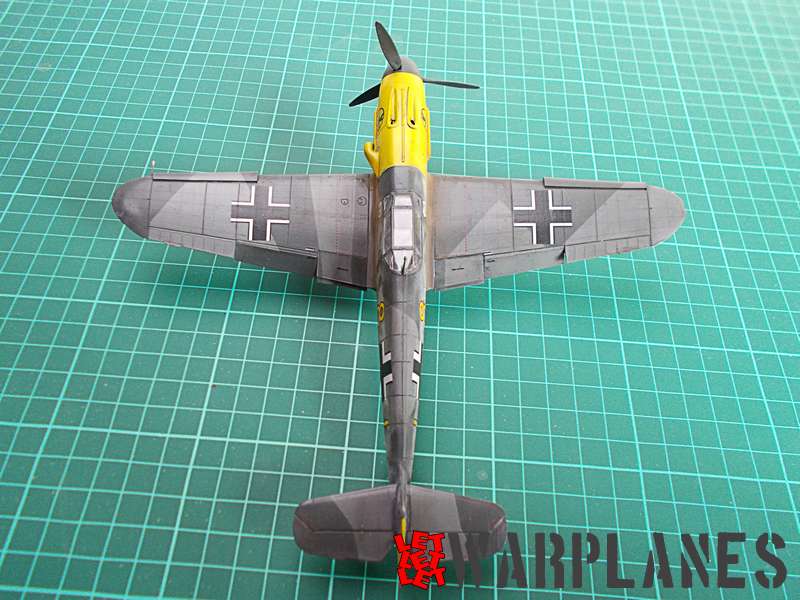
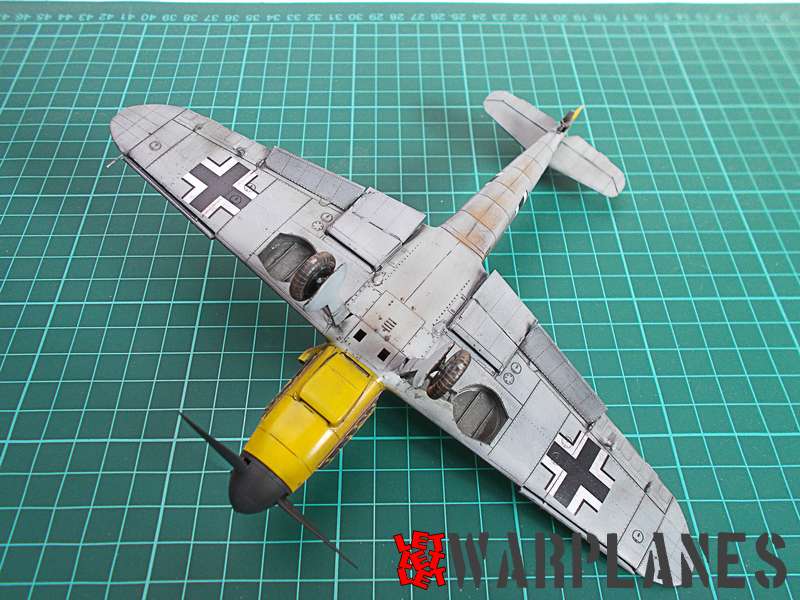
Wings is story for it self, work with wings start with few parts inside, which consist wheel bay and then wings can be assemble, there is one bottom and two top parts. Nice to mention that all parts fit perfect, no need for any trim work or filler. So the nest to go is roll tabs and slats. Slats is in open position and surface under it (slat housing), need to be in RLM 02 Grau. In same color have to be coolers under nose and wings as well inner flaps. Landing gear as well interior of undercarriage bay are also in RLM 02 Grau. It is on you are you going to cement landing gear during regular assembly steps as proposed in instruction or you want to finish it separately (this give option to give more details to the parts).
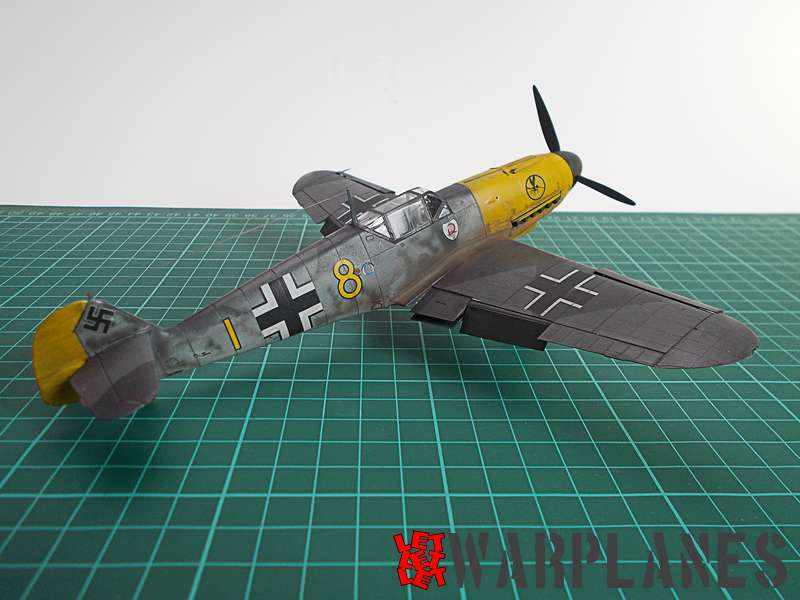
Very last assembly steps is mounting of cockpit canopy with aerial must and propeller. I did assembly propeller but finish it separately and attach on kit nose. Canopy was masked first and then cemented. After coat of primer, kit was ready for painting. My choice for the kit was to do a sample flown by Fw. Heinz Jahner, from 9./ JG2, operated from Ligescourt, France, summer 1941. There is one archive photo available and far enough for me as general reference.
Kit is nice, nice to build, without any stress and problems. Good proportioned, good designed and with attractive markings, it look very nice as completed. If you like it, you can find it here and my thanks goes to Eduard for the sample product.
Srećko Bradić


