Eduard Harrier 1/48 1166
Beware of wing/fuselage connection on this kit!! Maybe not best way to start review but this area is critical point on this kit so better to warn up those with less skill in modeling. Eduard did marvelous job on upgrade original Hasegawa kit of Harrier GR 7/9 but what they was not able to correct is this bad constructed elements.
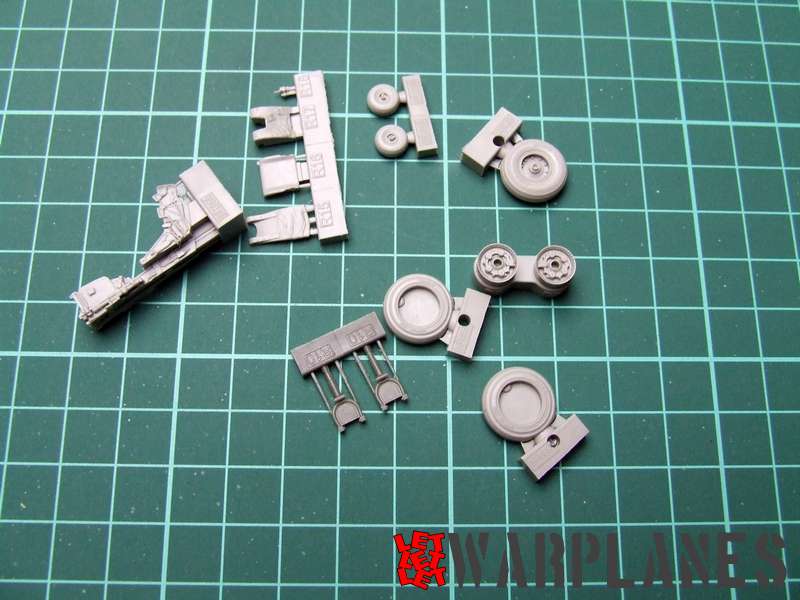
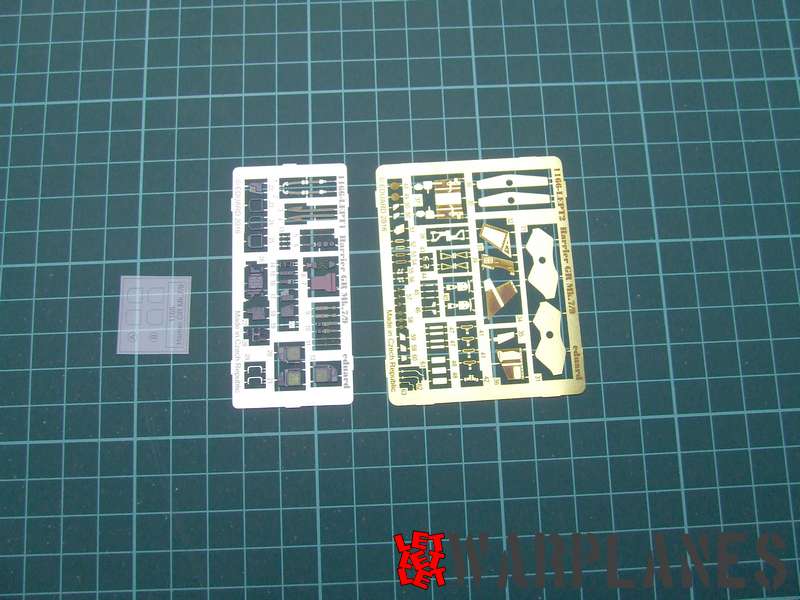
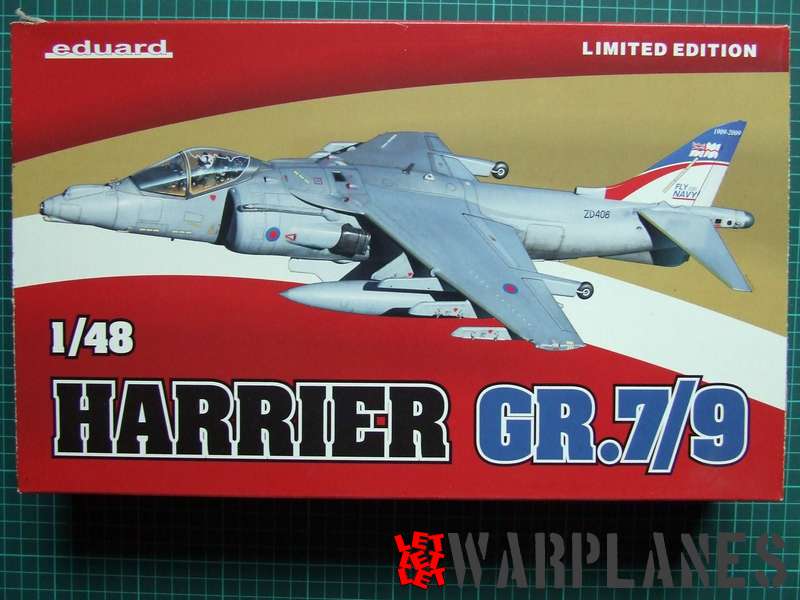
Year ago Eduard has deliver to market upgraded kit of Harrier GR 7/) in 1/48 scale. Kit have excellent features in general, released as Limited Edition and stock code is 1166. Content is huge, 15 frets with parts (including glass and rubber), two etched sets (painted and bare metal), Brassin parts for wheels and pilot seats, film for HUD, two sheet of decals and excellent instruction… all of great details and quality!
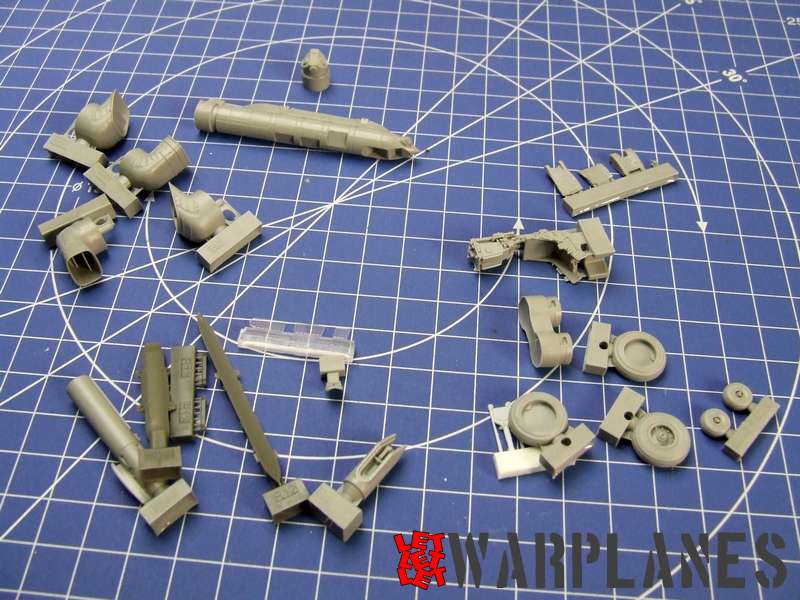
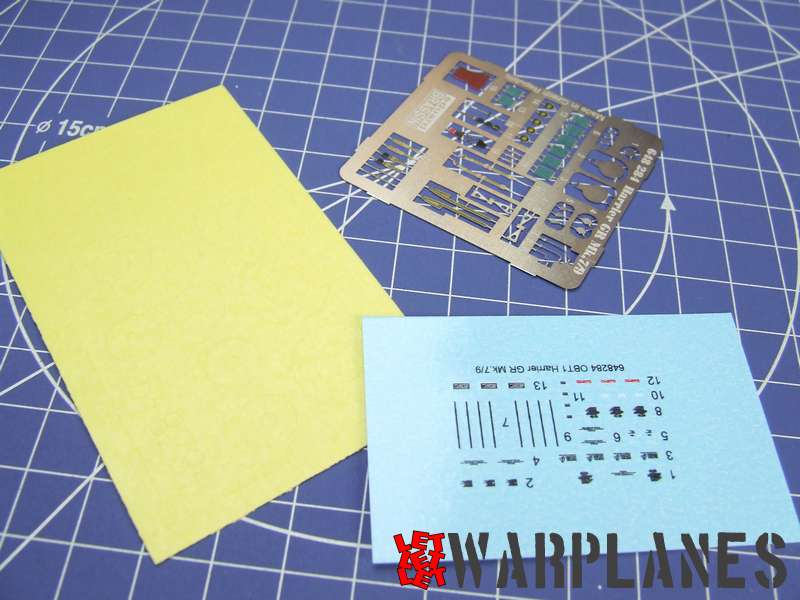
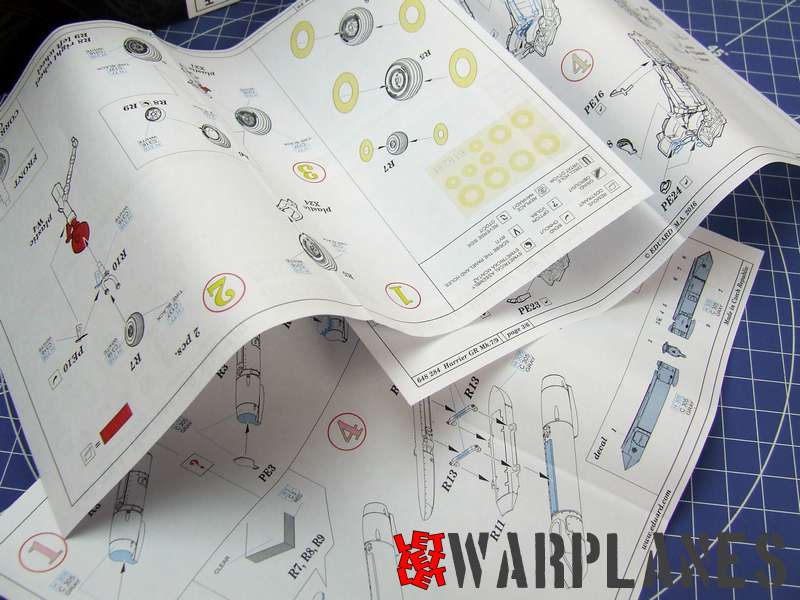
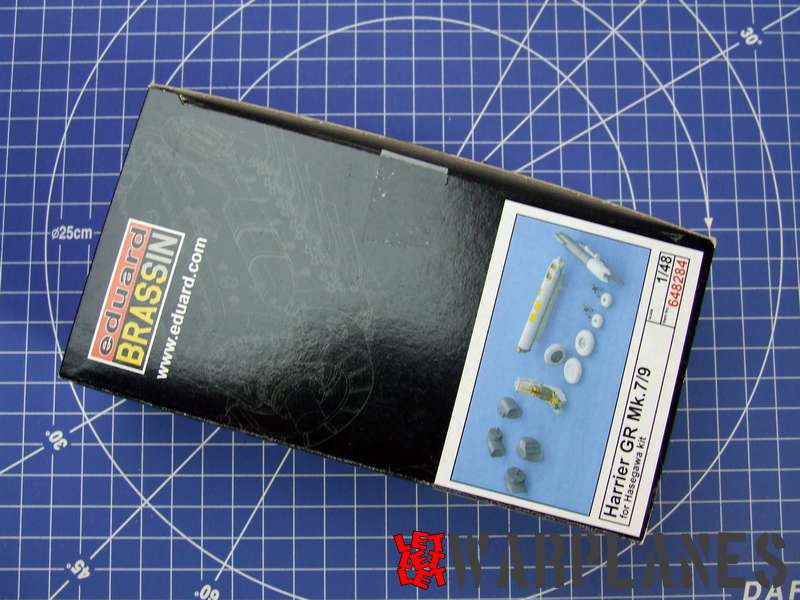

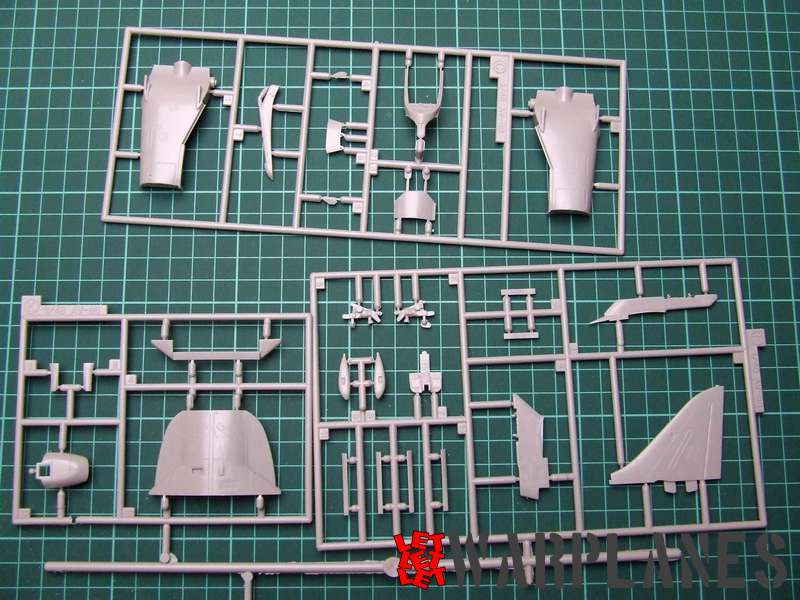
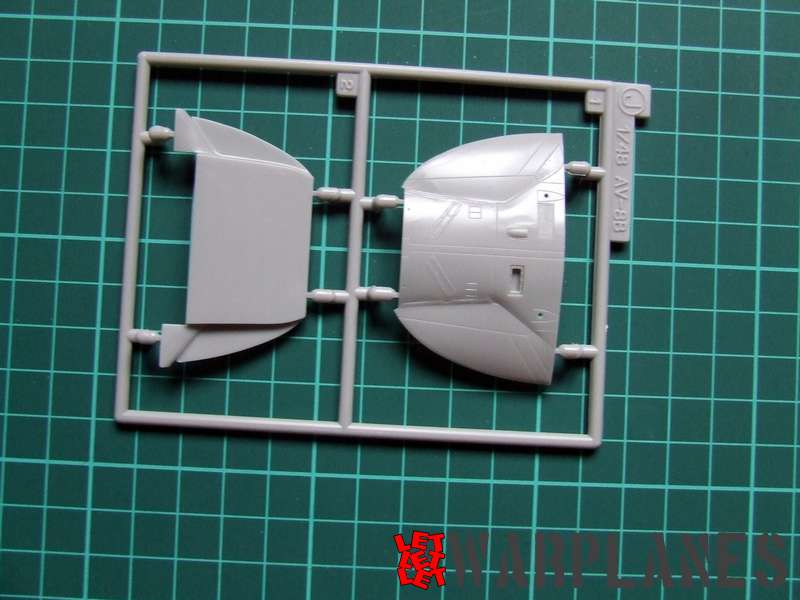
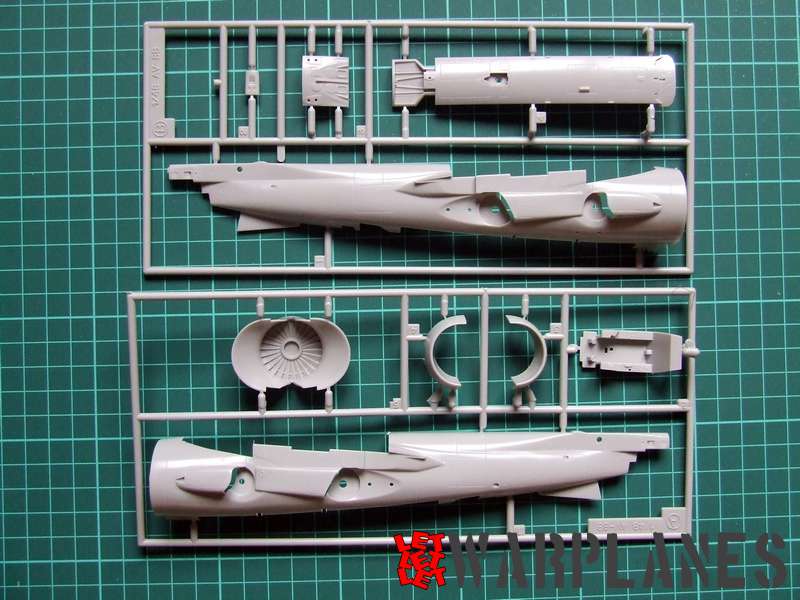
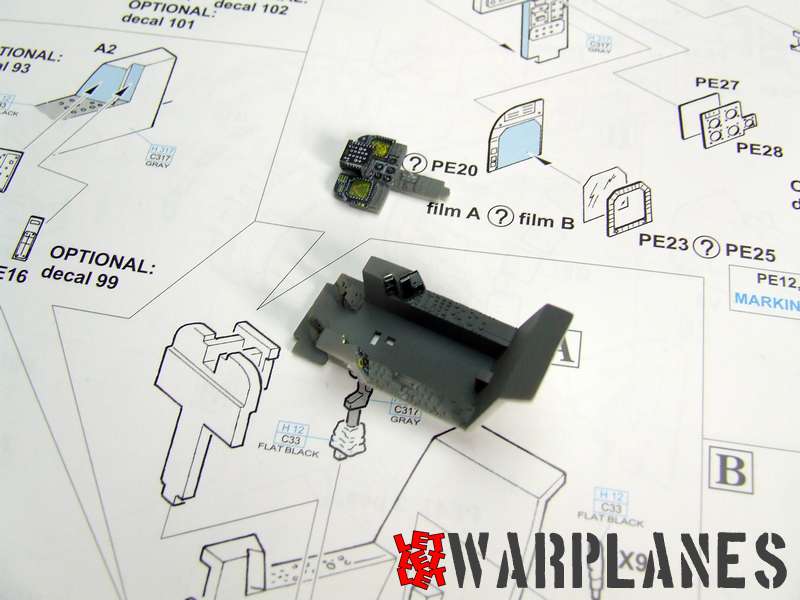
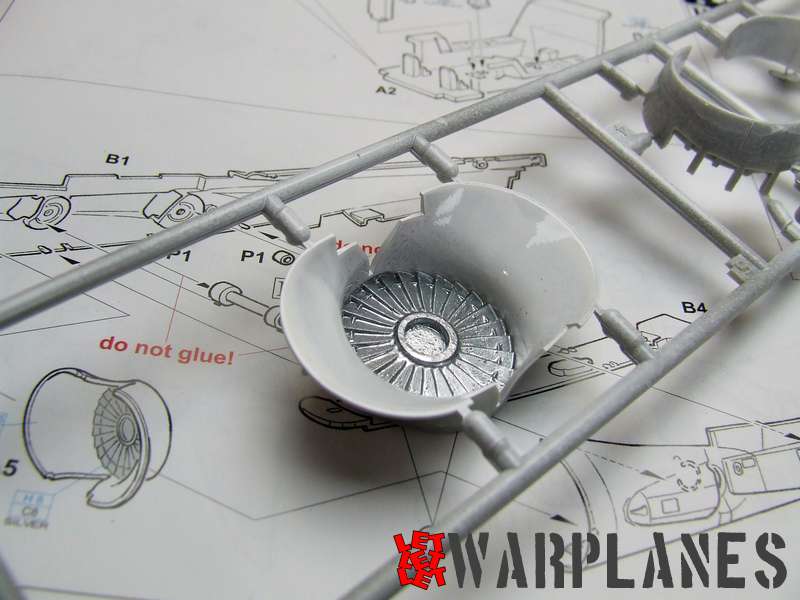
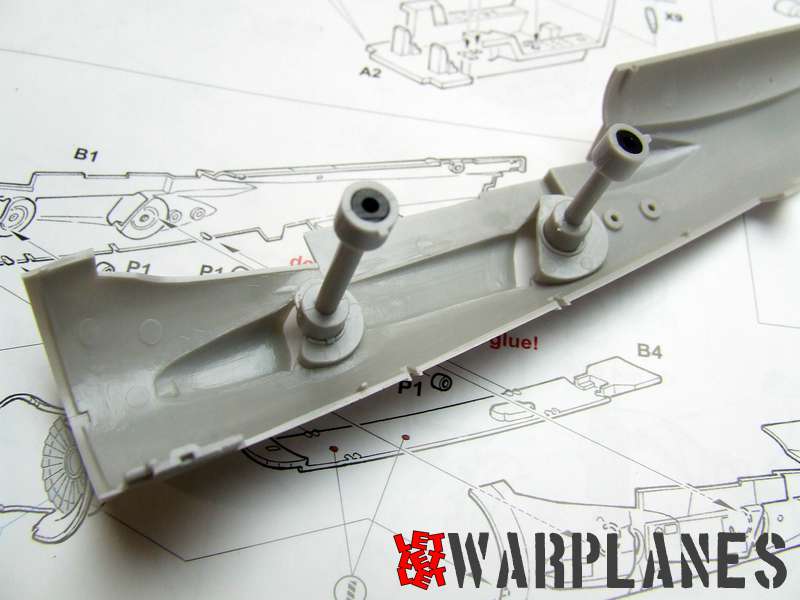
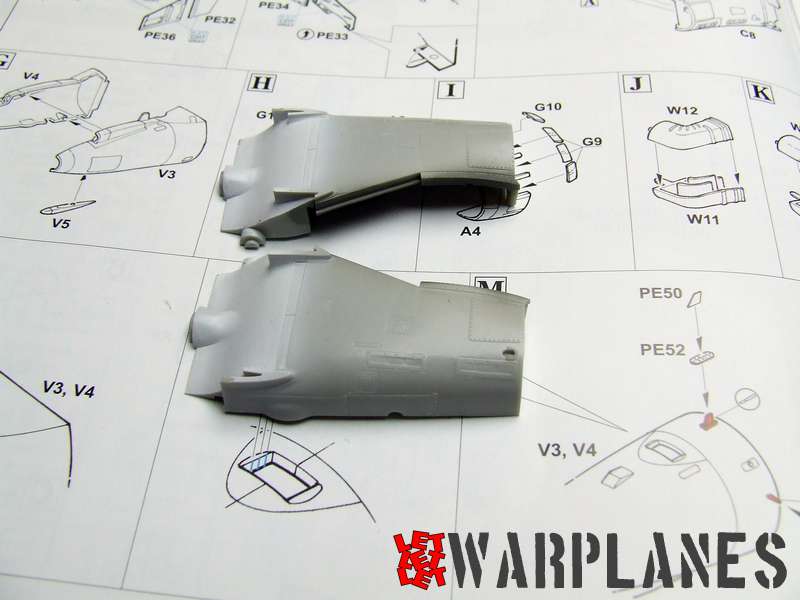
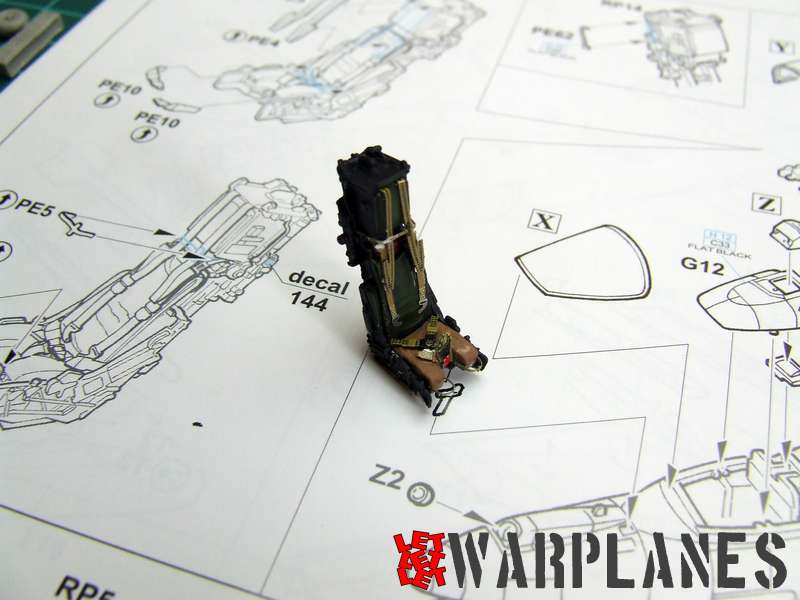
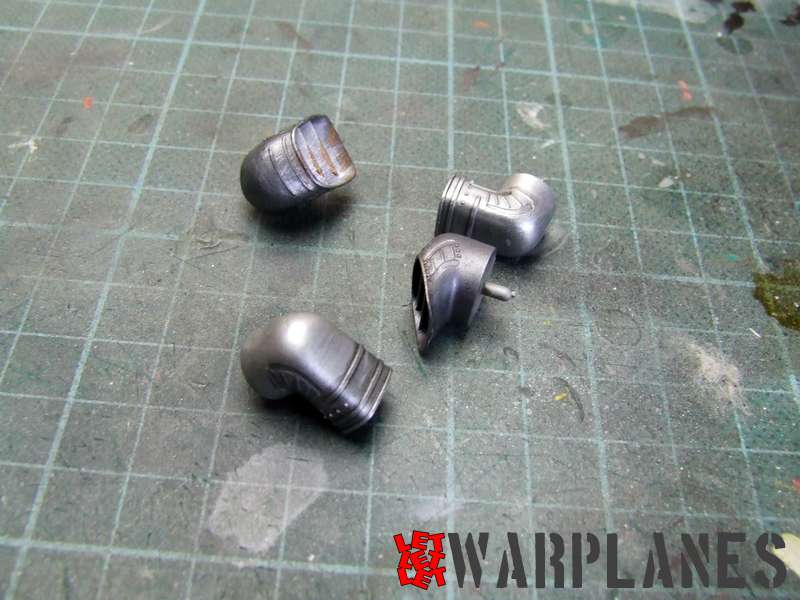
The same Harrier is airplane with vertical take off/on capabilities, its configuration differ from other airplanes so this affected elements and parts of this kit to be a bit different then on other kits. So, kit do start with cockpit elements assembly as many others but also include some plastic rod in fuselage, where will be attached exhaust nozzles on the kit at the very end of assembly. Interior of the cockpit is mostly in grey color. Work there going parallel, on rear fuselage as well front fuselage, where is cockpit. Actually, there is cockpit section as well separate nose section. Instruction also note that in stage when we assembly fuselage also need to attach exhaust plate as well exhaust nozzles. I make there two decision, first to use nozzles from Eduard additional set for Harrier, 648284 (photos is included in first gallery) and to let me attach at very end, what is far better to me.
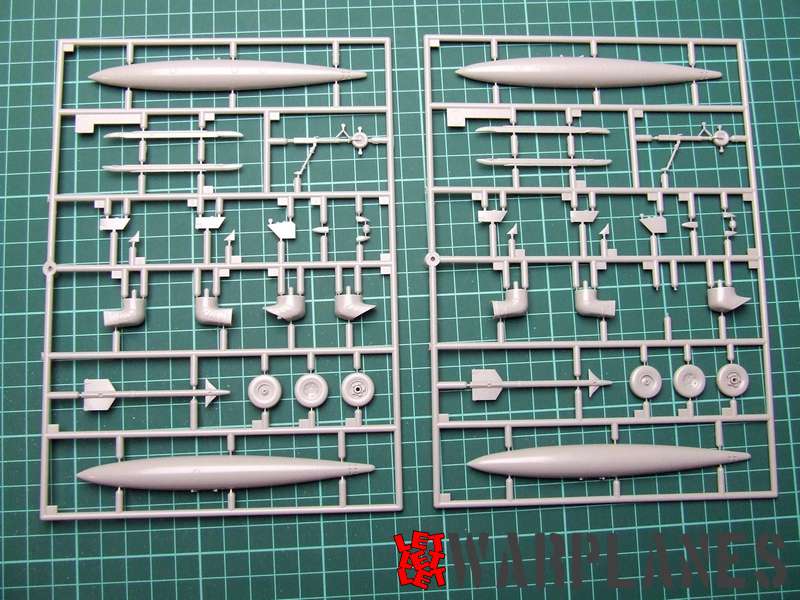
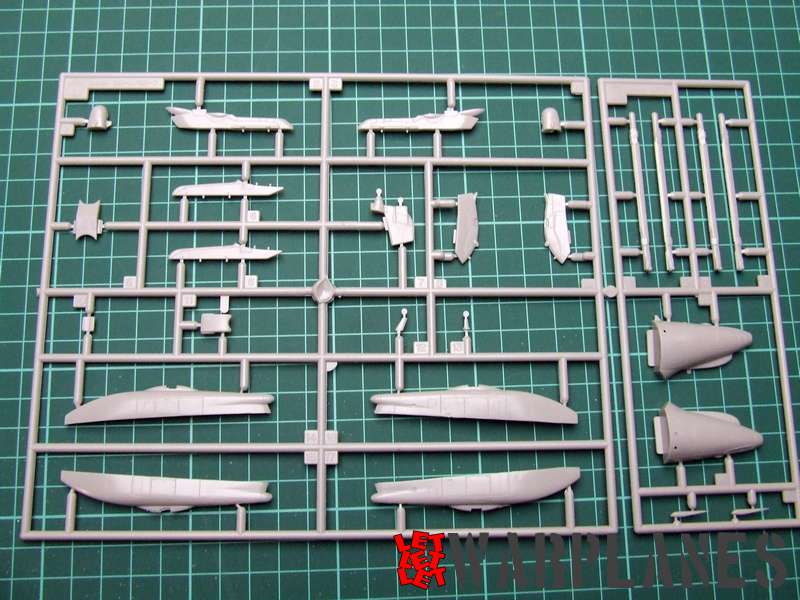
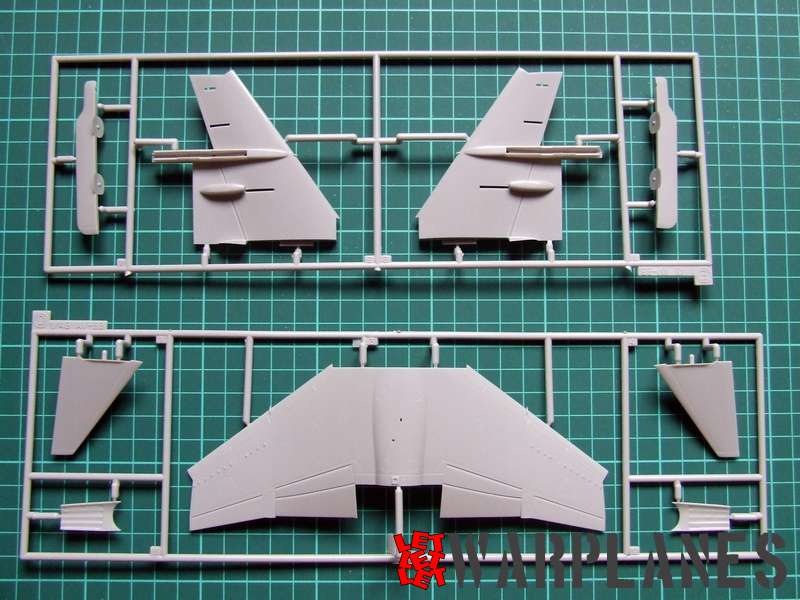
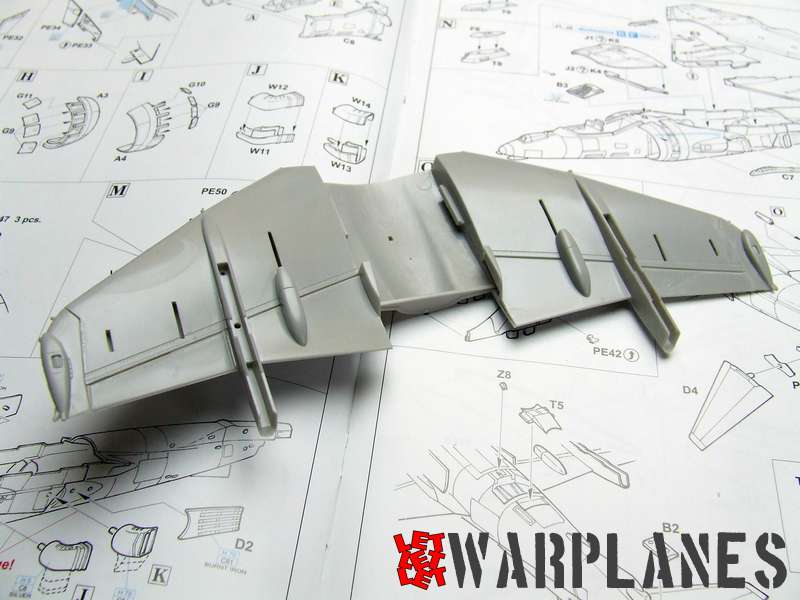
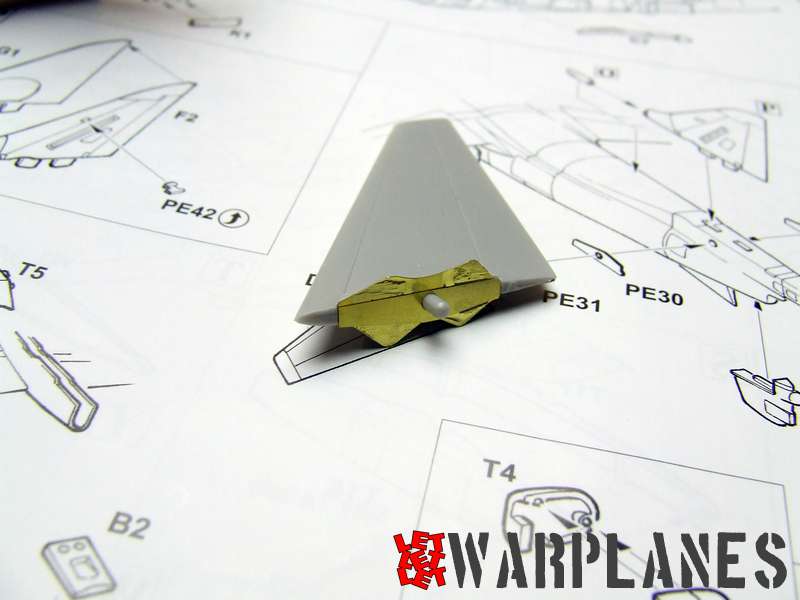
And then comes the wings. There is two options for wings and both have different front streak area. I choose the one which fit my kit and follow assembly steps. Problems arise when I have to attach completed wings to fuselage. It simply did not go. Not match in shape, not dimensions and I note small bend of plastic (which can happen during production, not big deal, just little warm water fix that). So I spent some time, in trimming and setting wings on fuselage and I need strong clamps to hold em in position while it cement dry over night. Next day I fix rest of wing, so in general, this took a day to complete. If you survive this, next to do is tail area and landing gear.

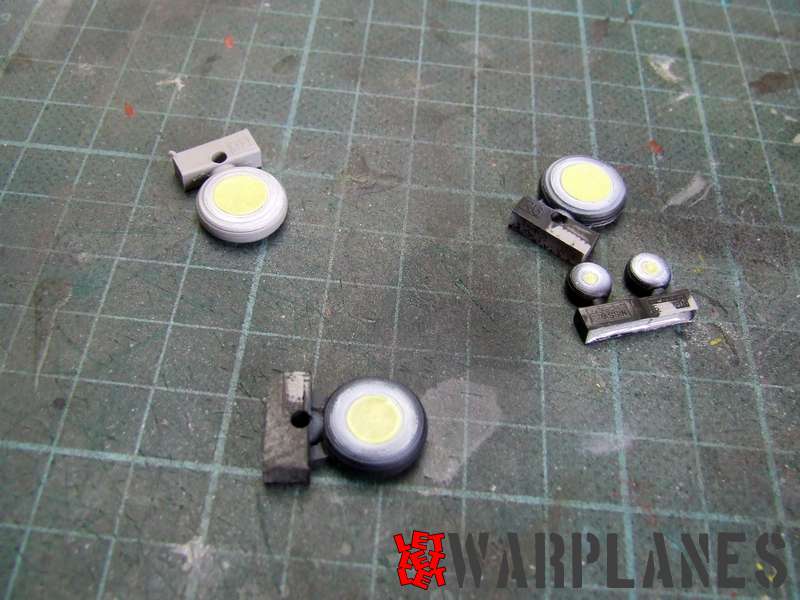
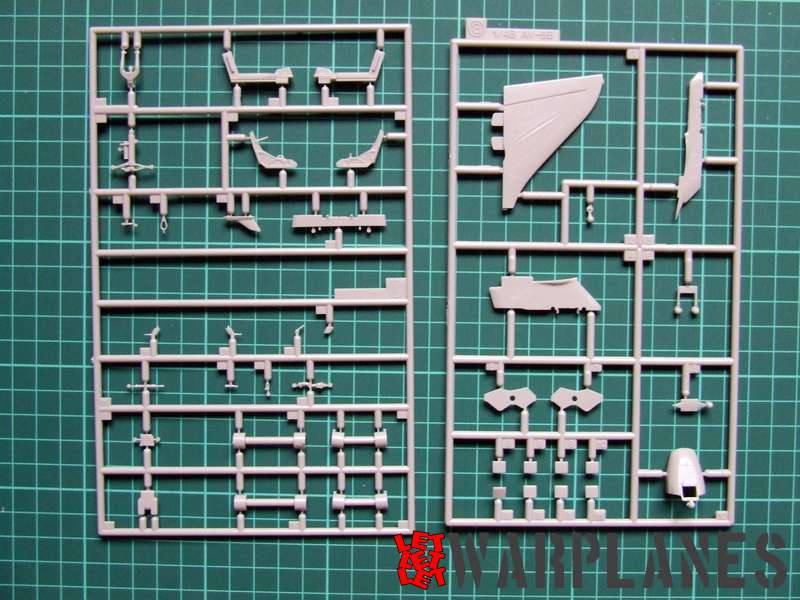
Nothing special to note about tail but for wheels, I have paint wheels and rest it for last steps of assembly. What I do is place all landing gear struts and paint em white. They are easy to protect from surrounding color, when apply in later stage. Number of pylons are under the fuselage and wings and they are always mounted there, as I can see on photos of actual airplane.
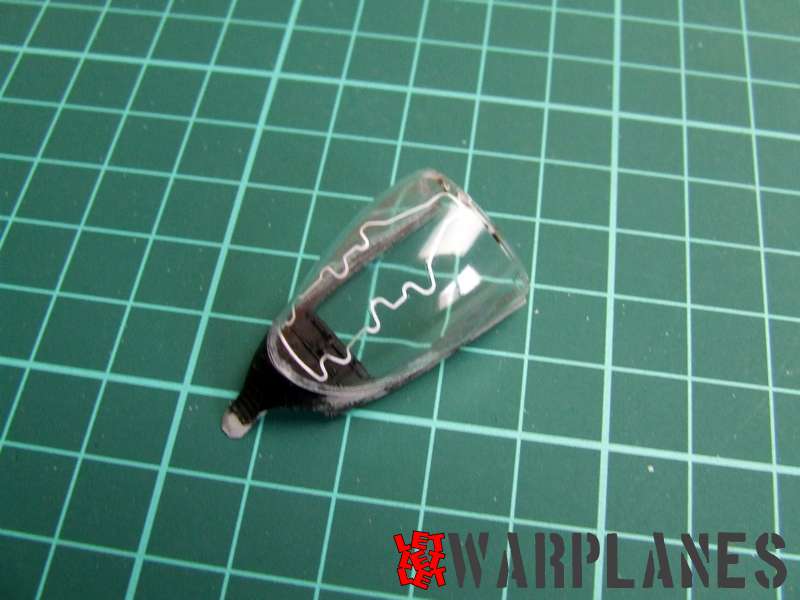
Last stage is closing of cockpit by add seat as well canopy elements. What I like there is explosive provided as decal and it goes under cockpit canopy.
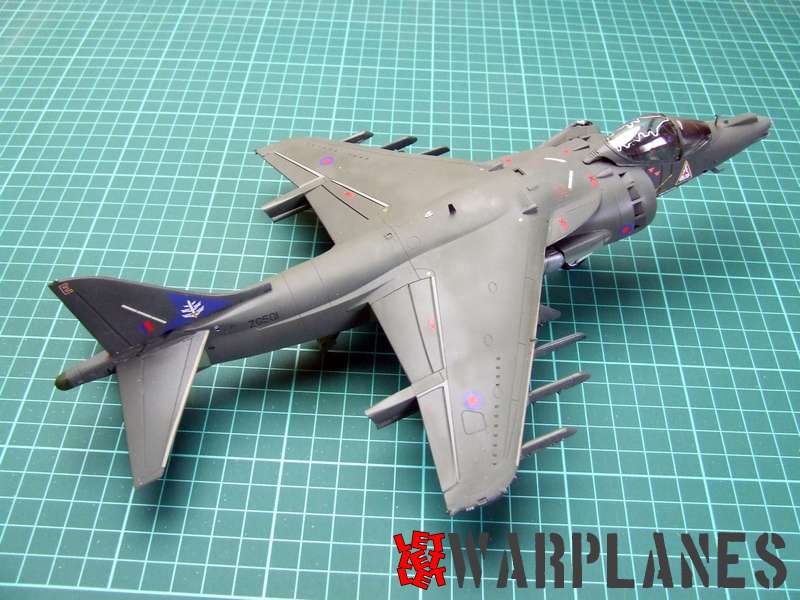
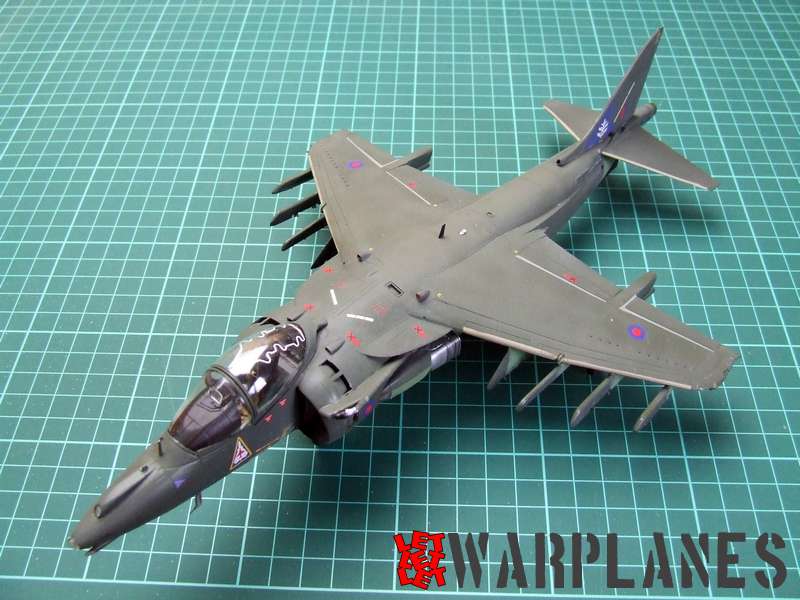
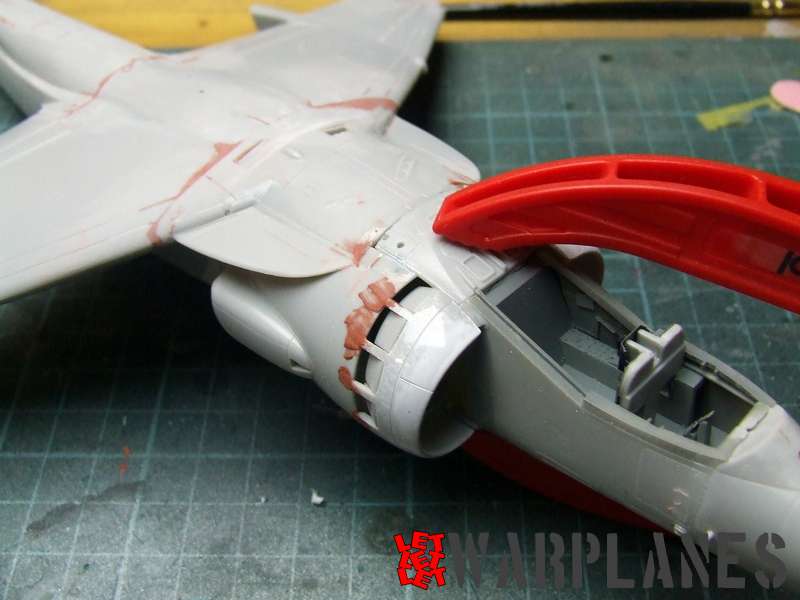
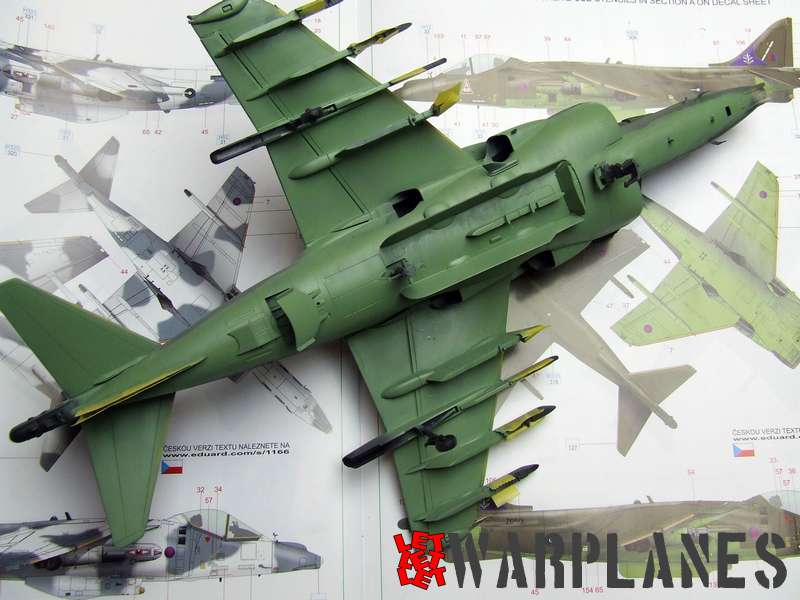
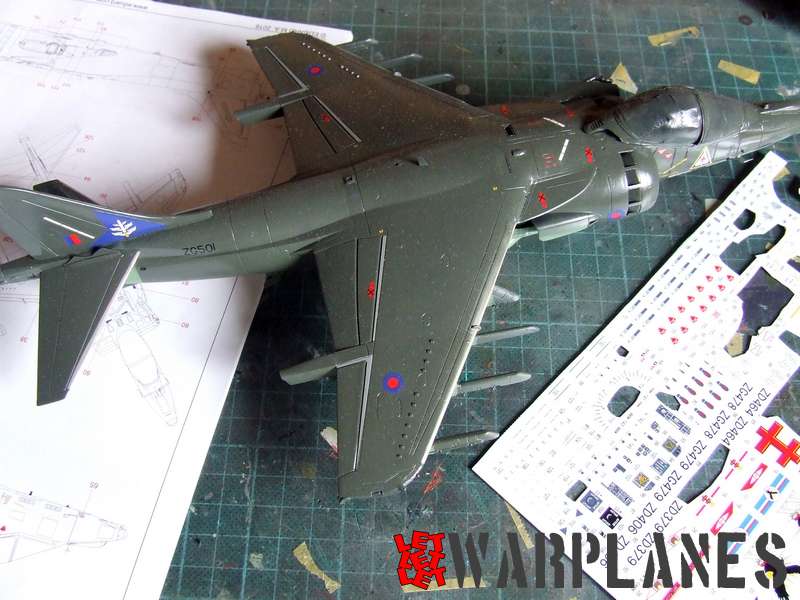
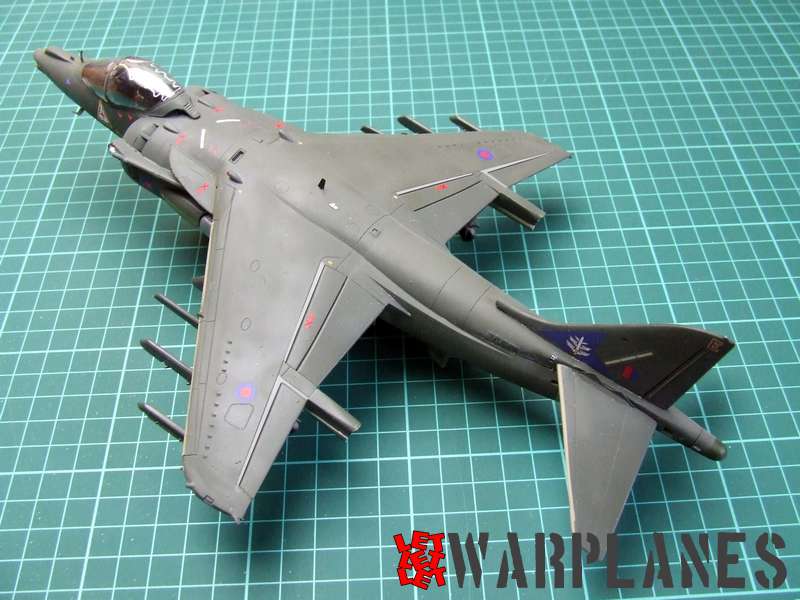
For painting I took sample machine Harrier GR. 7, ZG501, 1996. This is interesting machine in having bottom of wings and fuselage in light green and top in dark green. I note also that pylons under wings are most light green but front parts are in topside dark green.
Final results is nice, kit do look great. Only take attention on wings problems. You can find this kit here and extra set here! Big thanks to Eduard for sample products.
Srecko Bradic


