Dauntless by Eduard
‘Slow but deadly’ was a nice description of the Douglas iconic naval dive bomber Dauntless. A plane which served in many battles, won many victories over the enemy and become a very popular subject amongst aviation enthusiasts. A number of manufacturers have released kits of this plane. One of them was delivered by Accurate Miniatures in 1/48 scale and it is again re-packed by Eduard with additional details. That must not have been an easy job as the Dauntless has a large cockpit with many details inside. That was a great challenge but it is released nicely from Eduard.
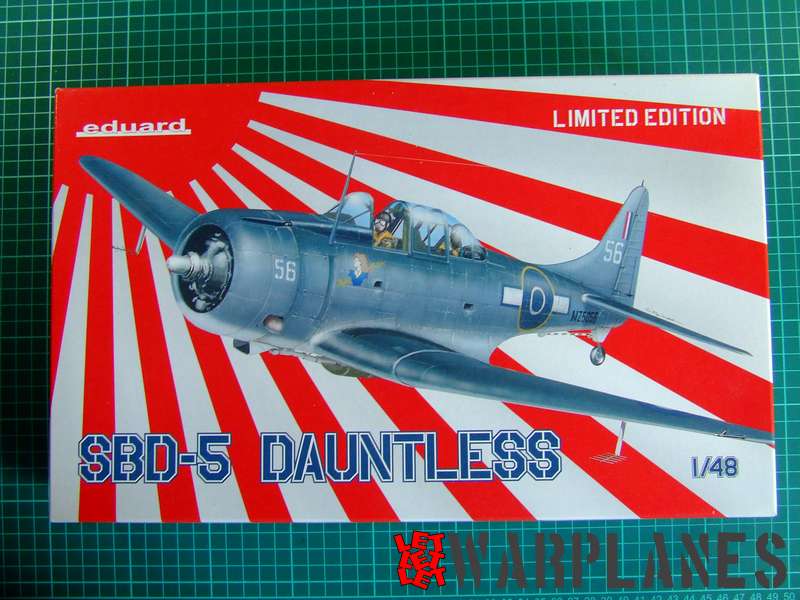
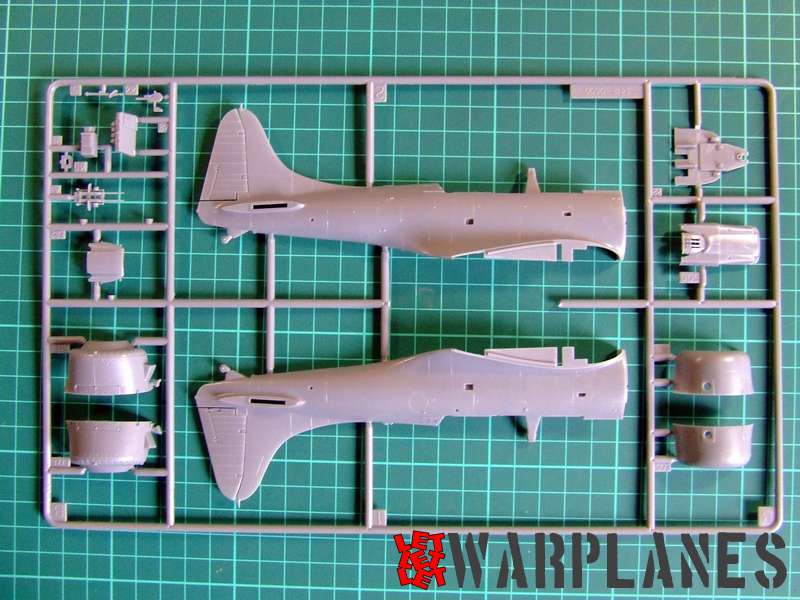
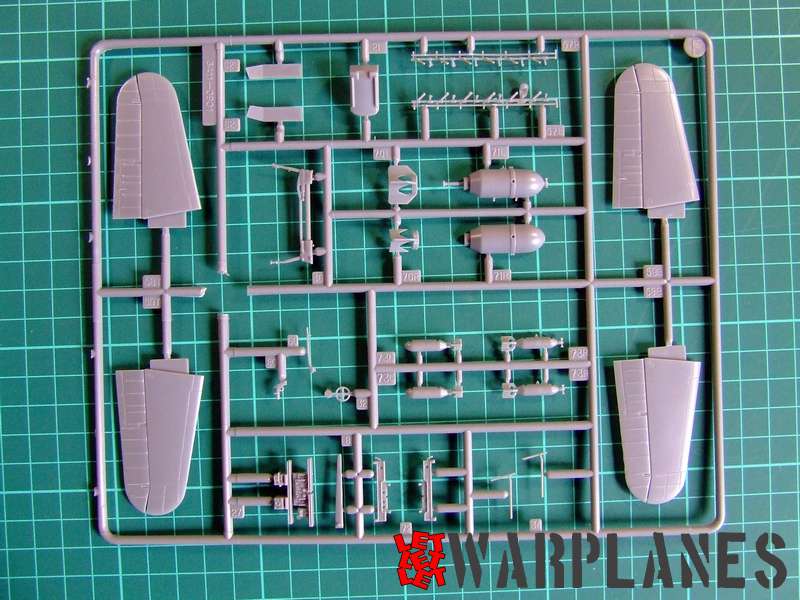
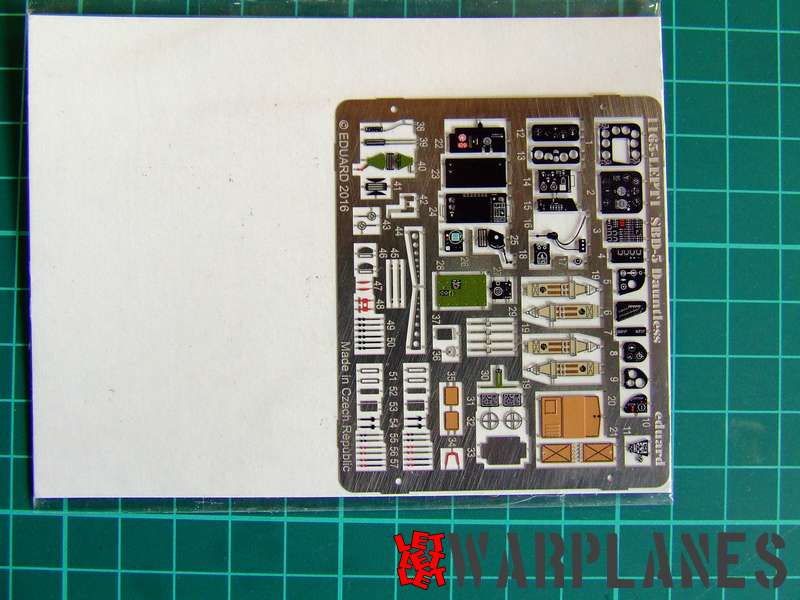
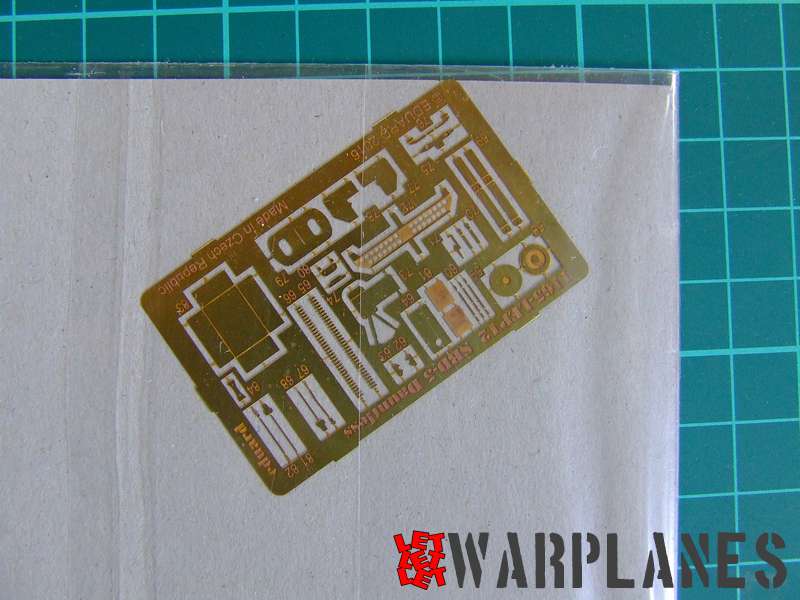
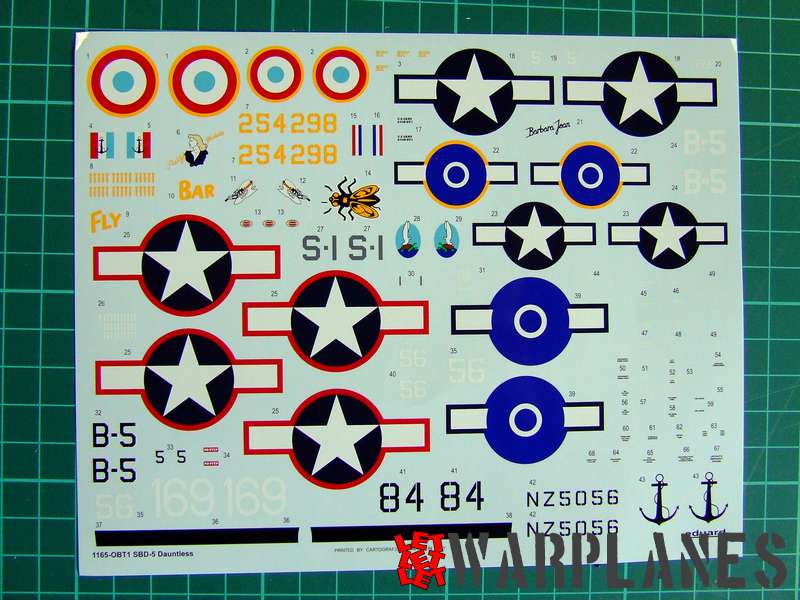
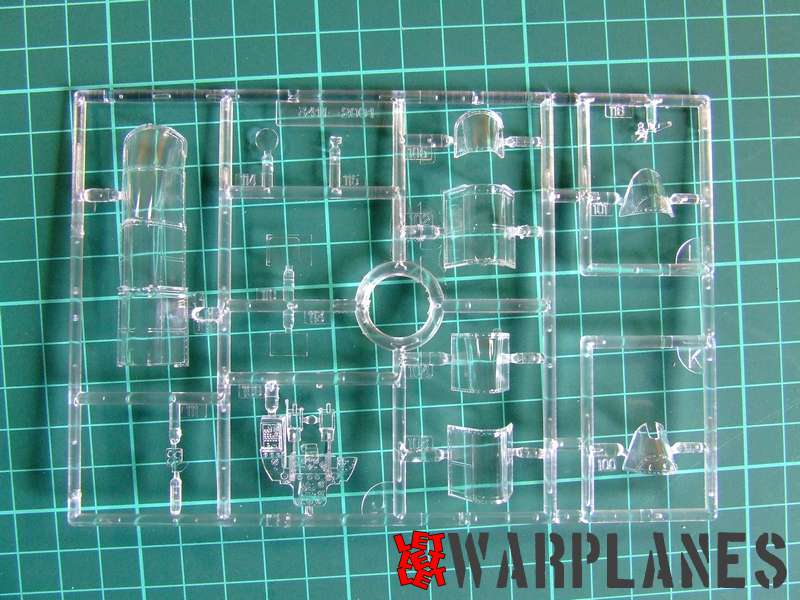
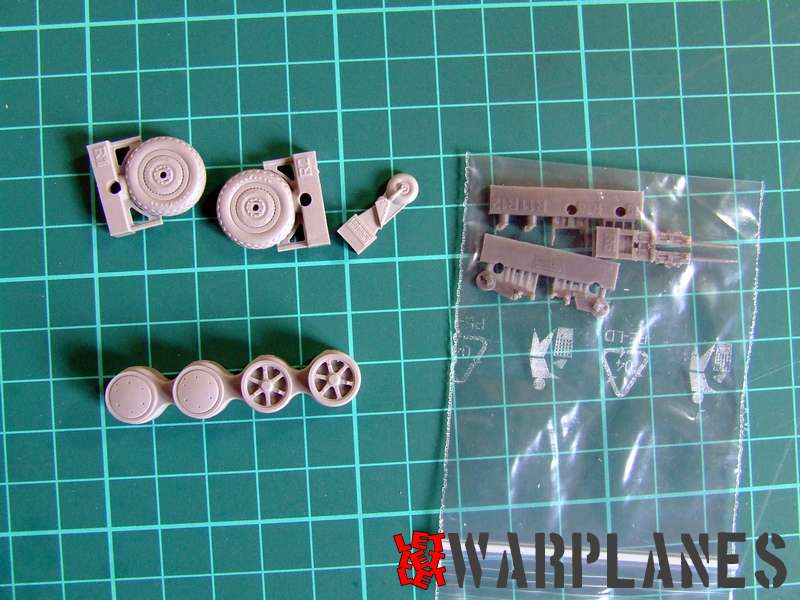
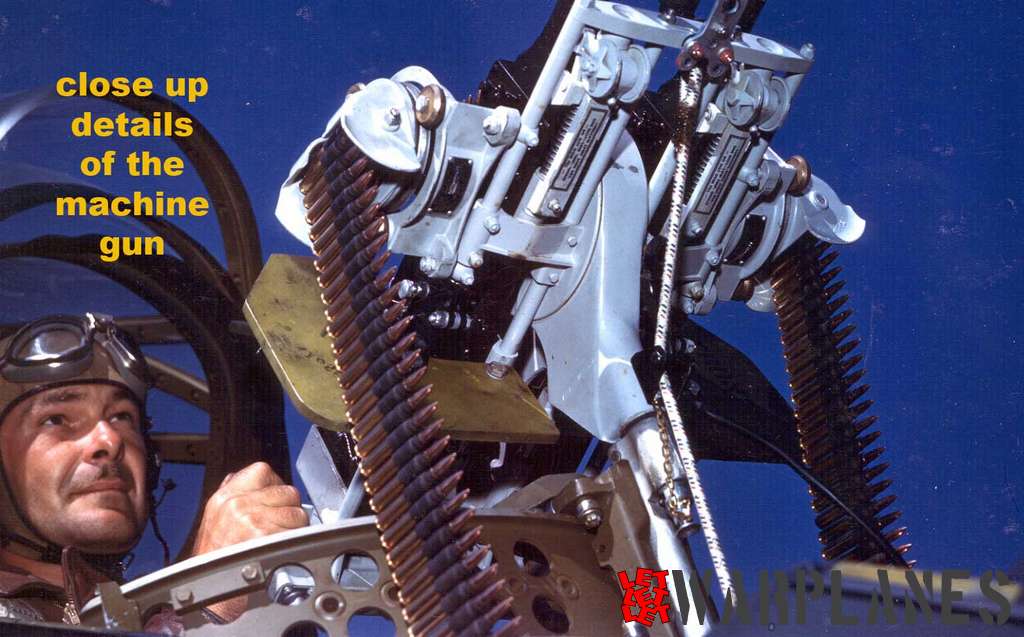
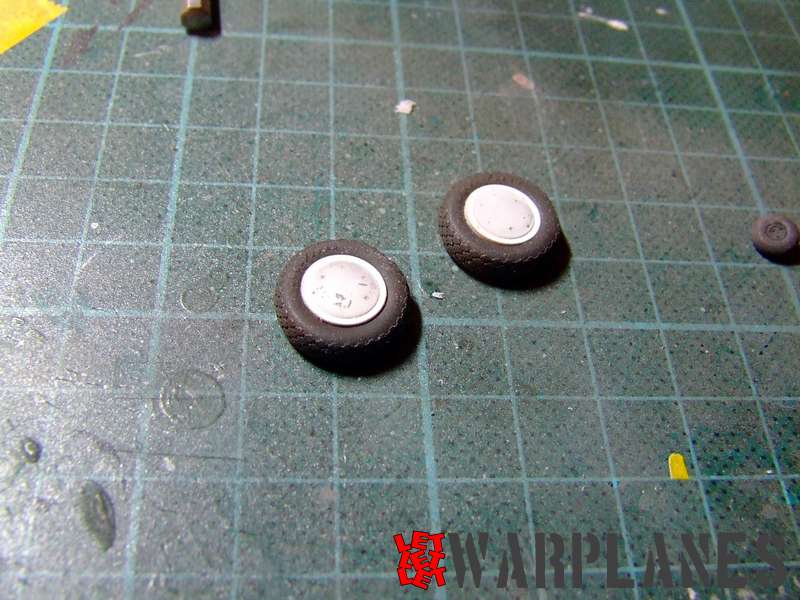
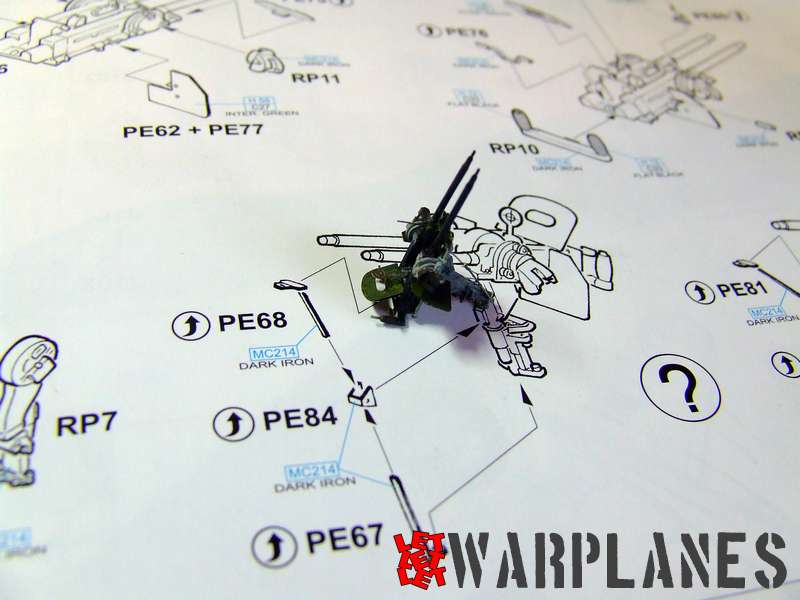
Box art is nicely done, Dauntless in flight with Japanese flag in the background. The kit has stock code 1165 and is released as a Limited edition. It is very interesting and possibly the best sale edition ever released. Inside the box is an assembly booklet in full color, starting with a part list (marking those not to be used), followed by easy and nicely presented step by step assembly and with final pages providing nice subjects for painting schemes. Seven frets of plastic parts are inside, one of those in transparent plastic. They are good molds, no problems with fit of parts during the work. Then comes material made by Eduard and first of all to mention are two sheet of etched parts, one with painted elements and the other in basic brass color. The one with painted parts is primary dedicated to the cockpit and it is really rich!! The only thing I miss is the small radar display placed in the rear cockpit. The other sheet includes parts which mostly go into the cockpit and the machine guns benefit most from these. Brilliant craft work from Eduard!!! Decals come on one sheet only,as there are not many stencils on the real aircraft, so there is no need for an additional decal sheet with stencils. All are here and print quality is top! Quick protection masks are so important so they are here too. As the Dauntless has so many windows frames, they will save much of your time (or maybe nerves) and make the job precise and clean. And yes- resin parts! There are wheels, tires (excellent texture on them!) and machine gun parts!!! It looks like a complex job to make machine guns but it is not and I hope that the images provided here will be helpful.

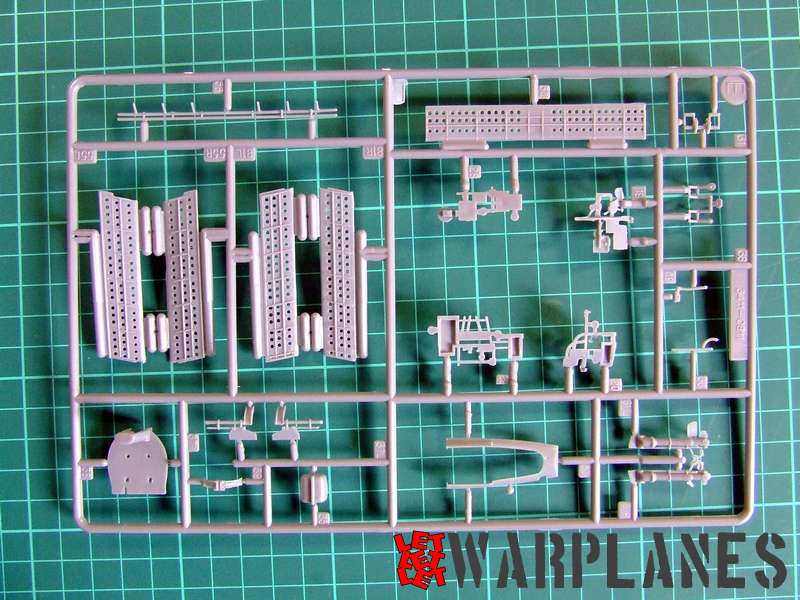
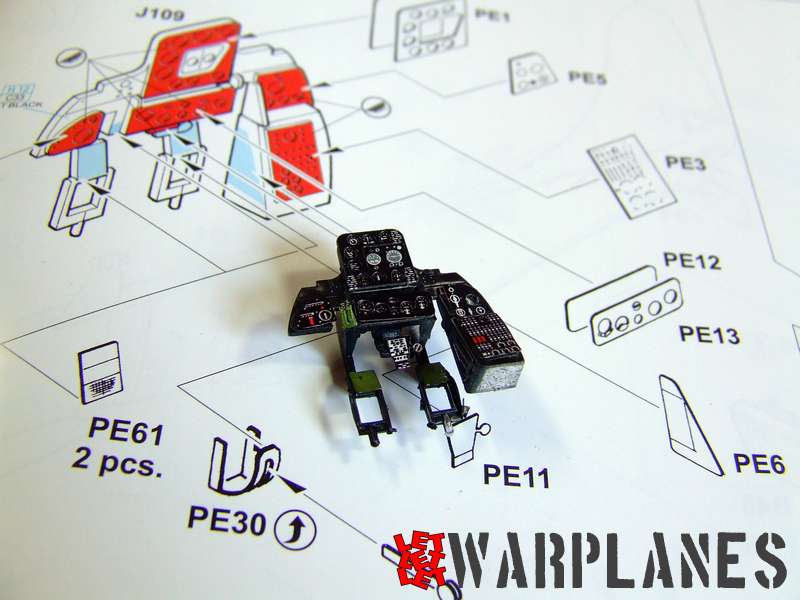
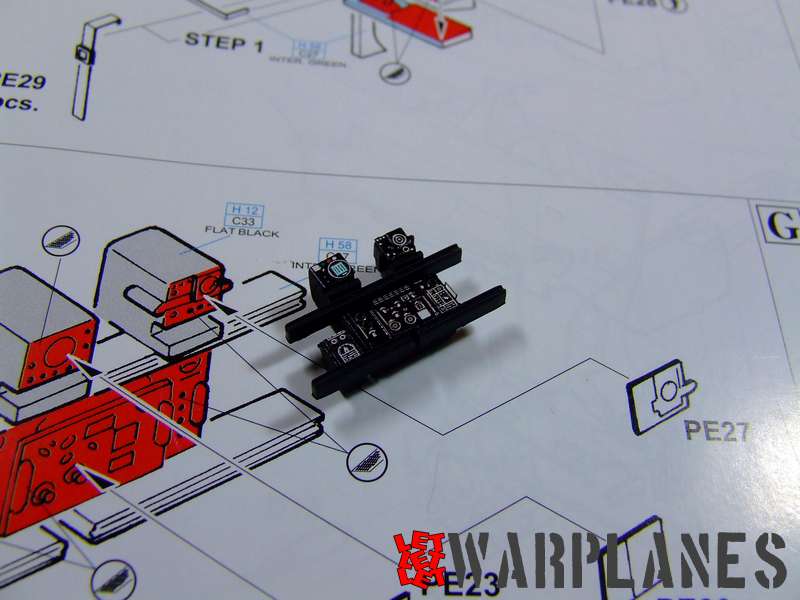
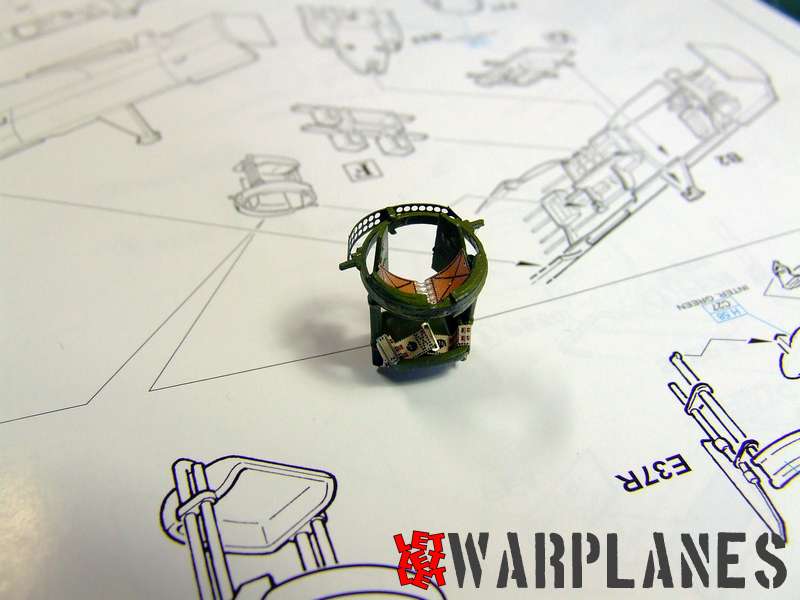
Assembly is started with removing selected cockpit elements, joining some of them and spraying in basic primer (Black Mr. Primer). It dries relatively fast so after that I spray a coat of Interior green on parts. The Dauntless is maybe a bit boring for those who like highlighted details as most of the parts, including small ones and even wires, are in interior color. While the paint is drying I have assembled the pilot’s instrument panel, so nicely detailed and easy to do. Some etched parts and sections replace original plastic elements so it is important to remove first before painting and use of etched parts. This simply means that the basic kit is well designed. The instrument panels go on the painted and washed floor. On one side of the fuselage halves go many other cockpit elements, they are instrument panels or some items like the bag on the front port side of the Dauntless fuselage. Work on this section takes maybe most attention of the entire kit build. Rear cockpit includes also detailed equipment like the radio unit and masterpiece elements like the rear seat. Care must be taken with work on the rear seat. It includes a perforated frame where later will be attached a machine gun, so be absolutely precise, otherwise, you could have a problem in the final steps when attaching the machine guns.

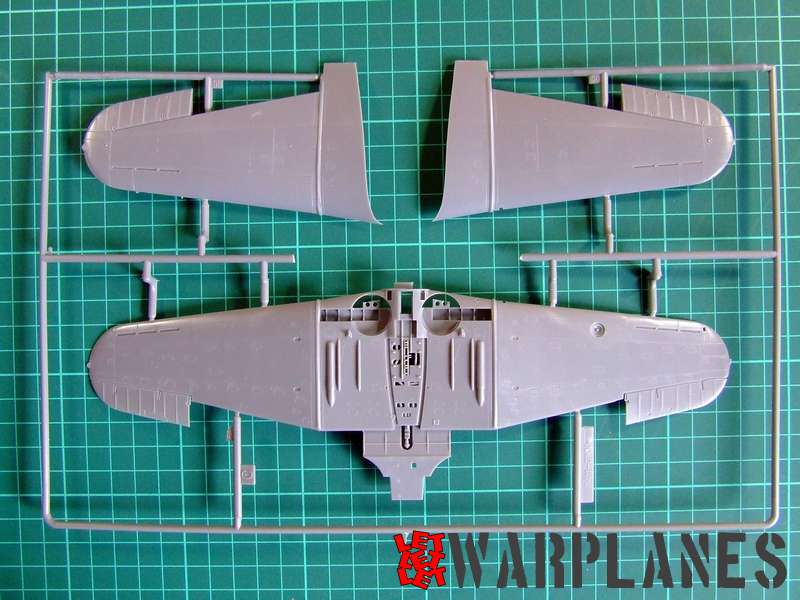
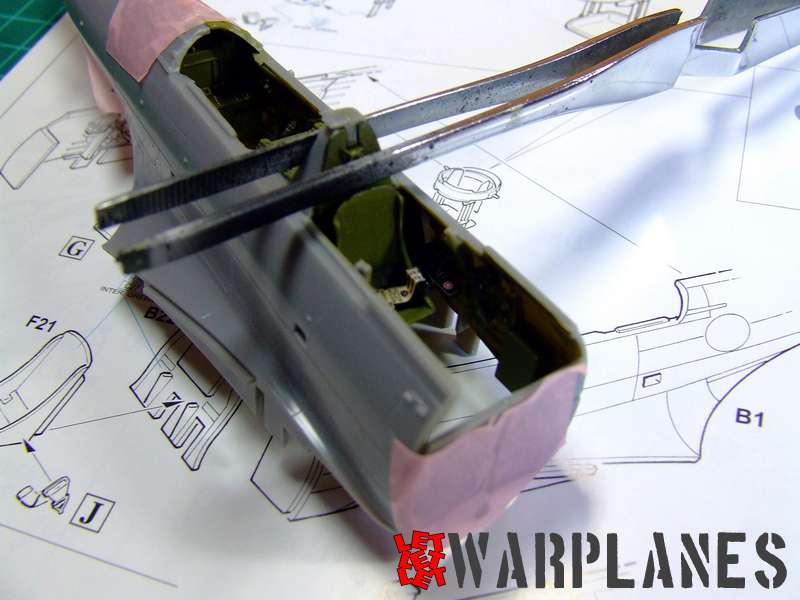
Maybe I missed something during parts preparation so I needed tape to hold fuselage parts when I joined them together. Luckily for me, the parts joined well and little filler was required. Interesting to mention is that the cockpit floor with its elements is designed to be inserted through a hole in the bottom of the fuselage and for me, this is excellent. It enabled much easier manipulation during the work and reduced the risk of any part being damaged or lost. While the fuselage was drying, I assembled the wings. They are so simple, bottom part and two top parts. First what needs to be done is to drill some holes, then place bottom on fuselage and add the top wing elements. In the same step can be placed the horizontal tail. Just in case, I covered the join line with filler and later I rescribed panels.

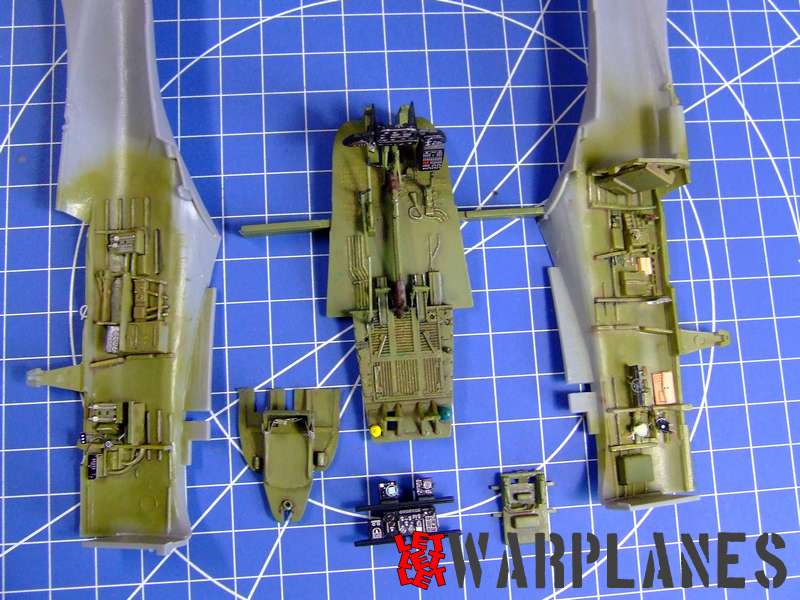
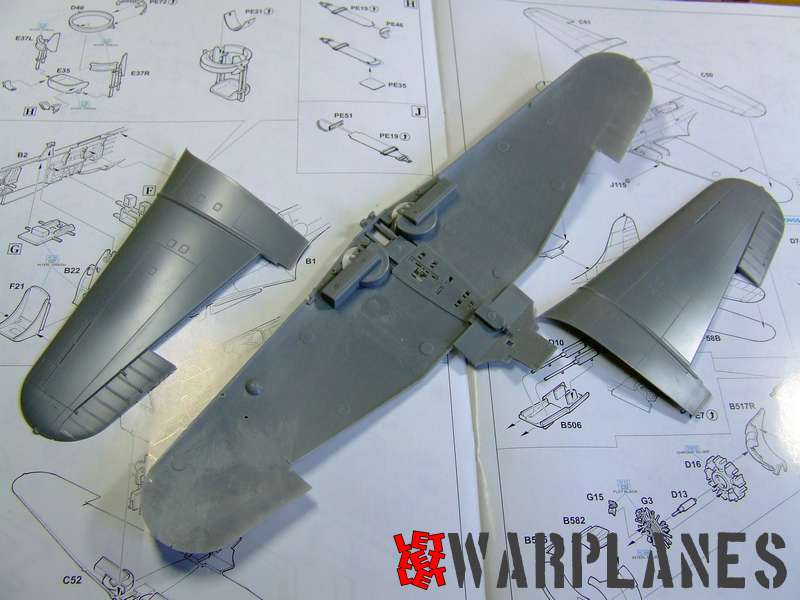
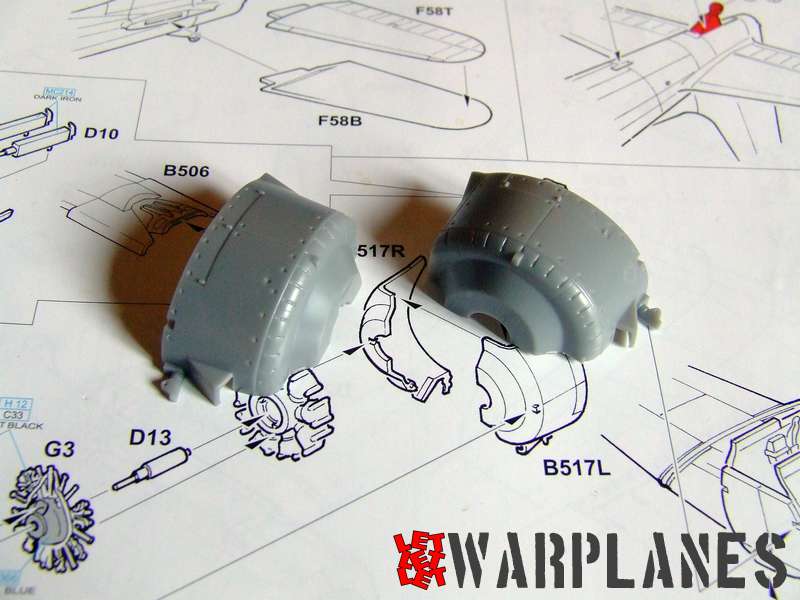
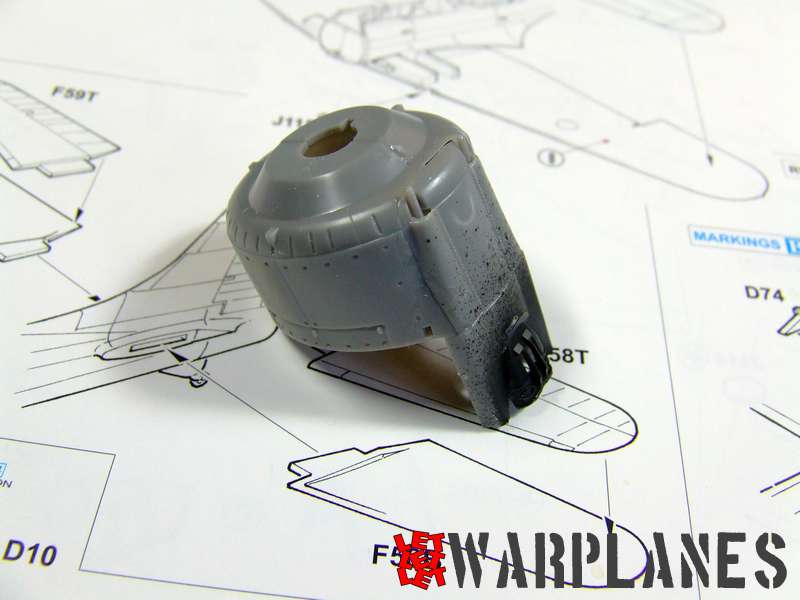
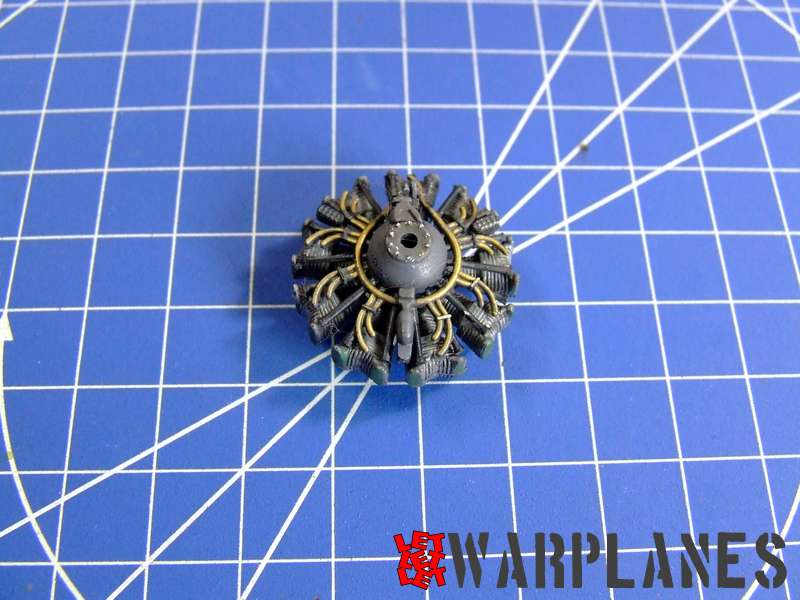
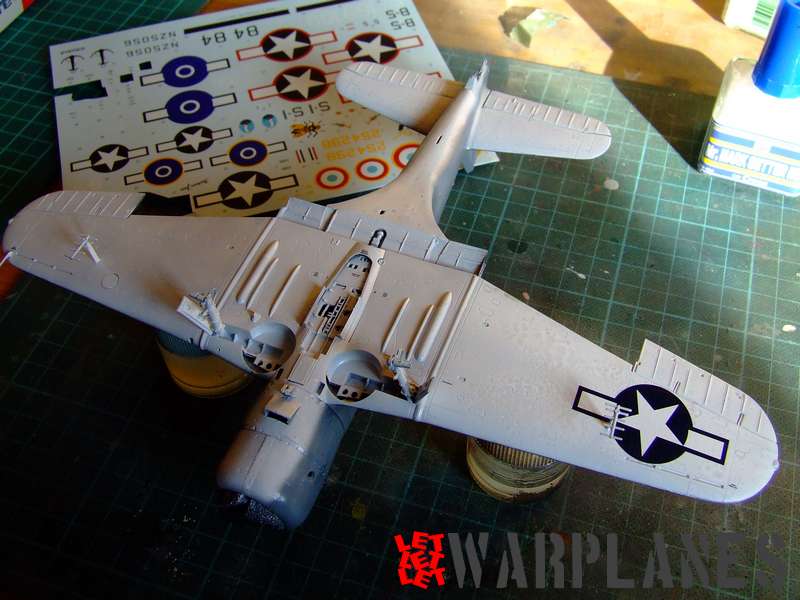
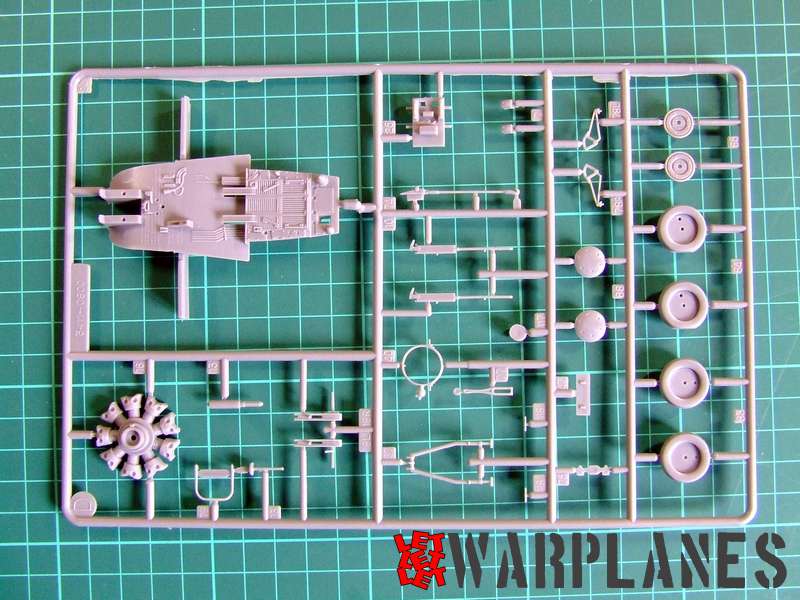
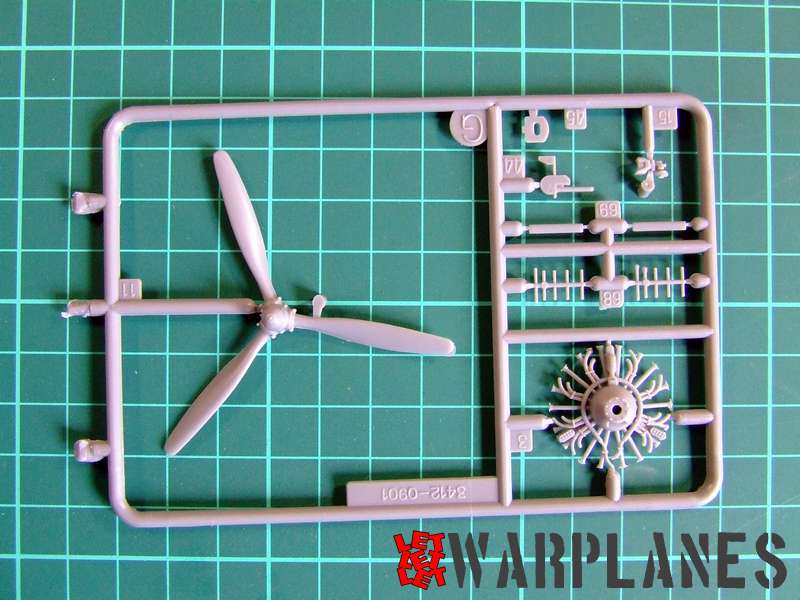
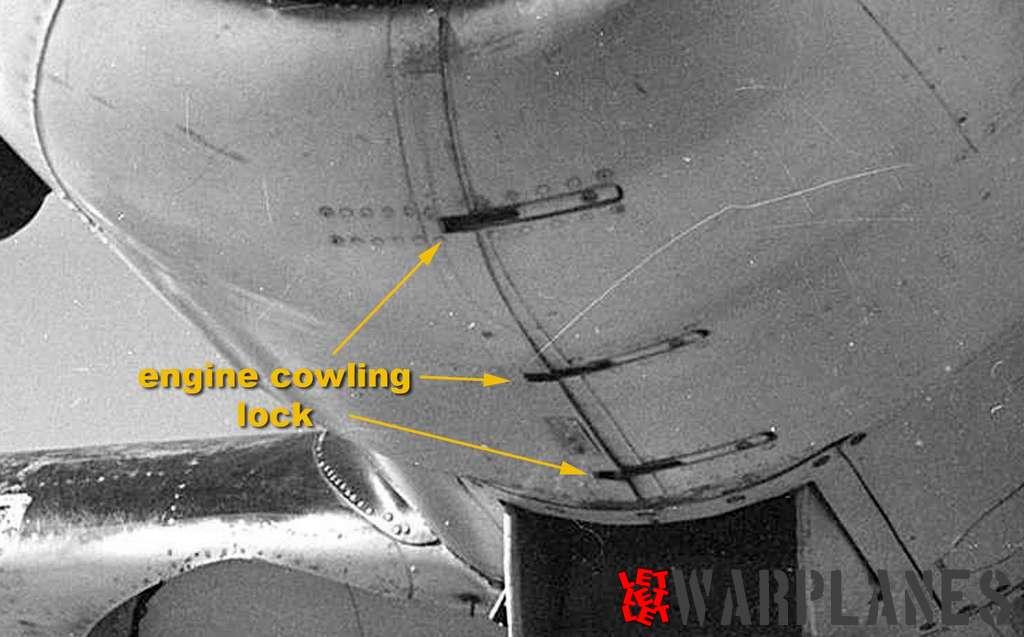
The front section of fuselage is made separately and this is a smart idea as well. With replacement of this section, you can easily get other versions of the Dauntless. This front section consists of two halves attached on fuselage. On it later come engine and engine cowlings. The top of the front fuselage is covered by another part, which includes machine gun elements. Interesting to say that the engine in the kit uses primary kit parts, no resin and it is very well made, with good details. The landing gear is the last part I have attached, before the kit is ready for painting. The rest of the parts are more easily placed during final assembly.
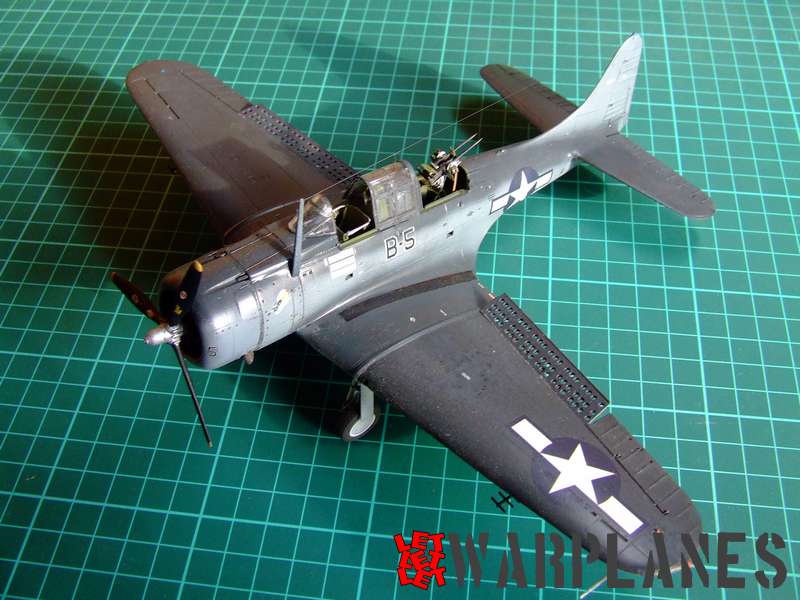
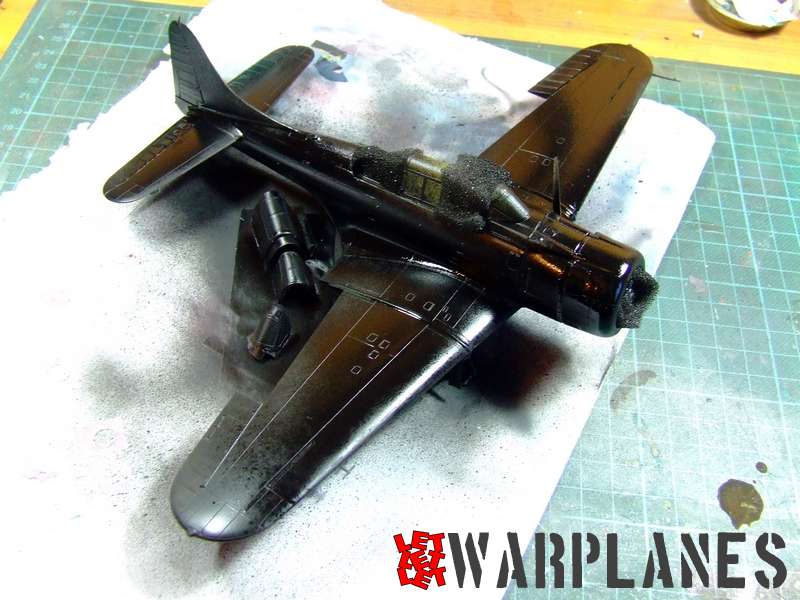
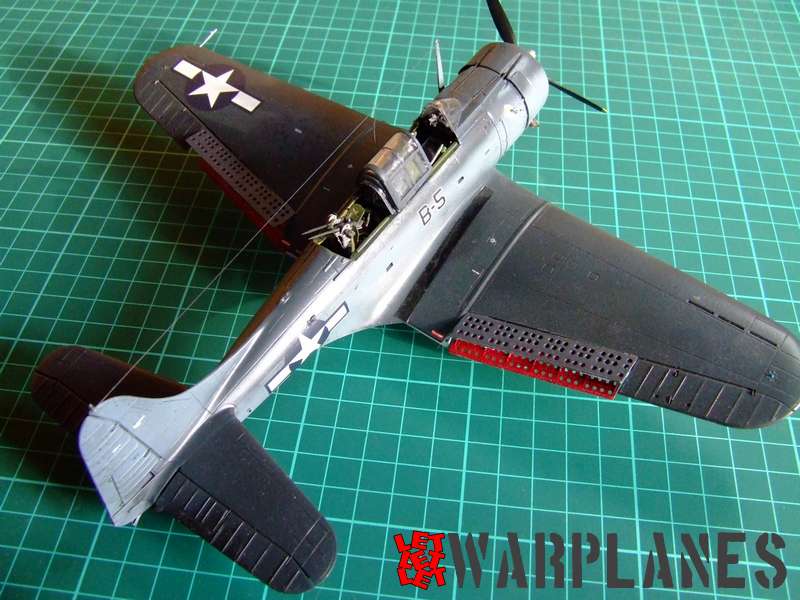
And painting!! First of all, I have protected all transparent parts with mask and have covered the cockpit. Sample machine I chose to do is SBD-5, VMSB-331, Majuro Atoll, Marshall Islands, Spring, 1944. A little history of this particular machine from Eduard assembly leaflet:
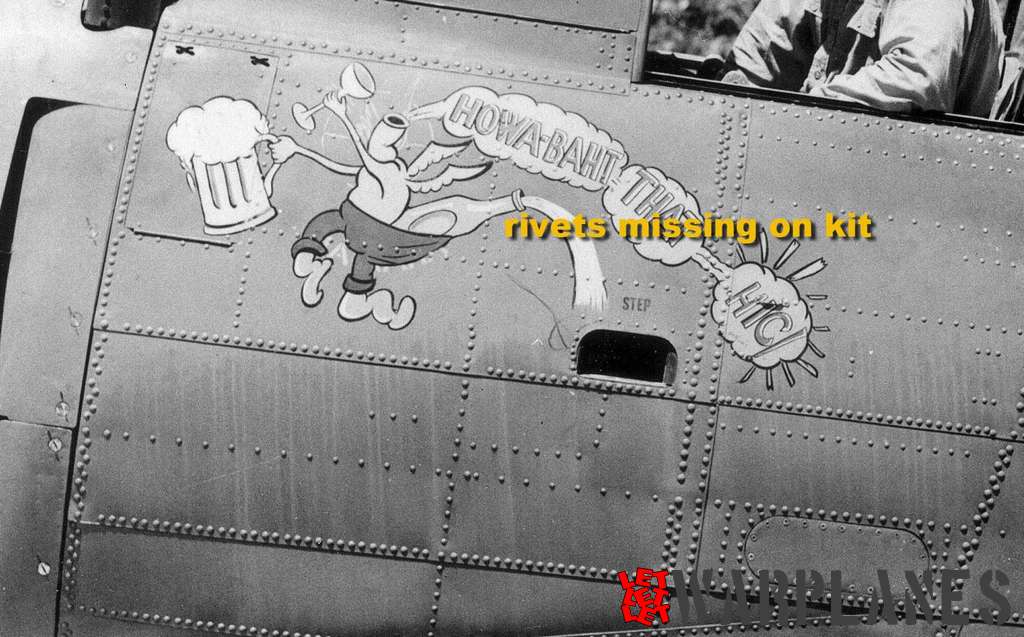
Marine Scout Bomber Squadron VMSB-331 was formed on January 1, 1943 at Marine Corps Air Station Cherry Point, North Carolina. On June 1, 1943, the squadron’s personnel and aircraft were divided to form VMSB-332 and also in June of that year, VMSB-331 was moved and became the first squadron to arrive at Bogue Field, North Carolina. Another move occurred in September, the squadron heading for San Diego to prepare for deployment to the South Pacific. The squadron arrived at Nukufetau Airfield on November 15, 1943 and they operated from that atoll during the invasion of the Gilbert Islands. The squadron stayed in the Pacific and carried out air strikes against Japanese positions in the Marshall Islands for the remainder of the war. The emblem of the squadron, a wasp on a bomb, was painted on both sides of the fuselage. The modex ‘B-5’ was originally white, but later was changed to black with a white outline.
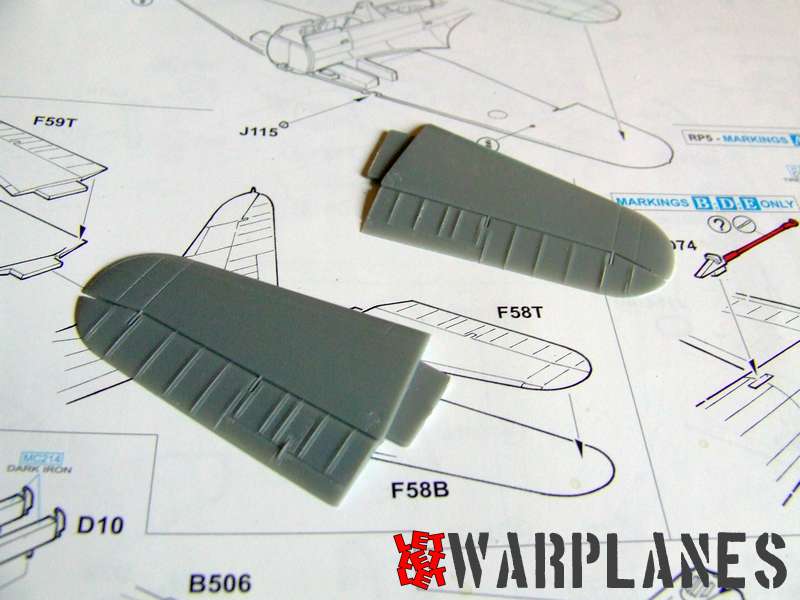
The only parts I did not place on the kit were the dive brakes, which I painted separately. Inside was red and white, silver and external side is in camouflage color. I used acrylic paints, completing the painting job in one day and next day was dedicated to the decals. Work on the decals doesn’t take much time as there are not many of them. When finished, I protected it with gloss coat and then washed the entire kit. I did not make it very dirty, most of work was to highlight details.
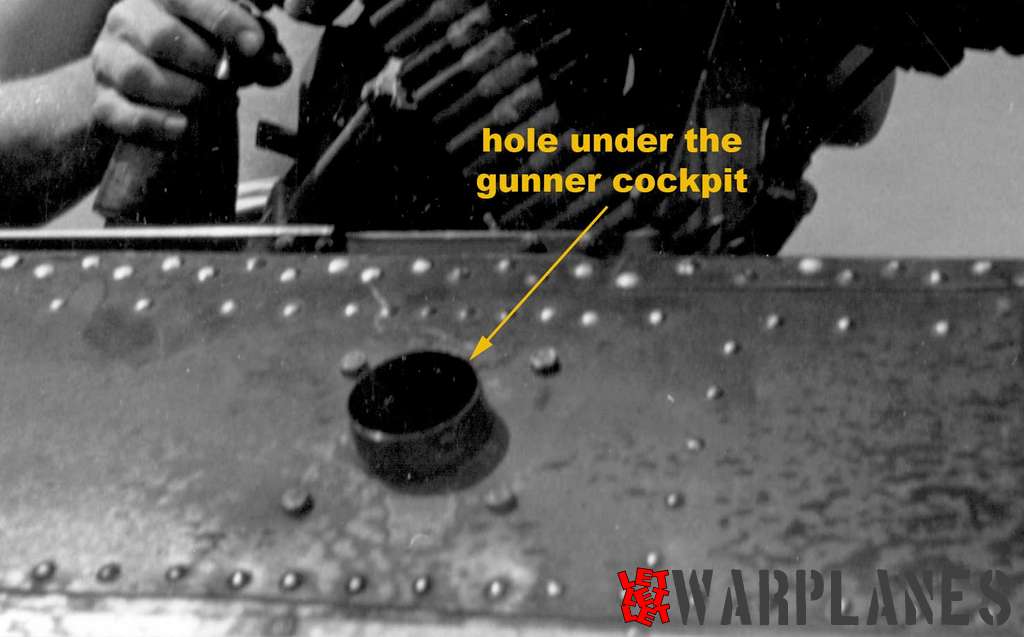
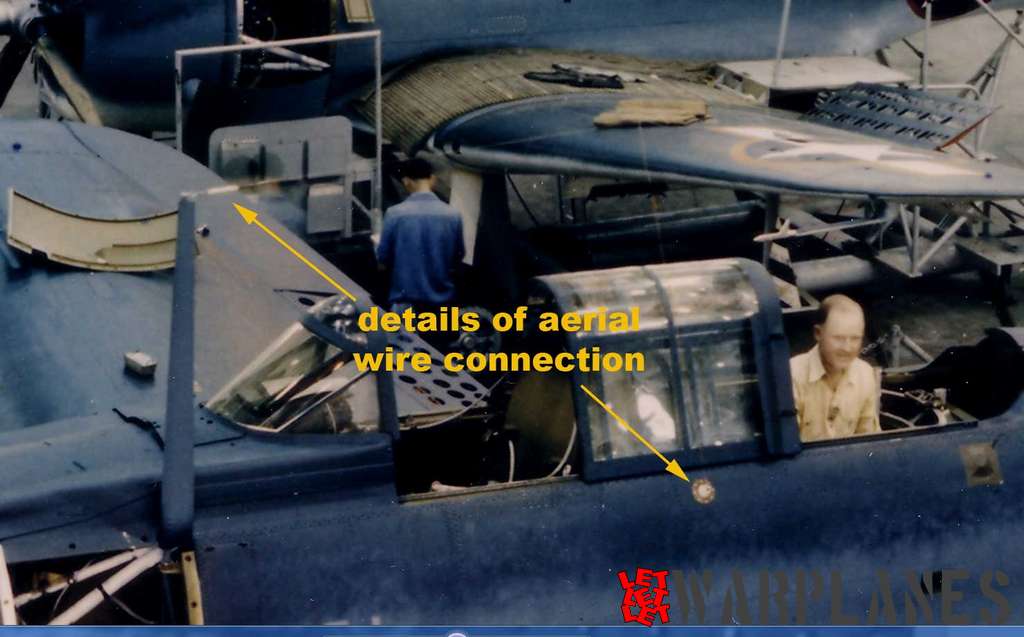
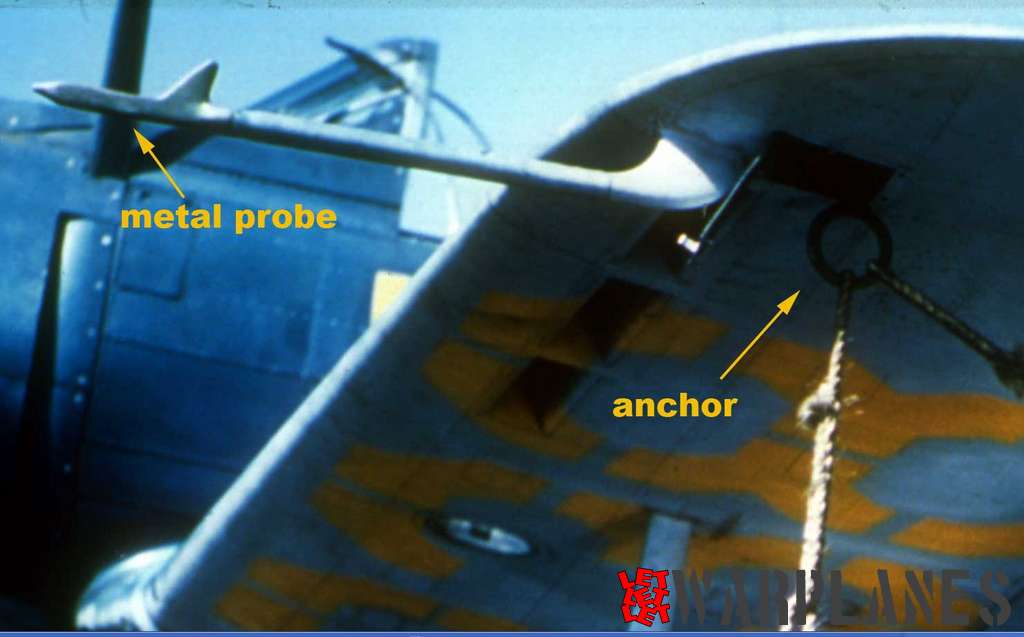
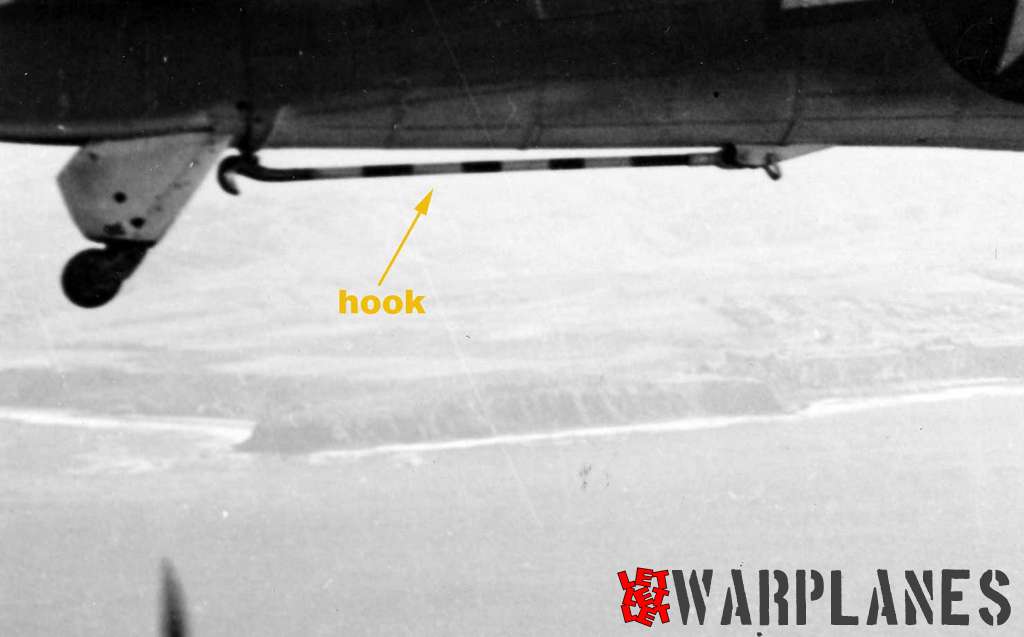
Final work on this Dauntless kit was to add hook, wheels and machine guns. Guns take some more time to be completed but this ‘more’ means just an hour of work. They are all attached to kit and the last job is to add the wire.
An excellent kit and please note- it will not be reissued again! So take it fast and take it here! I am really satisfied with this kit, it demands some time and care but the result is stunning! It is not for the less experienced modeler, take care. Big thanks to the Eduard team for free sample of this amazing kit!
Srecko Bradic


