Eduard Bf 110 G-2
By mid-war German authorities were looking for any option to face the advancing Allies more and more powerful aerial attack, and the adoption of a large-caliber cannon was one of the options. One of the solutions was to mount the gun pod under the wing or fuselage and one of the calibers used was 37mm. This was a very large caliber and, at the outbreak of the war, was often used as the main weapon in tanks. Rheinmetall Bordkanone BK 3,7 was one of the cannon used in gun pods and its hard Tungsten projectile core was proven efficient against armor and aircraft.
One of the machines to mount this BK 3,7 weapon was the subject of the Eduard release, stock number 7085, Bf 110 G-2. This plastic kit is in 1/72 scale and released as a ProfiPack version. This means that inside the box is an excellently molded plastic kit, photoetched parts and canopy quick-masks. An excellent starting point to build a very detailed and precise kit. As the letter G suggests, this is a late-version Bf 110 with more powerful engines and one of the external signs of this are the more streamlined engine nacelles. Assembly of this model is quite similar to the earlier versions released by the manufacturer.
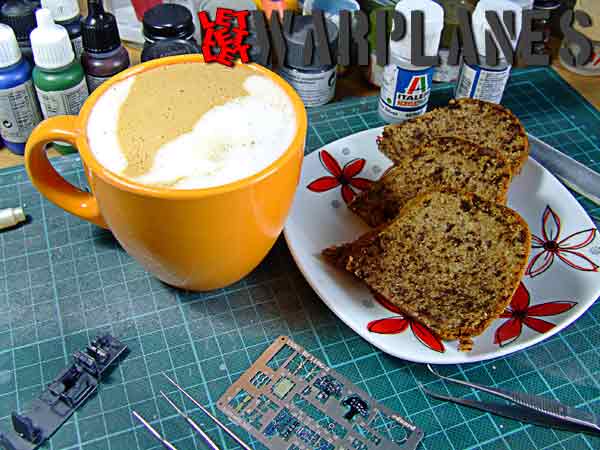
As usual, the kit build starts with arranging all the plastic parts, build them into subassemblies, and painting. This is the fastest and easiest way to prepare them for the etched parts which need to be attached. The PE parts are one of the most demanding of time, but no matter the number of parts, it does not demand high skill and even the average modeler can make this with top results. One item I do not recommend installing early is etched part #33, this being the gun sight for the machine gun, part J5. Since this part is mounted externally it would be vulnerable during painting so it is far better to install it at the very end of the assembly process.
While the fuselage parts are drying you can move on and build the wing and engine assembly. Special attention should be paid to the left and right engine subassemblies as this is the moment to make a decision on which variant you are building. The kit contains decals and painting instructions for four machines and these differ in some features. This also includes different elements under the wing and fuselage. The wings have points inside which will need to be drilled out to open holes for your optional elements. My choice fell to the sample machine armed with the heavy cannon. This demanded opening the hole in the rear of the wing center-section for the locating pin on the cannon gondola. Alternately, four holes in each wing lower panel need to be opened if you intend to install the rocket launch tube.


Assembly of the wing with the fuselage goes very smoothly and the whole kit build is without any problems, thanks to the fact that parts fit very precisely. Following the wing/fuselage assembly you will need to install the canopy and landing gear. Placing the transparent parts demands some time and I chose to make this one with the canopy closed. The landing gear is completed without the wheels, this making painting easier. Wheels, exhaust stacks and propellers are far better to finish separately and then to mount on the kit in the final steps.
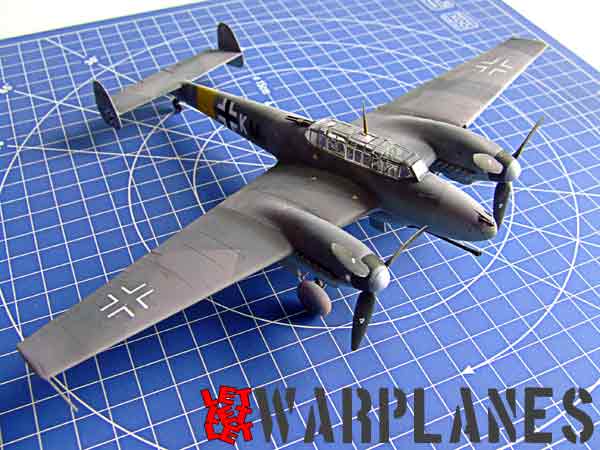
I decided to finish this kit in the colors of a machine from 4./ZG 76 which used the cannon pod operationally. It has the standard grey camouflage pattern with mottling on the fuselage and vertical tails. Then I added all the stencils and warning decals. I avoided adding the stencils on the yellow fuselage band as I presume they were painted over when the band was applied. After the stencils I placed the national insignia and unit markings. After drying I put the last parts on the kit and gave some dry-brushing over certain areas.


This kit is a model you can build with real pleasure and in an absolutely relaxing atmosphere. The results are a very nice looking kit with greatly captured detail and authentic appearance. If you wish to enjoy modeling, want to have a piece of history on your desk, and, moreover, you are a fan of the Bf 110—this kit is the right decision for you. You may get your sample here!
Big thanks to Eduard who provided me this nice kit!
Srecko Bradic