Further work on this project, first to build up the nose gear well and then the main fuselage wheelwells. Afterwards a coat of Anodic Grey Metalizer topped off with a thinned wash of RLM02 to give these areas the proper tinted effect:
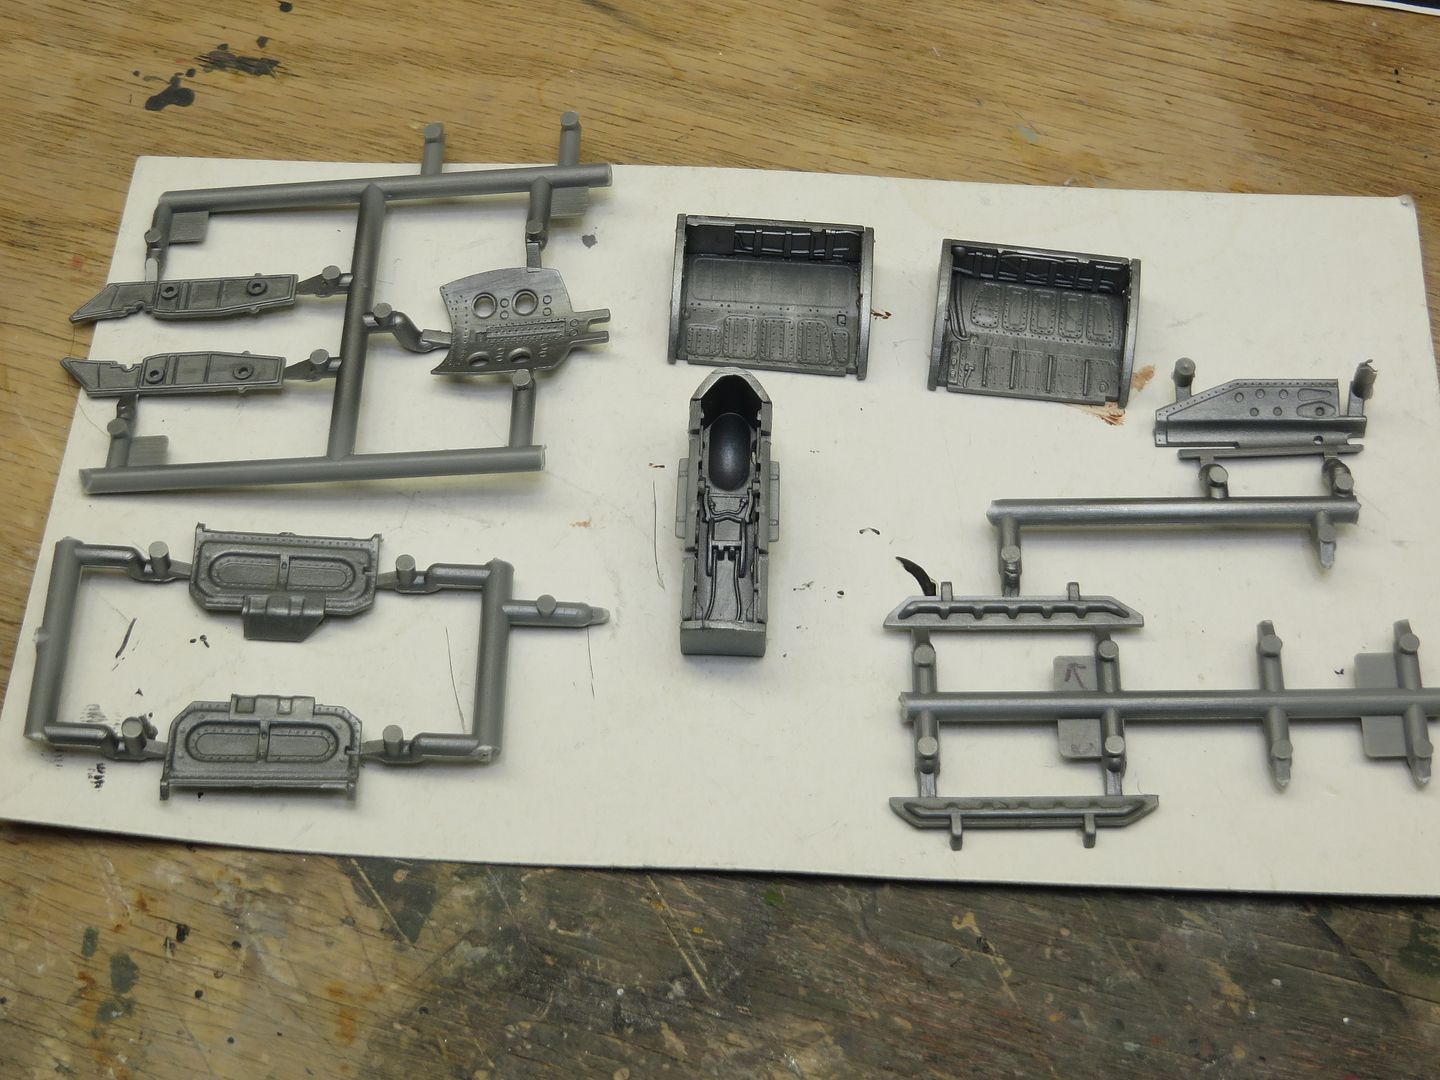
MiG 21F-13 by Trumpeter
Next was to continue with the assembly of the cockpit and ejection seat. Again, I used only the parts in the kit, including the PE seatbelts. I am of the opinion that these should be somewhat wider.
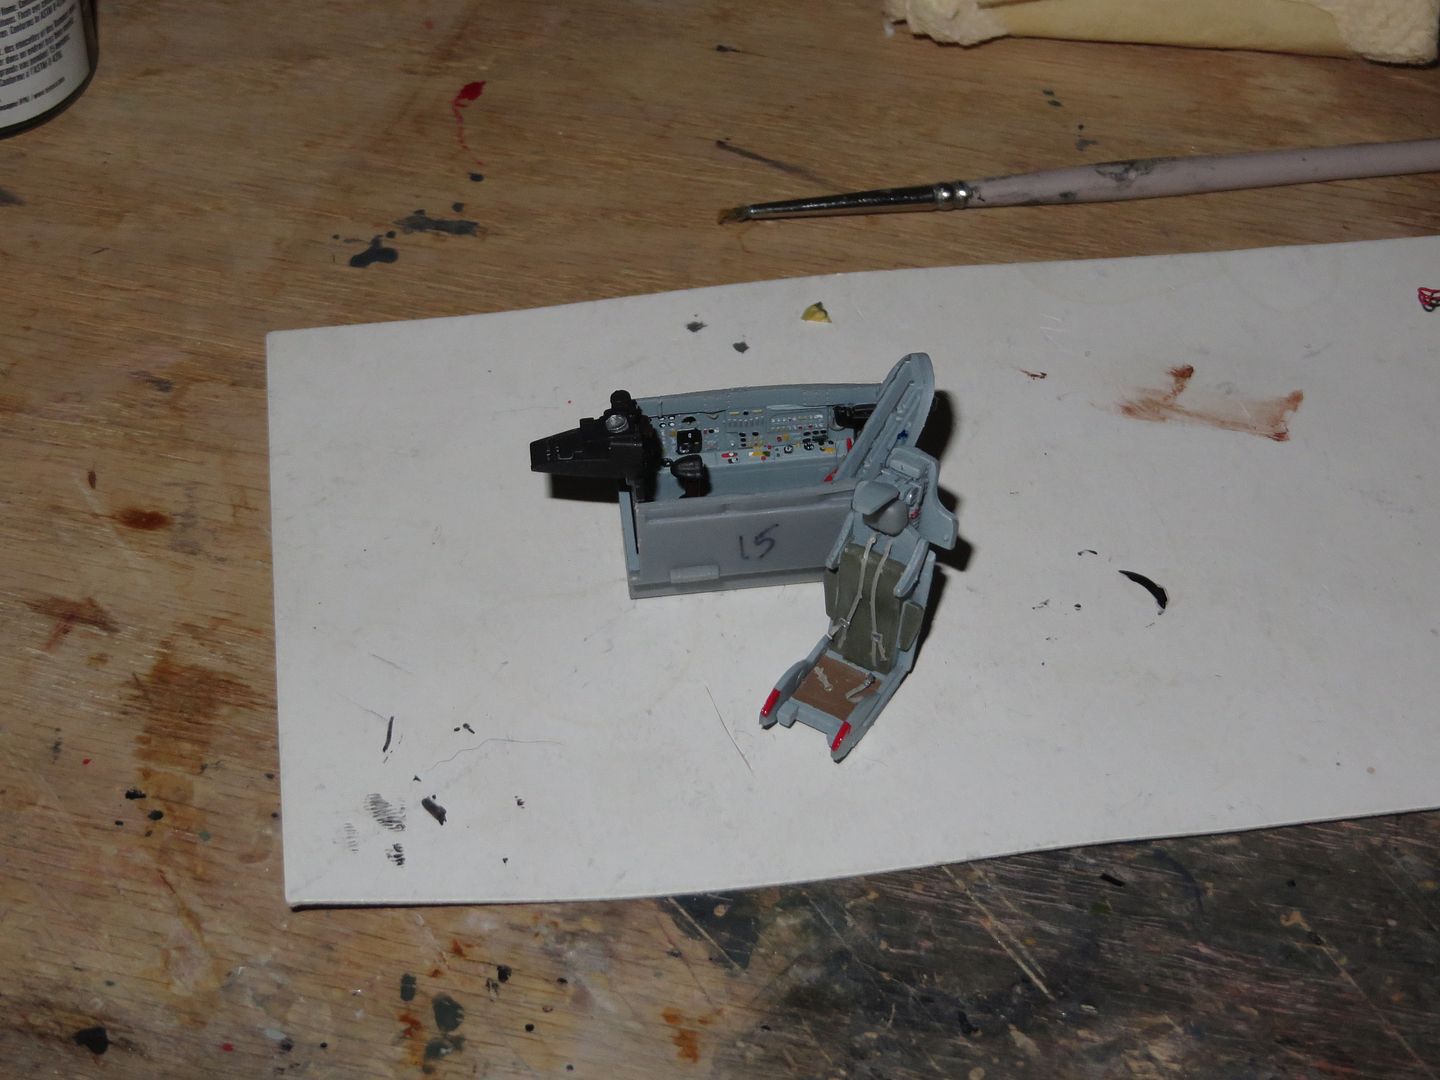
MiG 21F-13 by Trumpeter
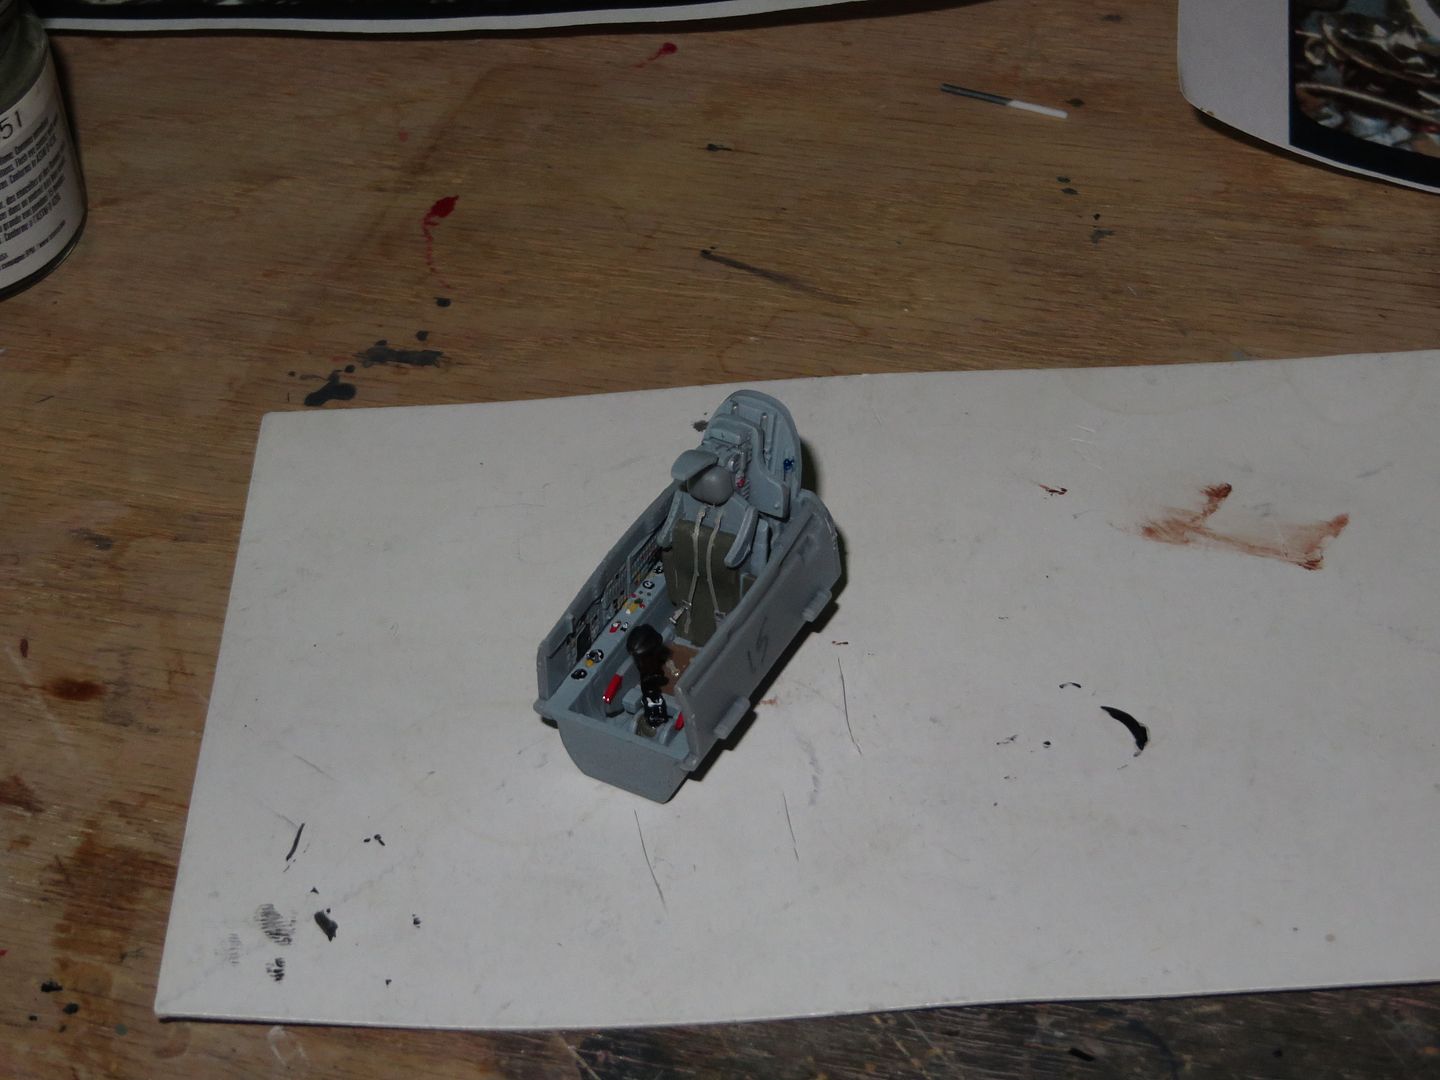
MiG 21F-13 by Trumpeter
While the cockpit parts were drying I prepared the fuselage halves by installing the engine, wheelwells and intake spike assembly that had been pre-painted. Once everything was ready the fuselage halves were glued together and some test-fitting of the vertical fin and canopy parts occurred. While that was drying I opened the appropriate holes in the wing panels for pylons etc. and glued them together. This is a really nice-fitting kit and it doesn't appear that I'll need much putty on joints!
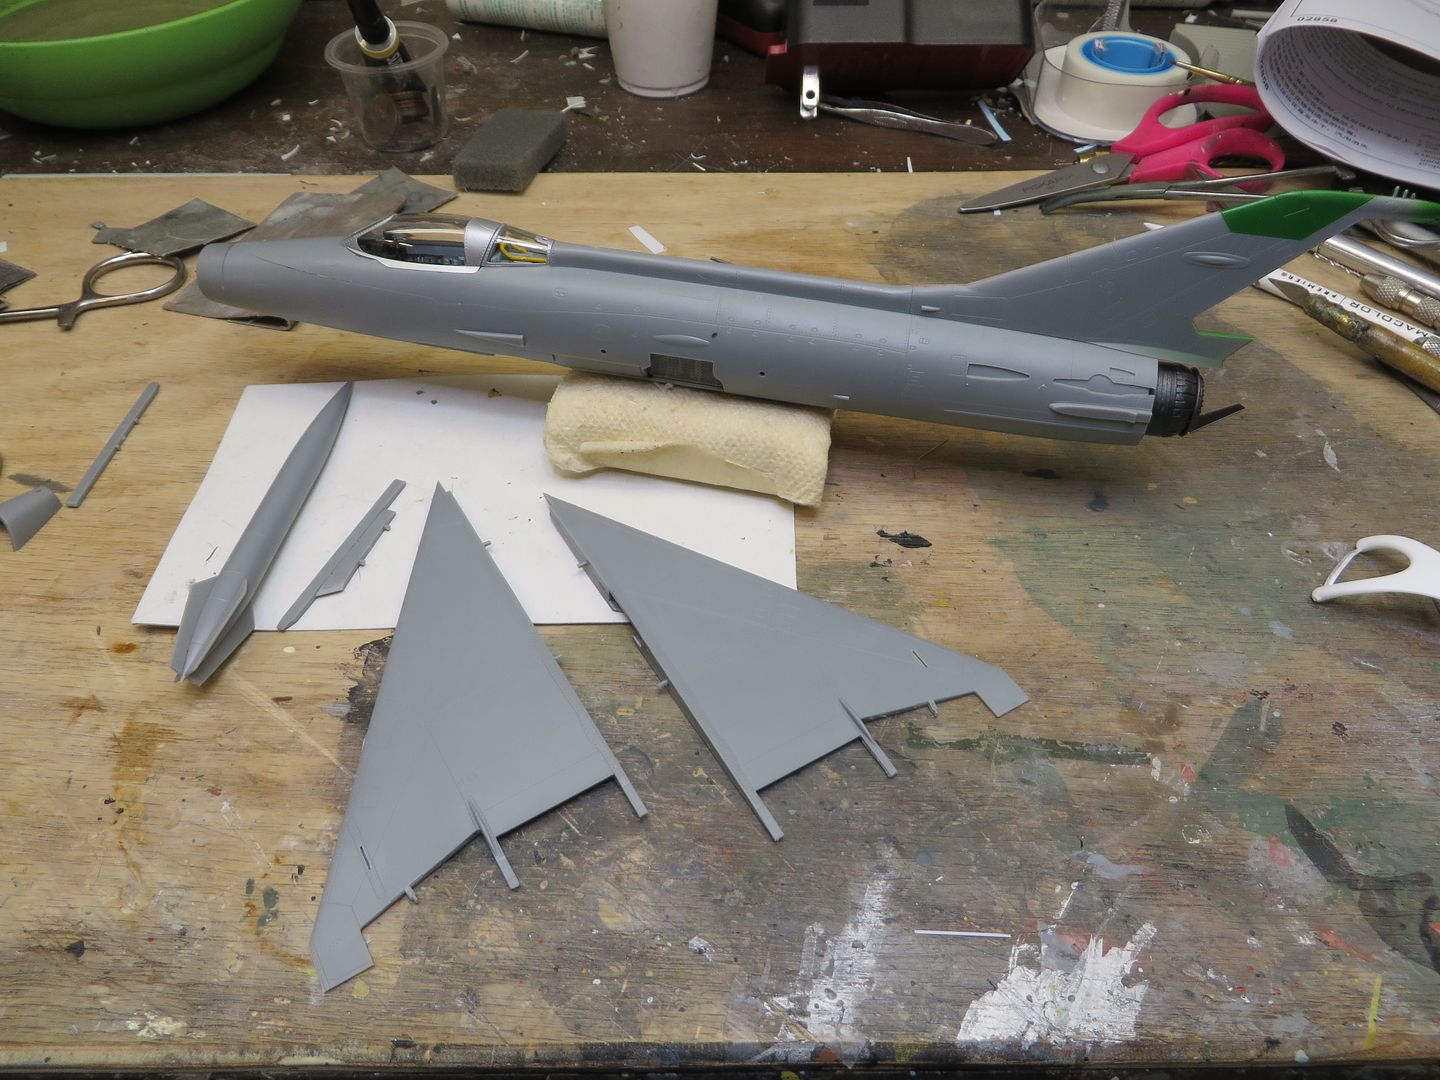
MiG 21F-13 by Trumpeter


