Author Topic: Curtiss Hawk 75 Completion  (Read 20460 times)

Offline Second Air Force

  • Moderator
  • Hero Member
  • *****
  • Posts: 5777
    • View Profile
Curtiss Hawk 75 Completion
« on: December 30, 2015, 04:25:31 PM »
Quite a long time ago our team-mate Daniel started this Must Have Curtiss. As events unfolded, he worked on this for some time, preparing the wing and fuselage for the photoetch and resin parts and assembling much of the cockpit. Later he very generously sent the excellent kit on to me to finish and I've only just now gotten it on the workbench.

To see the start of the project please refer to this thread: http://www.letletlet-warplanes.com/forum/makete-aviona-aircraft-modeling/curtiss-75a-7-mohawk-(musthave!-148)/15/

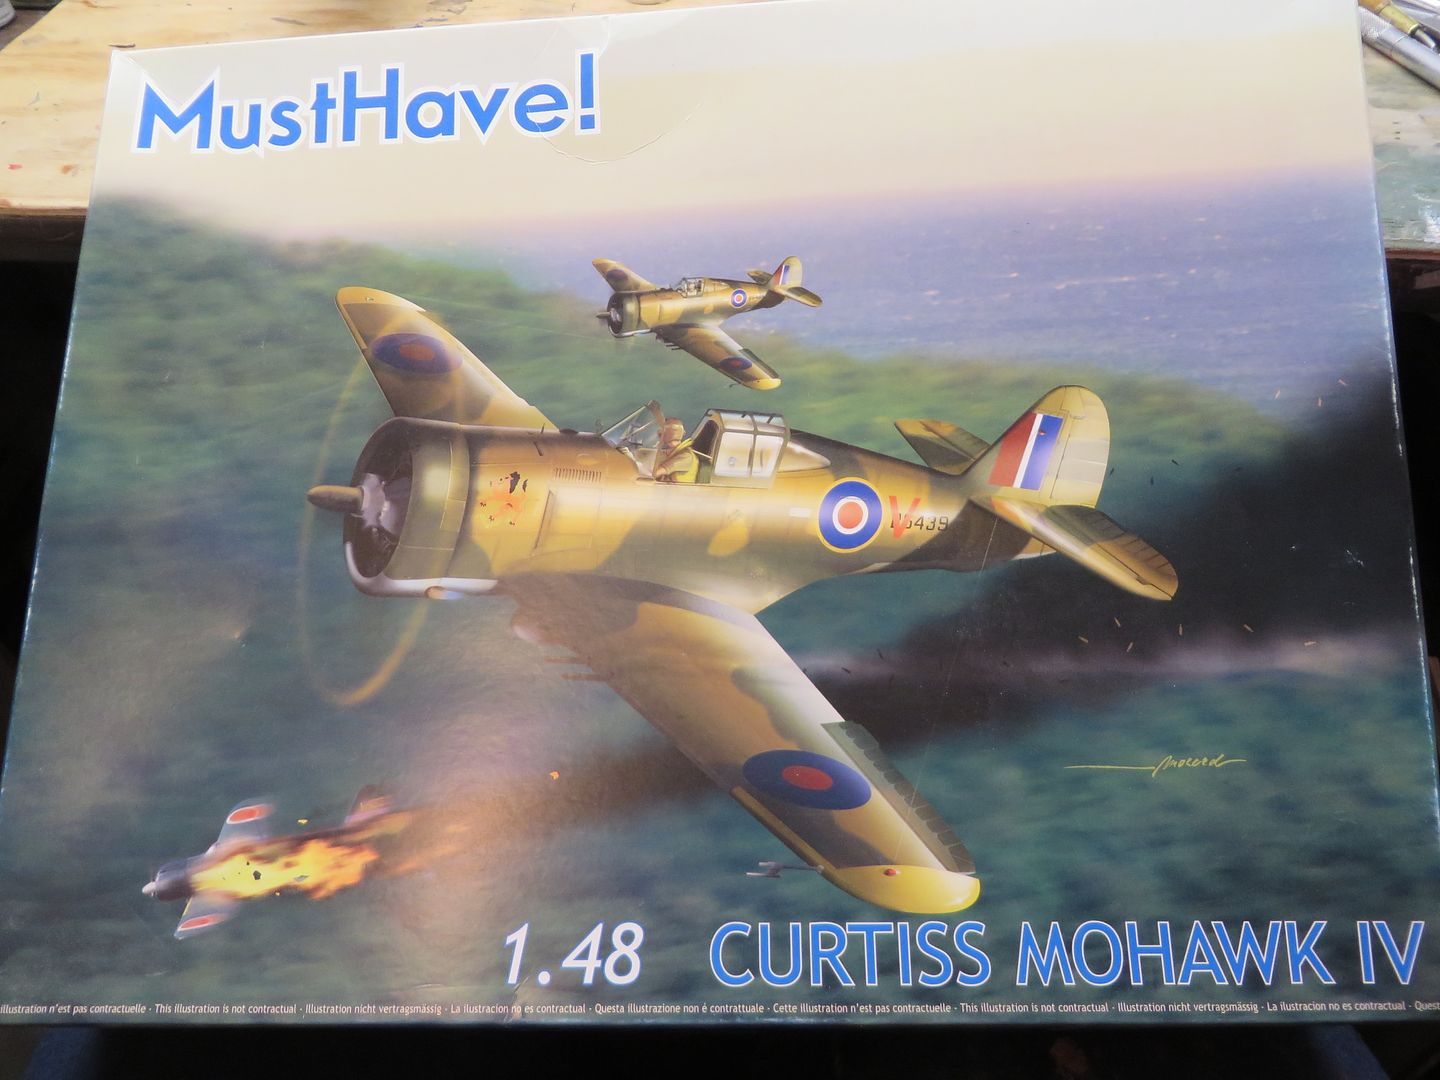
First a photo of the box to refresh everyone's memory:
http://i174.photobucket.com/albums/w117/2AF/IMG_2638_zpsfns6u7em.jpg
Curtiss Hawk 75 Completion


This kit consists of the old Hobbycraft P-36/Mohawk plastic parts and the new resin parts, PE frets and beautiful decal sheet that were provided by Must Have, along with comprehensive three-views of the markings choices. It's unfortunate that Must Have ceased operation as their concept and kit are both excellent!

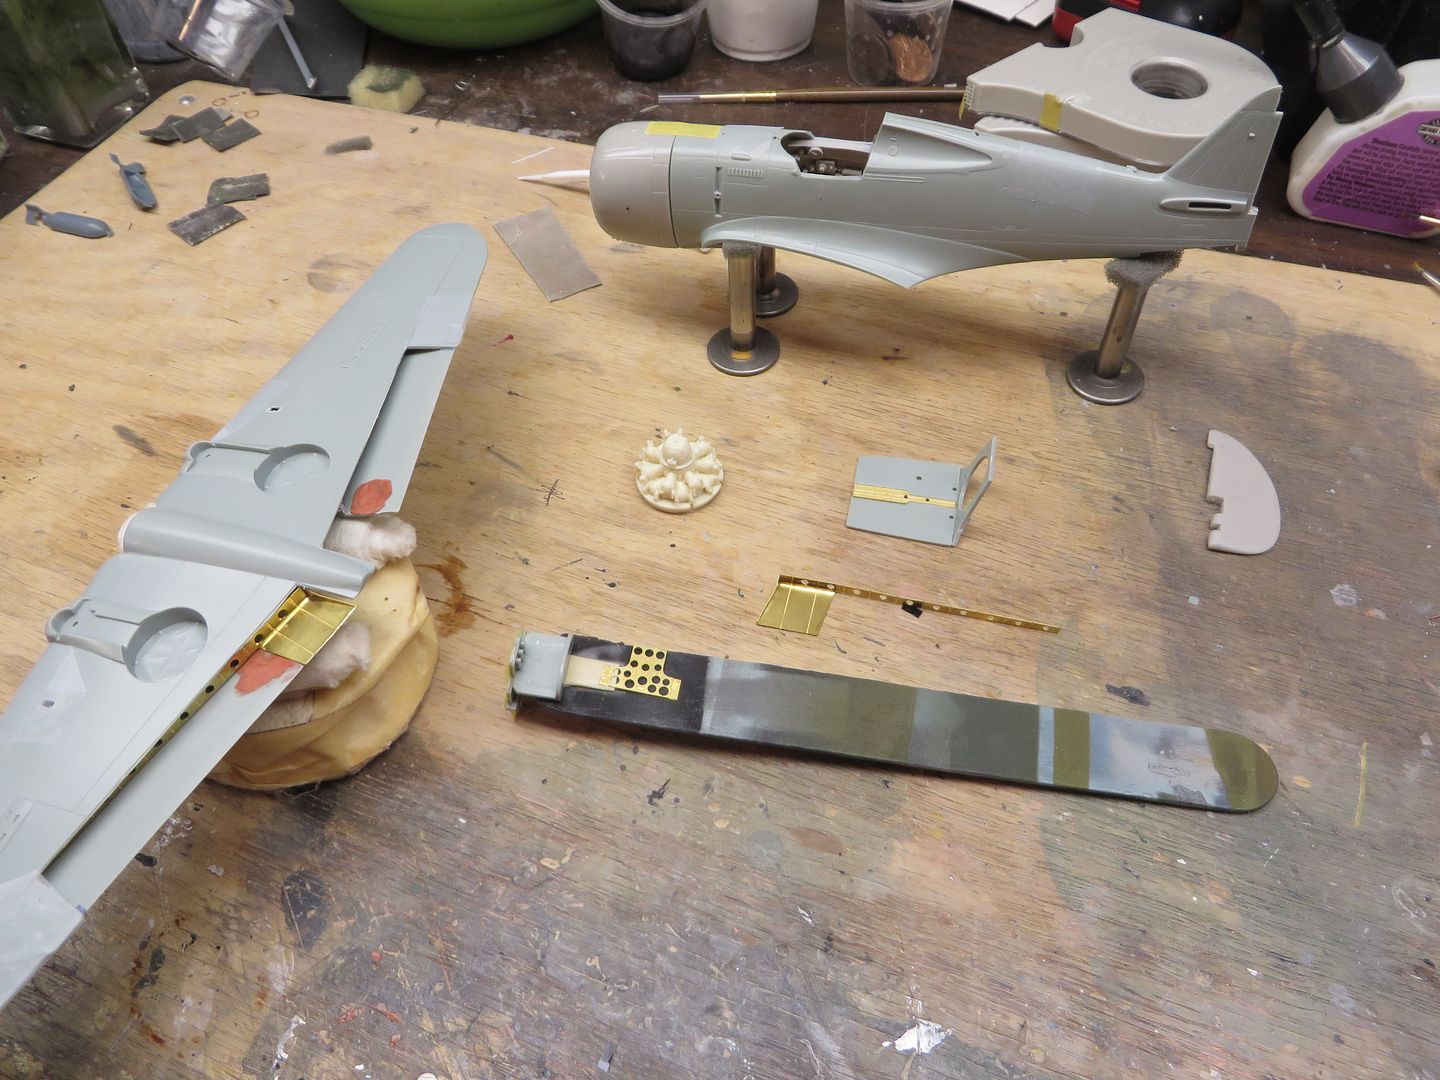
Here is some of the work that Draken has already completed before he sent the project on to me. I've simply taped the wing and fuselage together for test-fitting in this picture. Next was decision time for me. I already have several Wright-powered Hawk 75 series fighters and have in my mind to build this one as a Pratt & Whitney powered craft. Since Must Have is no longer in operation this isn't a review article anymore, so I've gone into my spares and gotten out an R-1830 cowling set from one of my other Curtiss builds. Then I cast an early R-1830 that is appropriate for the airplane I'm building:
http://i174.photobucket.com/albums/w117/2AF/IMG_2637_zpsblgbii0w.jpg
Curtiss Hawk 75 Completion


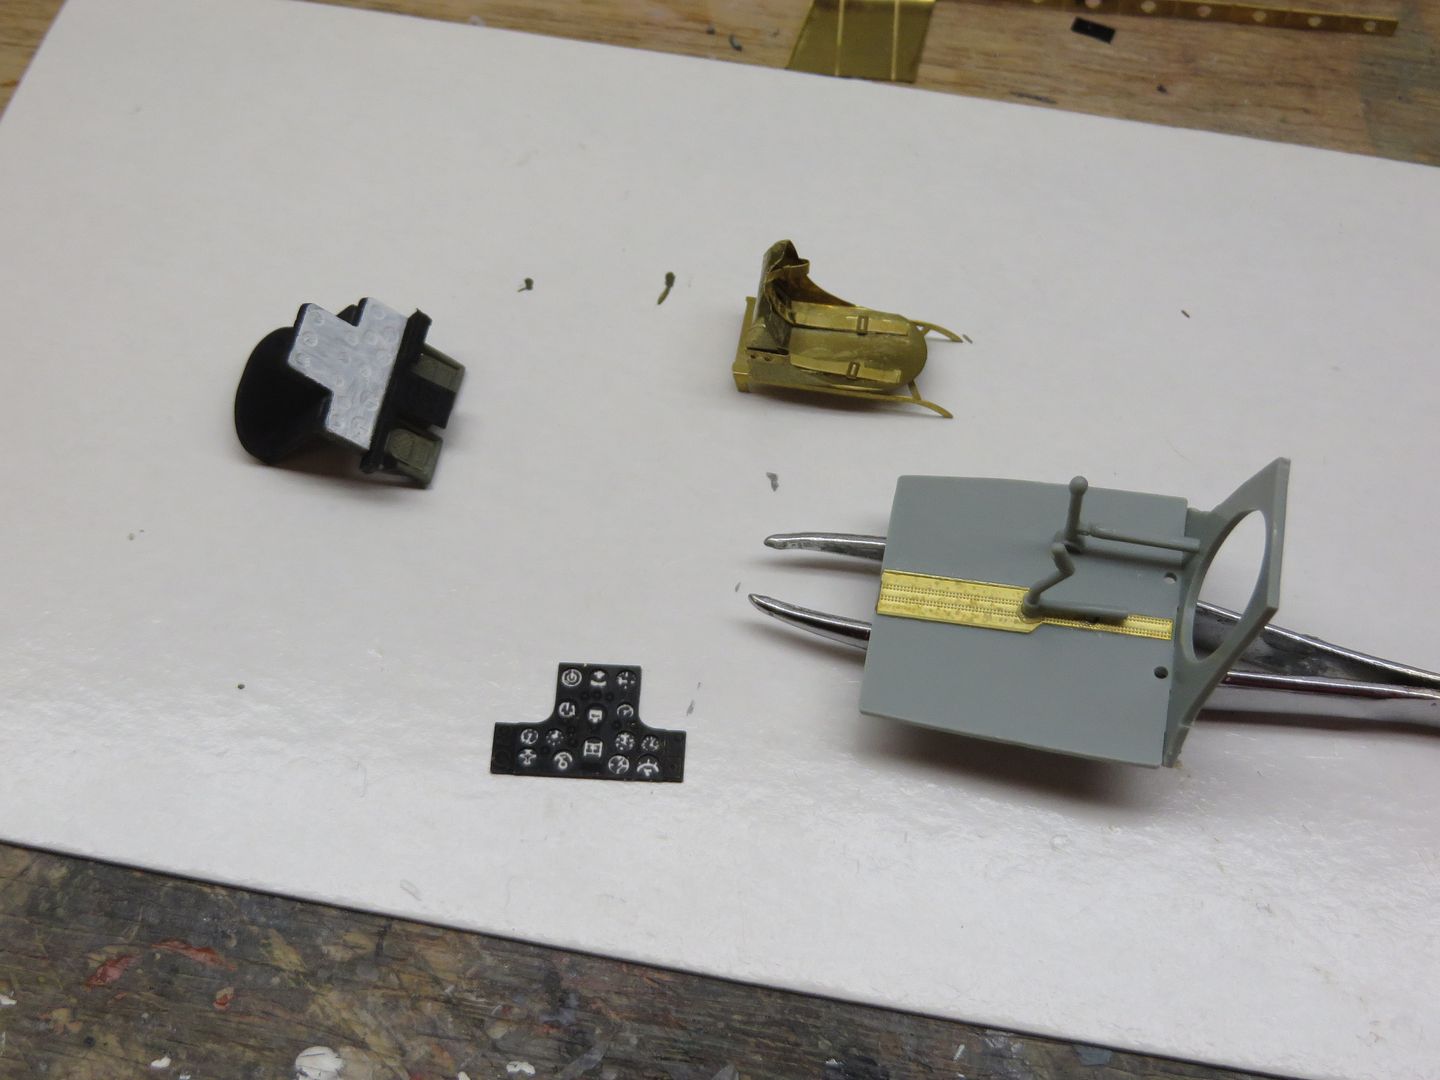
Here are some of the excellent Must Have PE parts, firstly the seat that Daniel assembled, ready for paint, and the instrument panel that I've started building up:
http://i174.photobucket.com/albums/w117/2AF/IMG_2639_zpspyctcbuh.jpg
Curtiss Hawk 75 Completion


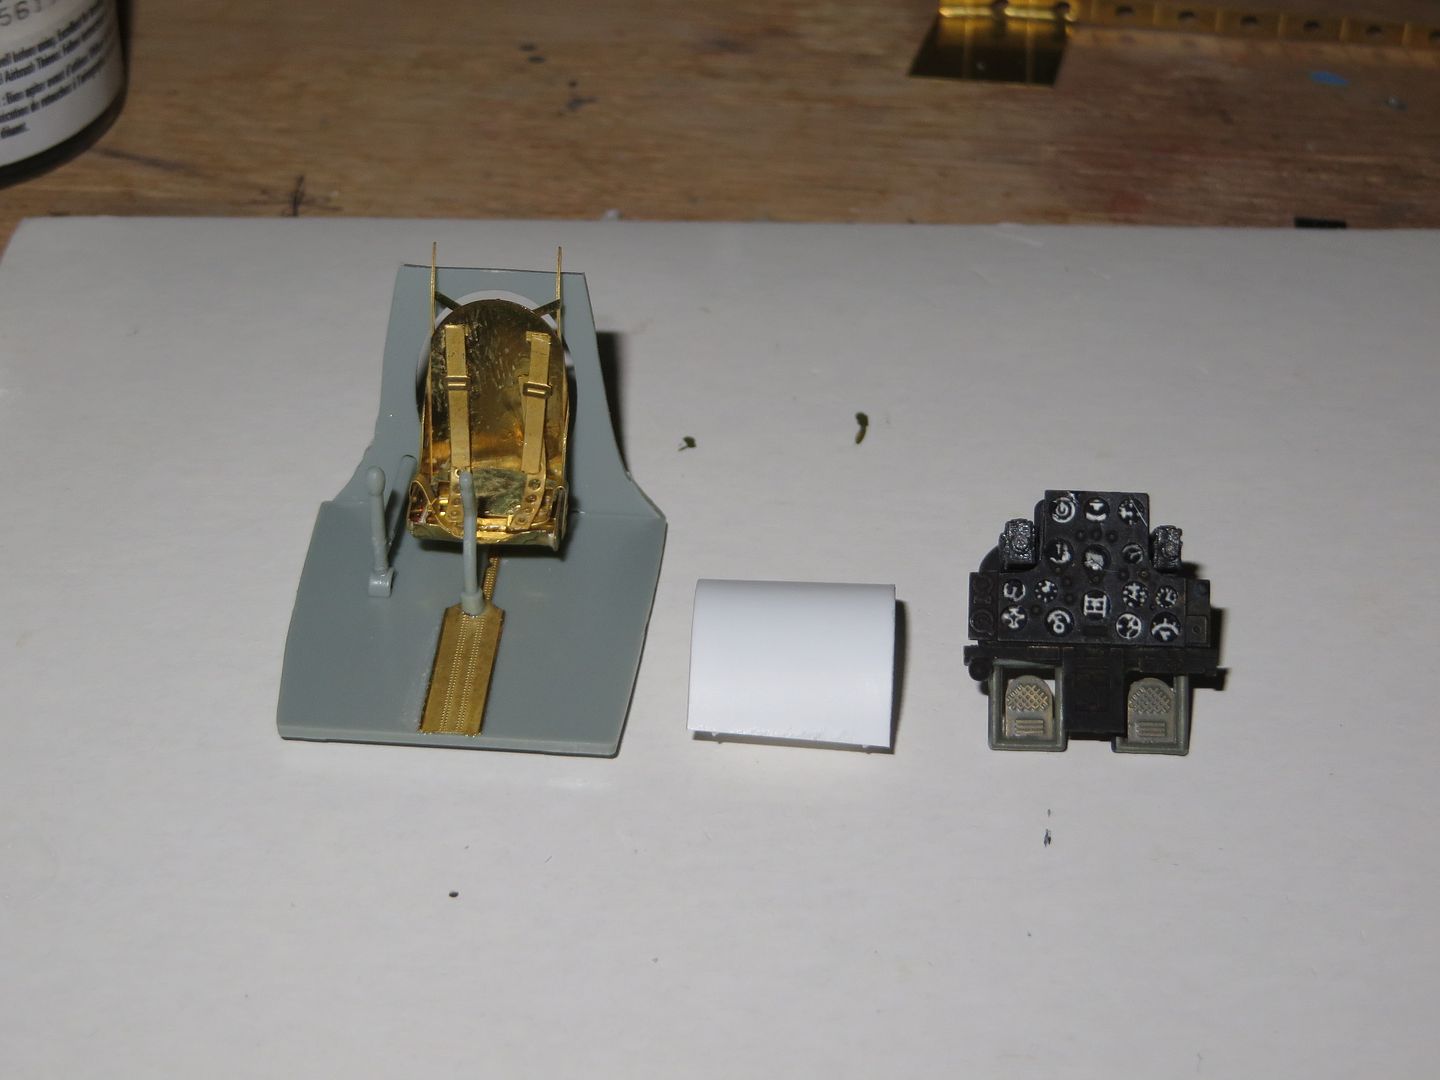
Next is the assembled instrument panel with detail painting yet to be accomplished and the floor and control stick ready for paint. The white semi-circular styrene piece is the front of the fuel tank that is visible through the oval hole in the aft cockpit bulkhead:
http://i174.photobucket.com/albums/w117/2AF/IMG_2643_zpsaafbqlcs.jpg
Curtiss Hawk 75 Completion

« Last Edit: December 30, 2015, 04:50:52 PM by Second Air Force »

Offline No.1

  • Administrator and Owner
  • Administrator
  • Hero Member
  • *****
  • Posts: 23156
  • Owner: www.letletlet-warplanes.com
    • View Profile
    • LetLetLet - Warplanes
Re: Curtiss Hawk 75 Completion
« Reply #1 on: December 30, 2015, 04:26:30 PM »
Great!

Offline draken35

  • Hero Member
  • *****
  • Posts: 8724
    • View Profile
Re: Curtiss Hawk 75 Completion
« Reply #2 on: December 30, 2015, 06:15:26 PM »
Excellent! I'm very happy to see you building that kit, Scott! :-ok

Offline Second Air Force

  • Moderator
  • Hero Member
  • *****
  • Posts: 5777
    • View Profile
Re: Curtiss Hawk 75 Completion
« Reply #3 on: December 30, 2015, 07:56:56 PM »
I'm equally happy to finally get a start on this! I hadn't been properly "inspired" to start this until finishing up the R-1820 build/review and then my mind went to the Curtiss.

Offline Second Air Force

  • Moderator
  • Hero Member
  • *****
  • Posts: 5777
    • View Profile
Re: Curtiss Hawk 75 Completion
« Reply #4 on: January 01, 2016, 07:47:07 PM »
On the last day of 2015 and first day of the New Year quite a lot of this has come together. The cockpit has been painted and primary parts assembled, then the fuselage halves glued:
http://i174.photobucket.com/albums/w117/2AF/IMG_2650_zps0dp67f5j.jpg
Curtiss Hawk 75 Completion


 While that was drying I started on the wings. Daniel has already expertly removed the wing flaps from the Hobbycraft lower wing and prepared the flap-well spars for both sides. It was quite a simple matter for me to do some small cleanup and put the wing and flap-wells together:
http://i174.photobucket.com/albums/w117/2AF/IMG_2653_zpskmeeqs4x.jpg
Curtiss Hawk 75 Completion


Now the instrument panel and cockpit floor are installed in the completed fuselage. When the wings are ready they can be mated to the fuselage and work will continue on the flap cavities, adding all the ribs and walkway stiffeners.

Offline draken35

  • Hero Member
  • *****
  • Posts: 8724
    • View Profile
Re: Curtiss Hawk 75 Completion
« Reply #5 on: January 01, 2016, 08:03:22 PM »
:-ok

Offline No.1

  • Administrator and Owner
  • Administrator
  • Hero Member
  • *****
  • Posts: 23156
  • Owner: www.letletlet-warplanes.com
    • View Profile
    • LetLetLet - Warplanes
Re: Curtiss Hawk 75 Completion
« Reply #6 on: January 01, 2016, 08:33:30 PM »
Framing is excellent!

Offline Second Air Force

  • Moderator
  • Hero Member
  • *****
  • Posts: 5777
    • View Profile
Re: Curtiss Hawk 75 Completion
« Reply #7 on: January 03, 2016, 01:14:29 AM »
Now the wing is assembled to the fuselage and priming/filling is moving ahead:
http://i174.photobucket.com/albums/w117/2AF/IMG_2667_zpsulfntlqa.jpg
Curtiss Hawk 75 Completion


Here's the resin R-1830 mostly finished:
http://i174.photobucket.com/albums/w117/2AF/IMG_2663_zpsnaazx5gg.jpg
Curtiss Hawk 75 Completion

Offline No.1

  • Administrator and Owner
  • Administrator
  • Hero Member
  • *****
  • Posts: 23156
  • Owner: www.letletlet-warplanes.com
    • View Profile
    • LetLetLet - Warplanes
Re: Curtiss Hawk 75 Completion
« Reply #8 on: January 03, 2016, 07:28:19 AM »
When inspiration pump up :))

Offline Second Air Force

  • Moderator
  • Hero Member
  • *****
  • Posts: 5777
    • View Profile
Re: Curtiss Hawk 75 Completion
« Reply #9 on: January 03, 2016, 04:06:20 PM »
Funny, too that Daniel and I both had "primer day" on the same day, and he is the one who started this one!

Offline draken35

  • Hero Member
  • *****
  • Posts: 8724
    • View Profile
Re: Curtiss Hawk 75 Completion
« Reply #10 on: January 03, 2016, 07:21:40 PM »
Excellent!

Offline Second Air Force

  • Moderator
  • Hero Member
  • *****
  • Posts: 5777
    • View Profile
Re: Curtiss Hawk 75 Completion
« Reply #11 on: January 04, 2016, 12:41:36 AM »
Last night was spent adding the flap-wells to the wing. This requires an accurate removal of the original flaps and bending of the flapwell spar and inboard segment that fits into the fuselage. These were accomplished by Daniel so my main effort was in assembling these parts and then adding each individual rib and the walkway stiffeners. Quite easy, really--but it did consume a lot of time. After finishing the flapwells, the resin wing flaps were prepared. These were both a little too short in length so I trimmed a small amount from the original discarded flap panels and simply glued them to the end of the new flaps:
http://i174.photobucket.com/albums/w117/2AF/IMG_2670_zpsxqibeknk.jpg
Curtiss Hawk 75 Completion

Offline No.1

  • Administrator and Owner
  • Administrator
  • Hero Member
  • *****
  • Posts: 23156
  • Owner: www.letletlet-warplanes.com
    • View Profile
    • LetLetLet - Warplanes
Re: Curtiss Hawk 75 Completion
« Reply #12 on: January 04, 2016, 03:45:48 PM »
Gooood!!!

Offline Second Air Force

  • Moderator
  • Hero Member
  • *****
  • Posts: 5777
    • View Profile
Re: Curtiss Hawk 75 Completion
« Reply #13 on: January 04, 2016, 03:55:25 PM »
Thanks, mate!

I'm working on landing gear legs now--the Hobbycraft parts in the kit are rather plain and I'm looking for new legs in the spares.....

Offline draken35

  • Hero Member
  • *****
  • Posts: 8724
    • View Profile
Re: Curtiss Hawk 75 Completion
« Reply #14 on: January 04, 2016, 05:04:01 PM »
:-ok