Hawker Tempest Mk.II Eduard No. 82125
My first impressions of the Hawker Tempest Mk. II was when I see it in Matchbox catalog from ’70 and its powerful shape definitely make high impression on me. Later I had warm interest in Mk. V version and main reason was tales of Pierre Klosterman. Technology and precision level of the period did not bring so much to the Tempest Mk. II and things comes into order with Eduard release of the Mk. II version.
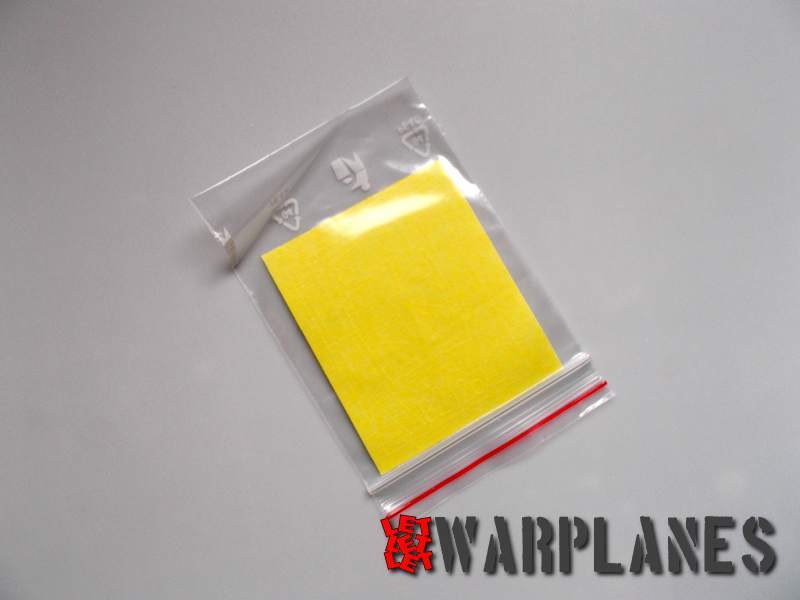
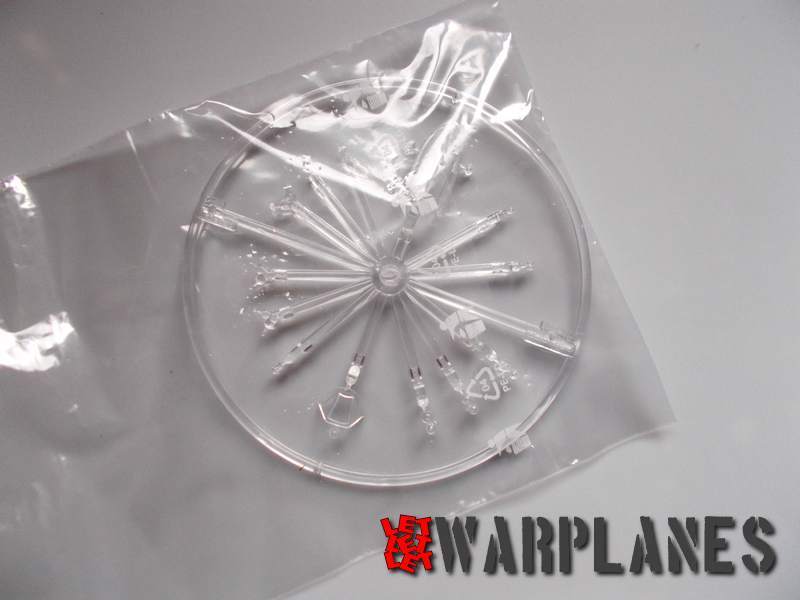
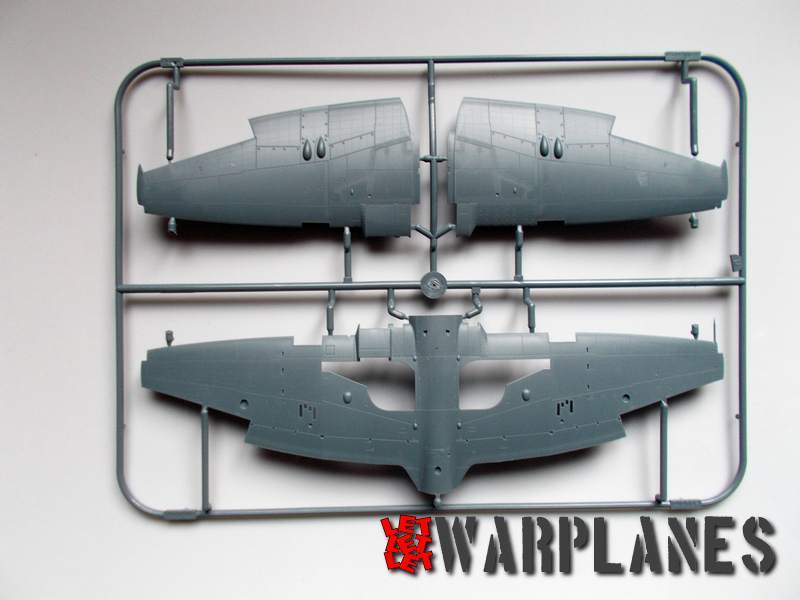
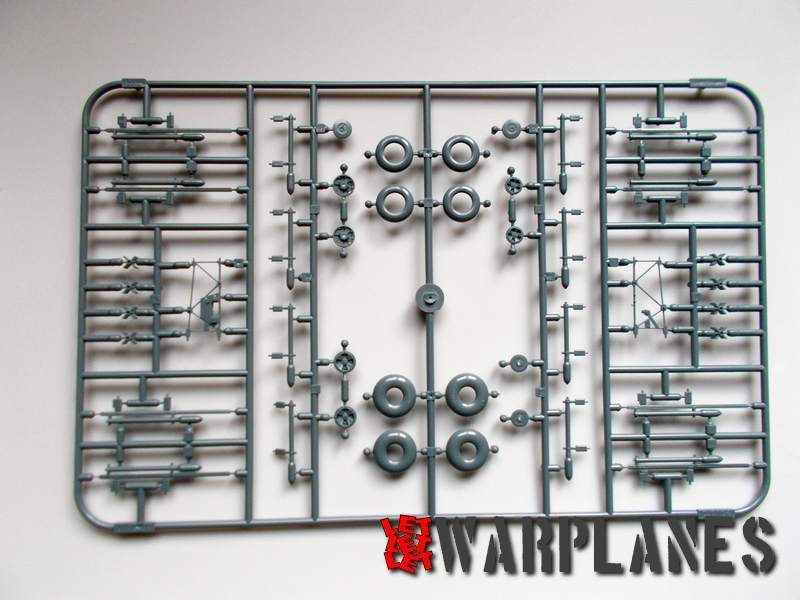
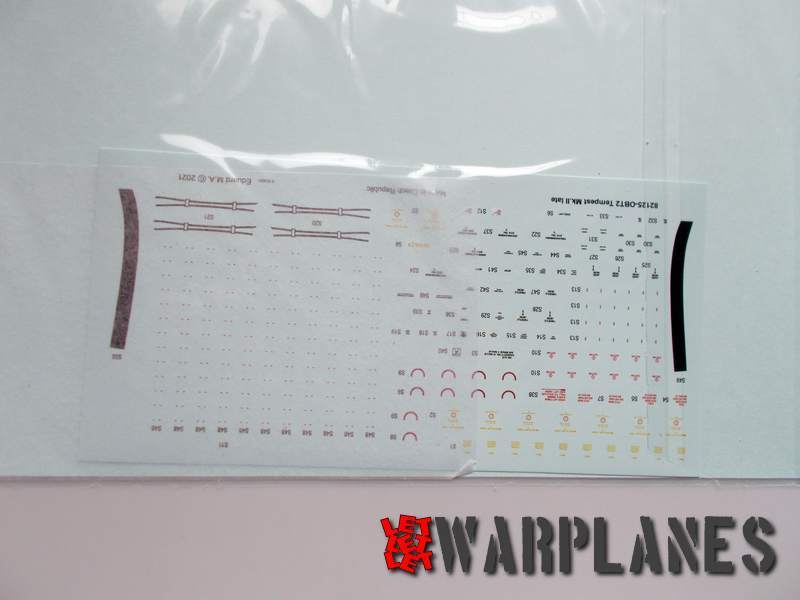
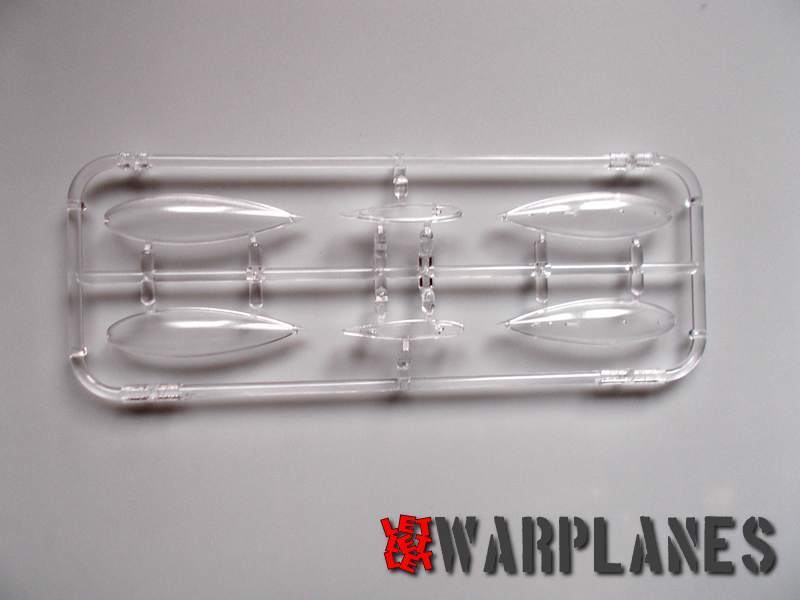
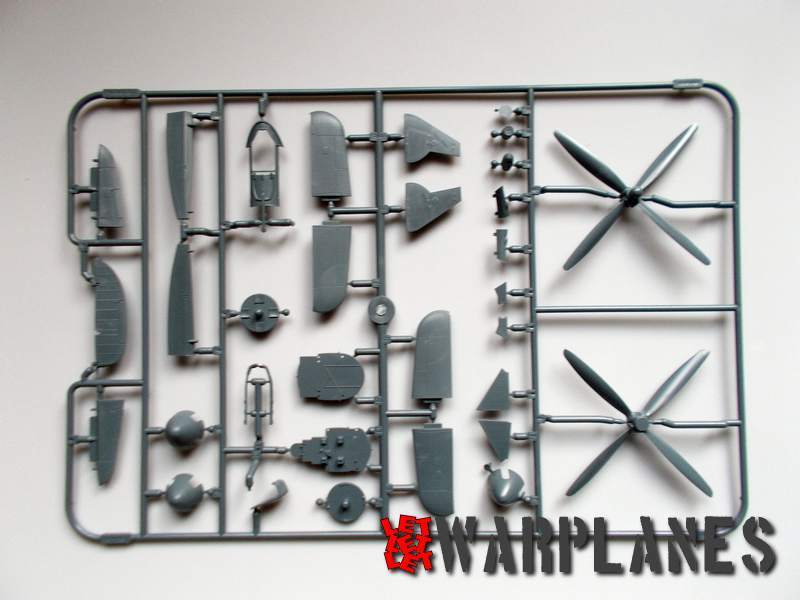
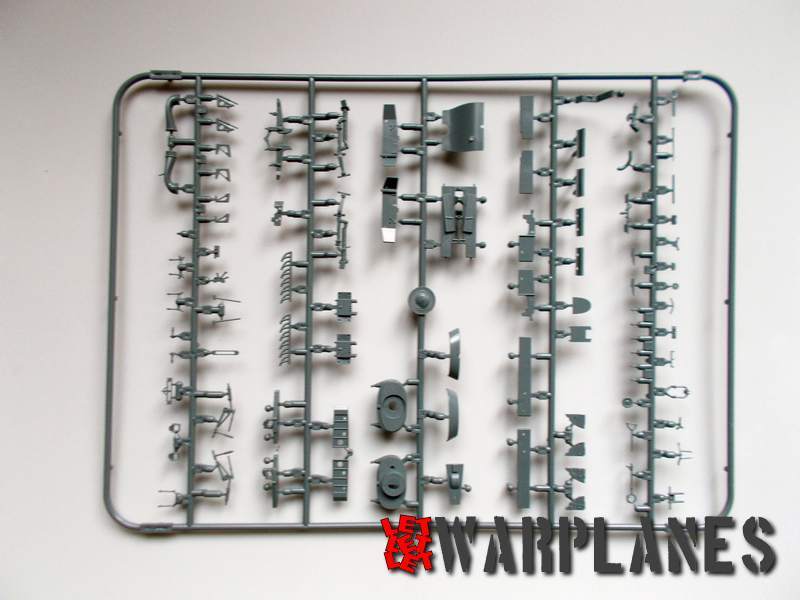
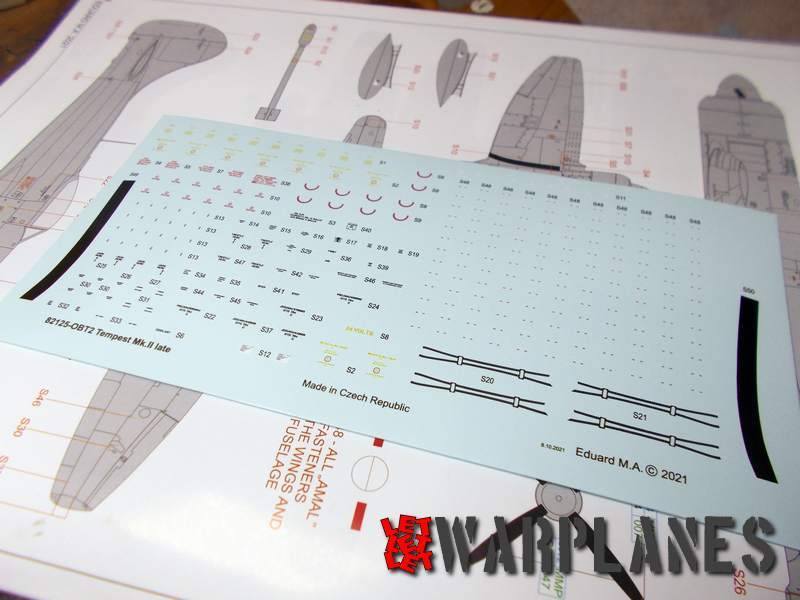
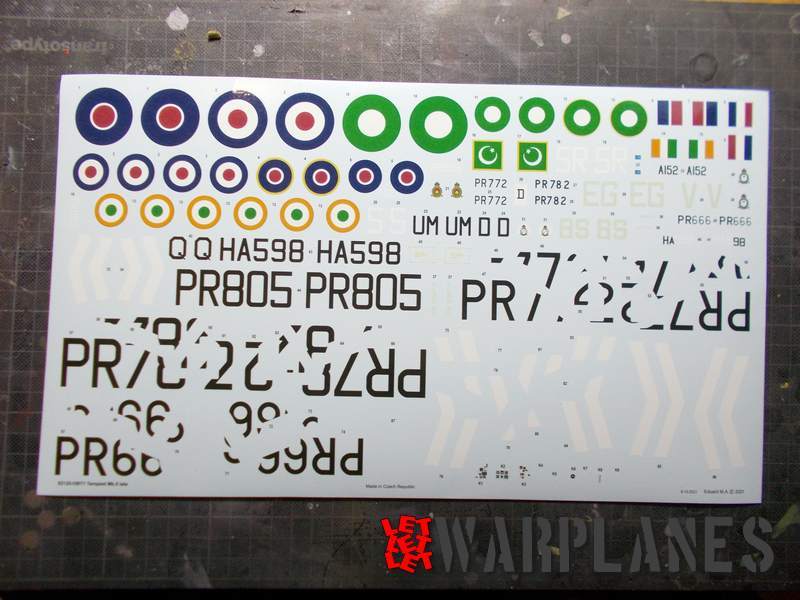
Kit was announced some time ago and some few weeks ago I get my sample. This product come in ProfiPack series and have stock number 82125 and scale is 1/48. Cover art is impressive made, shown one British machine firing rockets in low level flight. Package inside is so rich, as usual, start with nice assembly booklet, with nice and brief history of the type, continued with parts list and then with so detailed assembly steps and end with camouflage and markings. Decals are so rich, they come on two sheet, one with basic service stencils and labels and the another one with national insignia and unit markings. For purpose of masking there is one small mask, to cover all sensitive parts on kit, primary cockpit canopy but also option to make painted walk strip on wing root (anyway, decal is also provided). Small photo etched set provide some painted elements, such those for instrument panel, seat belts and various tiny control stick. Plastic parts are even on eight frets, two of them is transparent. Another transparent is made for external fuel tanks, which areas was transparent. Not all parts are to be used, some are common for Mk.V with different fuselage, so take care what you select, to avoid to take similar looking part.


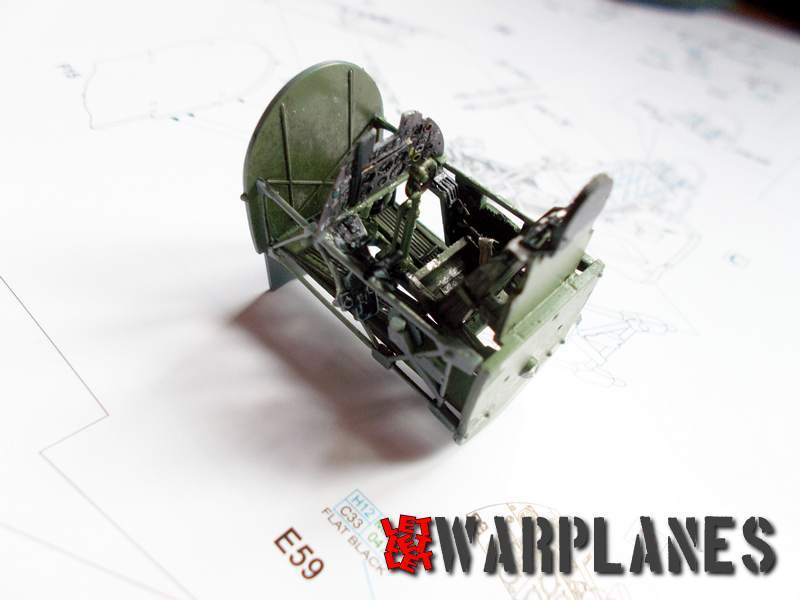
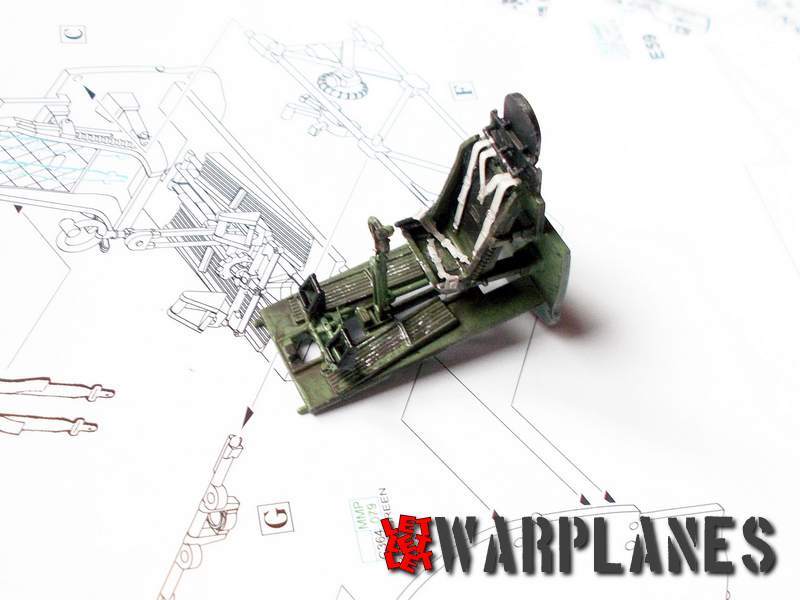
After painting all parts, and add some dirt and scratches, assembly can be made. Note that at back and front side frame are holes, some are for seat elements and some for side frame, take care not to push parts into wrong hole. During the assembly of this cockpit elements, on front side need to be insert one stick, with compass on it and it also have holes, where will be later placed instrument panel. One note- this assembly of this elements can be a bit risky for tiny control stick mounted at starboard console, so my advice is to make cockpit elements assembly first and after that put control sticks from etched parts. There is good approach for that and can be easy done.

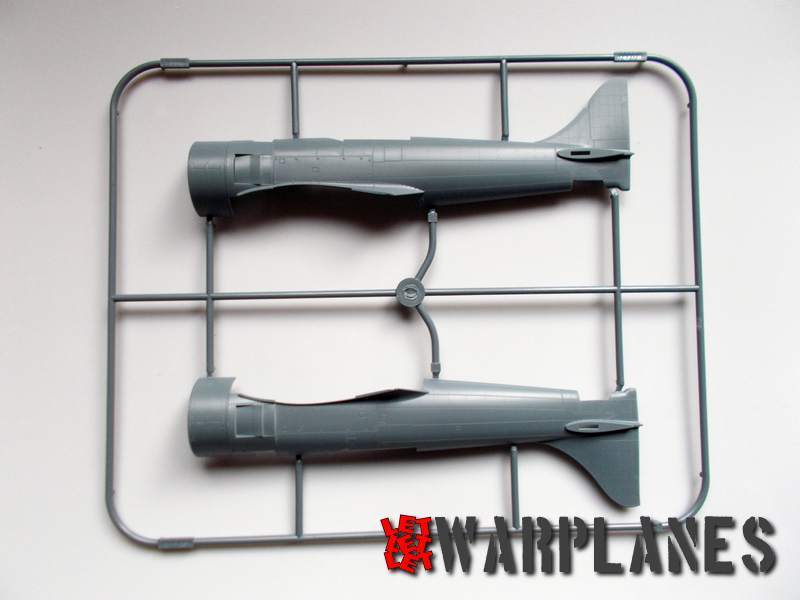
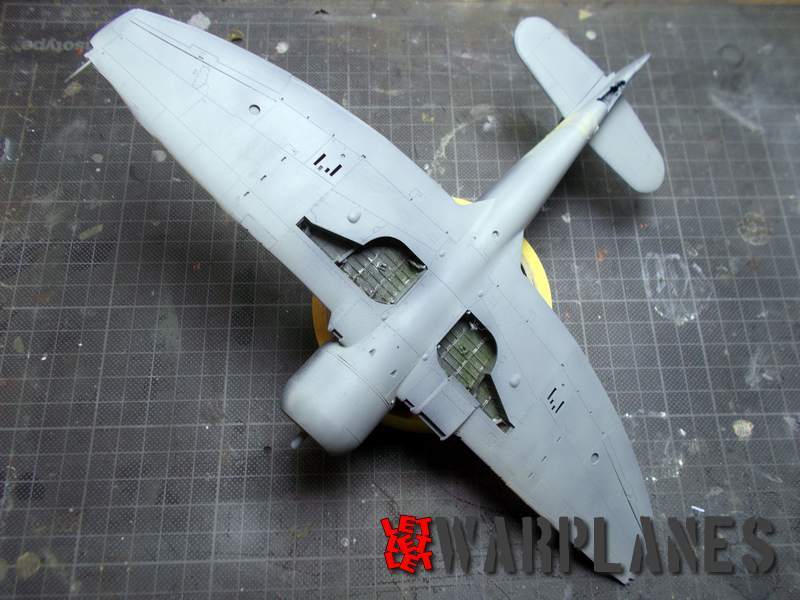
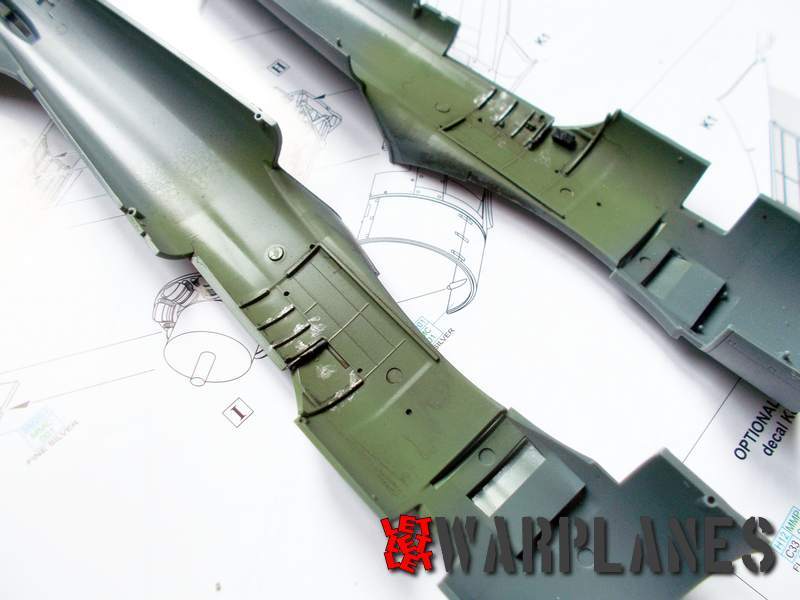
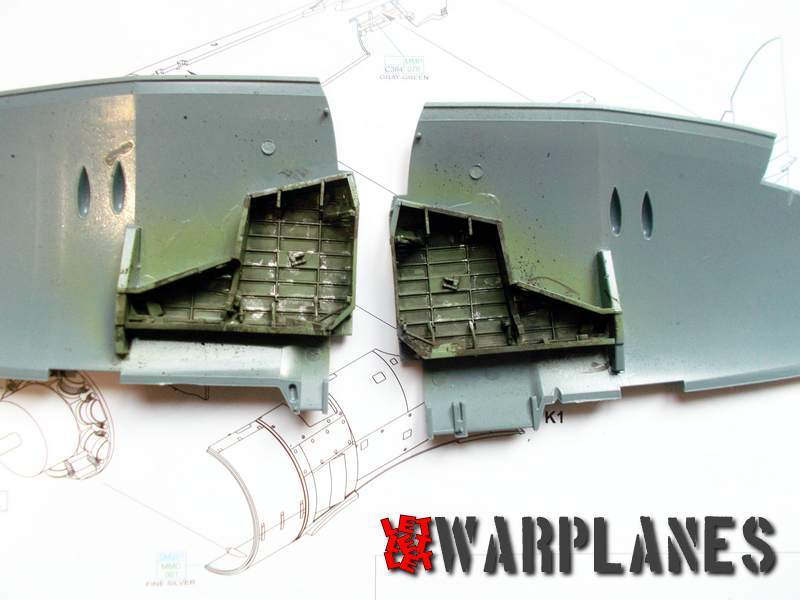
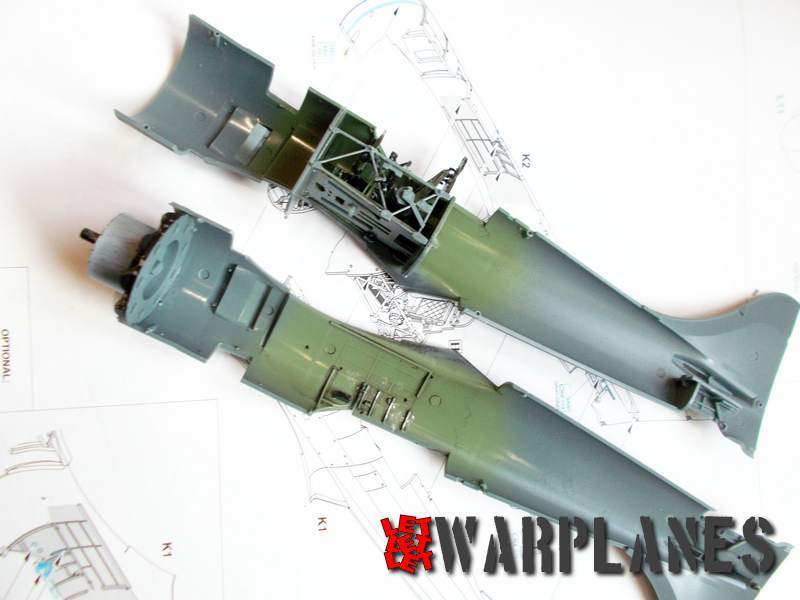
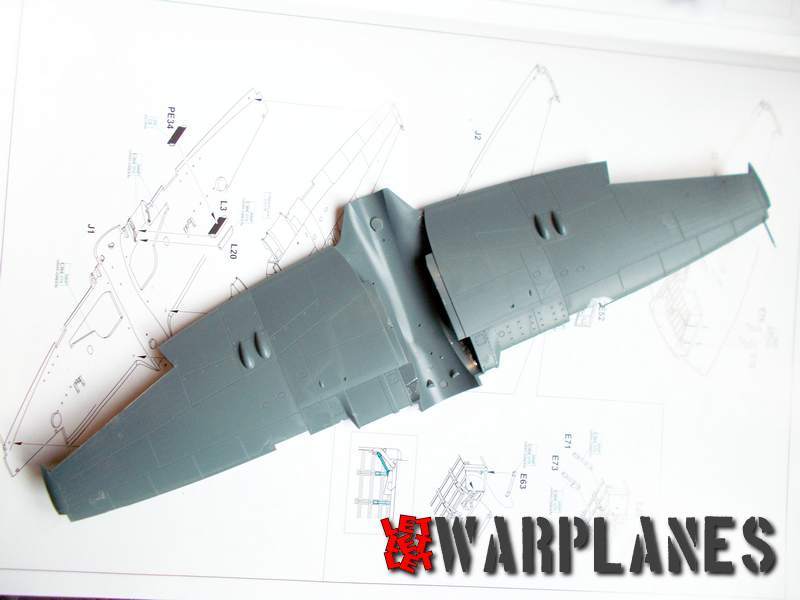
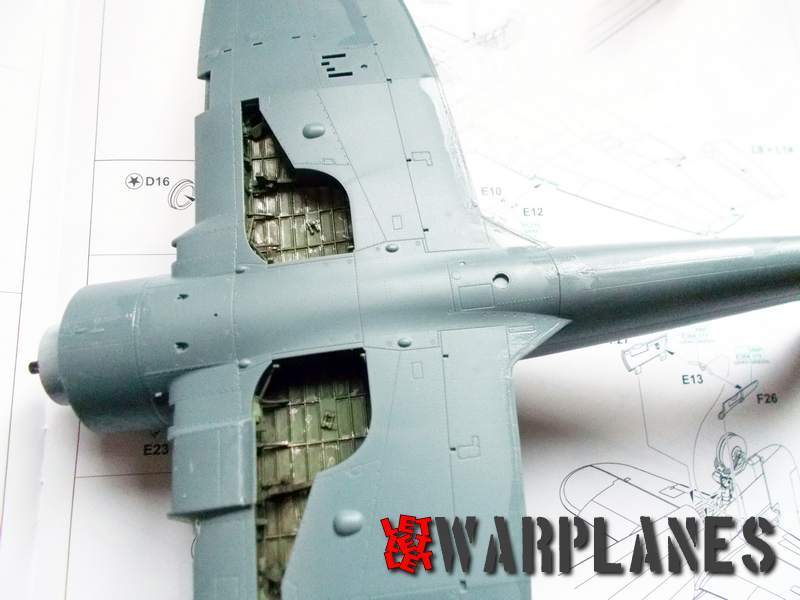
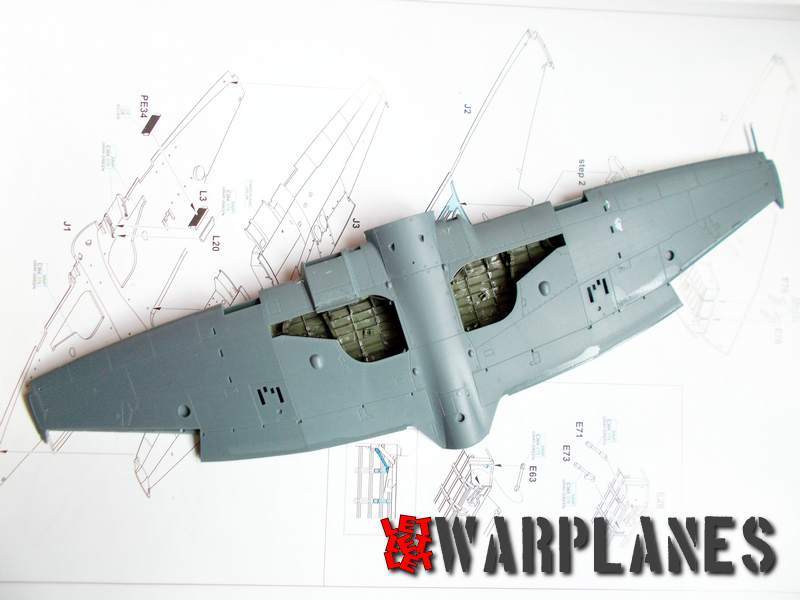
Assembly of fuselage half’s include place canopy inside, base for tail wheel and engine on front. Engine is very simply made, just two parts and most colors are black and silver. To regret, hole after final assembly is so narrow so not much can be seen from this simple engine. While cockpit parts was ready paint, I have took time to assembly wings. Before do that, please take a look in final samples for painting, as well some are clear of external payload, some have missiles, some fuel tanks. This is important to know as well in wings, need to be alter holes for all this optional elements, after assembly, that would be so complicated. Wings consist of one large bottom part and two top parts. Top parts are most demanding as well there is going on landing gear bay. It is complex made, very detailed and need some care in work. In general, first need to complete side walls and then few structure elements inside. Good thing is that no matter it look complicated, each part have clearly indicated nest, so putting in proper place is not complicated at all. Of course, not work for beginner but a bit advanced modeler can do that with easy.
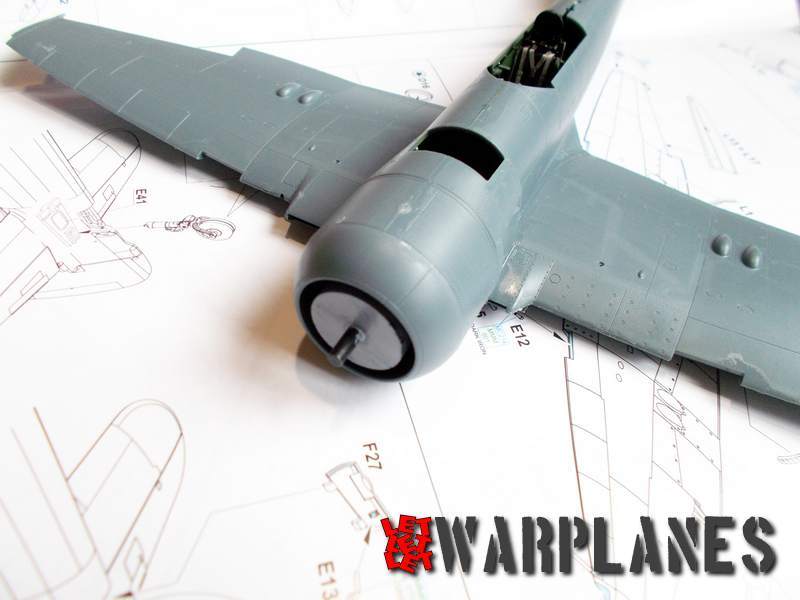
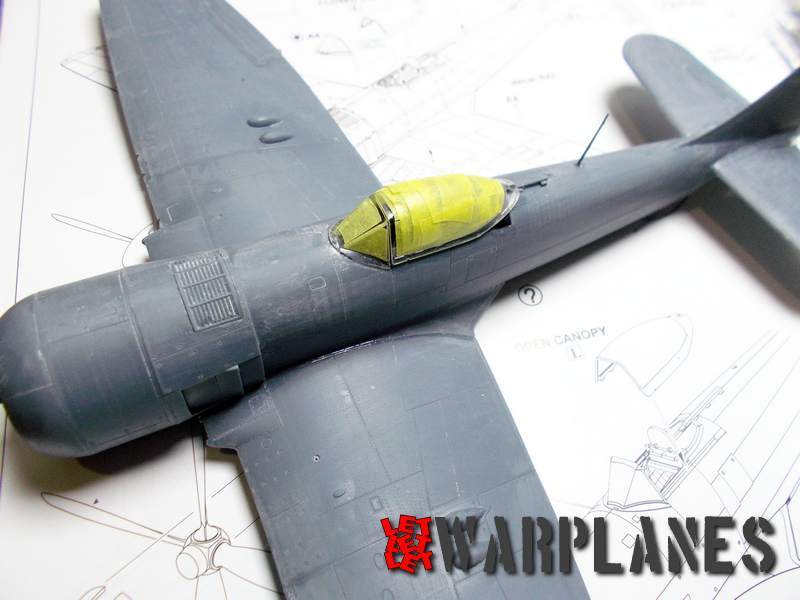
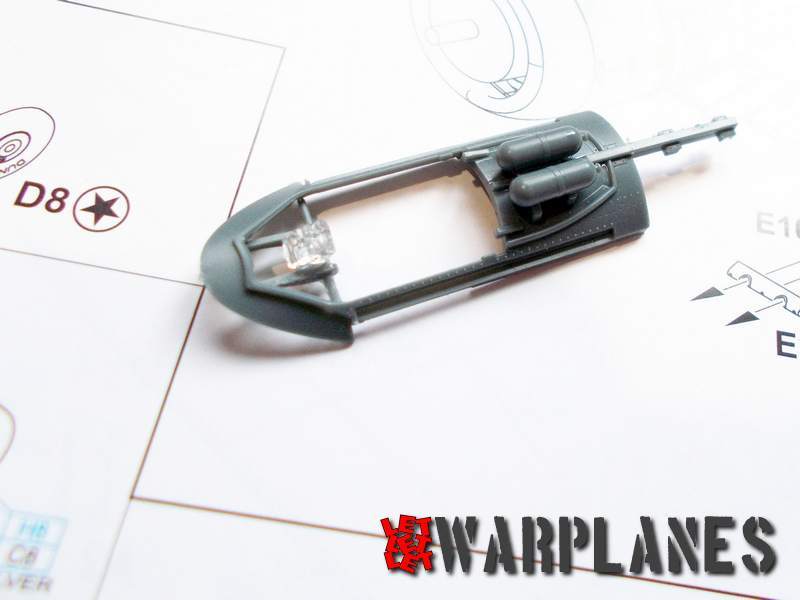
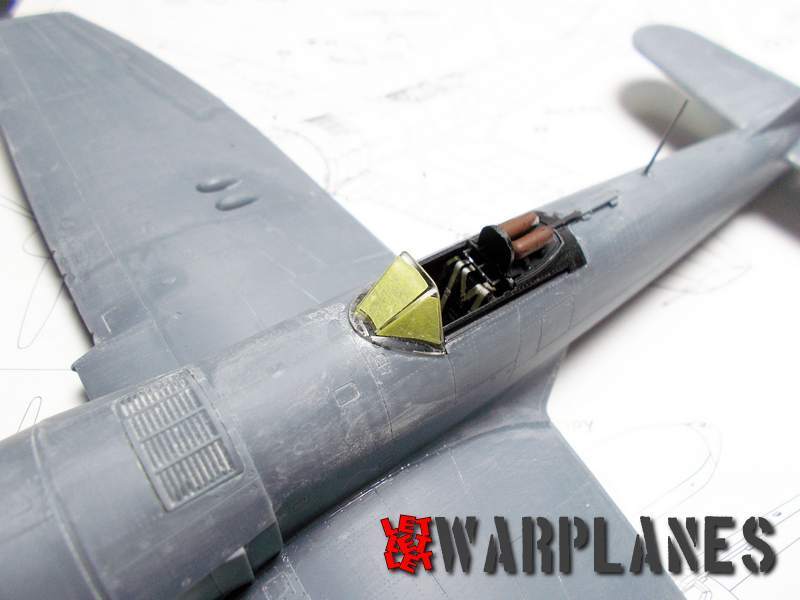


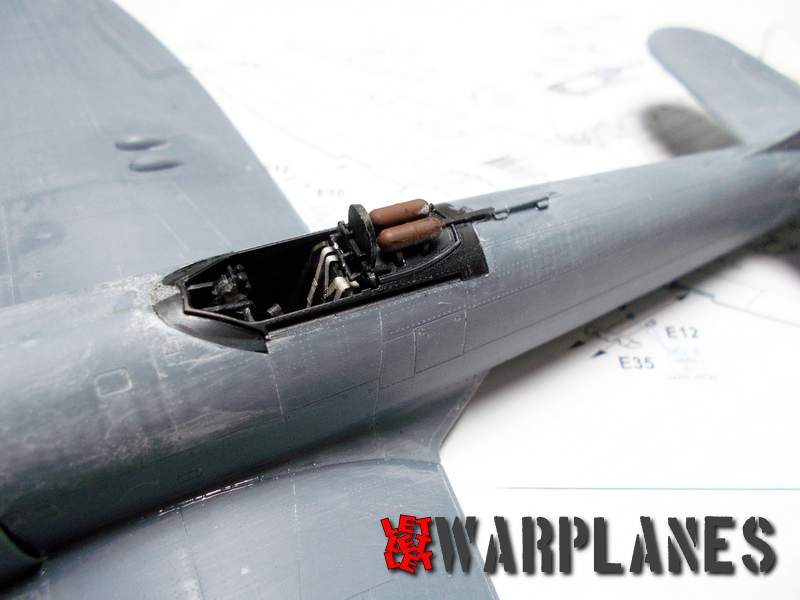

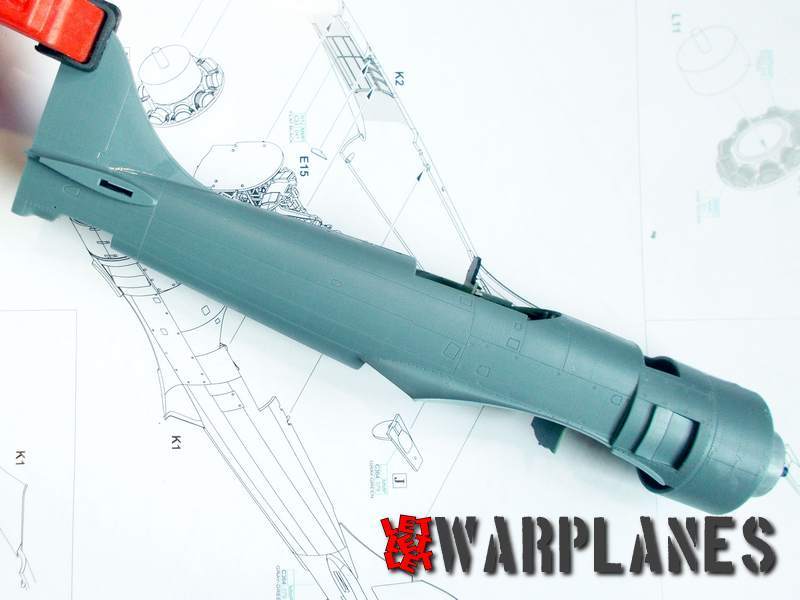


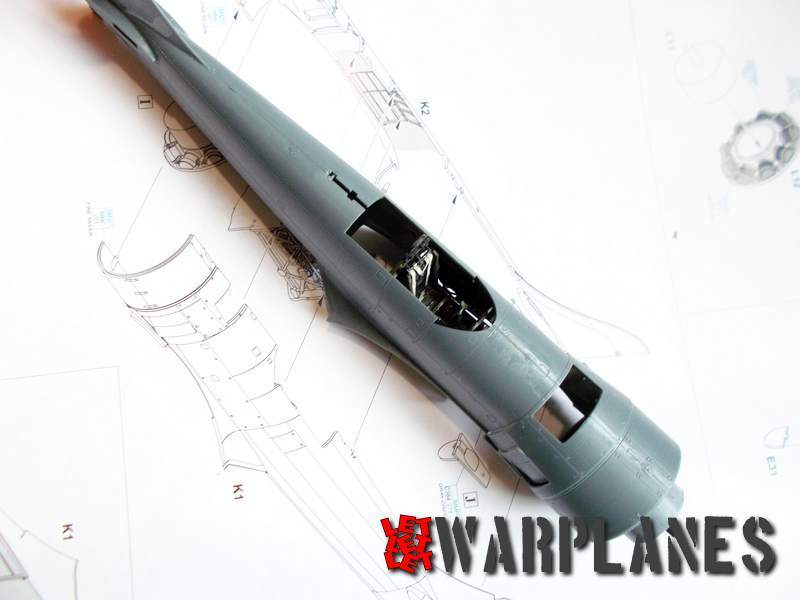
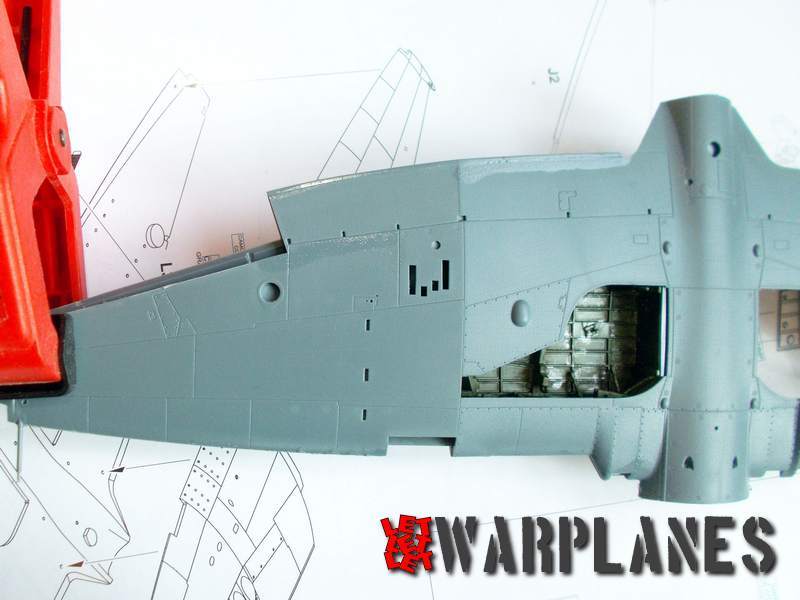
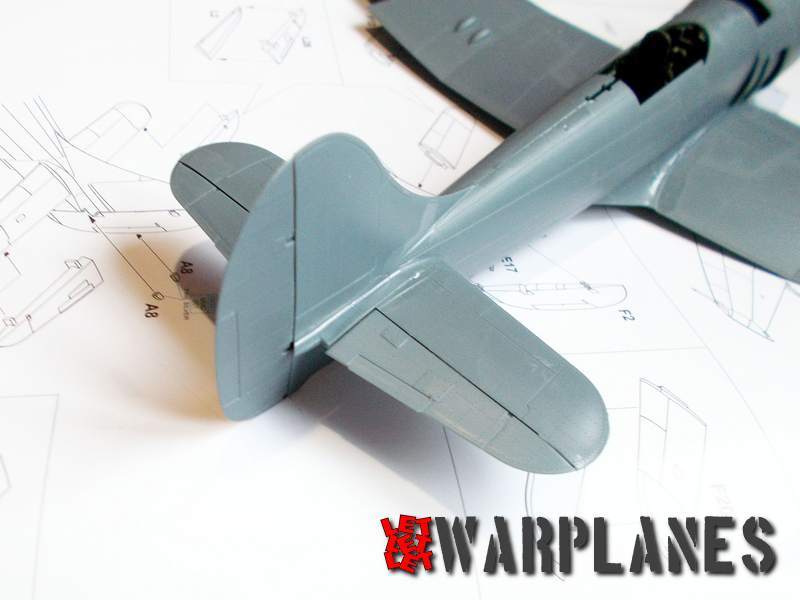
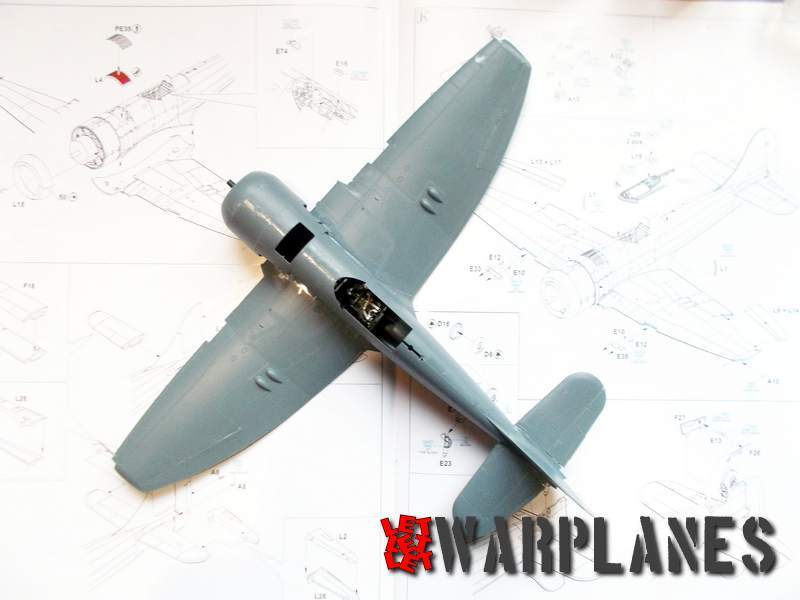
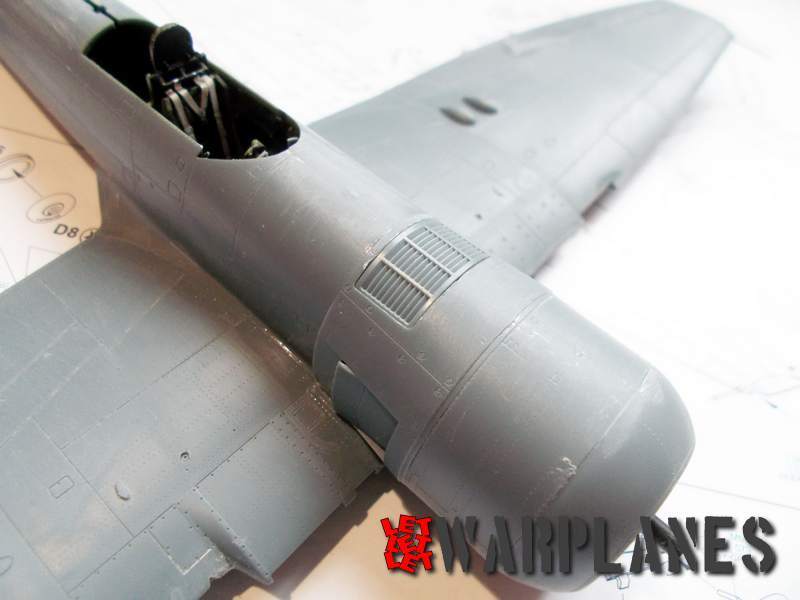


Once the fuselage and wings are made as one, many small external elements can be add. So, there come ring front cover of engine, small square plate in front of cockpit. This square can be used as original part but also as etched. I choose original plastic part as well it look good to me enough, but this is my personal view. After this step, I add all vertical and horizontal tail control surfaces as well wing control tabs. Cockpit is cover with frame, which is must say, again masterpiece of precision work, it set into fuselage with no gap, no trim need, absolutely perfect! This frame, in kit marked as part L10, include at bottom frame which hold gun sight at the top. Two parts make some doubt and this is two bottles placed behind pilot seat. To regret, I have seen only one photo of Tempest Mk. II using it, mostly they don’t have. Photo of sample machine I work, I did not find so I use this bottles, thrust to Eduard assembly. What I did not did and assembly suggest, is put tail wheel, I did assembly it but paint separately and place in place at the very end, prior to final varnish cote.
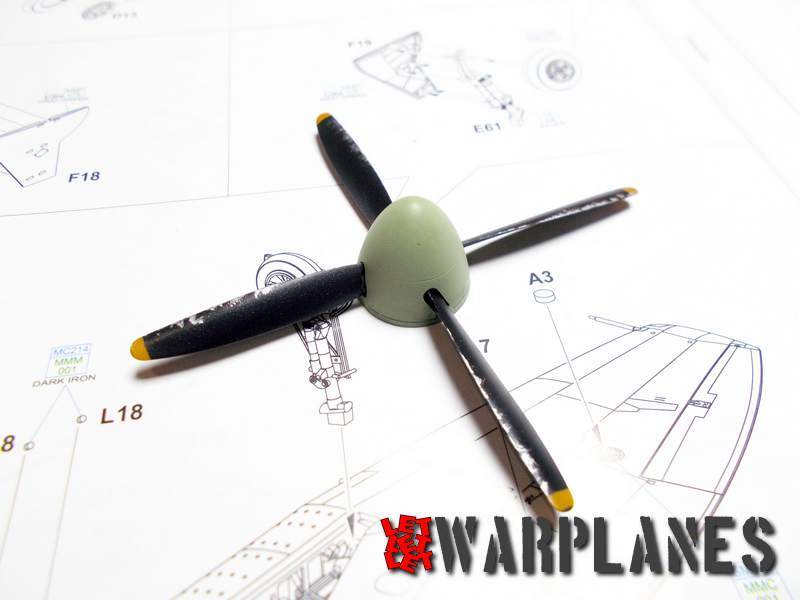
Not only tail wheel was delayed in assembly, I did in similar way main landing gear, so main leg and doors are all assembly at very end but before that it was painted and little stained. The same I did for the four blade propeller and spinner, they are all painted separately, assembled and after, at very end, attach to the front fuselage. In case you select to use missiles and fuel tank, situation is the same, far better is to finish em separately and place on kit at very end of assembly. What was last spent before painting is set of cockpit canopy on kit. It consist of two elements, wind screen and sliding hood. Before I place it on kit, I protect it with mask.
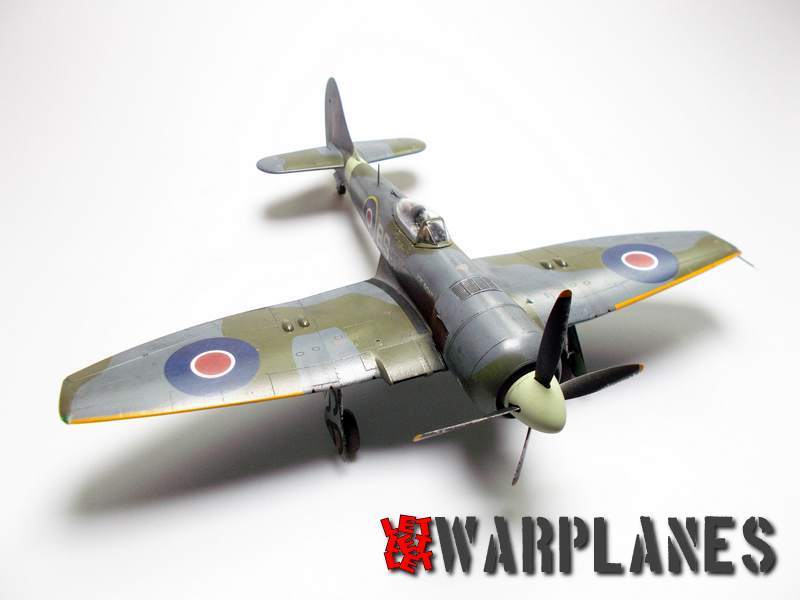
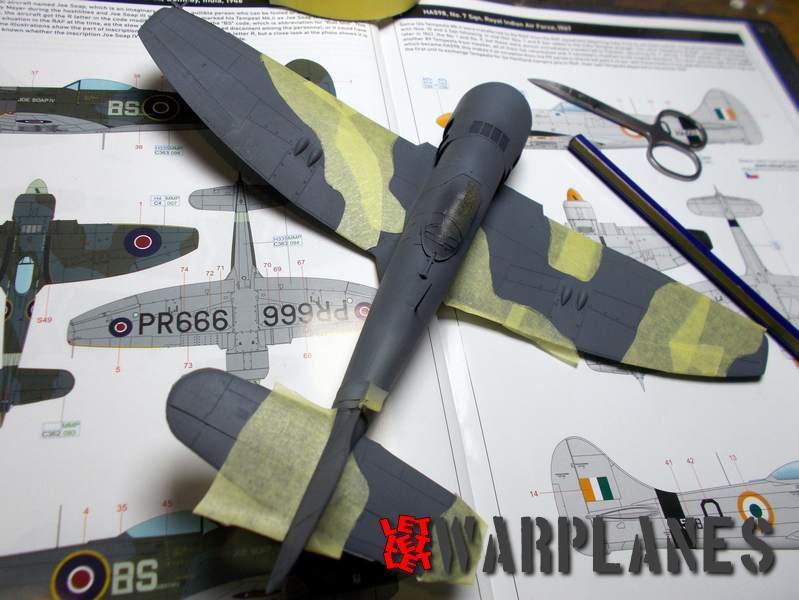
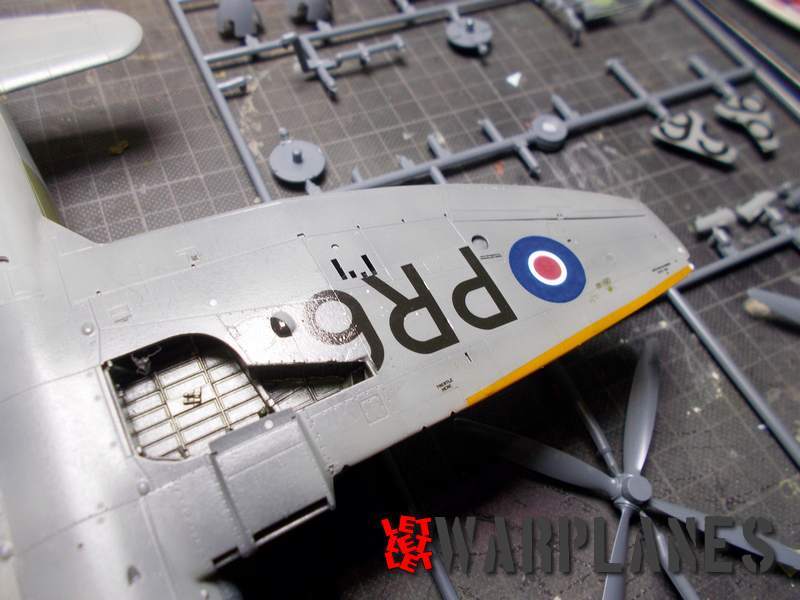
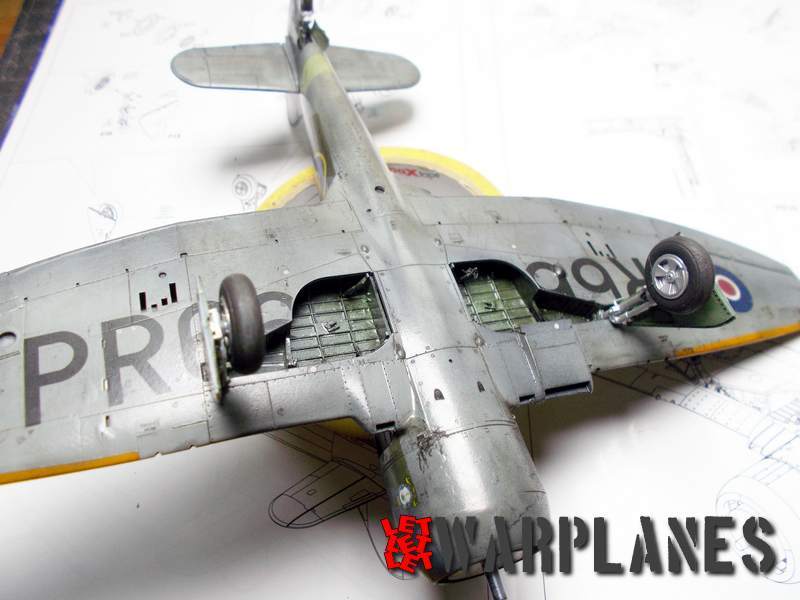
So many beautiful options were given for painting, and maybe that could be reason to buy few samples of this kit. In total six samples were offered, there is British machine, Pakistan and India machines. Camouflage you could do is Interesting, standard continental scheme, with Sea Grey Medium at bottom, same scheme but with Azure Blue at bottom, natural metal finish and Desert camouflage (on Pakistan machine). I decide to do machine flown by Sgt. Ldr. T.H. Meyer, sample machine PR666 from No. 30 Sq, based at Bombay, India, 1946. This sample was in standard continental camouflage and no missiles and fuel tank at bottom.

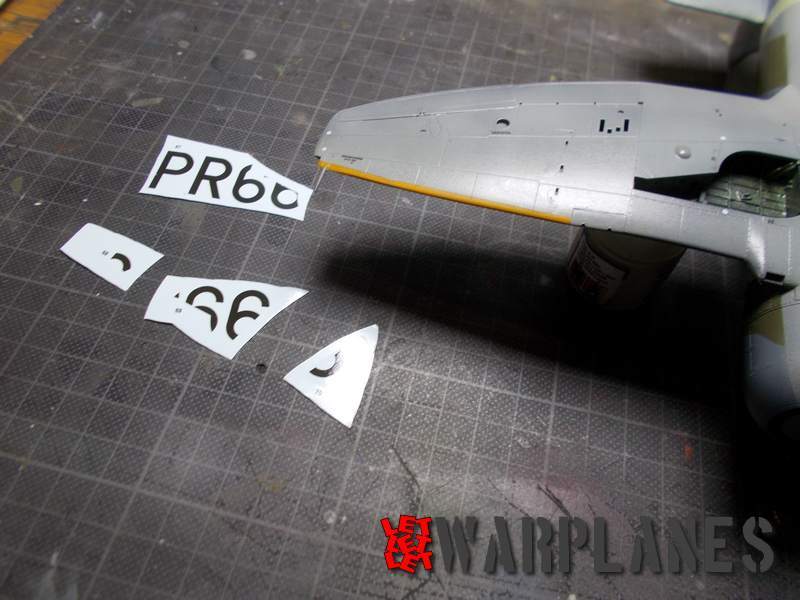
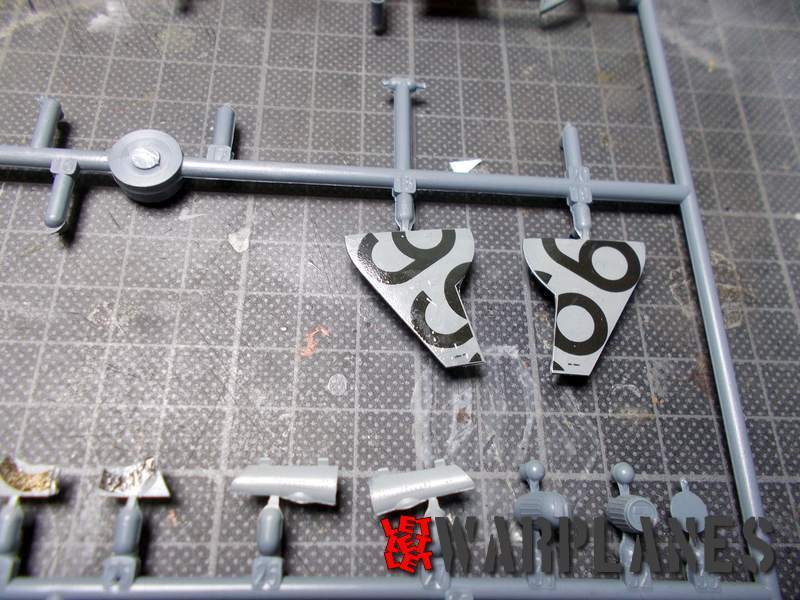
Nothing special to mention about the painting, I use my selection of paints, not from Eduard list but they match authentic color. What really impress me is that big register what was on airplane at bottom wing surface, Eduard print as sliced elements. On original airplanes, that register letters and numbers goes over landing gear and each section had parts of text. This make entire job of placing decals over kit so easy and absolute precise!!!
This is excellent and pleasant kit to build! Easy and precise! I have some technical documentation regarding this type but I did not make any compare, overall, this kit look authentic in size and proportion to me. Once again Eduard make amazing job, and from my side I grant thanks to Eduard for sample kit for review and your sample you can find here!
Srećko Bradić


