Hawker Tempest new Eduard no. 82121
Hawker Tempest kit in 1/48 scale from Eduard is the state of art of quality of design and possibly the best developed product they ever have! Quality of parts, how they match to each other, surface details, is top made. Best to mention is the simplicity and easy way to assemble it.

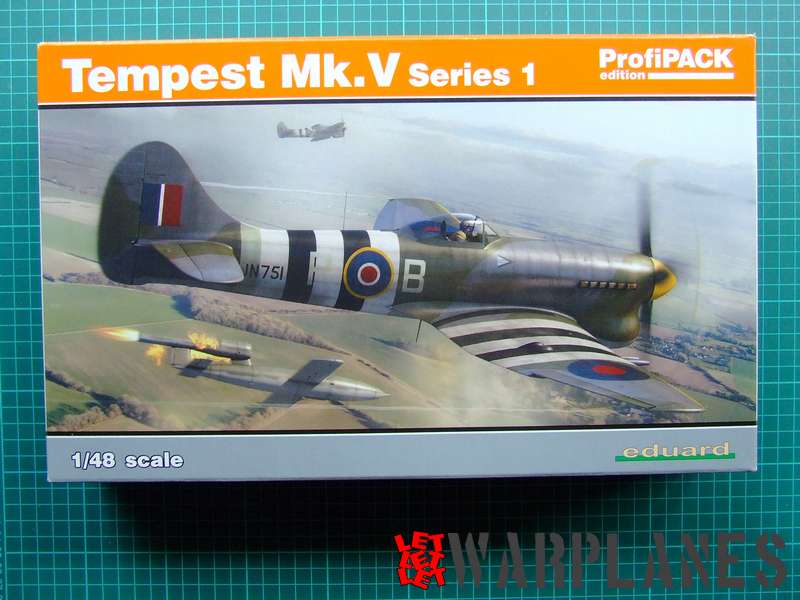
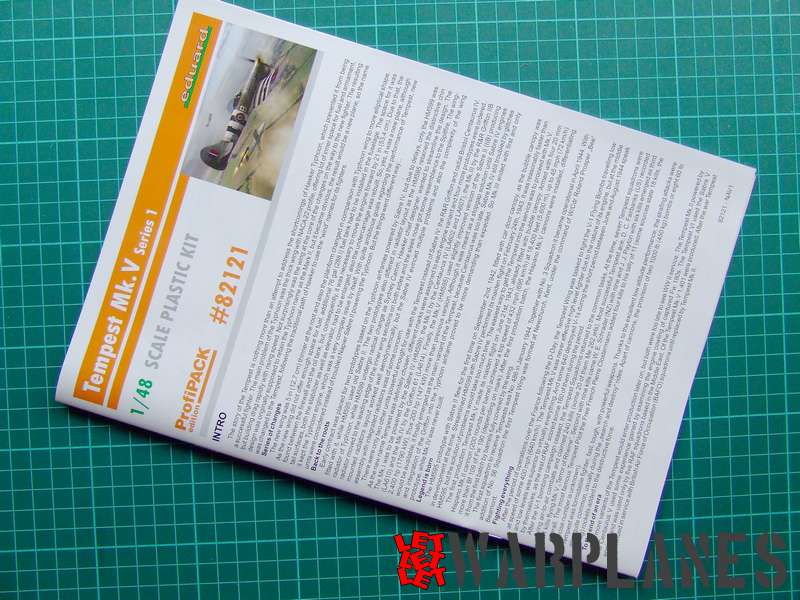
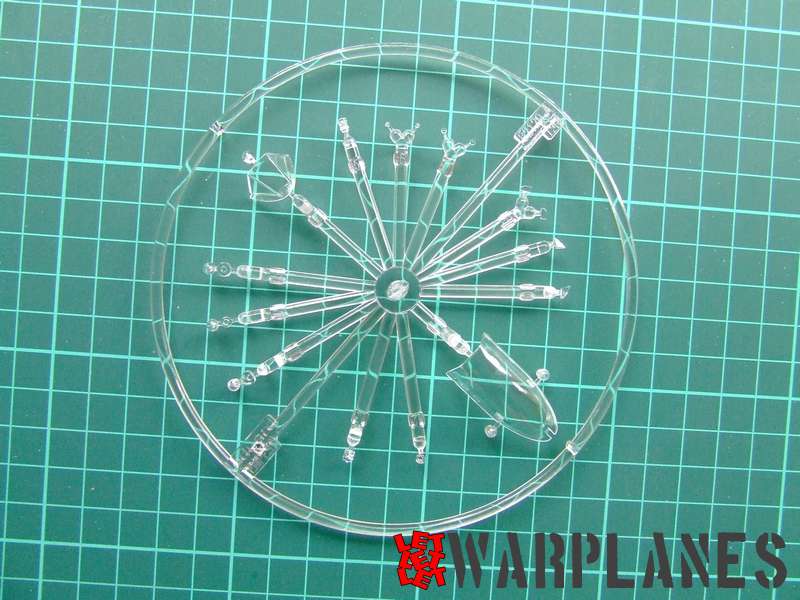
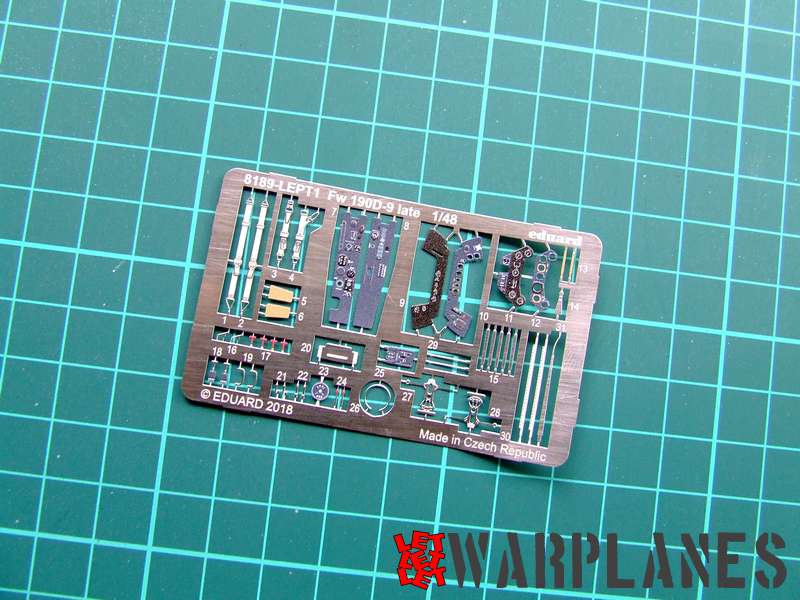
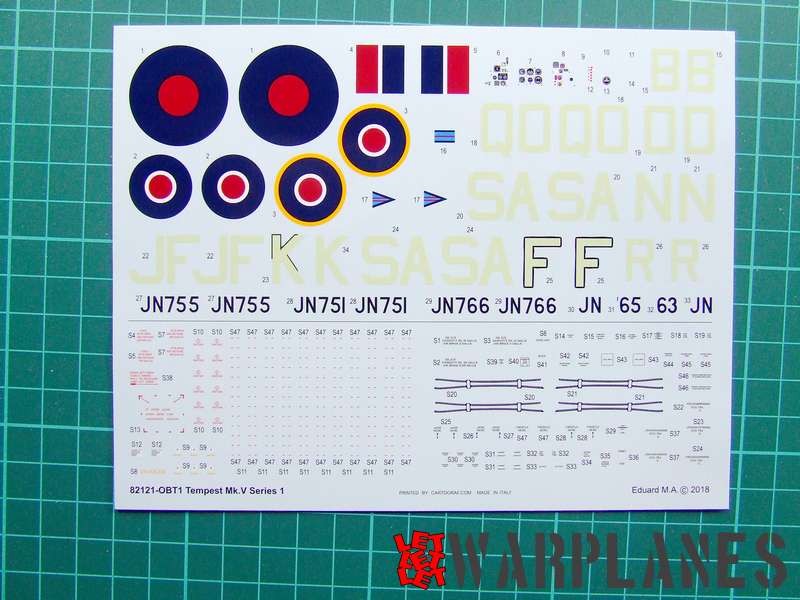
They deliver few kits and here will be presented their product with stock number 82121, scale is 1/48 and deliver as ProfiPACK kit. Box is beautiful designed with art present Tempest shoot down German V-1 flying bomb. Same kit present Tempest Mk. V, Series I. Inside box is one nice instruction booklet, six frets with parts (one transparent), mask and etched set with painted elements. Decals are also there, excellent print quality and with options for even six different airplanes. Instruction leaflet is as usual greatly made and it start with first page where is provided nice history of the type, text is nice made and could be so inspiration to search for more data and result in more Tempest kit builds.
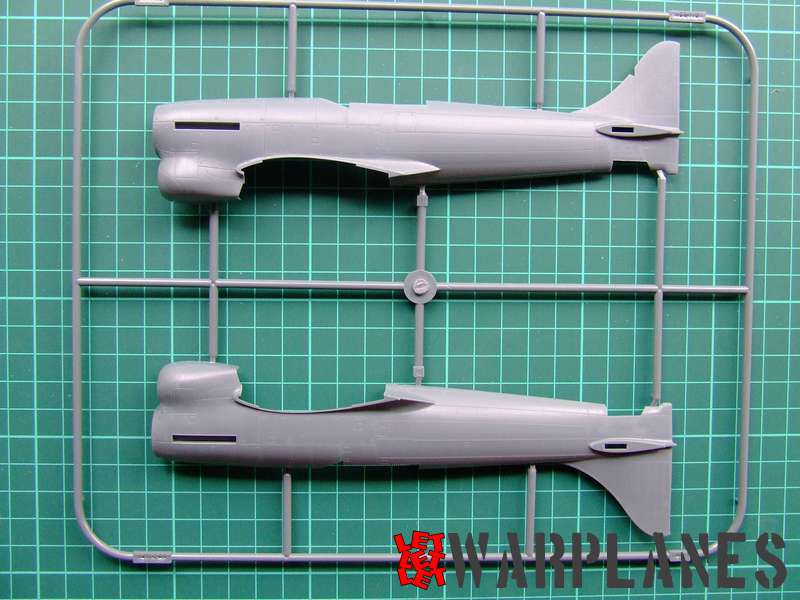
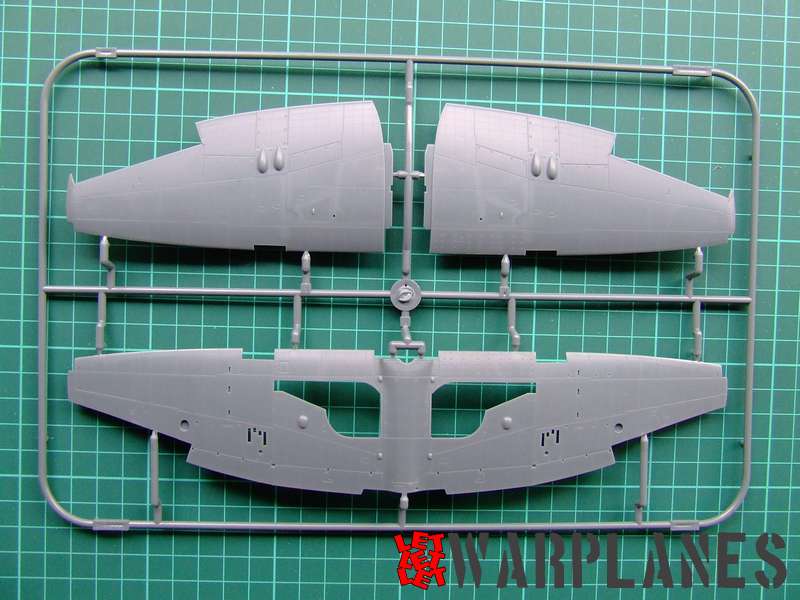
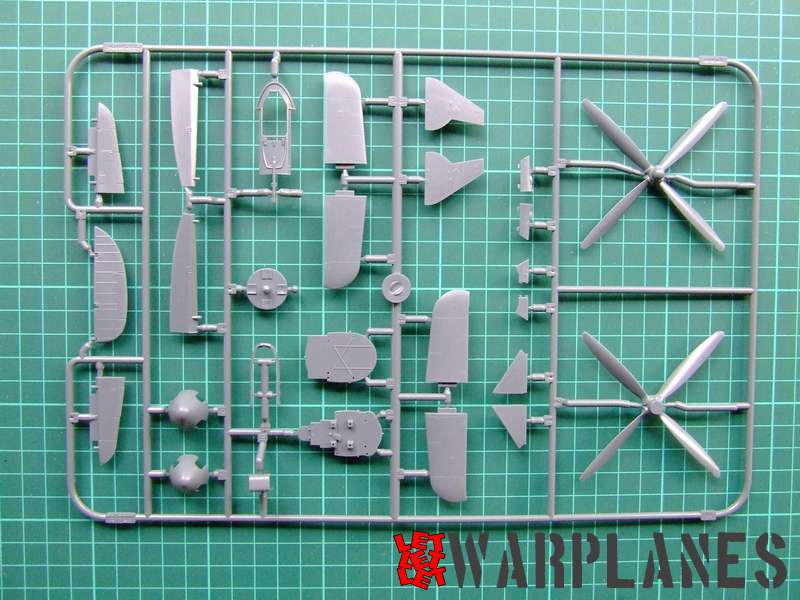
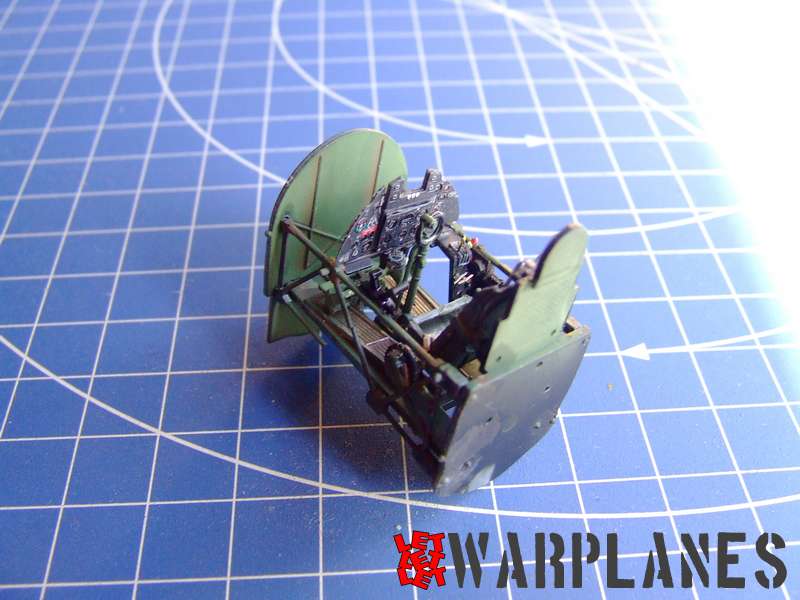
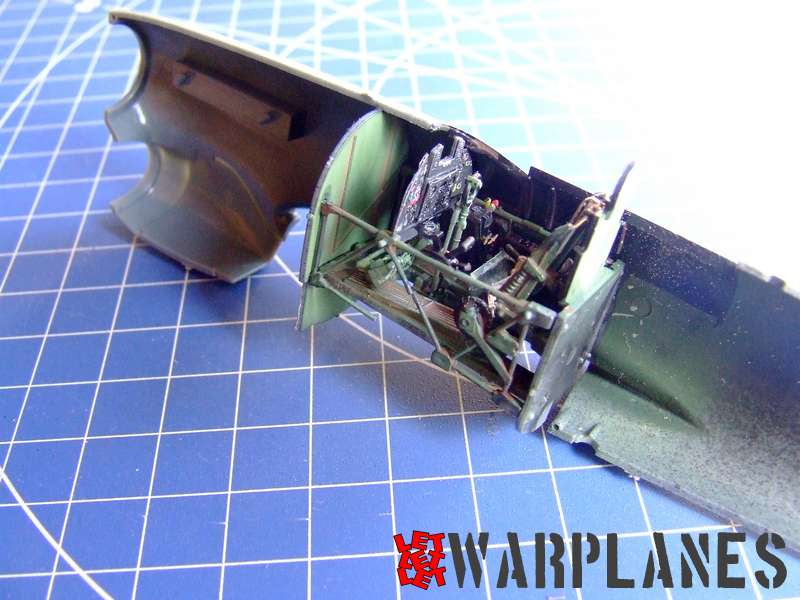
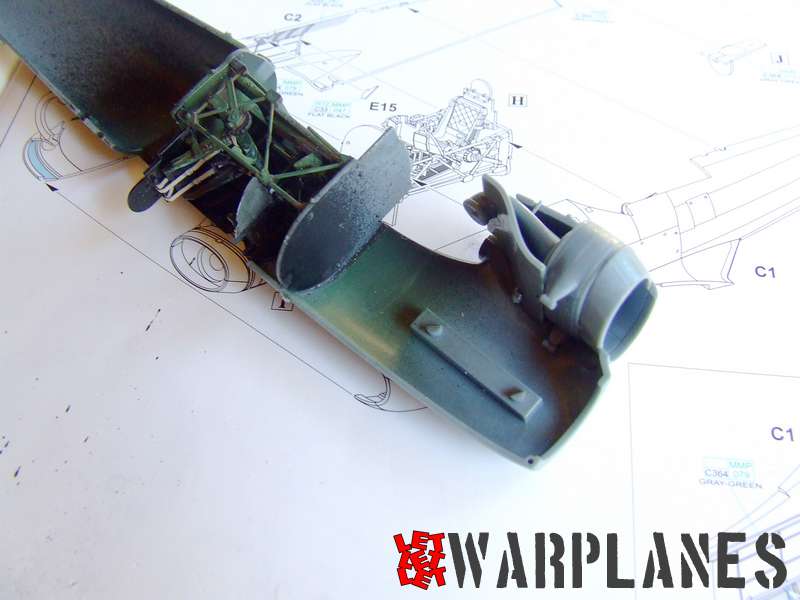
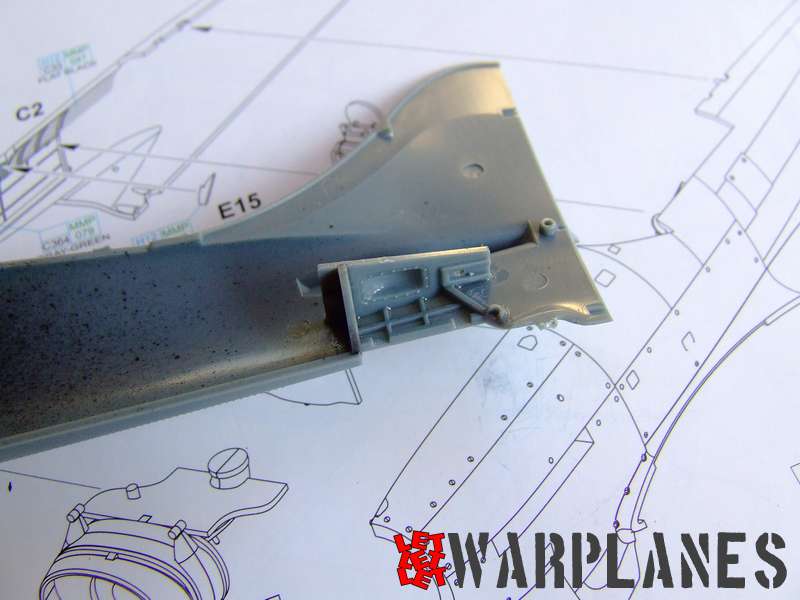
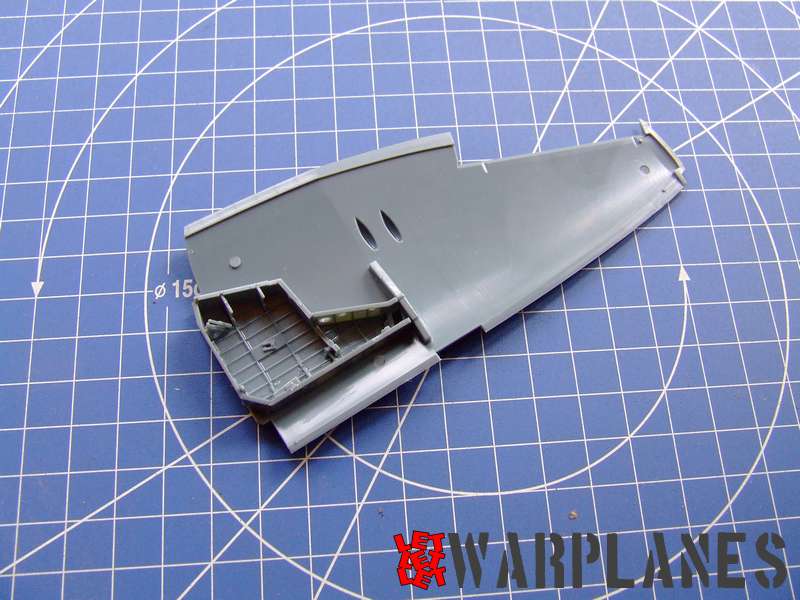
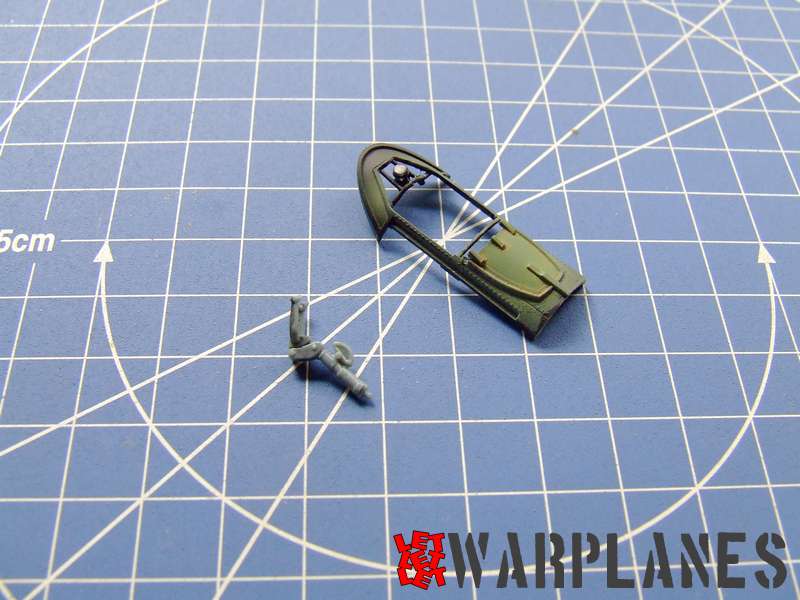
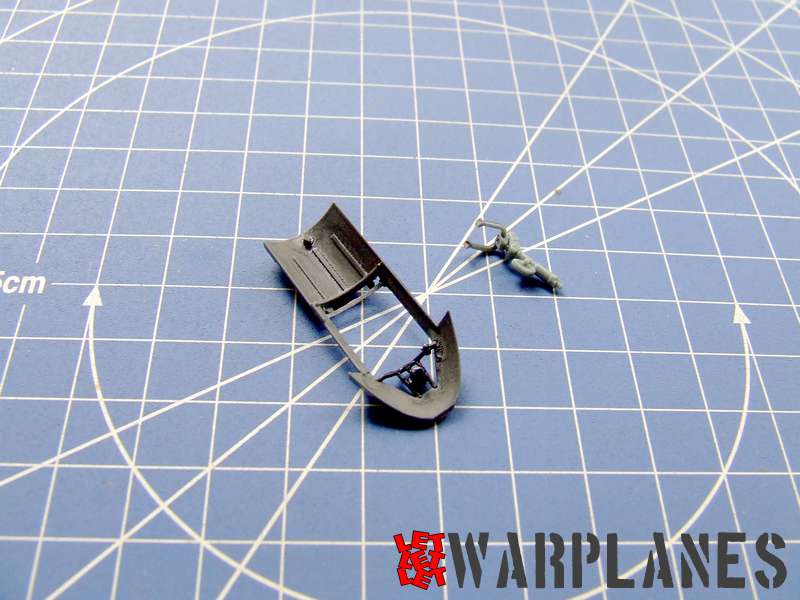
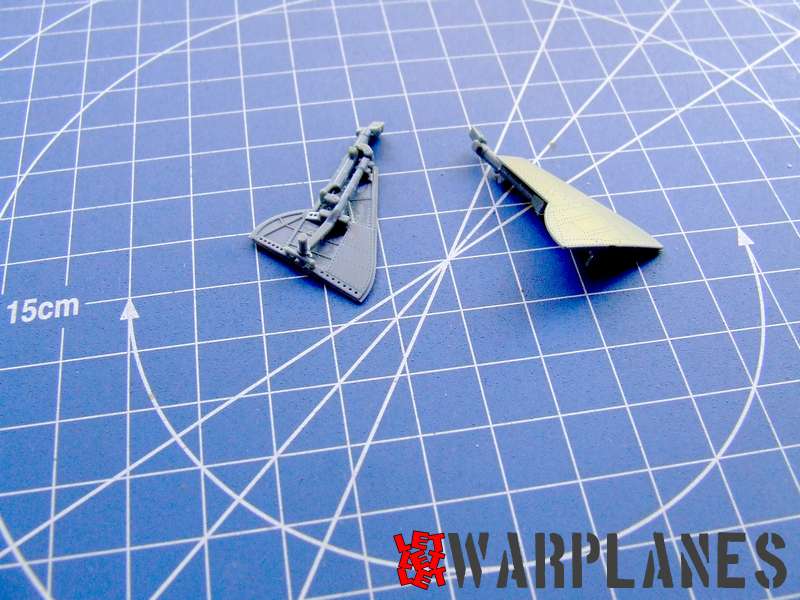
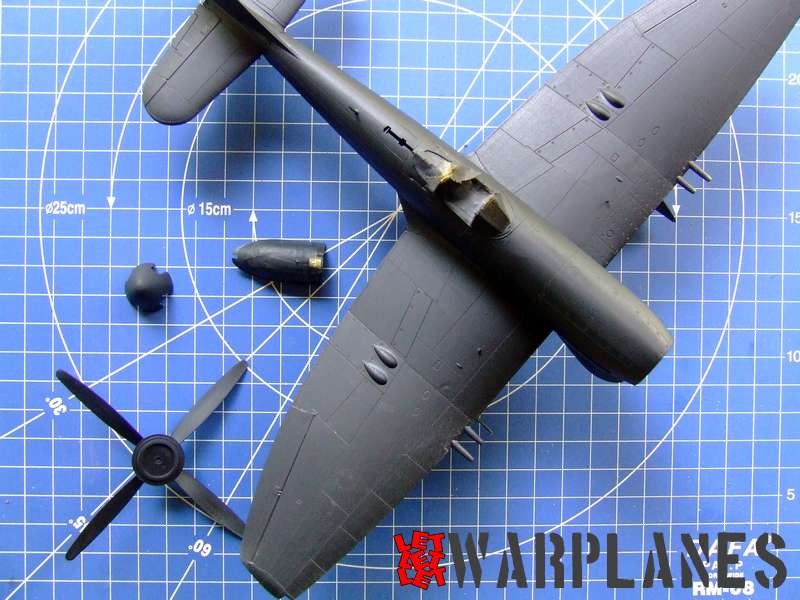
Completed cockpit, alongside with cooler under nose, come inside fuselage halfs.. Before cement it, few elements need to be placed inside one fuselage half. After this is complete, wings is the next step in assembly. Major work is dedicated to top wing elements ( same wings are three parts, one bottom and two top parts), inside have to be cemented wall elements of landing gear bay. Care need there as well each wall is made from six elements and any mistake in positions could cause that it can not proper fit to bottom section. Just little care that all parts seat down into their marked place and to fit each other and good inline. In general, it does not require much time and all complete goes under the fuselage.
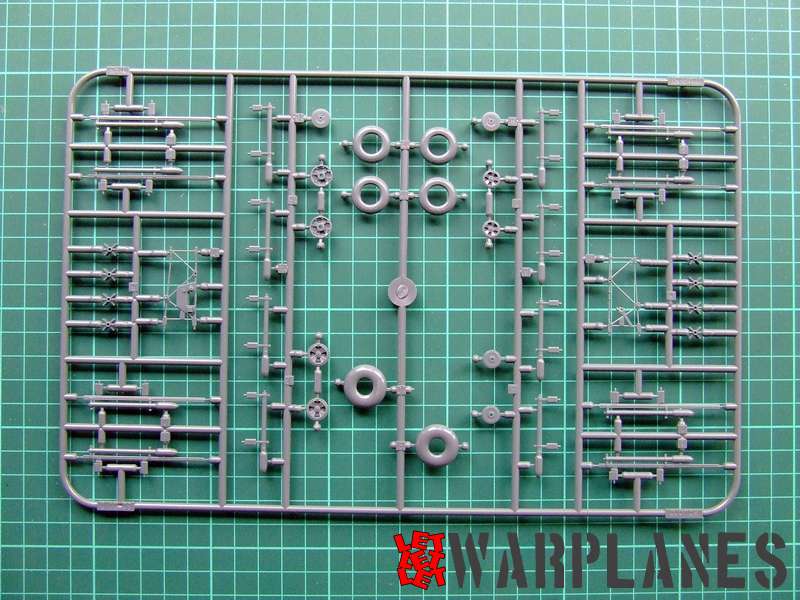
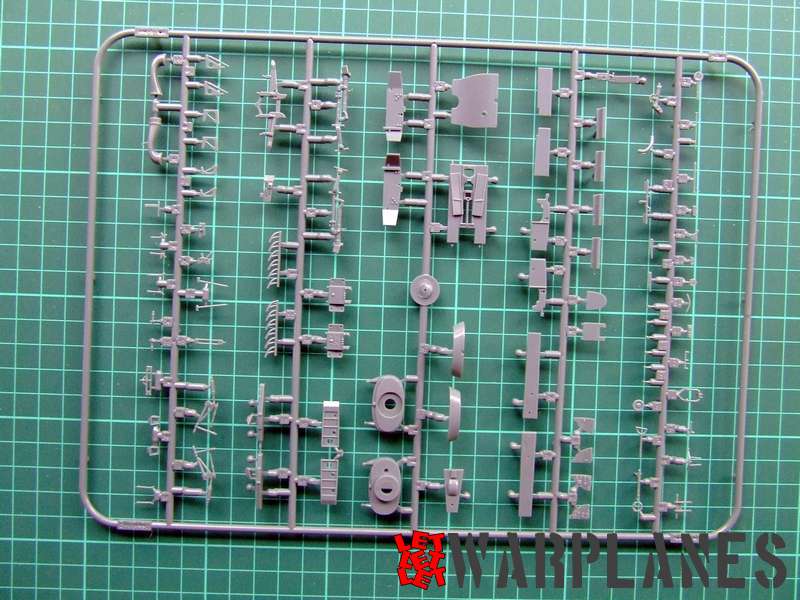
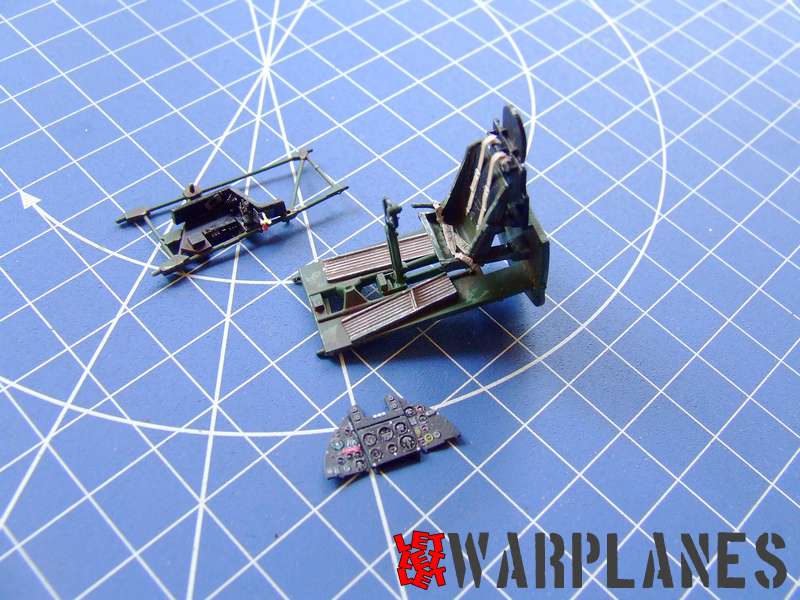
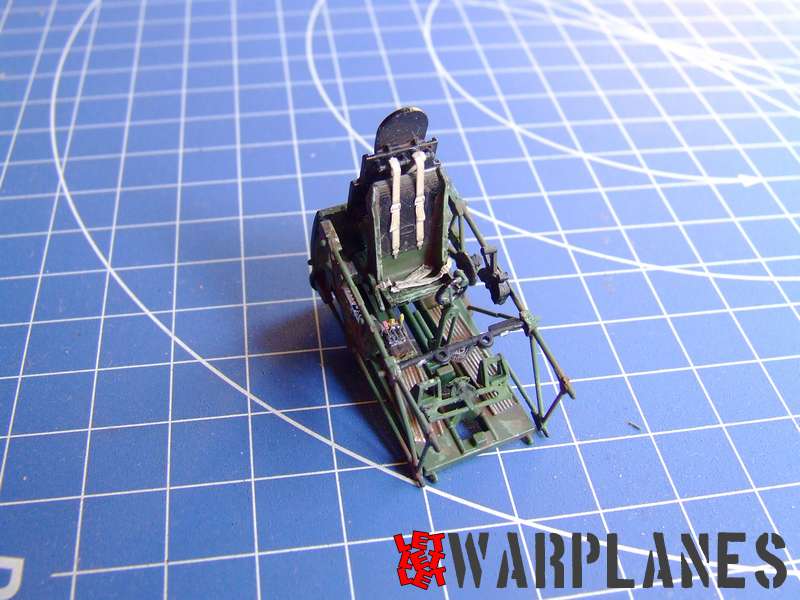
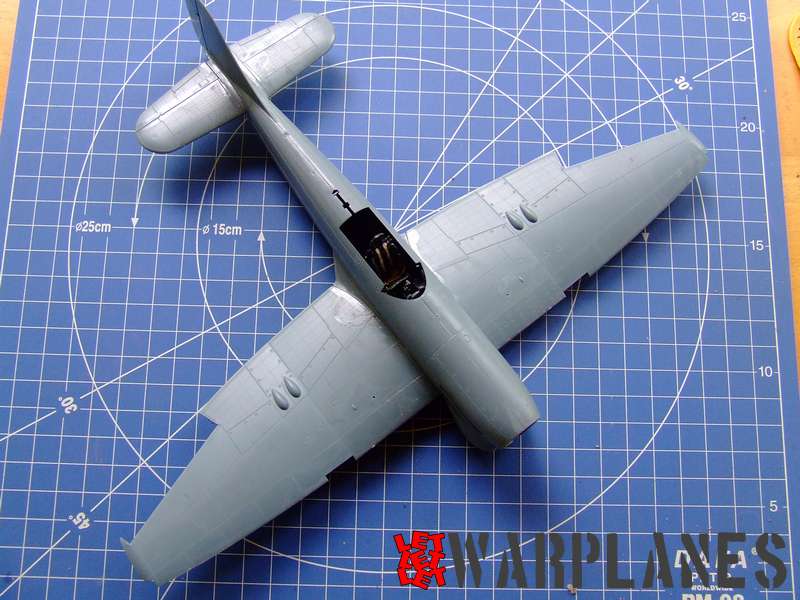
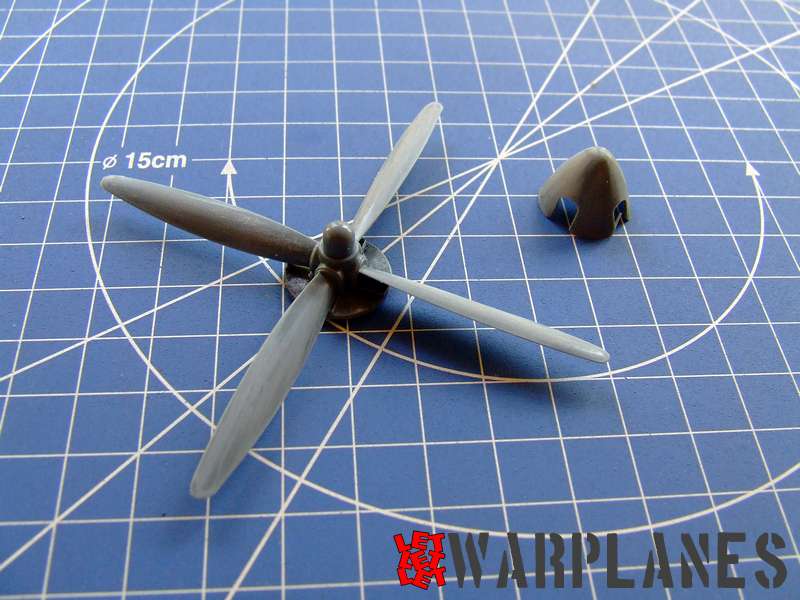
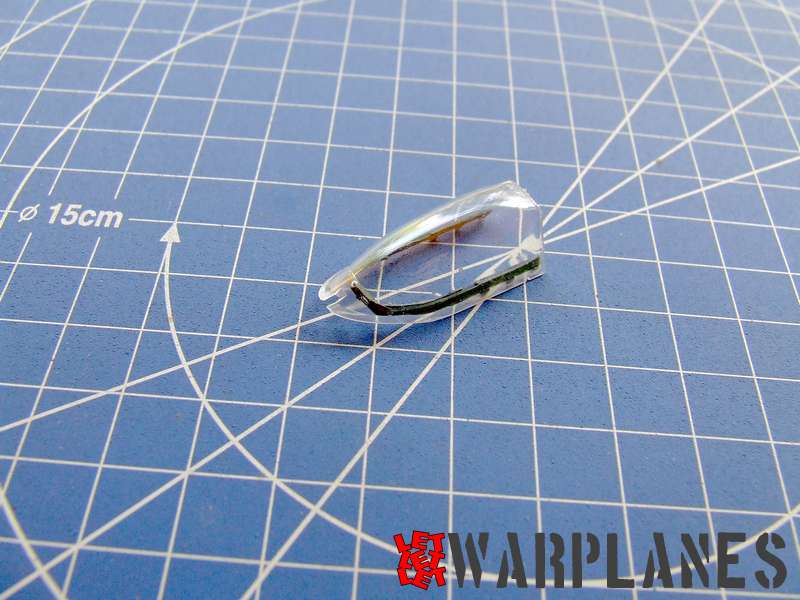
After all major sections are fit together, small elements is placed, mostly control surfaces cockpit frame with few parts inside, guns. Landing gear is so simple and good thing is that wheel hub are separately mold from tyre so it make it easy to paint, no need masking. Also, it is easy to finish it separately and fit at the very end.

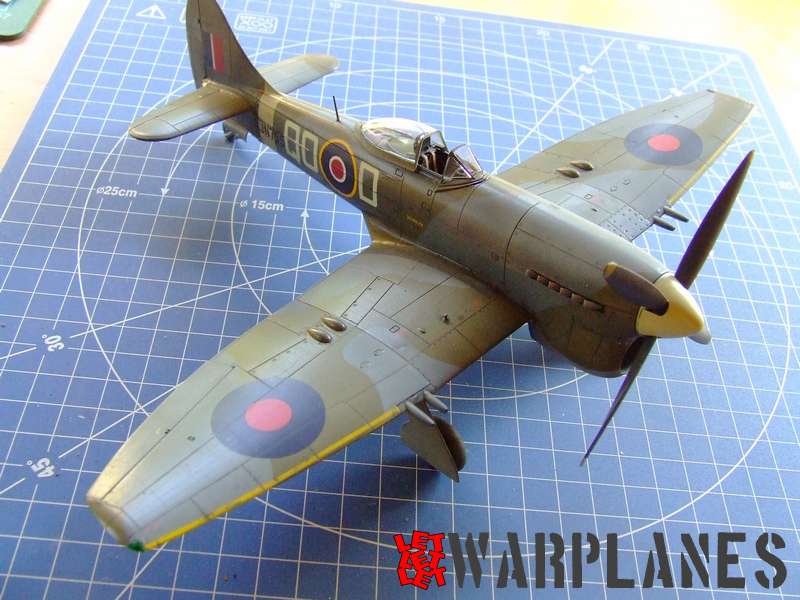
Top kit!! It was real pleasure to make it and will be pleasure to do new one soon. You can find one here and my big thanks goes to Eduard for the sample product!
Srećko Bradić


