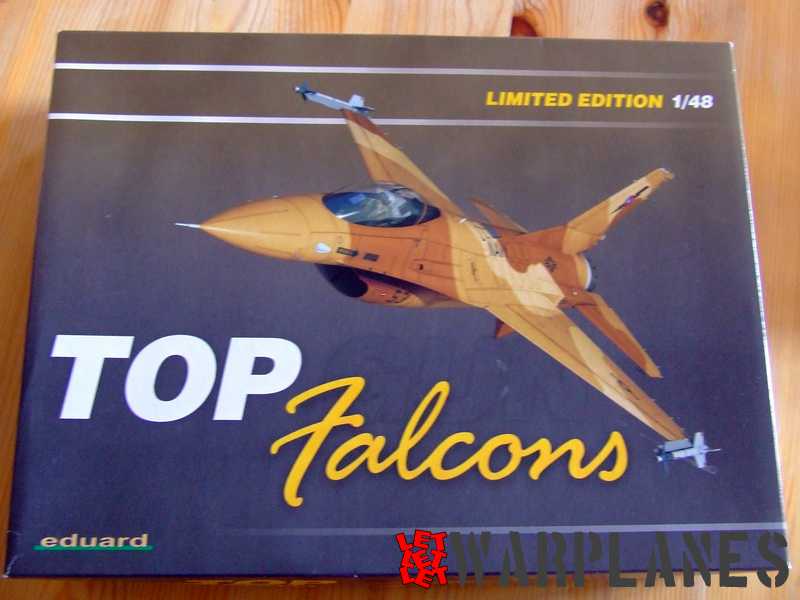
Top Falcons
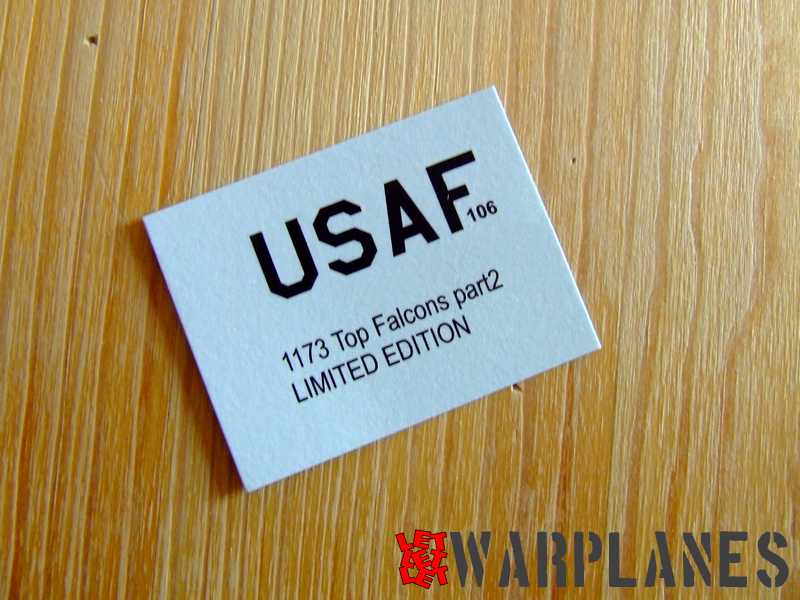
In the last months Eduard has released a few products related to the F-16 and one of these is this one –‘Top Falcons’ in 1/48 scale. Kit which is represented here is stock number 1173 and it is a Limited Edition series.

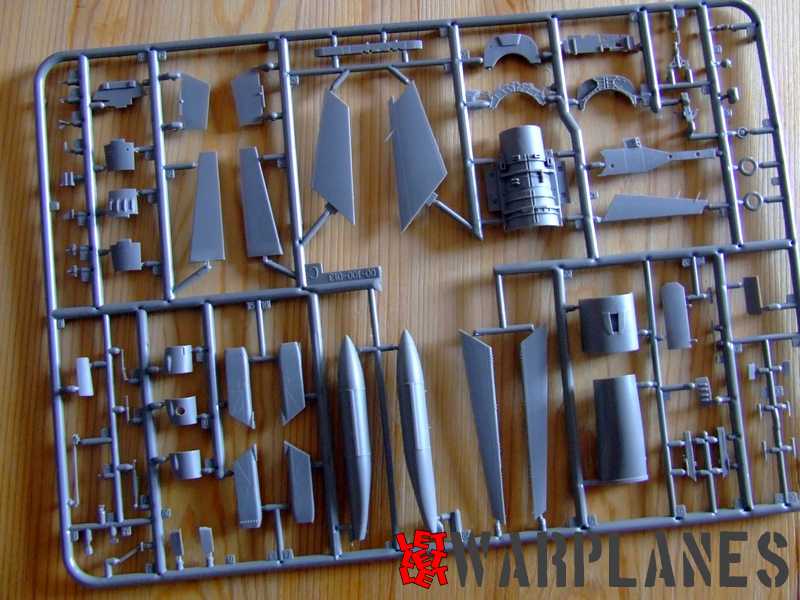
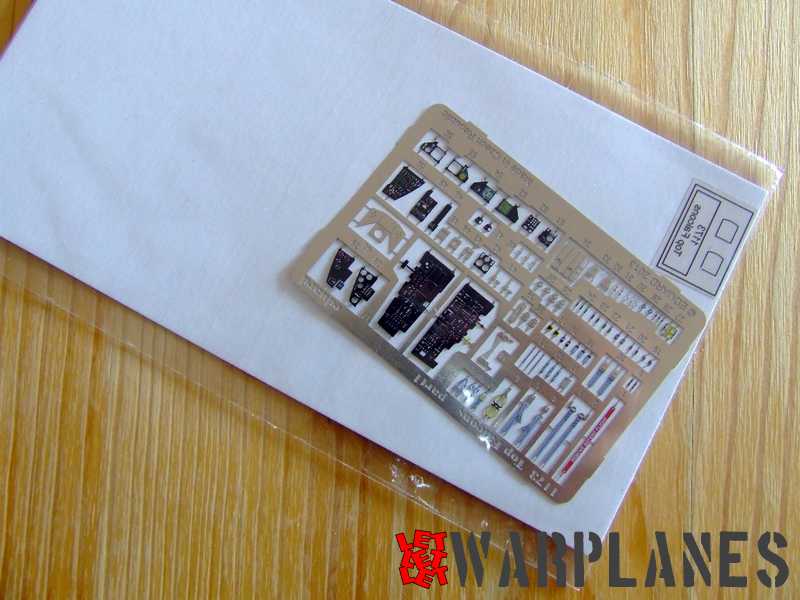
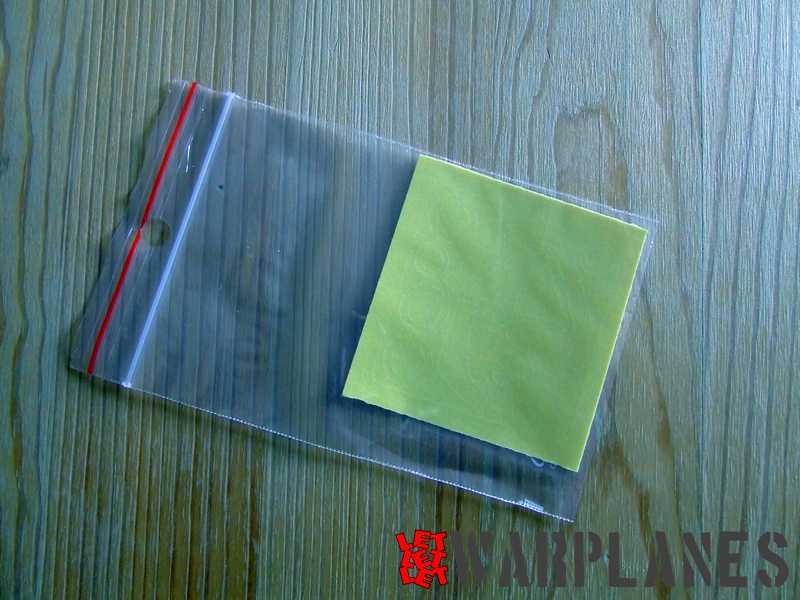
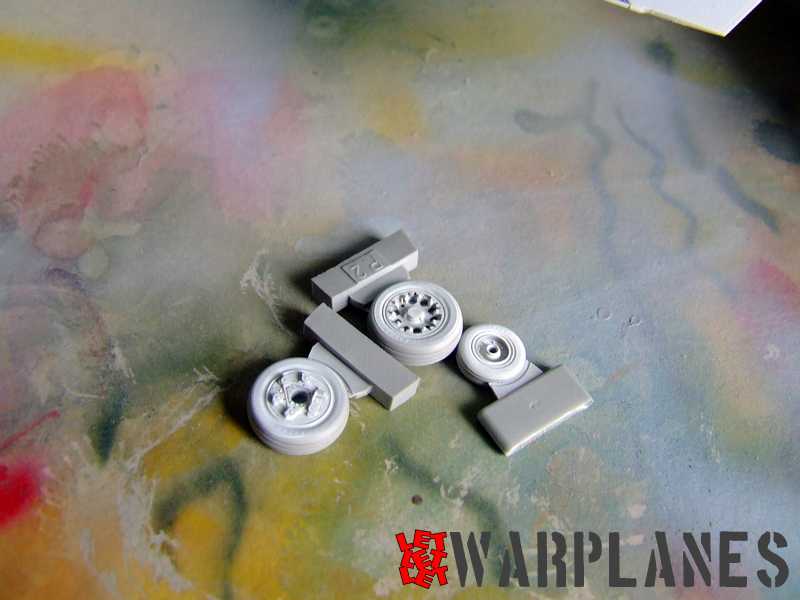
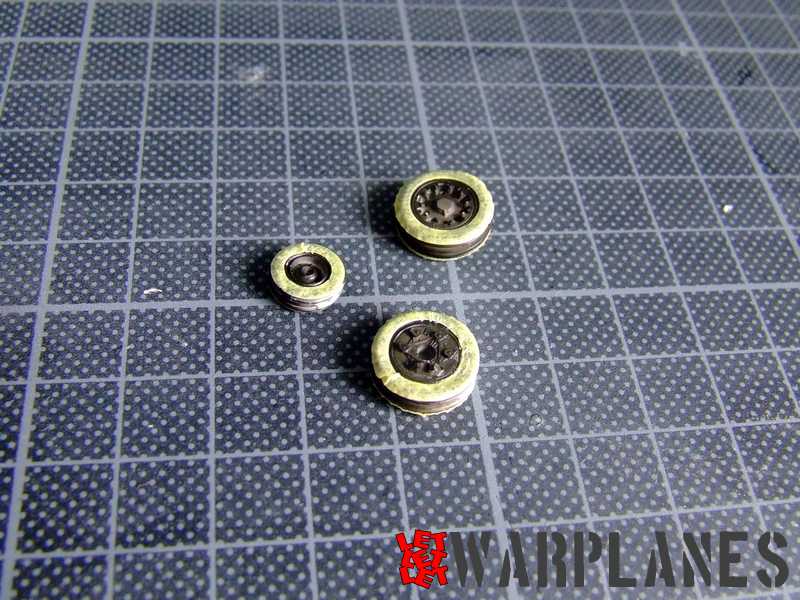
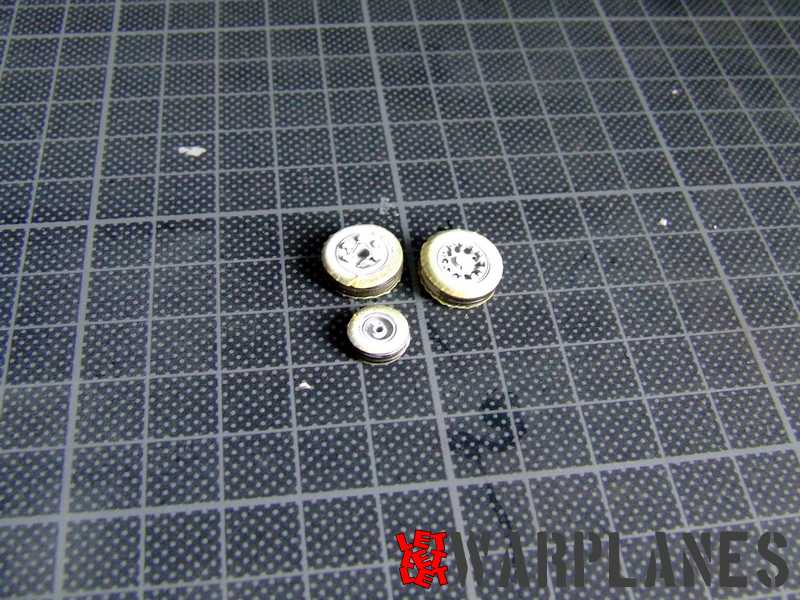
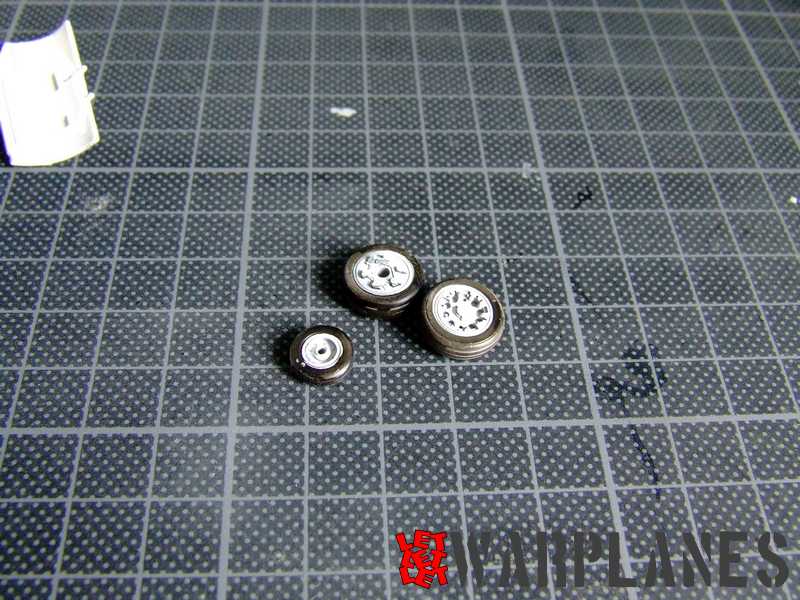
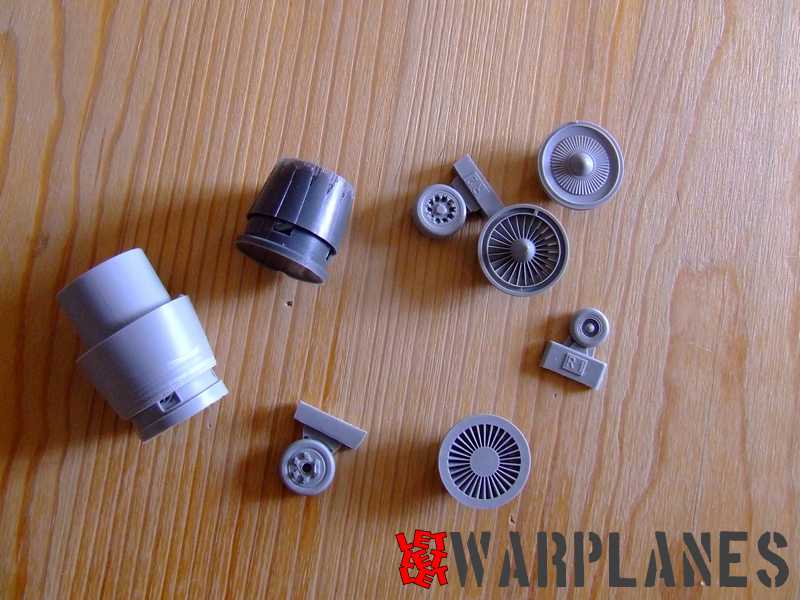
The kit is based on the Kinetic kit of the F-16 and it features very good detailing but is a bit complex kit for modelers and demands experience. Eduard features start with a well designed box, two set of etched parts (one brass and another nickel with painted elements), set of resin parts for engine, wheels and cockpit, quick mask, excellent printed decals and assembly booklet.
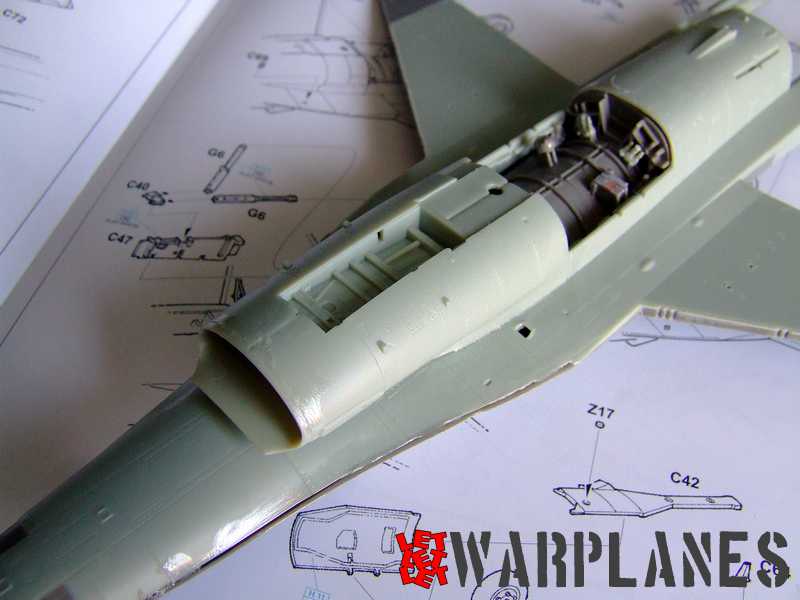
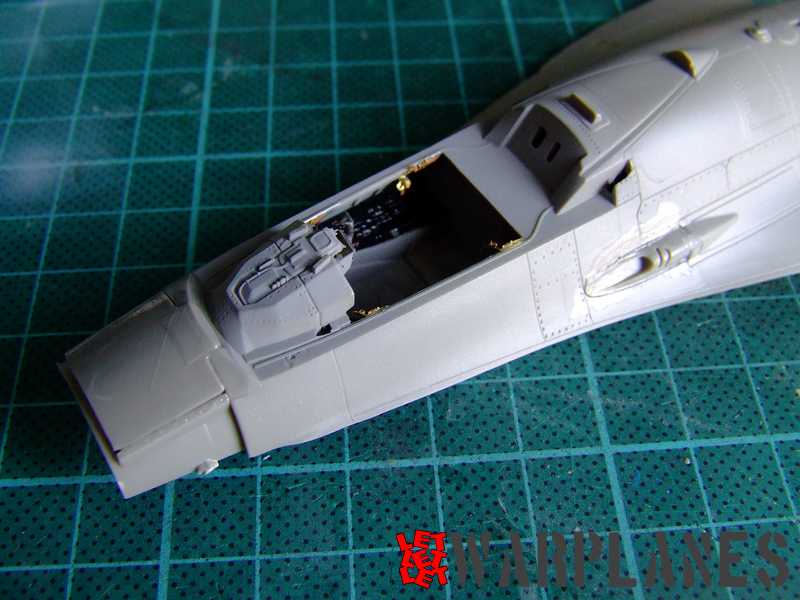
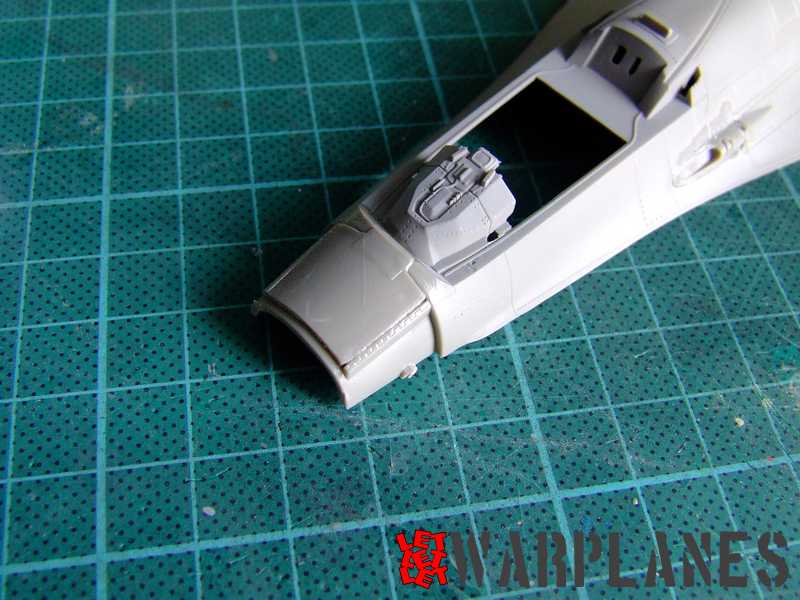
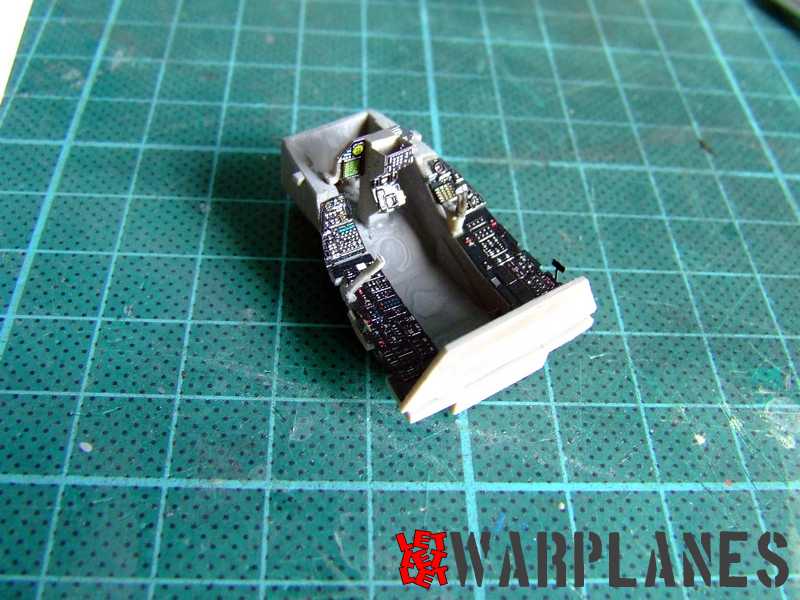
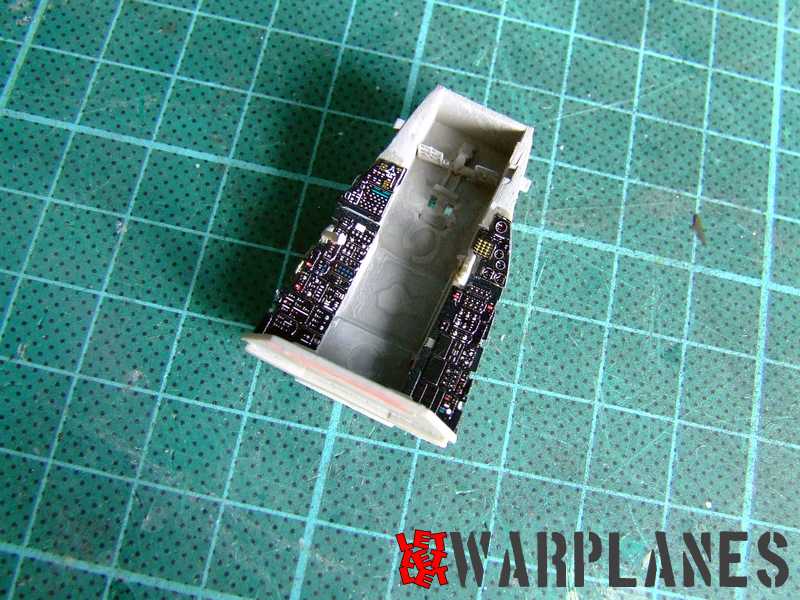
To adopt some of the Eduard elements there is a need to do some changes and first to do is sanding console surfaces as well as the plate behind the pilot, for placing Eduard etched parts there. These are the only changes in the cockpit and after sanding job is completed, several small etched parts need to be placed on the cockpit interior. All the interior needs to be painted in grey color. After that I have placed all interior elements and closed cockpit tub into the top fuselage half. What I like in this assembly is that Eduard has change work method and left ejection seat to be placed at the very end of the build (I prefer that way of work).
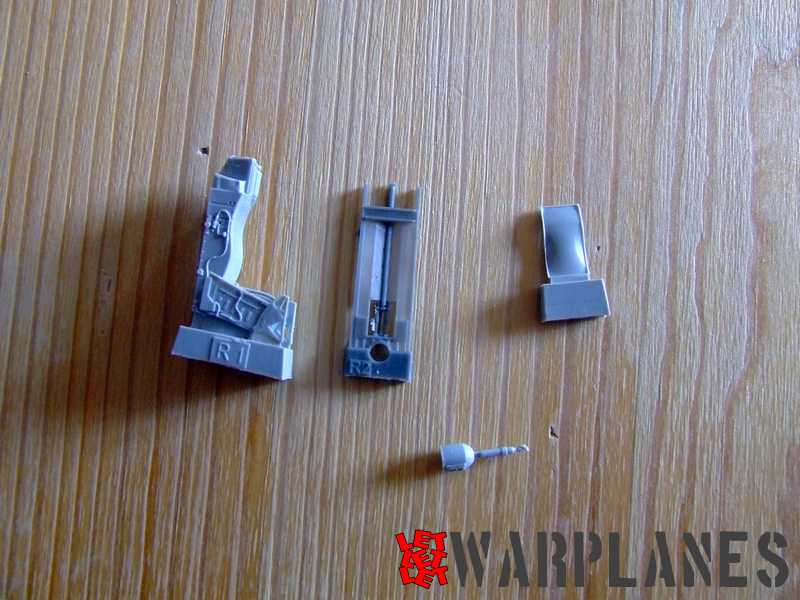
What I need to say is that ejection seat ACES II is real masterpiece and maybe the most complex cockpit assembly part ever created by Eduard. It has three resin parts and many etched parts to be attached. I must point on one minor problem- the seat does not fit perfectly into the cockpit hub so you need to do just a bit sanding of bottom of plastic tub and make dry runs to make certain of the fit of the seat.
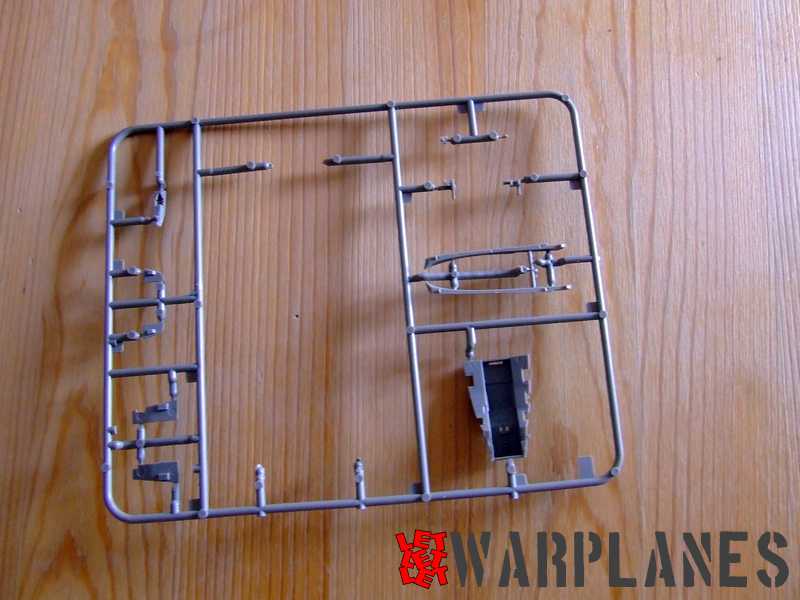
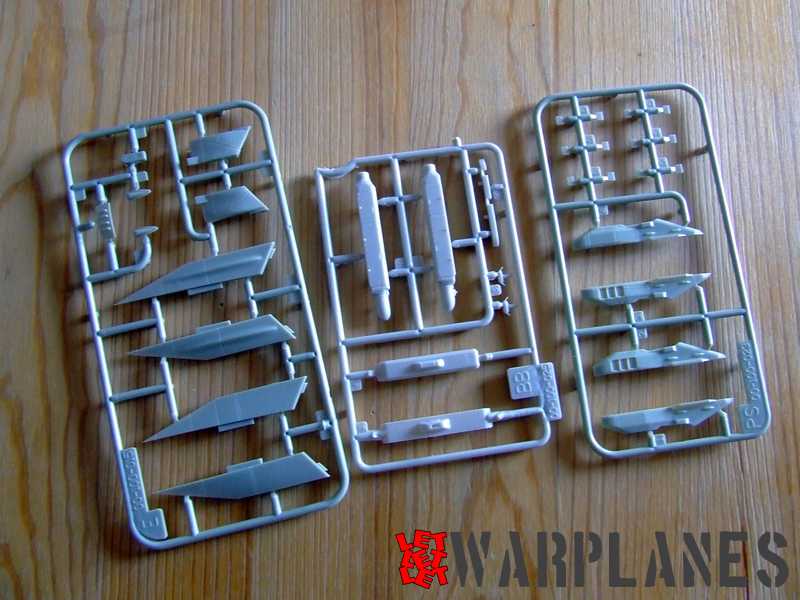
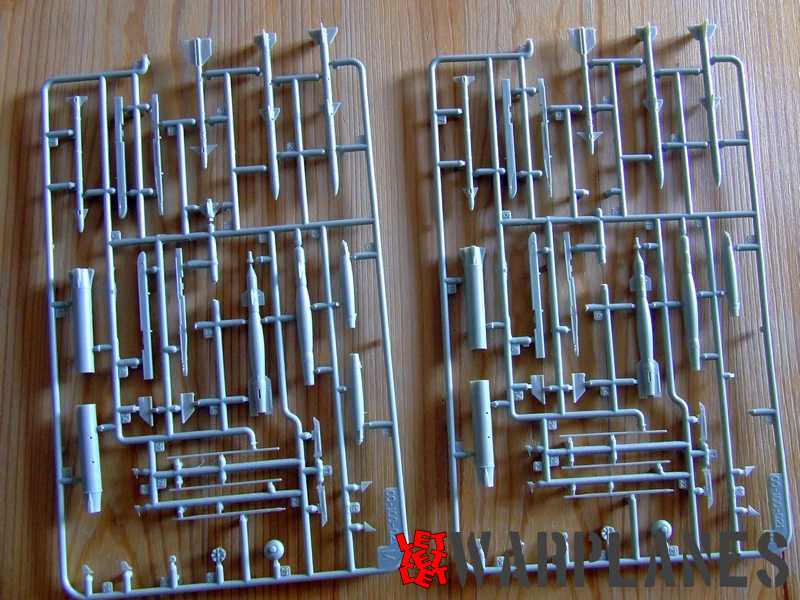
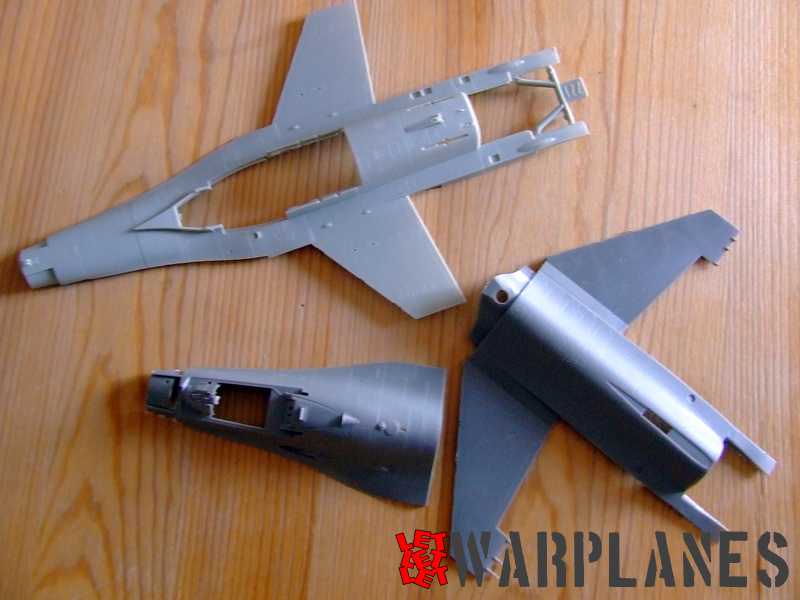

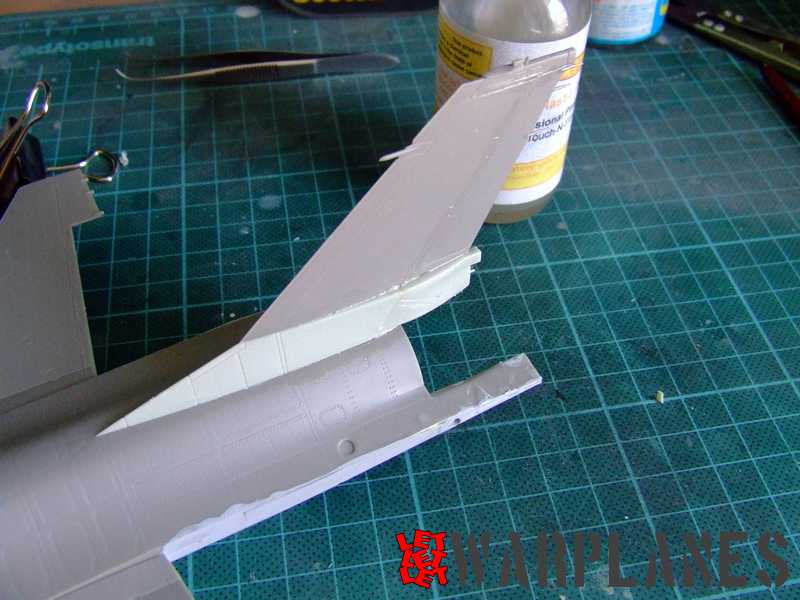
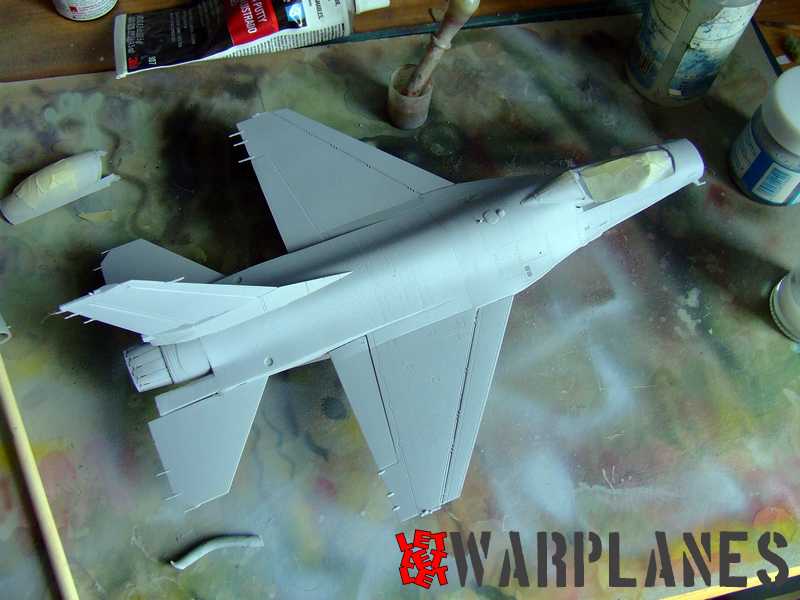
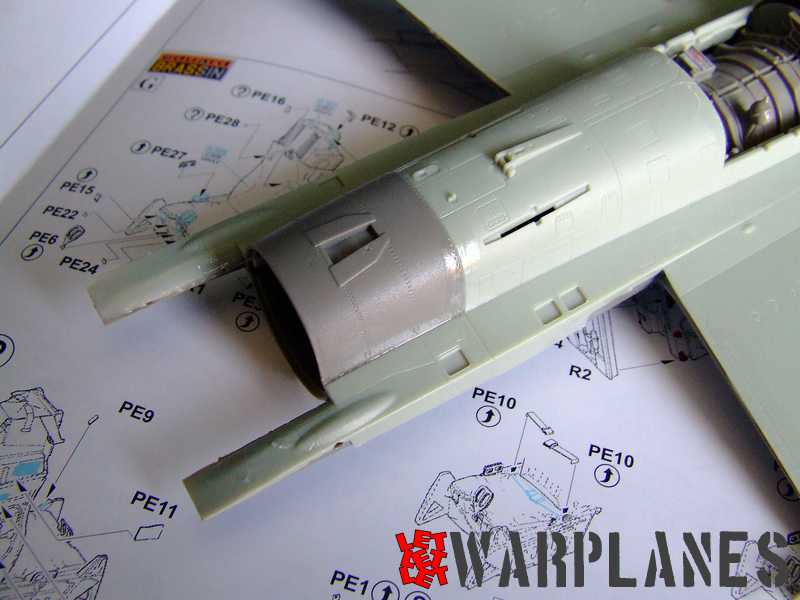
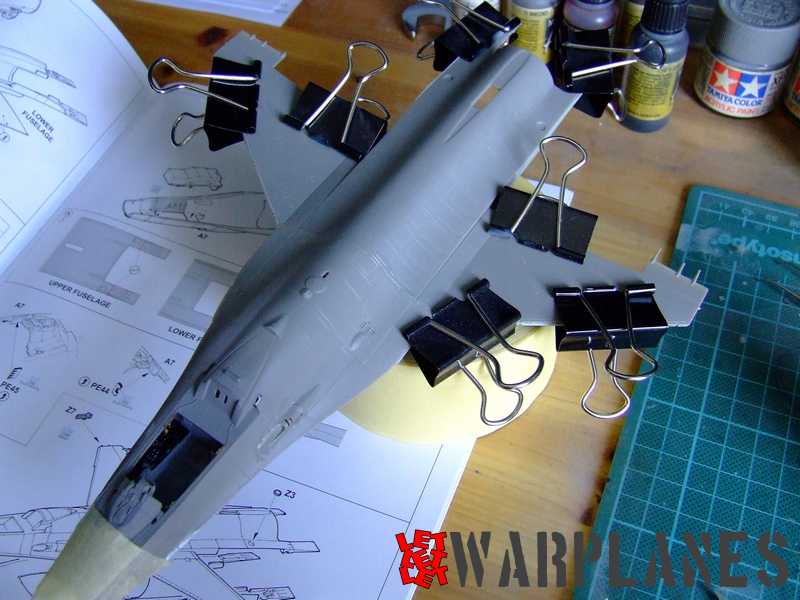
Another thing important to note is the fuselage assembly, especially the top parts. It is made from two parts, front and rear. I guess that the manufacturer wants to make tool for two seat version too and in this way decided to do that method of assembly. It is very important to clean up edge of the part of all flash and make absolutely clean connecting surfaces. Only in this way you can manage smooth and good merge of the top fuselage parts.
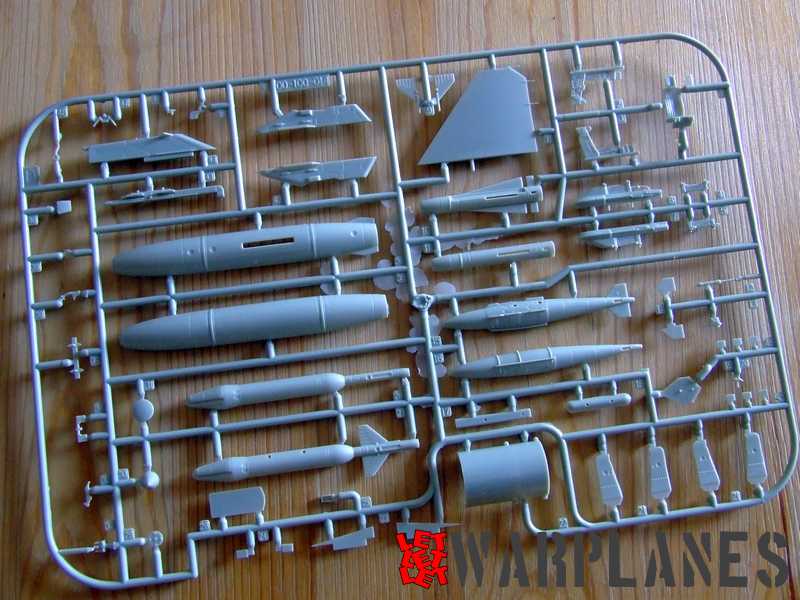
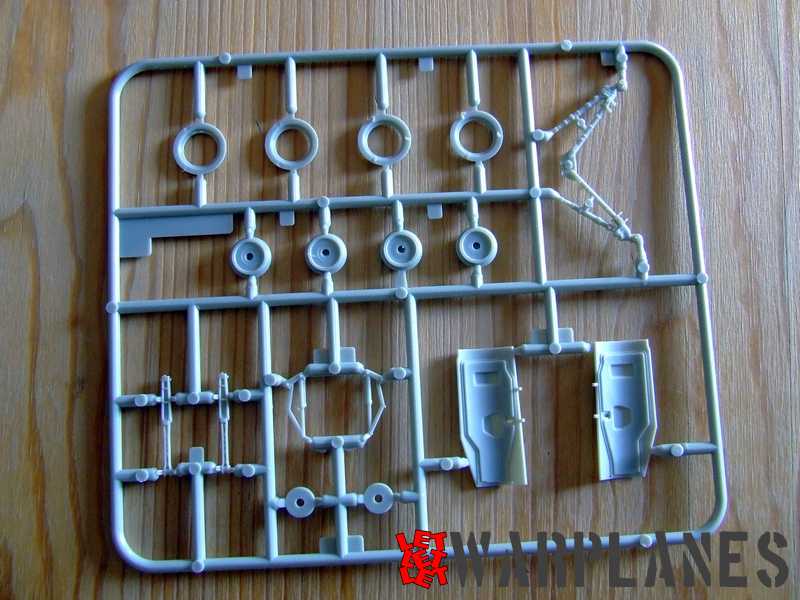
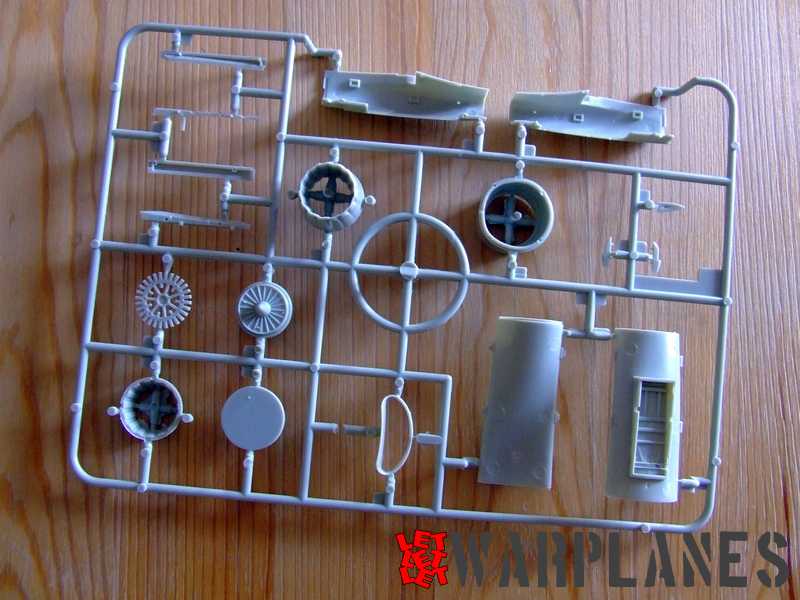
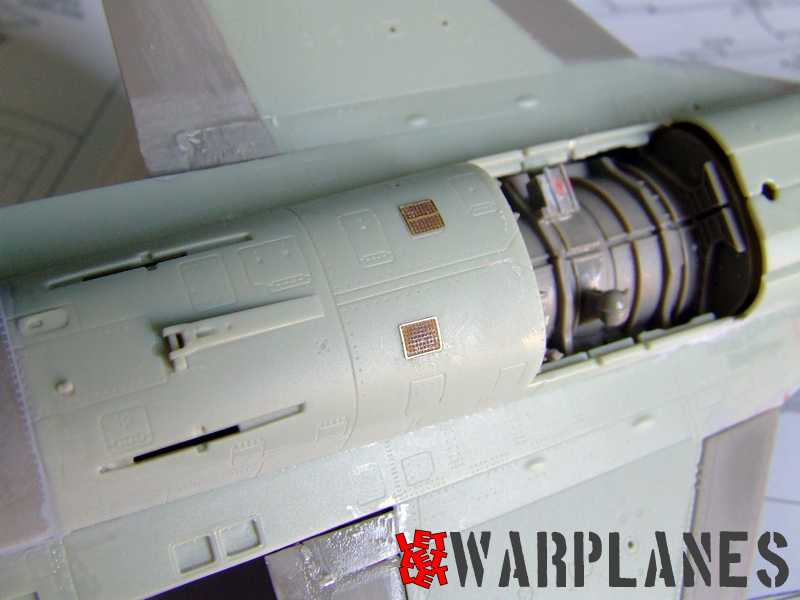
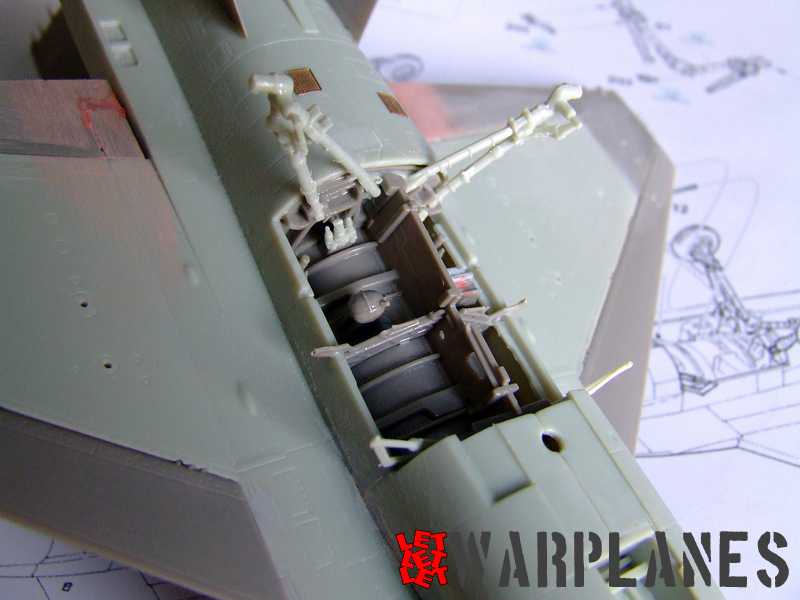
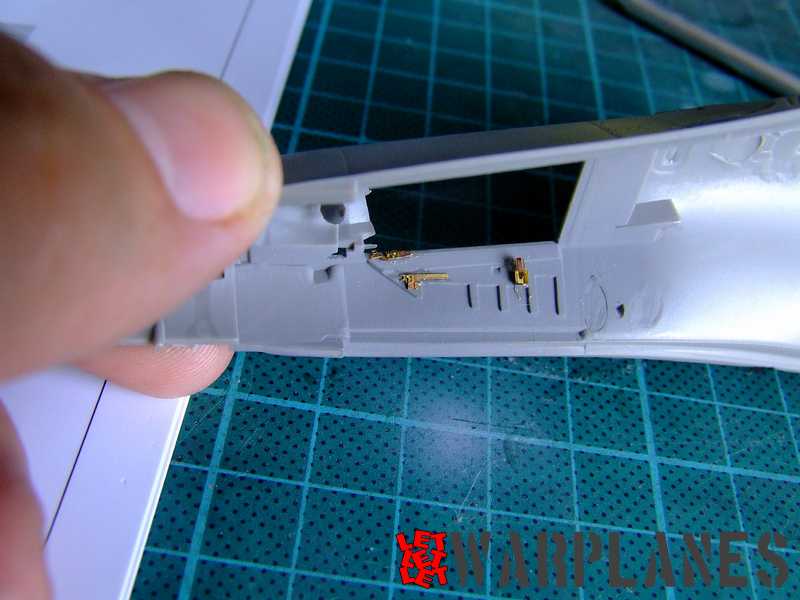
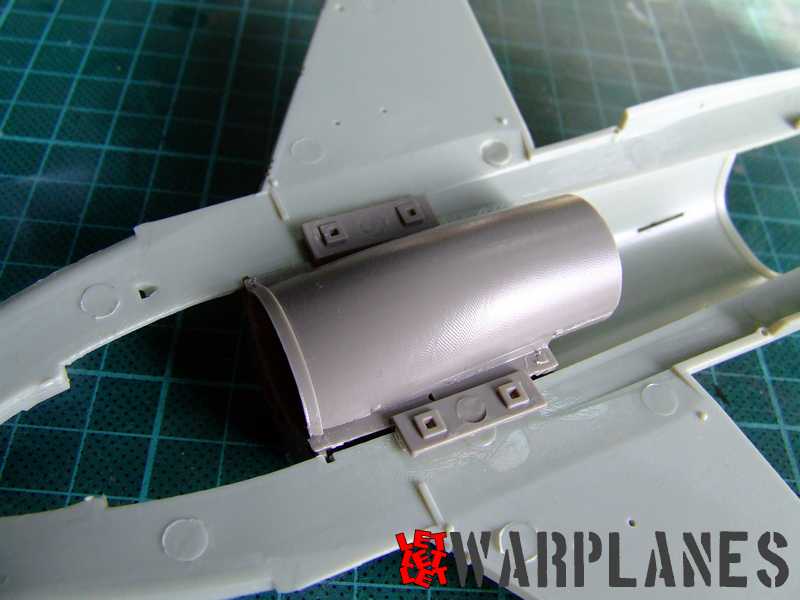
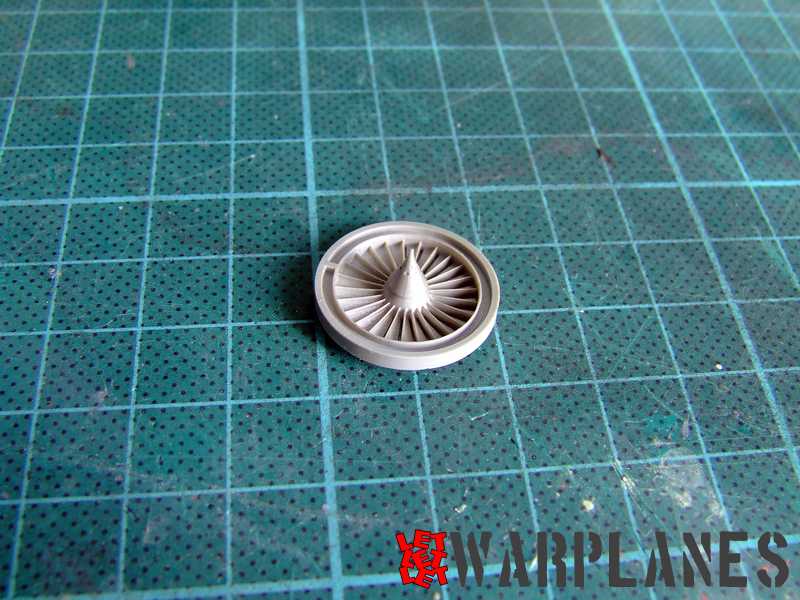
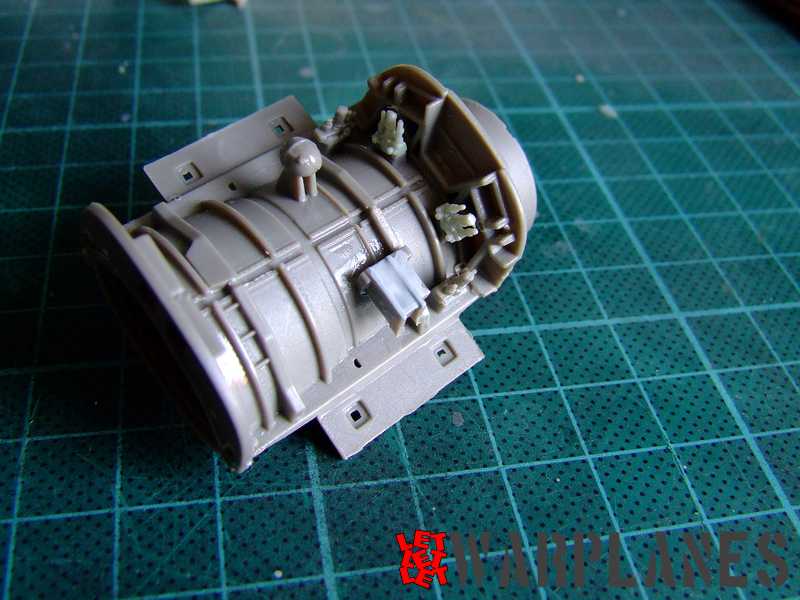
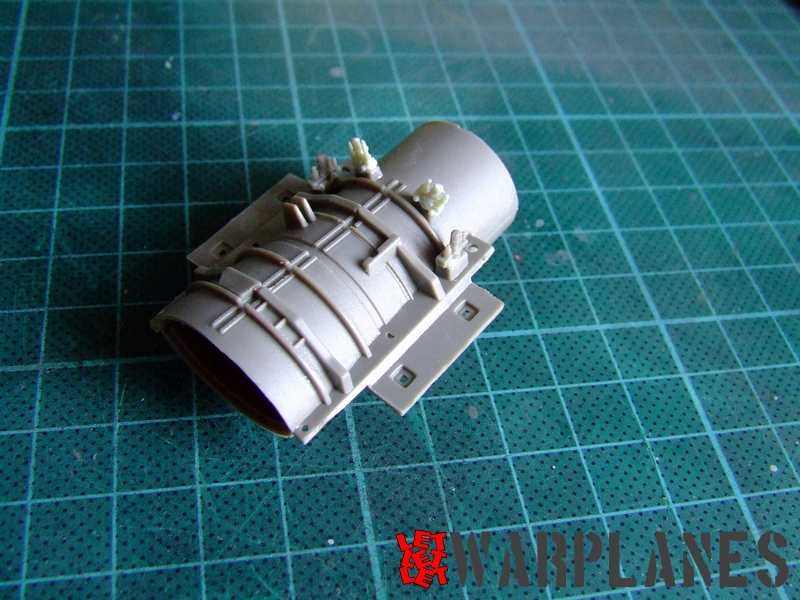
Except for the cockpit, inside the fuselage is placed landing gear and air intake with front landing gear bay. The landing gear is very complex and with some attention it can be relatively rapidly built and at the very end it is very detailed! I prefer to do landing gear at the very end to make handling of kit easy but to regret this is not possible with this kit.
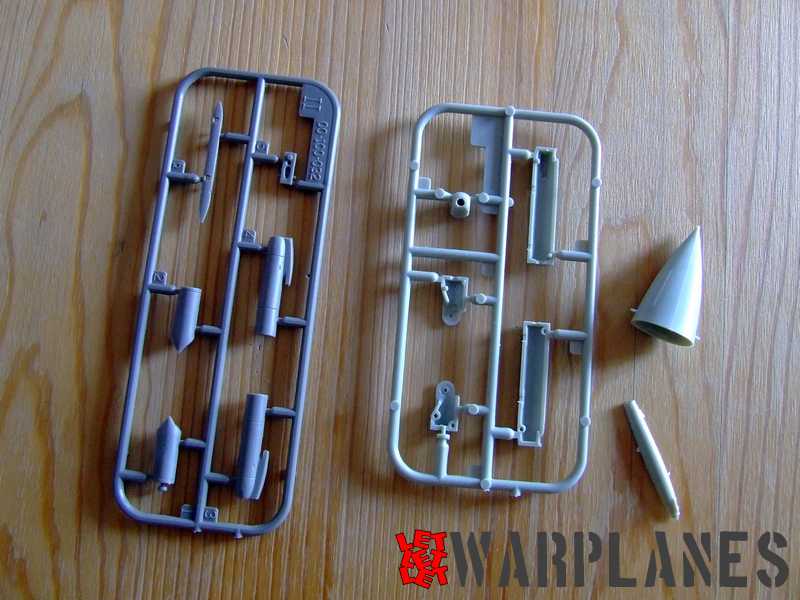
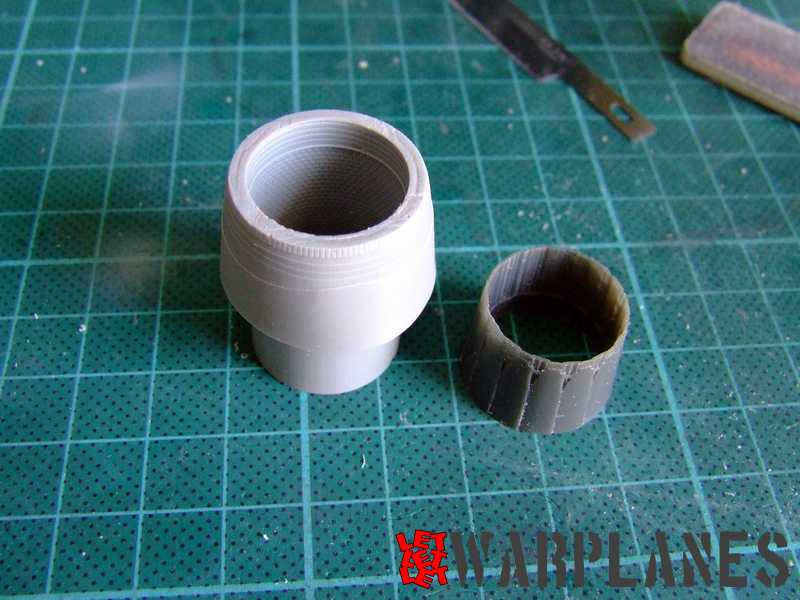
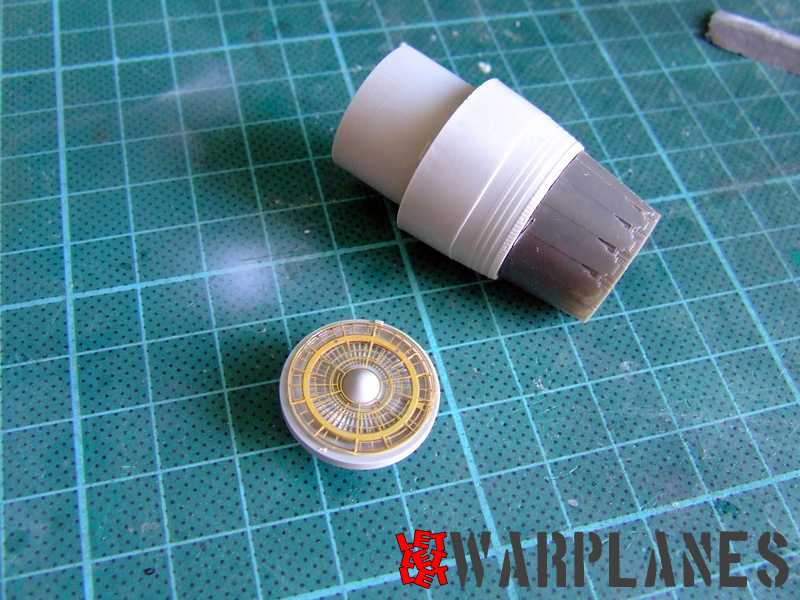
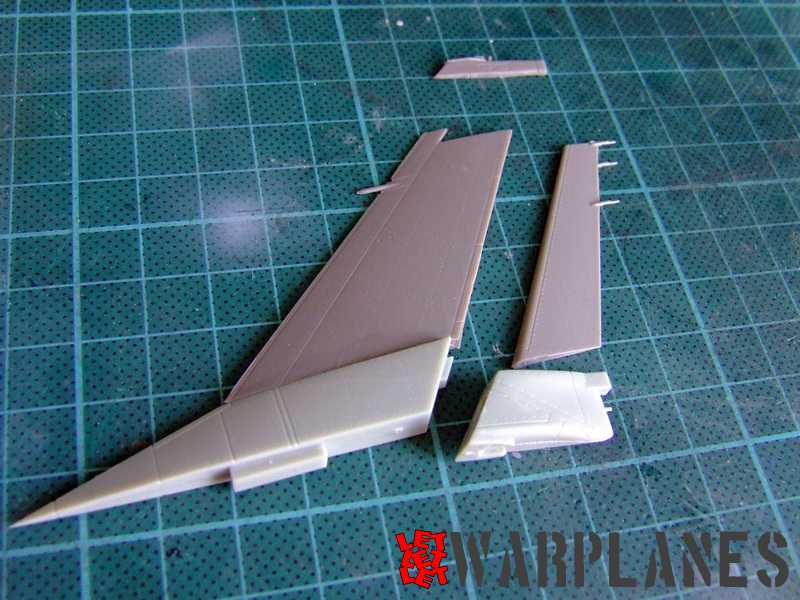
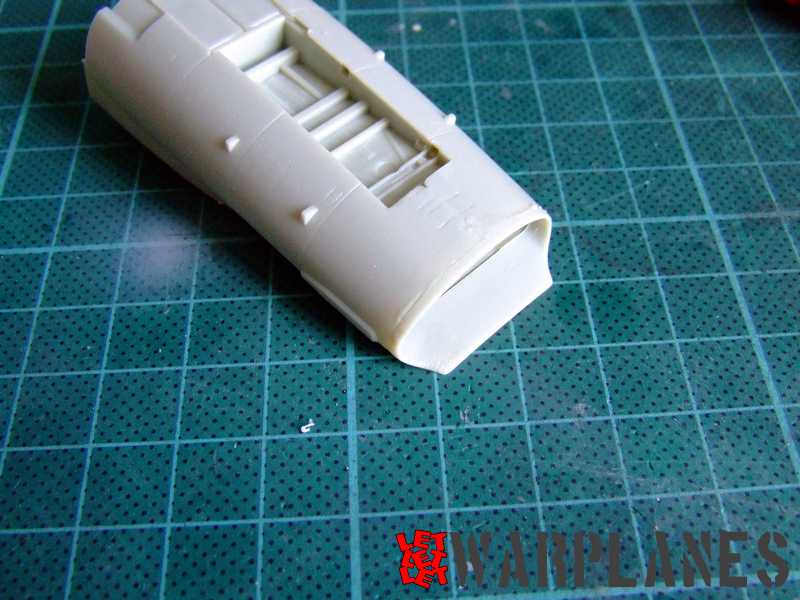
I have also found a problem with the resin tail cone fitting; it does not fit the shape of the fuselage properly. To make it correct you need to do some sanding and filling (what I did not do, I present kit as it is).
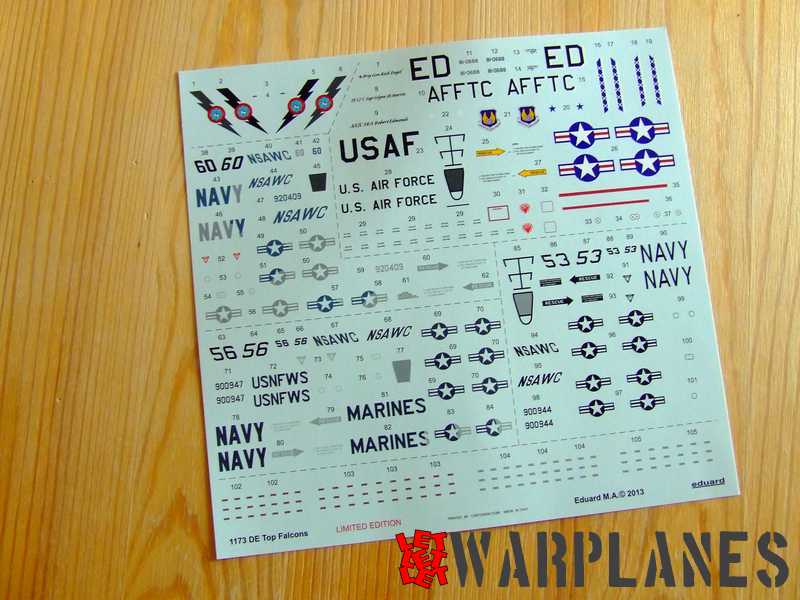
Decals are beautifully made and they are given for the few samples F-16. I decided to give some analysis of the two samples, desert camouflaged 90-0943 and blue painted 92-0409. For this I have used some of the available images I have. First of all 90-0943, based on my image it has a brown 53 on tail (not black), unit insignia on tail have to be decals 2 and 5, national insignia on rear fuselage needs to be sand color, serial is in white color (not black as Eduard decal is), NSAWC letters is in white, NAVY on fuselage is brown (not black), warning markings under the fuselage is sand color (not black). For these reasons I decide to do the other sample in three colors (blue and grey), 92-0409.
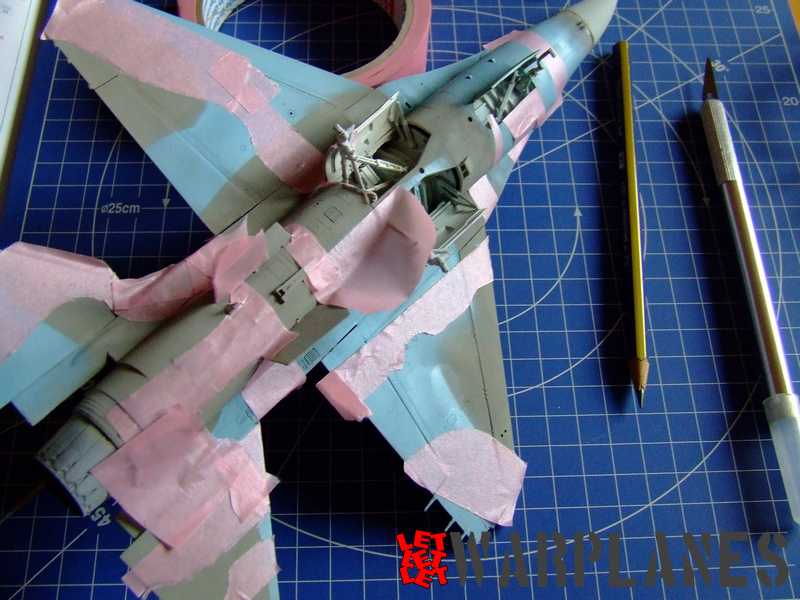

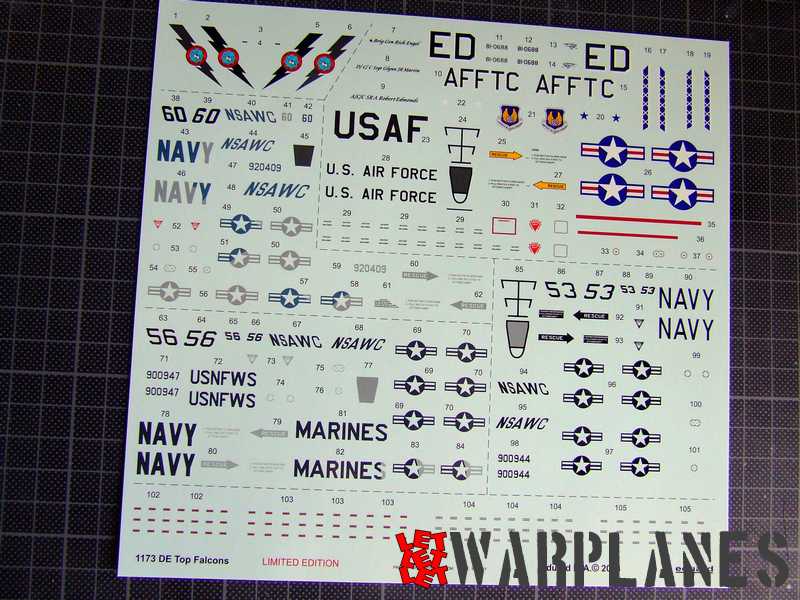
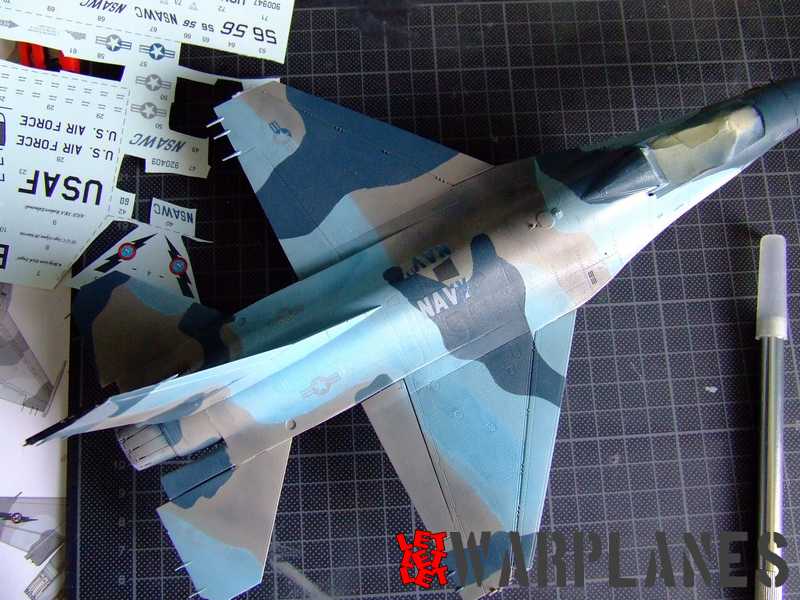
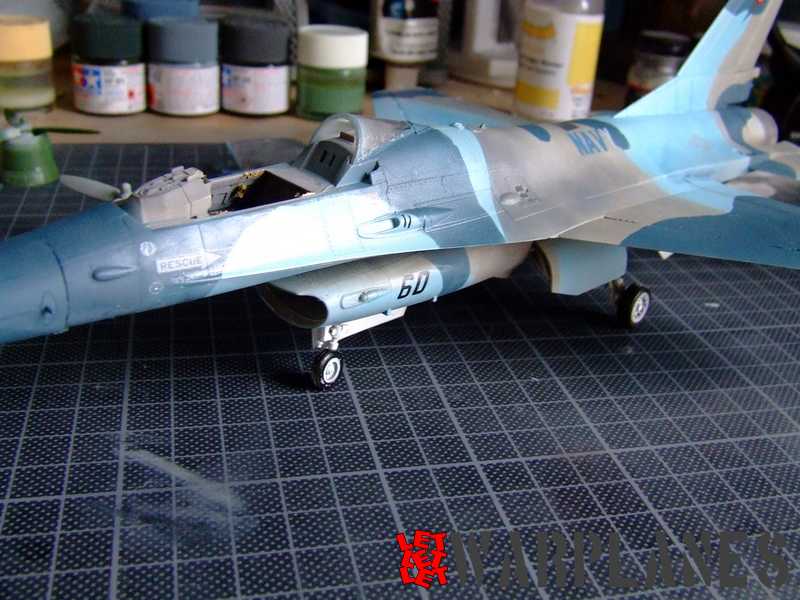

Sample machine 92-0409 comes in two variations, one is with mid grey radome (as provided by Eduard) and variant where whole nose is in dark blue from camouflage. No special problems were found with the decals, only one warning decal is red, not low visibility. I painted first the light grey color and then light blue and dark blue color. This is a time consuming job as the airplane has sharp demarcation of the colors so I used much of the protective tape to mask all shapes and spray over it.
Decals application was not a problem at all as the kit has no many decals and placing of them is easy and fast to complete. After that can be done all of the rest of the works on the kit, placing of wheels and the rest of the cockpit interior. Most time needs to be paid to the ejection seat as it has so many small parts and you need much attention to place them all and must be careful not to slice any of them with fingers during work. If you have prepared the cockpit bathtub in the beginning of the build you need just to put the seat down and cement into position.
This kit is recommended to any very skilled modeler and with all of its details and attractive schemes, it will be real pleasure when completed. Top Falcons can be purchased here!
Big thanks to Eduard for sample kit!
Srecko Bradic


