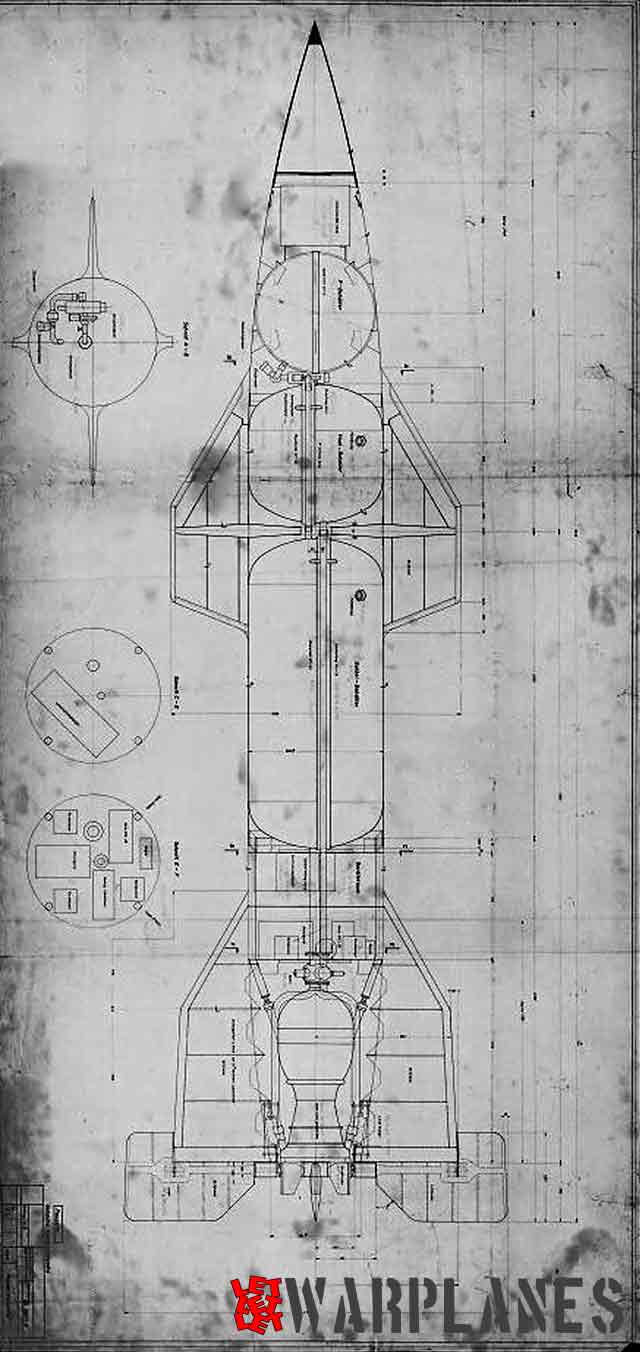
Wasserfall
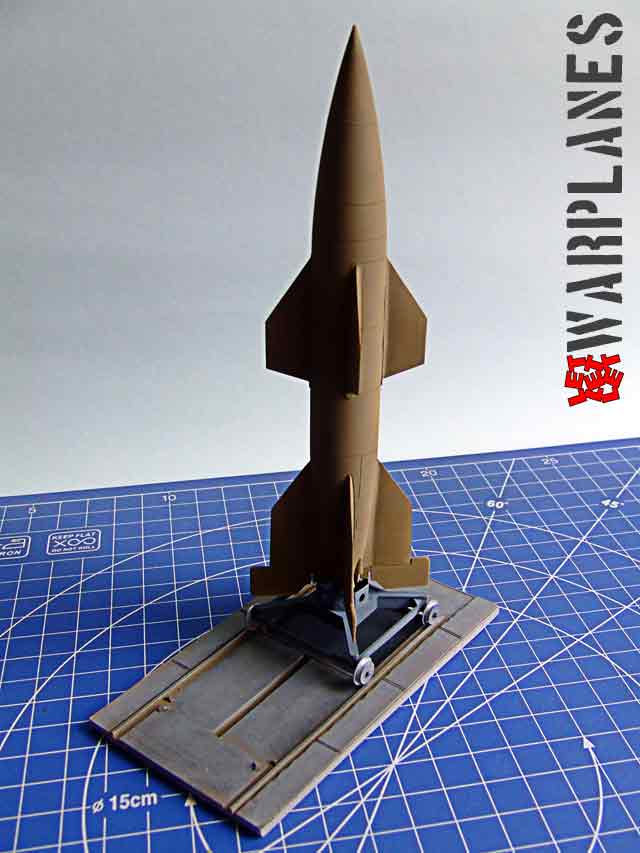
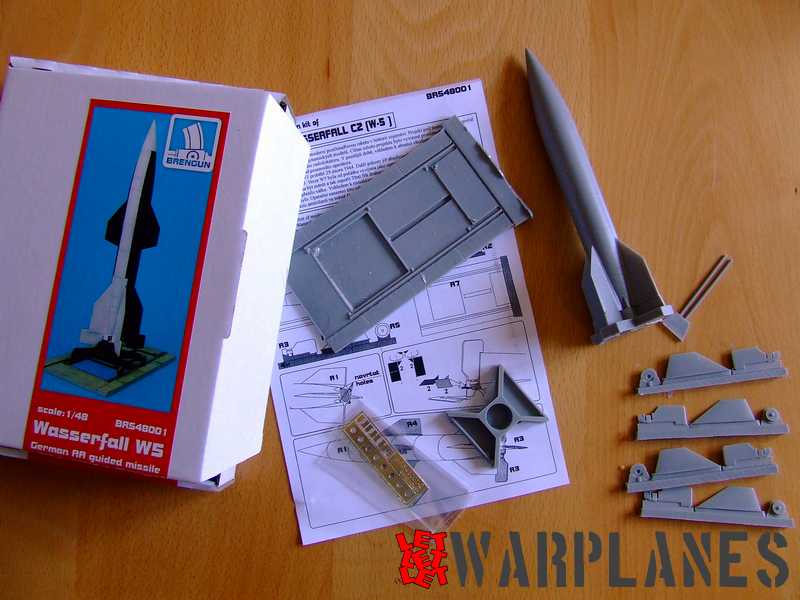
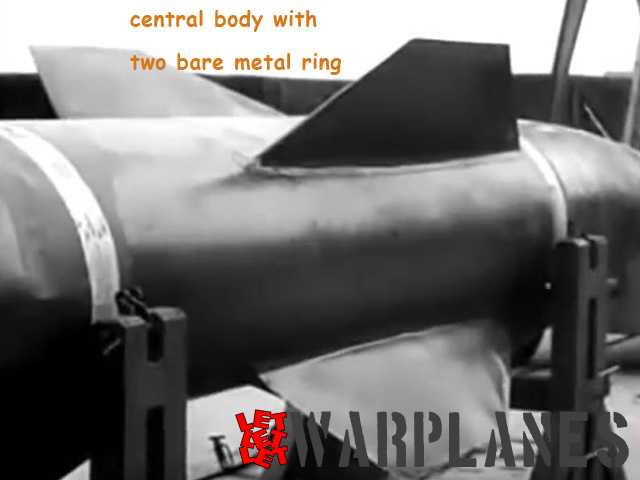
Wasserfall represents the German air to surface missile and this is world’s first ever weapon of the type. After long testing and development, the series went into production and it was used in Reich defense in the last months of the WW2. It was a manual radio control guided missile with supersonic speed and powerful warhead. Some sources state some 50 air kills was claimed with Wasserfall. Interesting that this weapon was the subject of a model project and the latest release on the market is Brengun resin kit in 1/48 scale.
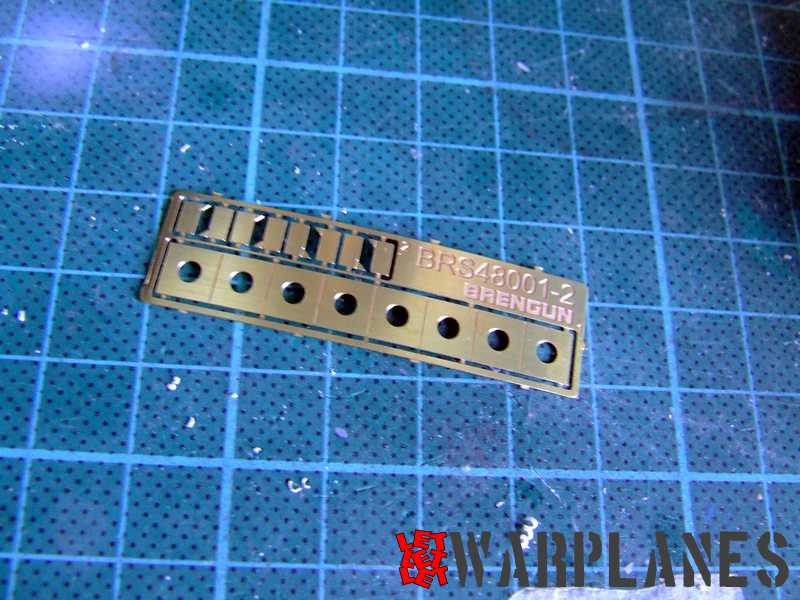
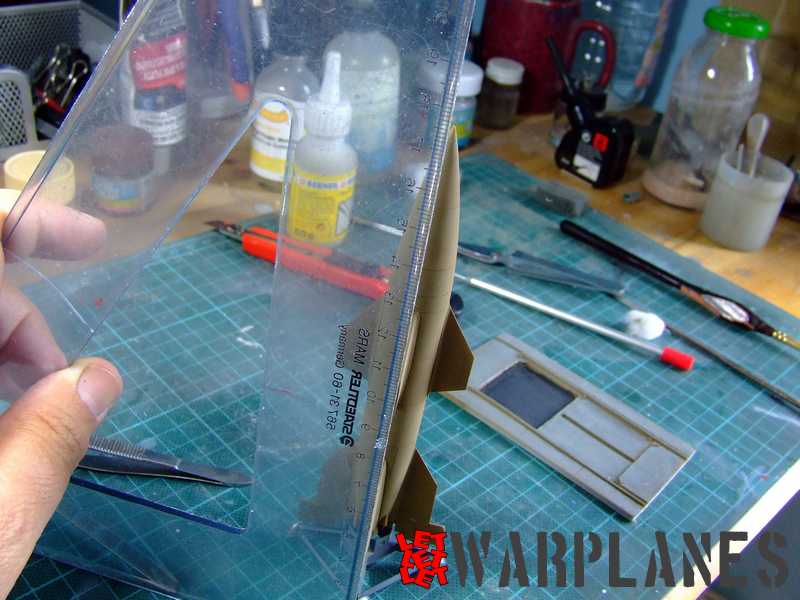
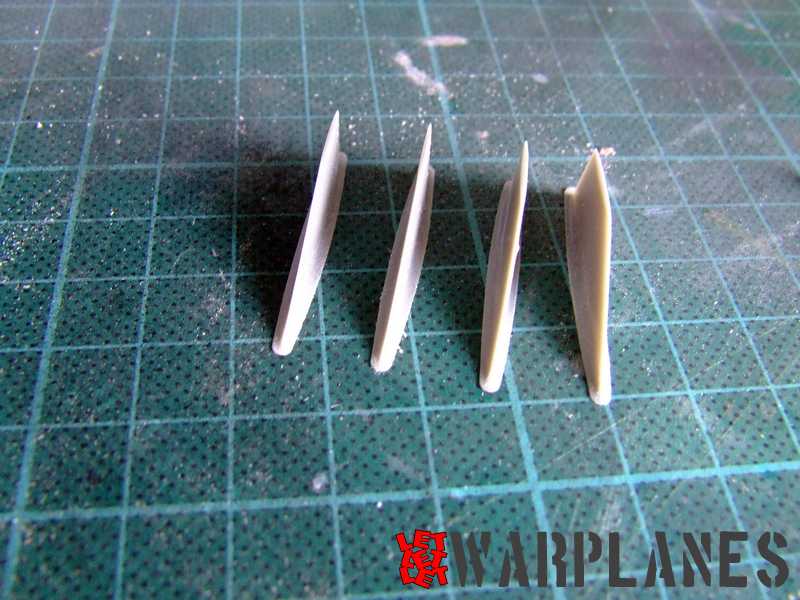
The kit is packed in a hard cardboard box with an image of the finished kit on the cover. Inside is the set of resin parts as well as a small sheet with etched parts. Quality of the parts and details are top. Parts include elements for the Wasserfall rocket and launching portion. The work is more then easy, simply cut parts, do a little sanding and glue with the other parts. Parts fit is perfect and I find only the need of a small amount of liquid filler to be used around some of the front of the stabilizers.
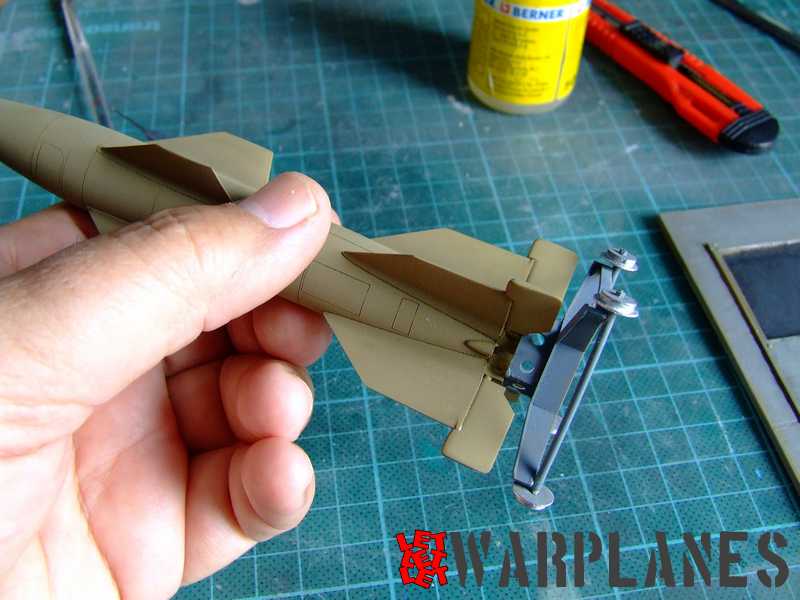
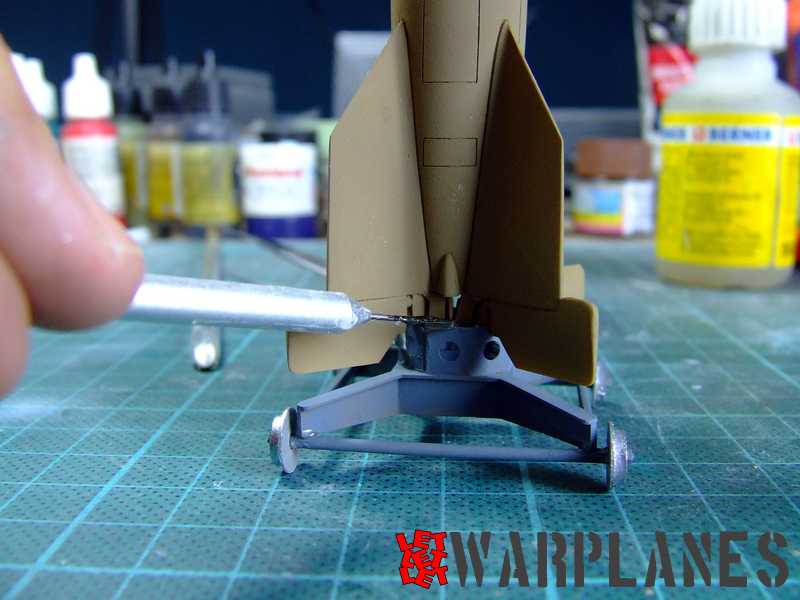
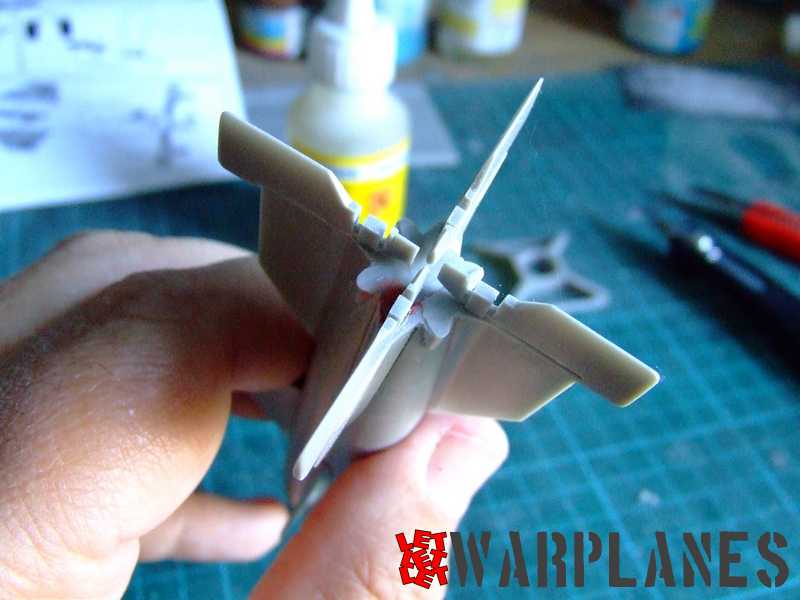
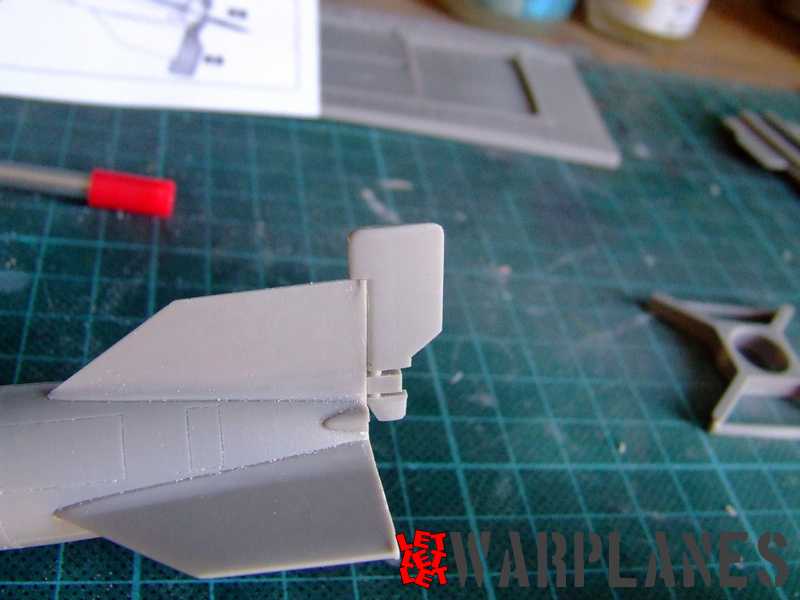
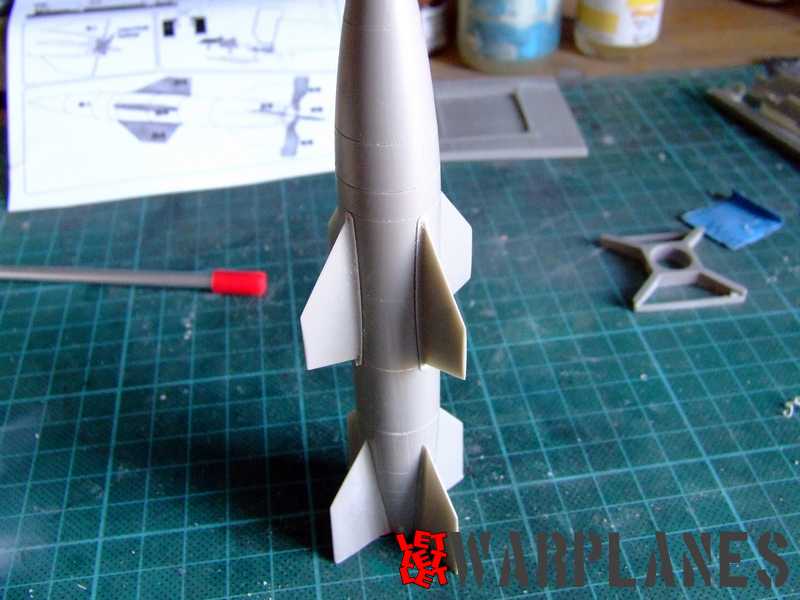
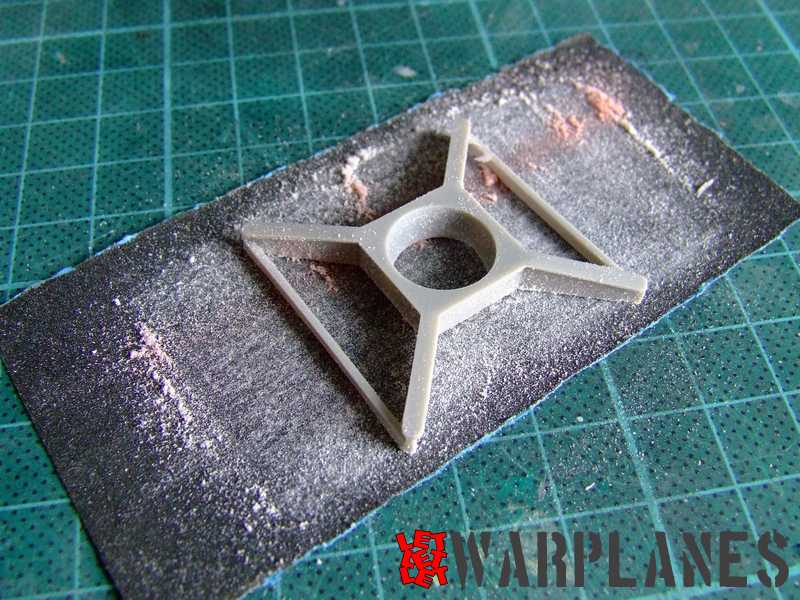
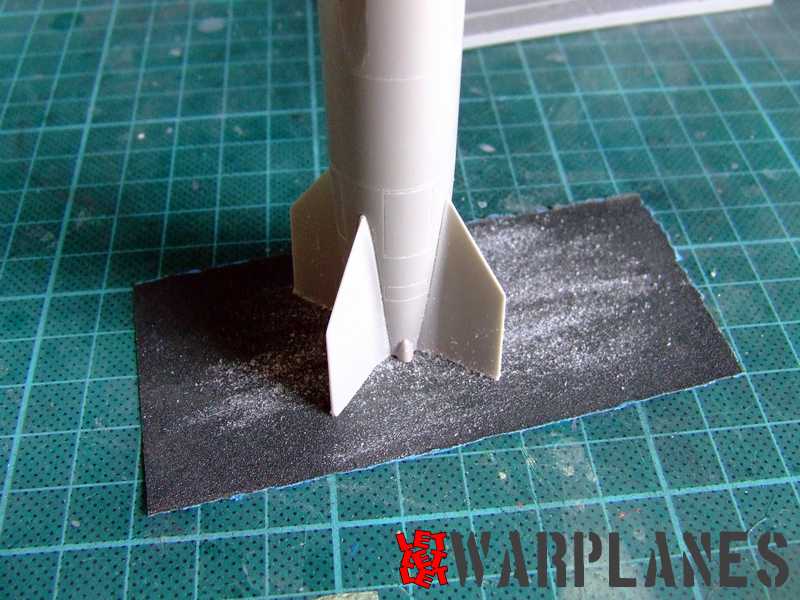
As you can see on the images, I have first assembled rocket. Assembly instruction demand bottom to be open, one large hole as well four small side holes at bottom but I did not find a need for that. In final assembly it will be attached to launch holder and absolutely nothing from the bottom could be seen. Please take care about precise position of small brass flaps; they are on the edge of the bottom, between lower stabilizers.
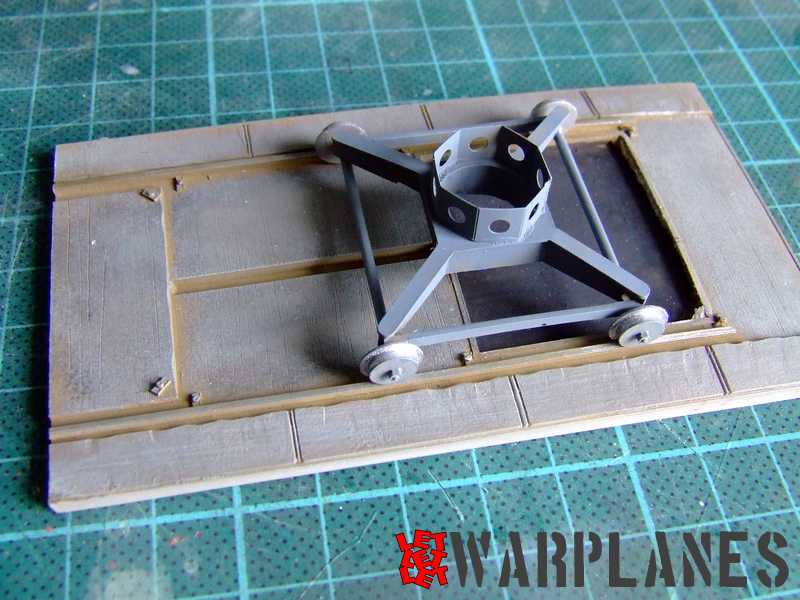

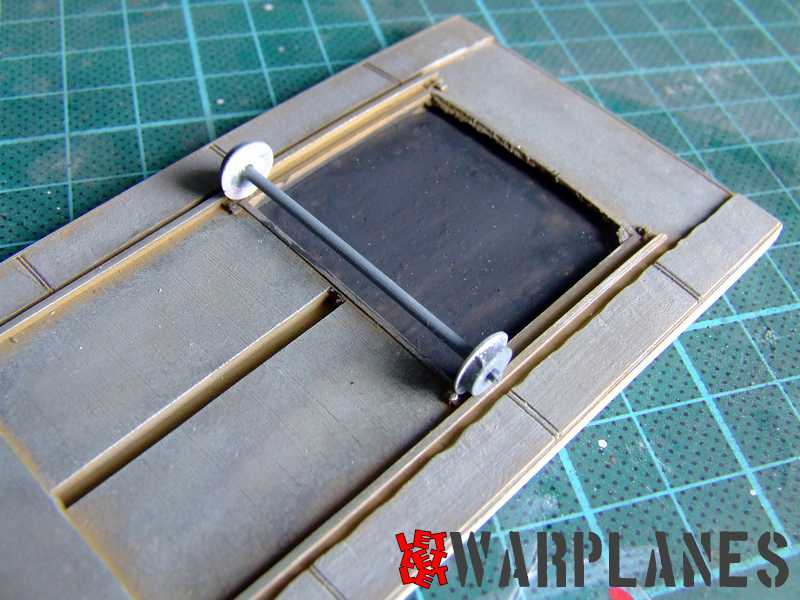
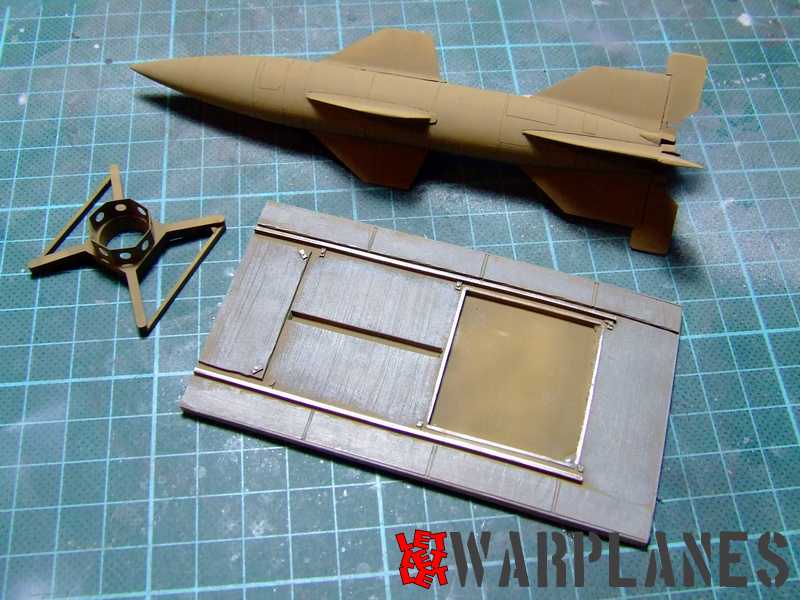


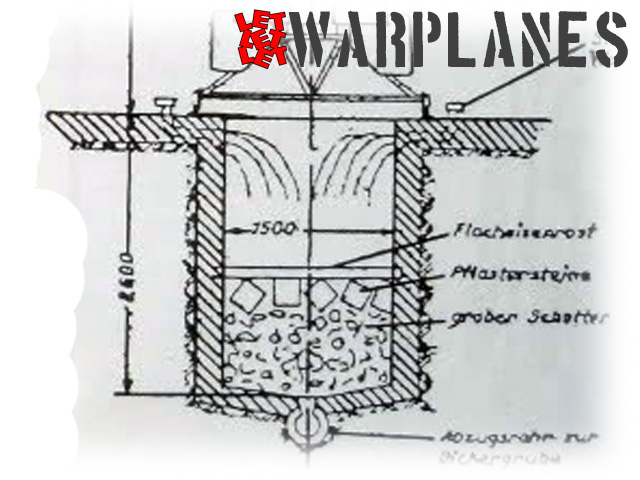
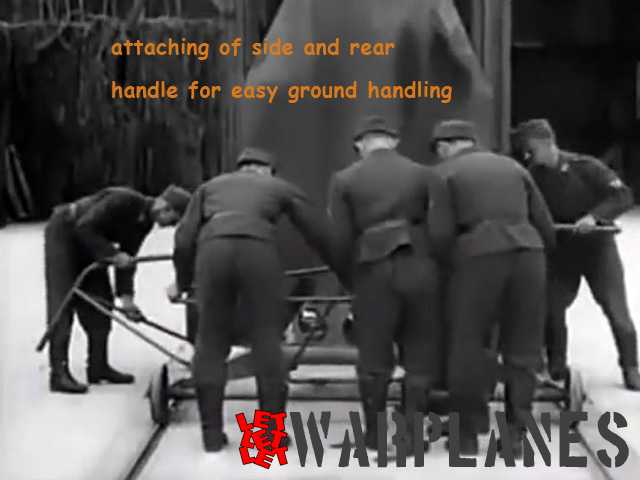
Part which demands a little work is the base stand. In reality this is the concrete plate with rails and square hole at bottom. One of the launch points are still preserved at Peenemünde and this gave me a nice view at the details. You will note that on final images I have painted the square part in very dark color but this is just a quick solution. If you have the possibility, it would be far better to make diorama with the deep hole in that area. You have a manual extract which provides a better view for the build.
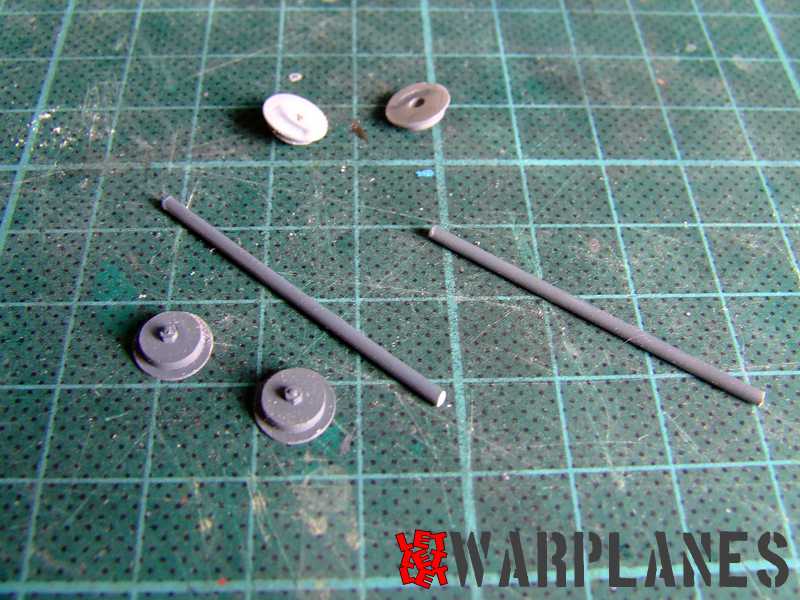
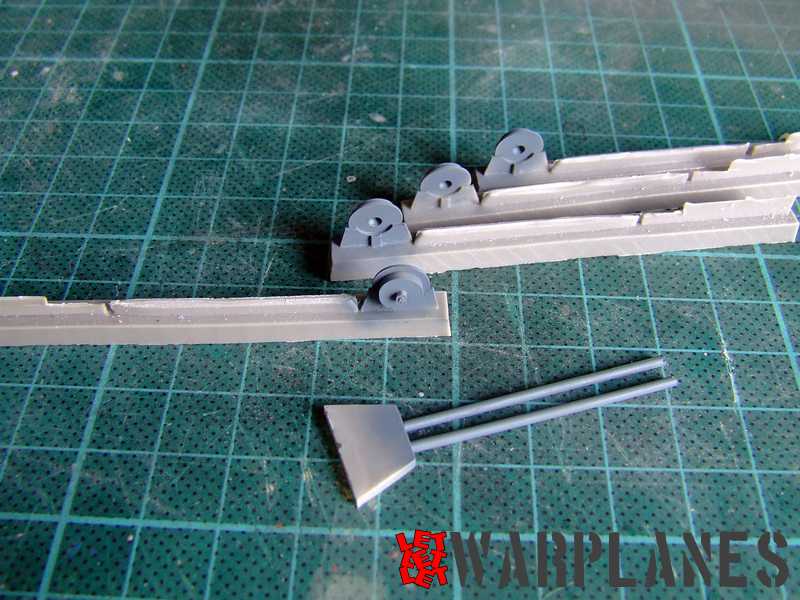
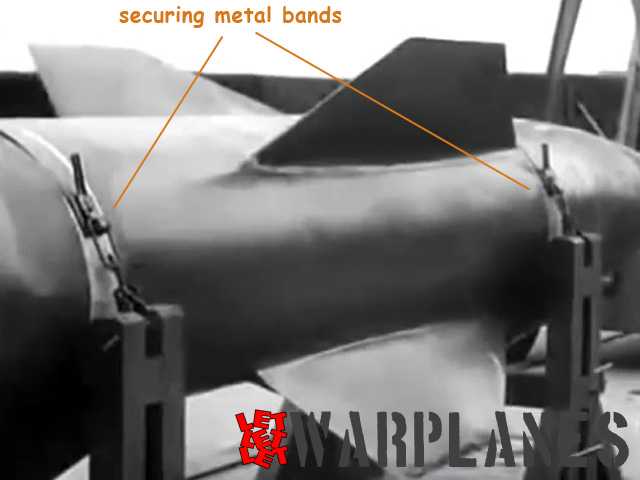
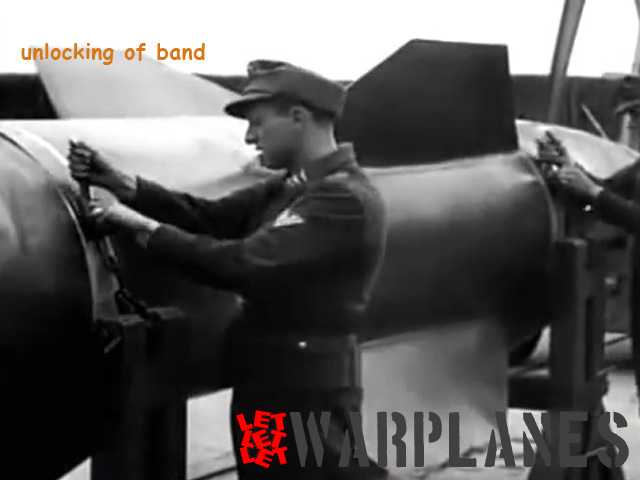
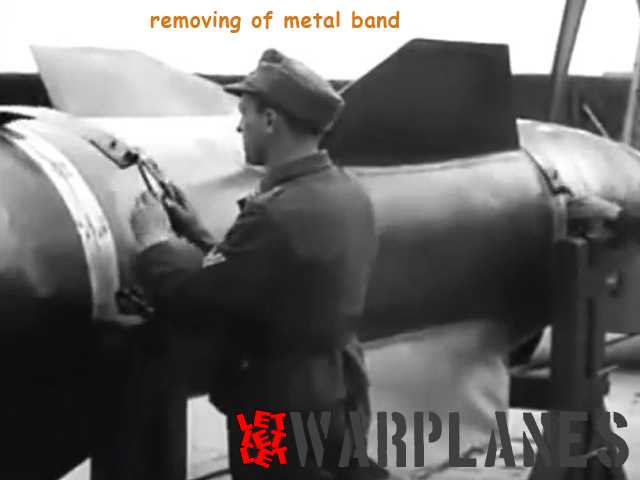
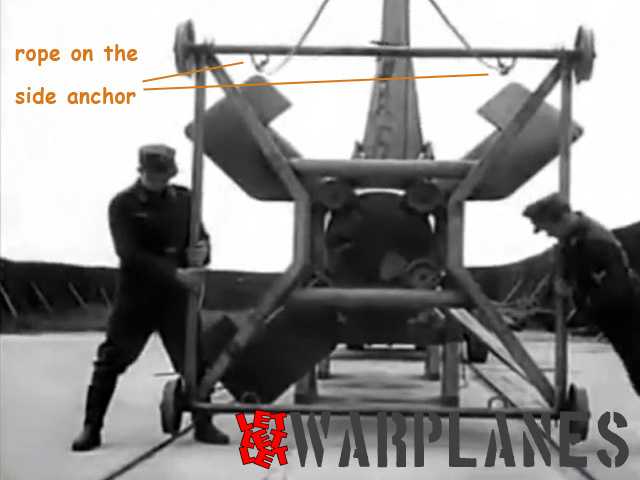
Another section of the kit is the launching trolley. Most of the parts are resin with one brass at the top. Not any problem was found during the assembly of the resin parts but you do need care when assembling and positioning the brass part. This part holds the whole rocket and if you don’t bend it into proper symmetry (it is octagonal), you could maybe have problems with rocket attachment at the end. So make as much as needed dry runs or positioning and standing of rocket over brass stand before placing it on the resin trolley. The rocket must stand by itself if everything is set up properly.
Paint instructions offer three options for missile. One is early test with black and white square areas, grey with silver bands and last is overall armor sand color. I have chosen the last proposal and painted the whole missile in the best color I could find in my stash. For the launching trolley I have used blue grey color. I painted the rails as well as the wheel rim in silver color.


The kit you see here is completed direct from the box and made ‘as is’ but there is room for some more details. Here you are what you can do more on the kit:
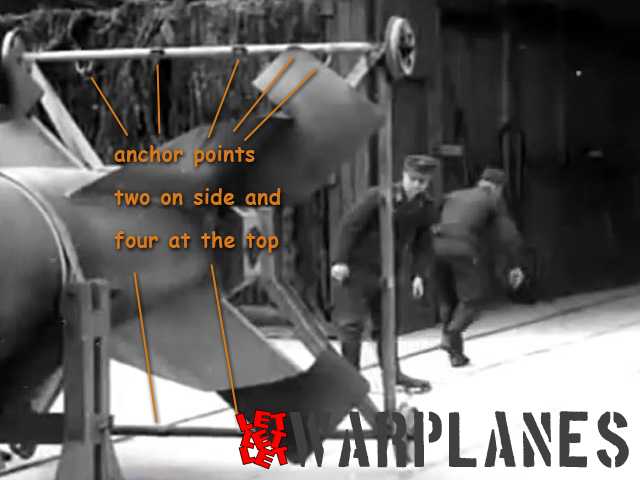
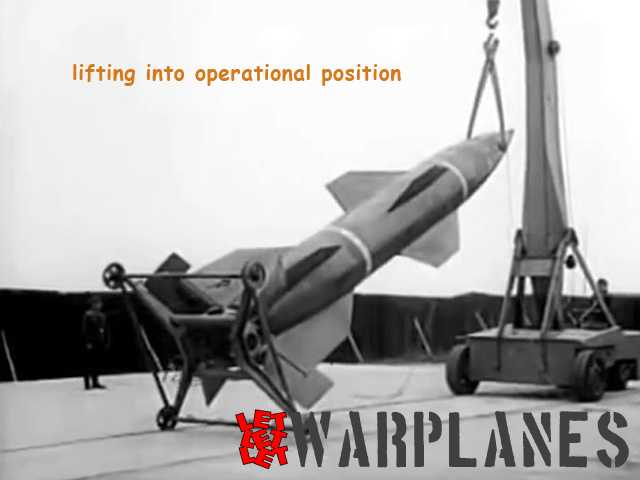
- Drill hole at the top of the missile. There have to be two holes on each side and they are used for attaching during raising up into operational position. When put it on trolley, they have to be on side position.
- The basic stand has an indicated square where there needs to be a hole but in order to achieve authentic look, you need to cut this resin part and put the whole stand on a high block with square hole inside. This hole is also concrete inside.
- Missile is radio control guided but I have no idea of the ignition method, is it launched by radio control signal or by wire. If there is wire system, then you need to study where it is and attach it to the missile. I am lacking this info.
Kit is excellent, easy to build, well detailed and correct in size and shape. It is also easy to build, it can be done in just few hours and has nice options to be made as diorama. I would gladly like to recommend this kit to you all and you can order sample here!
Great thanks to Brengun for sample product.
Srecko Bradic


