Show Posts

This section allows you to view all posts made by this member. Note that you can only see posts made in areas you currently have access to.


Topics - Second Air Force

Pages: 1 ... 3 4 [5] 6 7 8
61
Aircraft Modeling / Bf 109E/Luftwaffe Tool Set by Eduard
« on: June 04, 2013, 03:13:37 AM »
Once again, our good friends at Eduard have gone "above and beyond" with this new PE Luftwaffe tool set in 1/48 scale. Really there is nothing much that can be said with words that pictures don't tell us more! Not only hand tools and special tools, but the toolboxes and "shadow boards" for storage of the tools is included here. Being an aircraft mechanic makes this set even better for me--I know what most of them are for! :-ok

First an overview:
http://i174.photobucket.com/albums/w117/2AF/IMG_1865_zps4befe124.jpg


Close-up of some of the tools:
http://i174.photobucket.com/albums/w117/2AF/IMG_1867_zpsf51a4c3b.jpg


Instruction sheet:
http://i174.photobucket.com/albums/w117/2AF/IMG_1868_zps23aeaf98.jpg


I may not have time to build this set for some time, but I assure you it will be a great addition to a Bf 109 diorama I'm planning! Many thanks to Eduard for producing this and No.1 for sending it to me for review.

62
Aircraft Modeling / Eduard 1/48 P&W R-2800-10
« on: May 12, 2013, 05:14:08 AM »
Courtesy of Eduard (and No.1 for sending the kit to me) the new R-2800 engine kit will be reviewed here. This is specifically engineered for the Eduard F6F Hellcat line of kits but could easily be adapted to other manufacturers models as well.

Typical of Eduard products, the kit comes carefully packed in a sturdy box with lots of foam padding and a nice instruction booklet:
http://i174.photobucket.com/albums/w117/2AF/IMG_1718_zpsc504921e.jpg


Here are all the resin parts unpacked and the second photo shows the PE fret:
http://i174.photobucket.com/albums/w117/2AF/IMG_1722_zps12fcf83c.jpg

http://i174.photobucket.com/albums/w117/2AF/IMG_1721_zpsef8ae2d4.jpg


Following along with the start of the build, I removed the pour stubs from the various parts and then cleaned up the remaining flash, which is quite minimal with the casting method used. The cylinders were left on the pour blocks for ease of painting and I'll cut them off just before installing them. Even the complex exhaust stacks were easier to prepare than I had thought they would be:
http://i174.photobucket.com/albums/w117/2AF/IMG_1787_zpsfb097698.jpg


The final step this evening was to trim the VERY thin cowling sections from their pour blocks and then remove the appropriate sections from the kit cowling. This cowling is a left-over part from the Eduard Hellcat I recently built so it's being modified for this engine project:
http://i174.photobucket.com/albums/w117/2AF/IMG_1789_zps56aa19c8.jpg


Next will be to start painting!


63
Aircraft Modeling / 1/48 Accurate Miniatures Mustang Ia
« on: April 29, 2013, 12:33:47 AM »
Here's the old Accurate Miniatures Mustang Ia that I'd started many years ago and finally have painted. As I remember, this goes together quite well with good fit and nice detail. The decals are mostly from the kit sheet with a hand-cut letter T and decal-box serials. The airplane is FD541 and was serving with 268 Squadron. The model depicts the airplane shortly before the D-Day stripes were applied prior to the Normandy invasion. As I was researching this markings selection I found out that a number of Allison-engined Mustangs of the early marks were in store at Maintenance Units and were pulled from storage and prepared for service before the invasion.
http://i174.photobucket.com/albums/w117/2AF/IMG_1703_zps2b0ee50c.jpg

http://i174.photobucket.com/albums/w117/2AF/IMG_1696_zps08aea3a5.jpg

http://i174.photobucket.com/albums/w117/2AF/IMG_1695_zps0afe3c31.jpg

http://i174.photobucket.com/albums/w117/2AF/IMG_1693_zps61e4d52c.jpg

http://i174.photobucket.com/albums/w117/2AF/IMG_1692_zps2f97bf08.jpg

64
Aircraft Modeling / 1/48 HobbyBoss Ta 152C
« on: April 27, 2013, 03:14:48 AM »
My desk is not as full as it usually is so I'll add this new project.......I've never built a HobbyBoss kit before so this is a new experience for me. This was on sale at the mail-order shop I frequent and so I decided to try it. So far, the level of detail and quality of engraving is quite nice!
http://i174.photobucket.com/albums/w117/2AF/IMG_1683_zpsb79907f7.jpg

http://i174.photobucket.com/albums/w117/2AF/IMG_1685_zpsda001551.jpg

http://i174.photobucket.com/albums/w117/2AF/IMG_1686_zpsde0e7d73.jpg


The fit looks quite acceptable also--here are the main parts taped together for a test-fit:
http://i174.photobucket.com/albums/w117/2AF/IMG_1687_zps362eaf7b.jpg

65
Aircraft Modeling / 1/48 AMtech Kittyhawk
« on: April 17, 2013, 10:50:58 PM »
I recently picked up a three-kit package deal of the AMtech P-40E kit, three complete kits and three decal sheets for a very good price. I've always wanted to try one of these so this opportunity was too good to pass up. Here are a couple of photos of one set of trees and the nice decal sheet with two RAF Kittyhawks and two U.S. P-40Es:
http://i174.photobucket.com/albums/w117/2AF/IMG_1638_zps953a1a6a.jpg

http://i174.photobucket.com/albums/w117/2AF/IMG_1637_zps4a46c637.jpg


The build-up goes pretty quickly as the kit is fairly simple. The cockpit is detailed enough for a "shelf model" with only the addition of seatbelts and a couple of small bits added. I'm building this one pretty much from the box as a sort of practice kit.
http://i174.photobucket.com/albums/w117/2AF/IMG_1649_zpse938b733.jpg

http://i174.photobucket.com/albums/w117/2AF/IMG_1651_zpsd96ff74e.jpg


Fit of the main elements is not too bad with the exception of the wing root area and the center section/fuselage joint on the bottom. It isn't anything that a bit of filler can't fix, though.
http://i174.photobucket.com/albums/w117/2AF/IMG_1652_zps121d3e25.jpg


The last main components to install were the side cowling panels. The manufacturer was nice enough to include two complete sets of cowlings and both round exhausts and the fishtail type. The exhaust stacks determine which cowl panels you will use.
http://i174.photobucket.com/albums/w117/2AF/IMG_1653_zpsfc49c777.jpg


Finally the lower surfaces received their Azure paint:
http://i174.photobucket.com/albums/w117/2AF/IMG_1654_zpsc4e55d95.jpg


More camouflage and an update later....... ;)

66
Aircraft Modeling / Eduard Hellcat Weekend Edition 1/48
« on: April 09, 2013, 10:01:07 PM »
A few months ago I picked up a Weekend Edition F6F-3 kit so I could do a "fun-build". This is a very nice looking product from Eduard, with excellent surface detail. One of the reasons I got this was to use the windscreen assembly on the SAAB project. Later on, an Eduard PE set (for the HobbyBoss kit, actually) was on sale so I am incorporating that set into the build. Here are a few photos of the cockpit and sidewalls.
http://i174.photobucket.com/albums/w117/2AF/IMG_1628_zps6420656f.jpg

http://i174.photobucket.com/albums/w117/2AF/IMG_1627_zps7273d7c8.jpg

http://i174.photobucket.com/albums/w117/2AF/IMG_1623_zpsd22423c0.jpg

http://i174.photobucket.com/albums/w117/2AF/IMG_1622_zpse1646596.jpg


And one shot of the joined fuselage halves after assembly. You'll note that I've filled the small windows behind the cockpit peculiar to the early Hellcats. I've decided to build a variant of the -5 instead so I simply plugged the windows and removed the small fairing on the lower cowling sections.
http://i174.photobucket.com/albums/w117/2AF/IMG_1630_zpsc704897a.jpg

67
Combat Warplanes / Warplane No. 04--The Brewster Buffalo
« on: April 05, 2013, 01:30:21 AM »
Our own Nico Braas has authored the fourth book in the Warplane series, this being a history of the Brewster fighter that became known as the Buffalo in RAF service. I confess that this book was highly anticipated by me as the F2A series of fighters has always been a favorite of mine.

Upon receiving this edition you will find action artwork by Srecko Bradic on the front cover depicting the F2A in combat at the Battle of Midway. The book follows the evolution not only of the fighter itself, but also the Brewster Aeronautical Corporation. After this brief introduction into the other aircraft produced by Brewster the reader is next introduced to the U.S. Navy version, the F2A. The history of the F2A in U.S. service is well-covered, from first development, through early use, wartime combat service, and use as a trainer aircraft after being retired from front-line operations. An added bonus is the actual combat report of Captain W.C. Humbard from his combat at the Midway battle where he shot down a Zero (the combat on the cover, in fact).

The next segment describes the unfulfilled order issed by the Belgian military for the Brewster fighter, including two interesting photos of Belgian machines.

Now comes the real "meat" of this book, in my humble opinion--the successful combat use of export versions. First we have a study of the Brewster 239 in Finnish service. So interesting to see the highly successful operation of this somewhat outmoded fighter when used to its best advantage by the Finns! Nico gives much good content of the 239 along with aces, records, and many great photos. At the end of this chapter one page is devoted to the locally-designed V.L. Humu which used the Brewster basic design and carried it forward to a possible production machine of Finnish origin.

The second chapter of success and bravery with the Brewster fighter focuses on the Netherlands East Indies and service with the ML-KNIL. Again, the author includes much historical information and combat history of the Brewster fighter in the struggle to protect the Dutch colonies from Japanese expansion.

Third export user of the little fighter was the Royal Air Force, and it was the RAF who gave the Buffalo name to this machine. Once again, good text and photos of the combat use of the Buffalo in both the Mediterranean area and South East Asia. Nico also summarizes the use of the Brewster in Australia by the RAAF and USAAF, primarily in a training role.

To top off this excellent book, a separate section is devoted to surviving Buffalo artifacts and replica display airplanes. A photo of the recovered Finnish combat veteran BW-372 and short description of this machine is included. Also are several photos of the replica in the Dutch Armed Forces Museum collection. To close out the story are two tables with technical data of the various models.

All in all, I find this a wonderful reference resource for anyone interested in the Brewster Buffalo family. Great text, excellent (and plentiful) photos, and profiles by our own No. 1 all come together to produce a satisfying book that I highly recommend!

Thanks to Nico Braas for the book offered to me for review.
Scott

68
Aircraft Modeling / 1/48 Eduard Fw 190F-8
« on: March 24, 2013, 02:00:24 PM »
As you'll remember, I reviewed the new Eduard fabric seat belt harness a few weeks ago here: http://www.letletlet-warplanes.com/forum/makete-aviona-aircraft-modeling/eduard-fabric-seat-harness-set-in-148/ . The cockpit I chose to mount the belts to was this Eduard Fw 190A-8 Weekend Edition that I was able to purchase at a good discount several months ago. So here is a brief thread on the build of the airframe.

This kit is actually a fighter version but most of the parts for the F-8 Jagdbomber are also included. The only parts I'll really lack are the four underwing bomb racks and these were not always installed at all times on the fighter-bombers. I have a really nice decal sheet for the F-8 and have wanted to build this for some time now.

The kit is typical Eduard quality, very nice molding and detail, and comes complete with the BMW 801 engine, cowl guns, and wing root weapons. The optional parts are very comprehensive, even to include the two different styles of cooling fans that go behind the propeller. Earlier variants used a twelve-blade fan and later ones a fourteen-blade unit, and both are included. You've already seen the cockpit on the seatbelt thread, so here are a couple of pictures of the project:
http://i174.photobucket.com/albums/w117/2AF/IMG_1581_zps1c544016.jpg

http://i174.photobucket.com/albums/w117/2AF/IMG_1607_zps3925bd88.jpg

69
Aircraft Modeling / MiG-21 exterior
« on: March 18, 2013, 02:34:43 AM »
A few photos of the MiG set and instruction sheet. This will be neat to build and display!
http://i174.photobucket.com/albums/w117/2AF/IMG_1578_zps44eb4121.jpg

http://i174.photobucket.com/albums/w117/2AF/IMG_1579_zps0c495577.jpg

http://i174.photobucket.com/albums/w117/2AF/IMG_1580_zps88b07f94.jpg

70
Aircraft Modeling / Eduard Fabric Seat Harness Set in 1/48
« on: March 02, 2013, 12:01:50 AM »
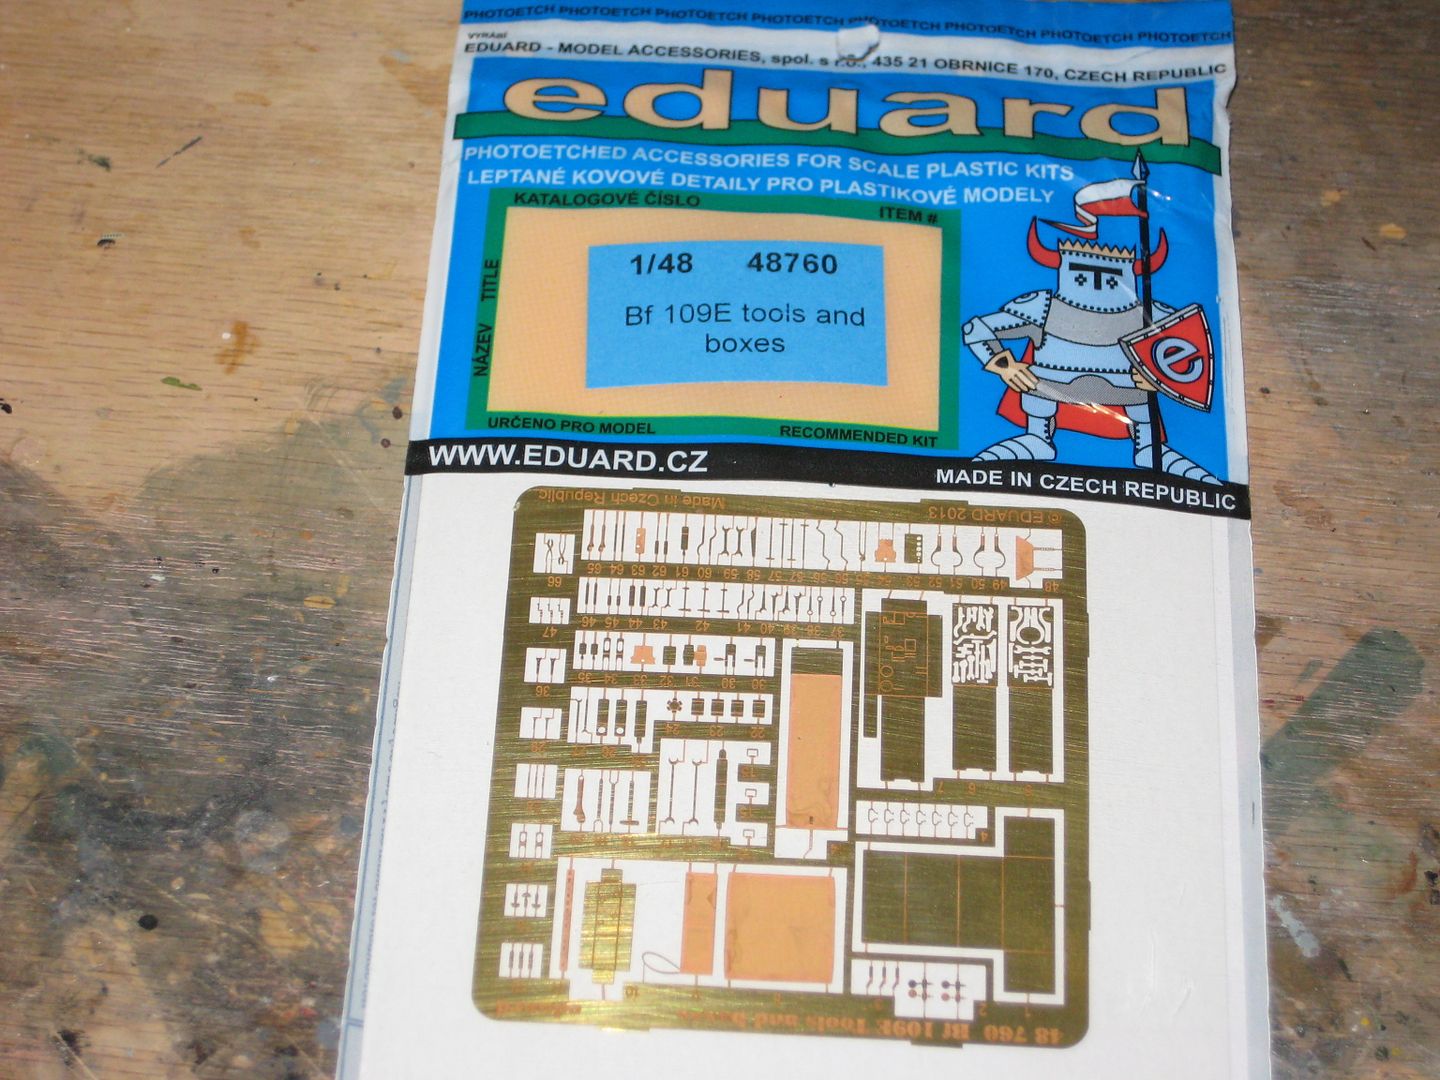
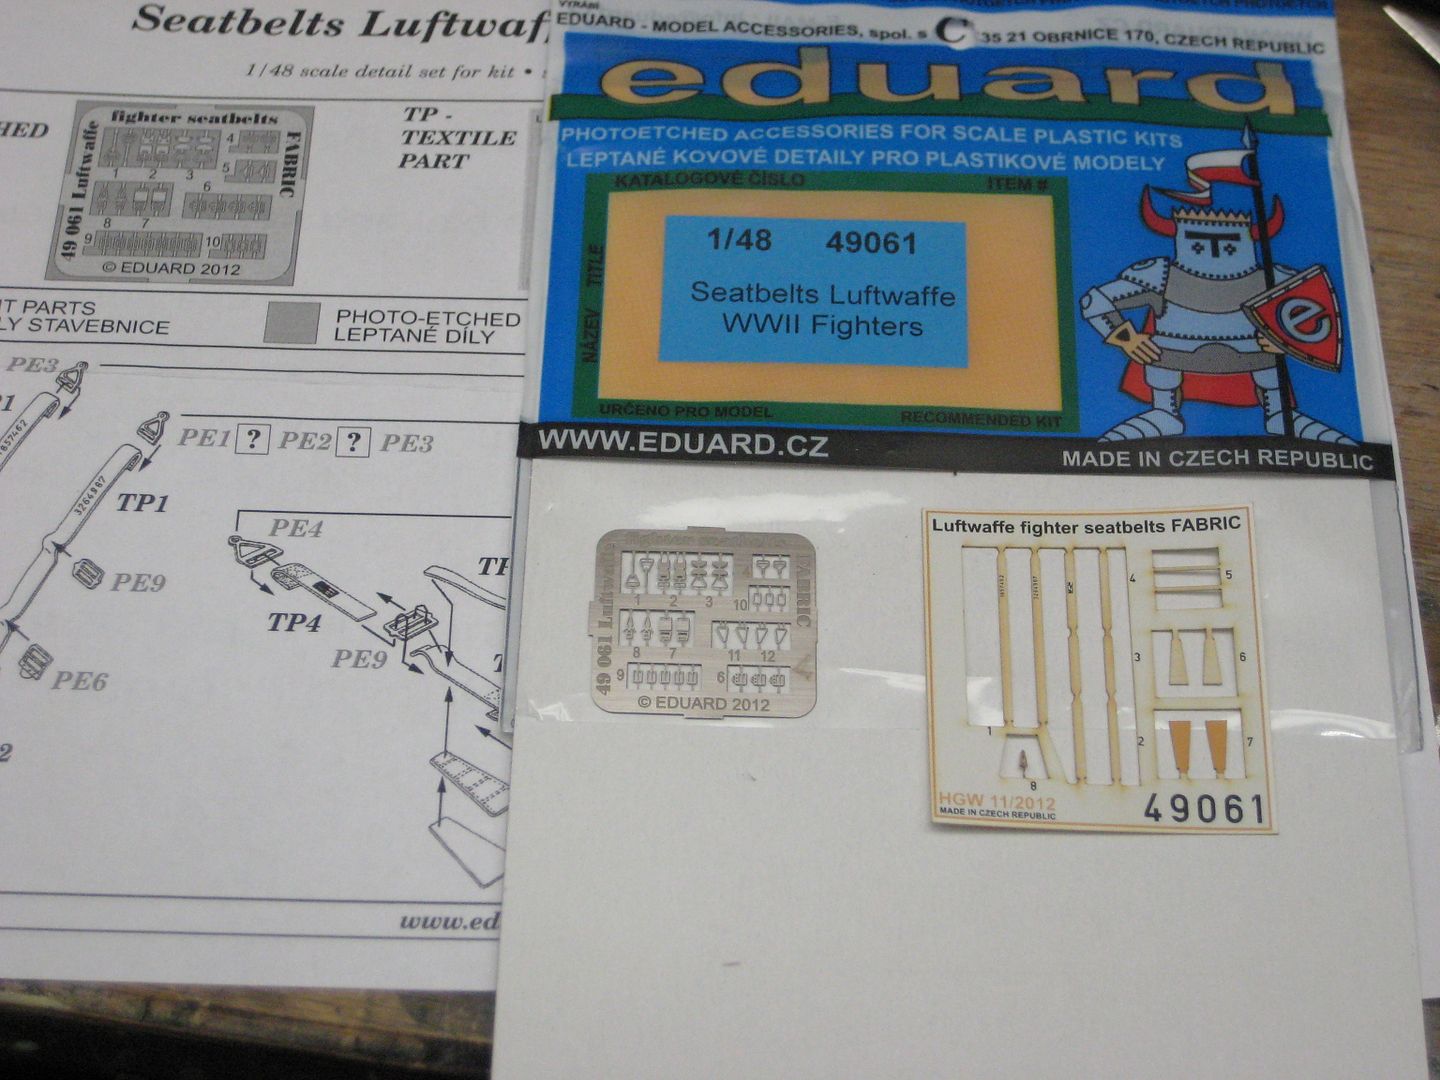
Once again, Eduard has expanded the product line with another ingenious kit. This is their product number 49061, seatbelt harness for Luftwaffe single-seat machines in 1/48. The greatest thing here is that the belts are in an actual textile material--and in 
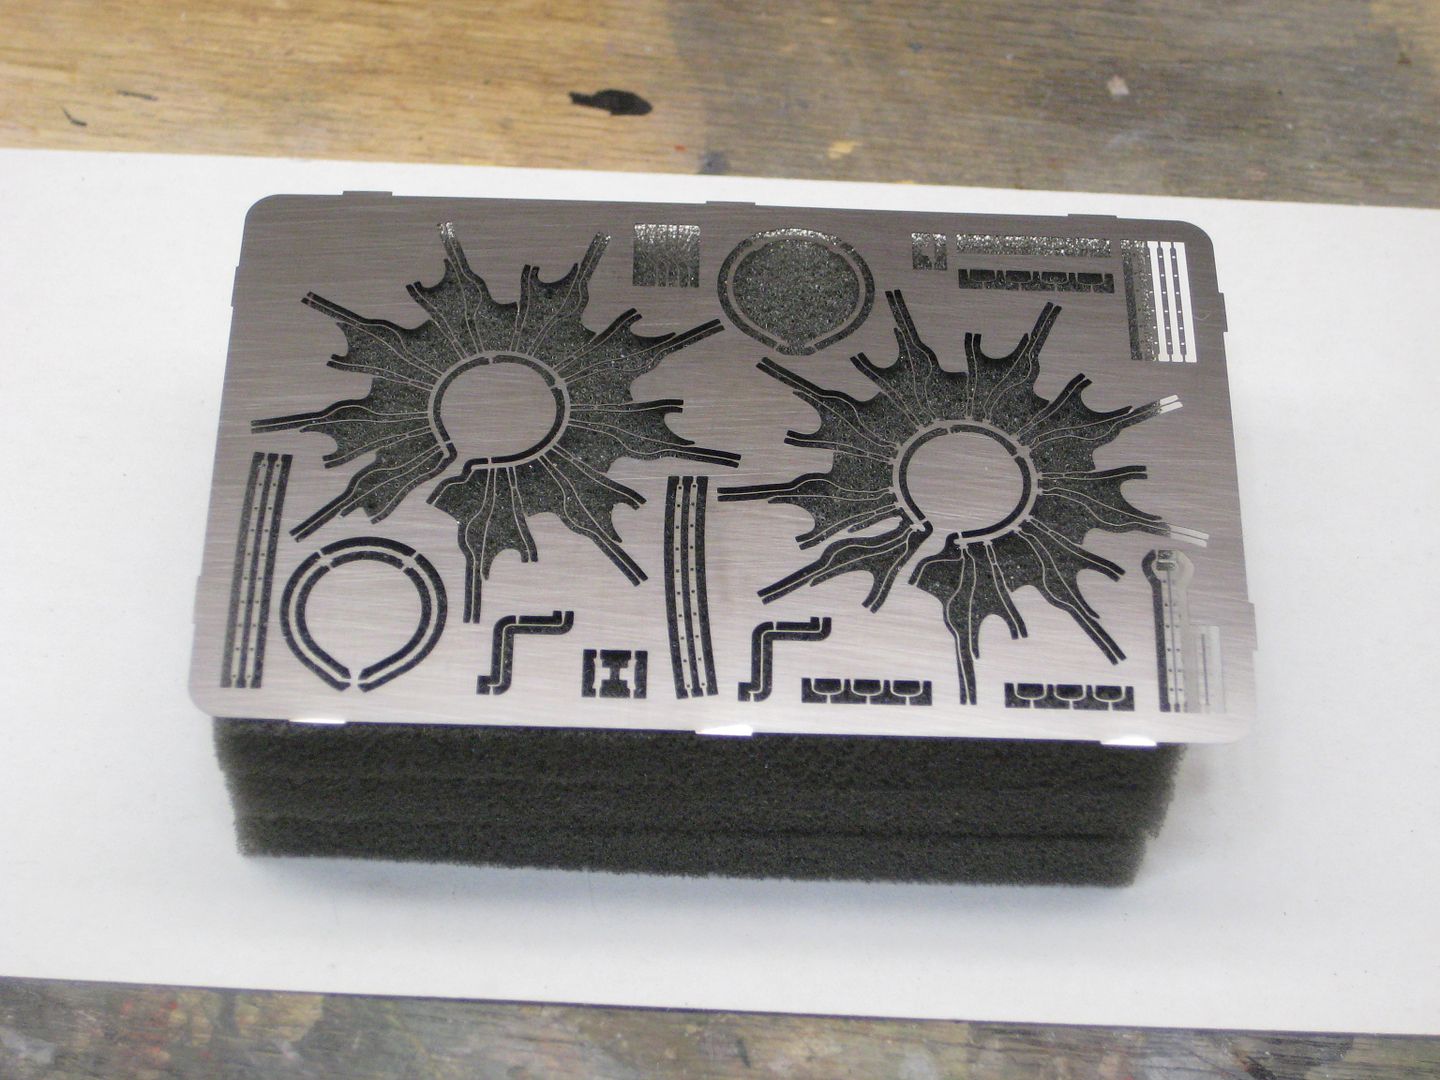
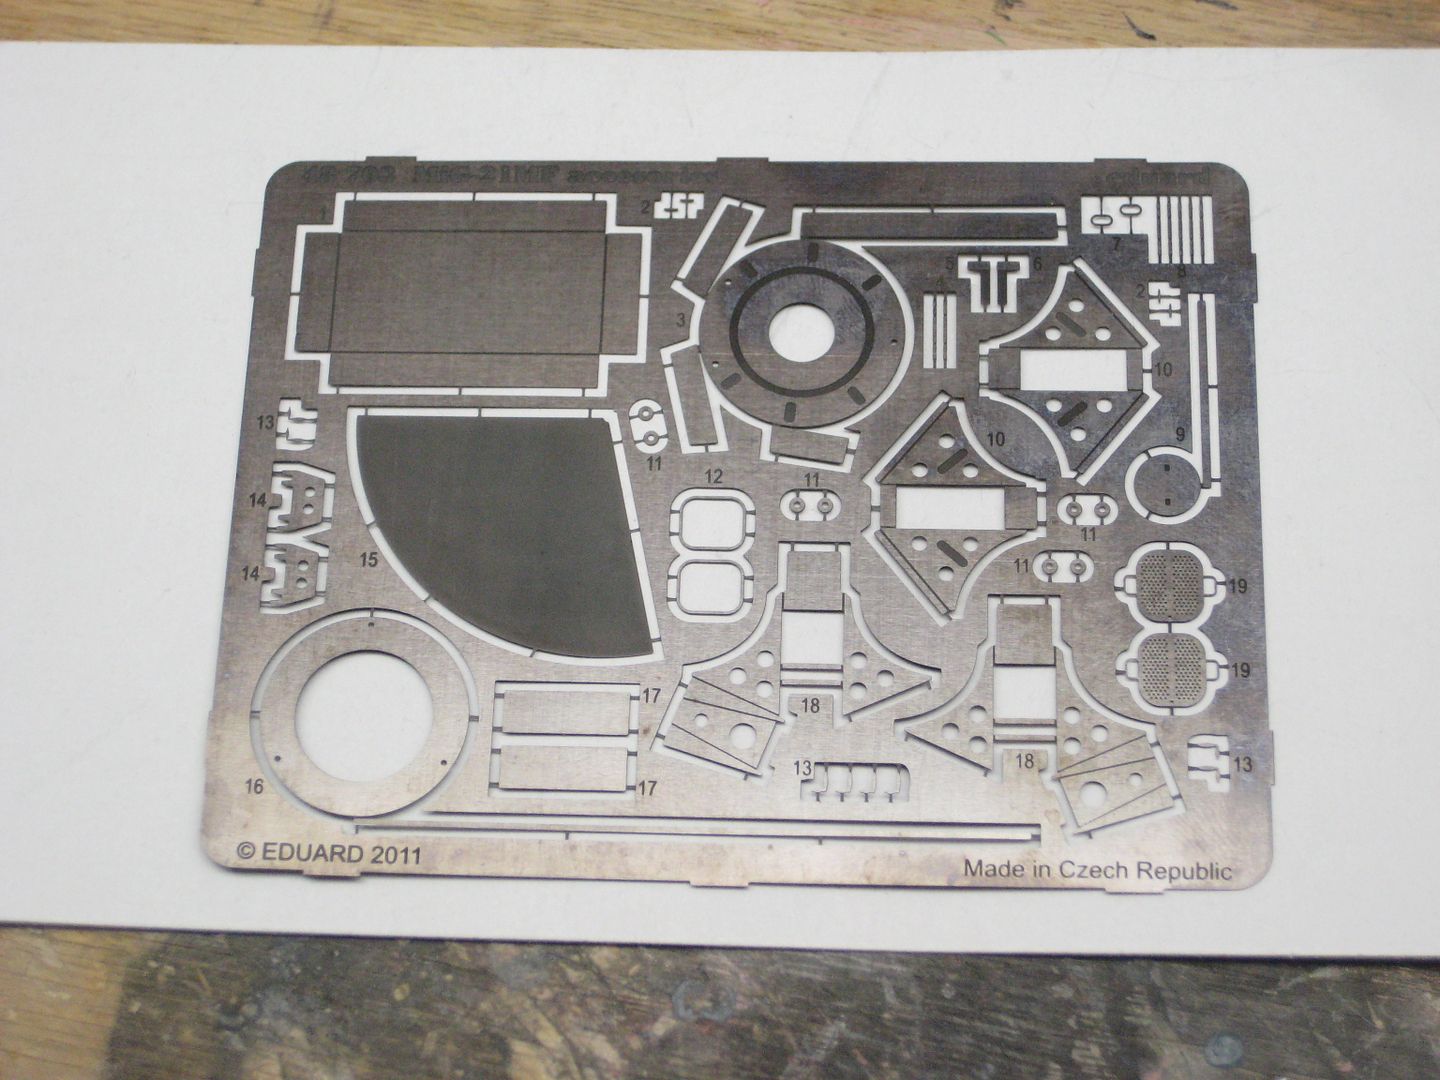
color! The kit consists of one photoetch fret of buckles and hardware, one textile fret of belts, and a comprehensive instruction sheet:
http://i174.photobucket.com/albums/w117/2AF/IMG_1491_zpsafc75b2f.jpg

http://i174.photobucket.com/albums/w117/2AF/IMG_1484_zps4b050963.jpg


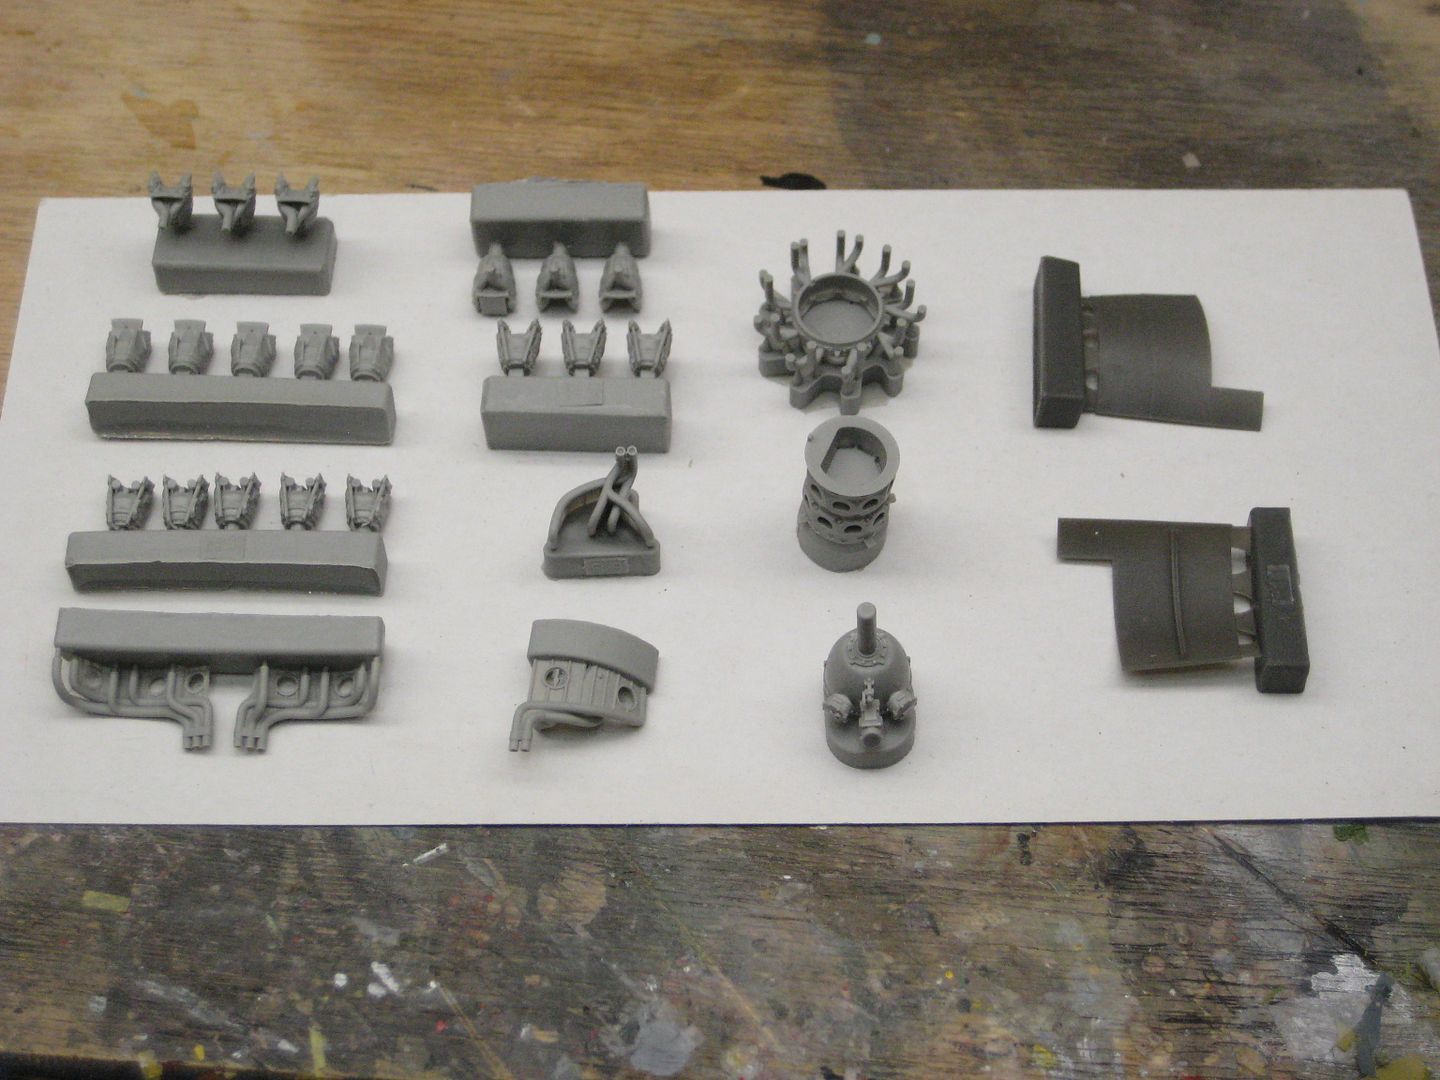
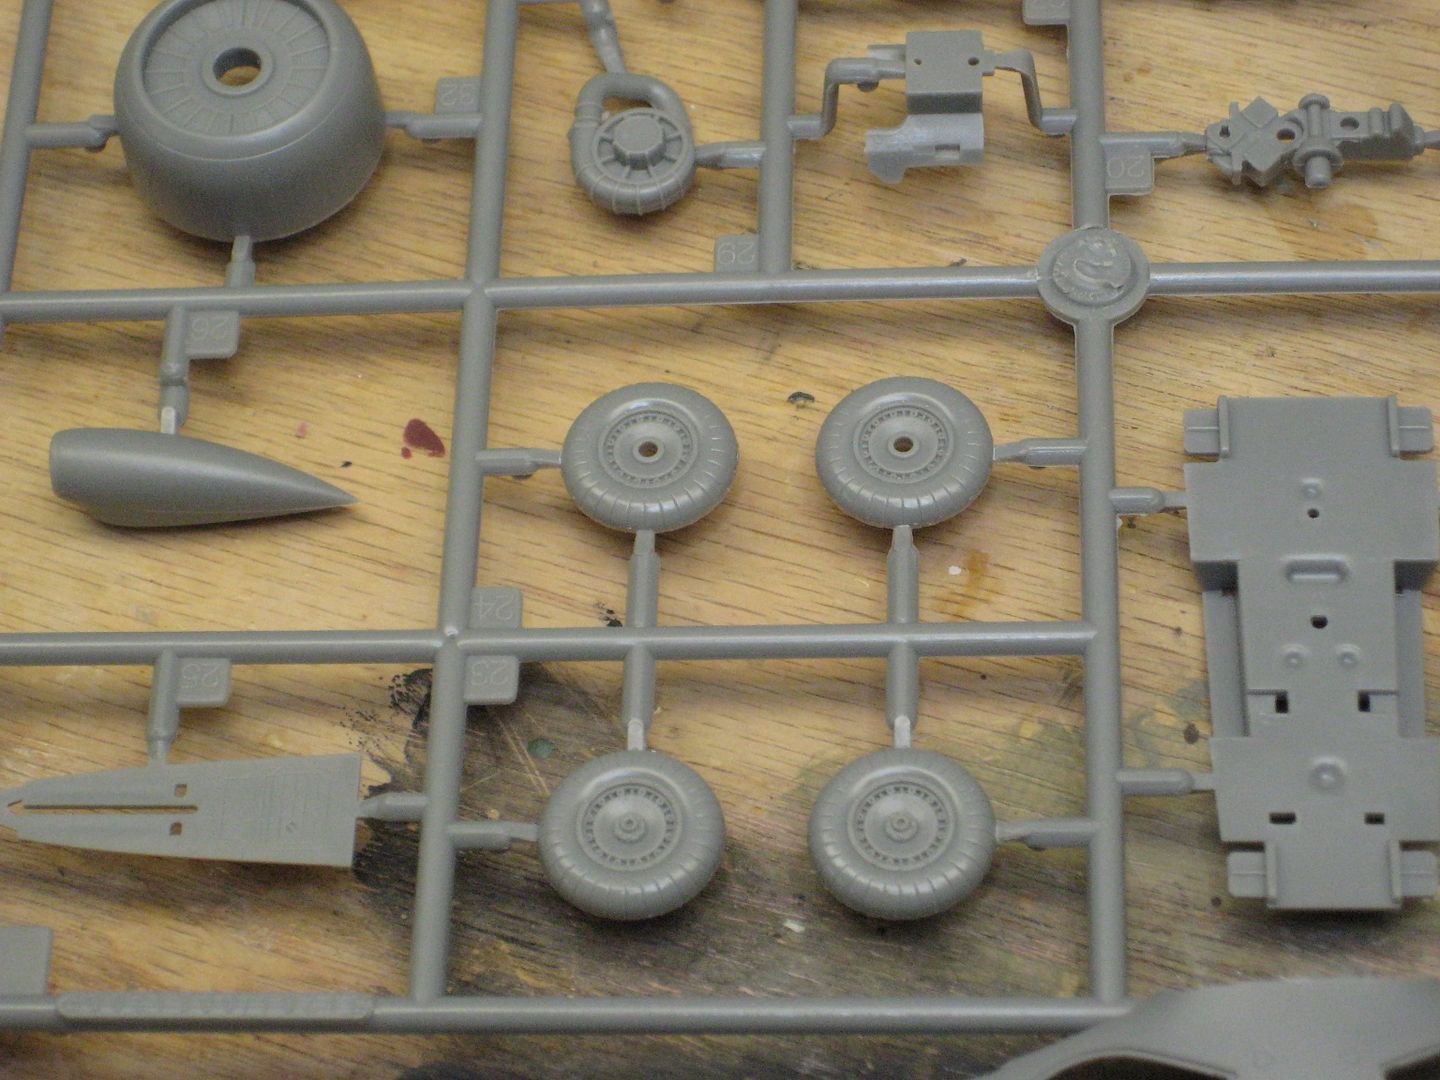
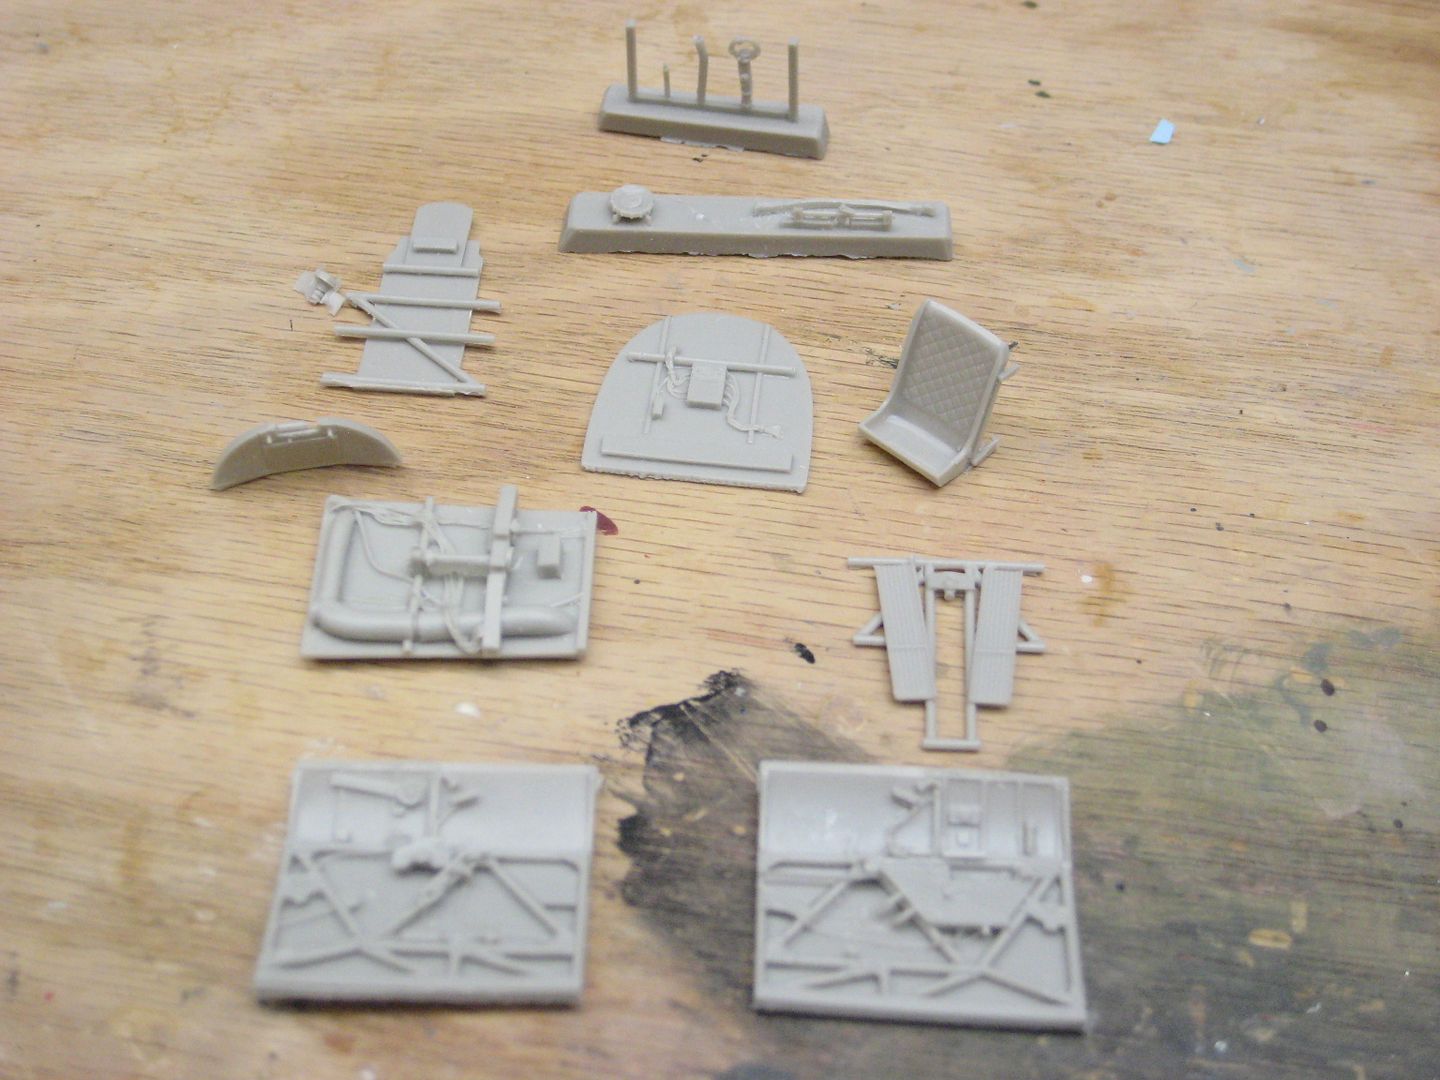
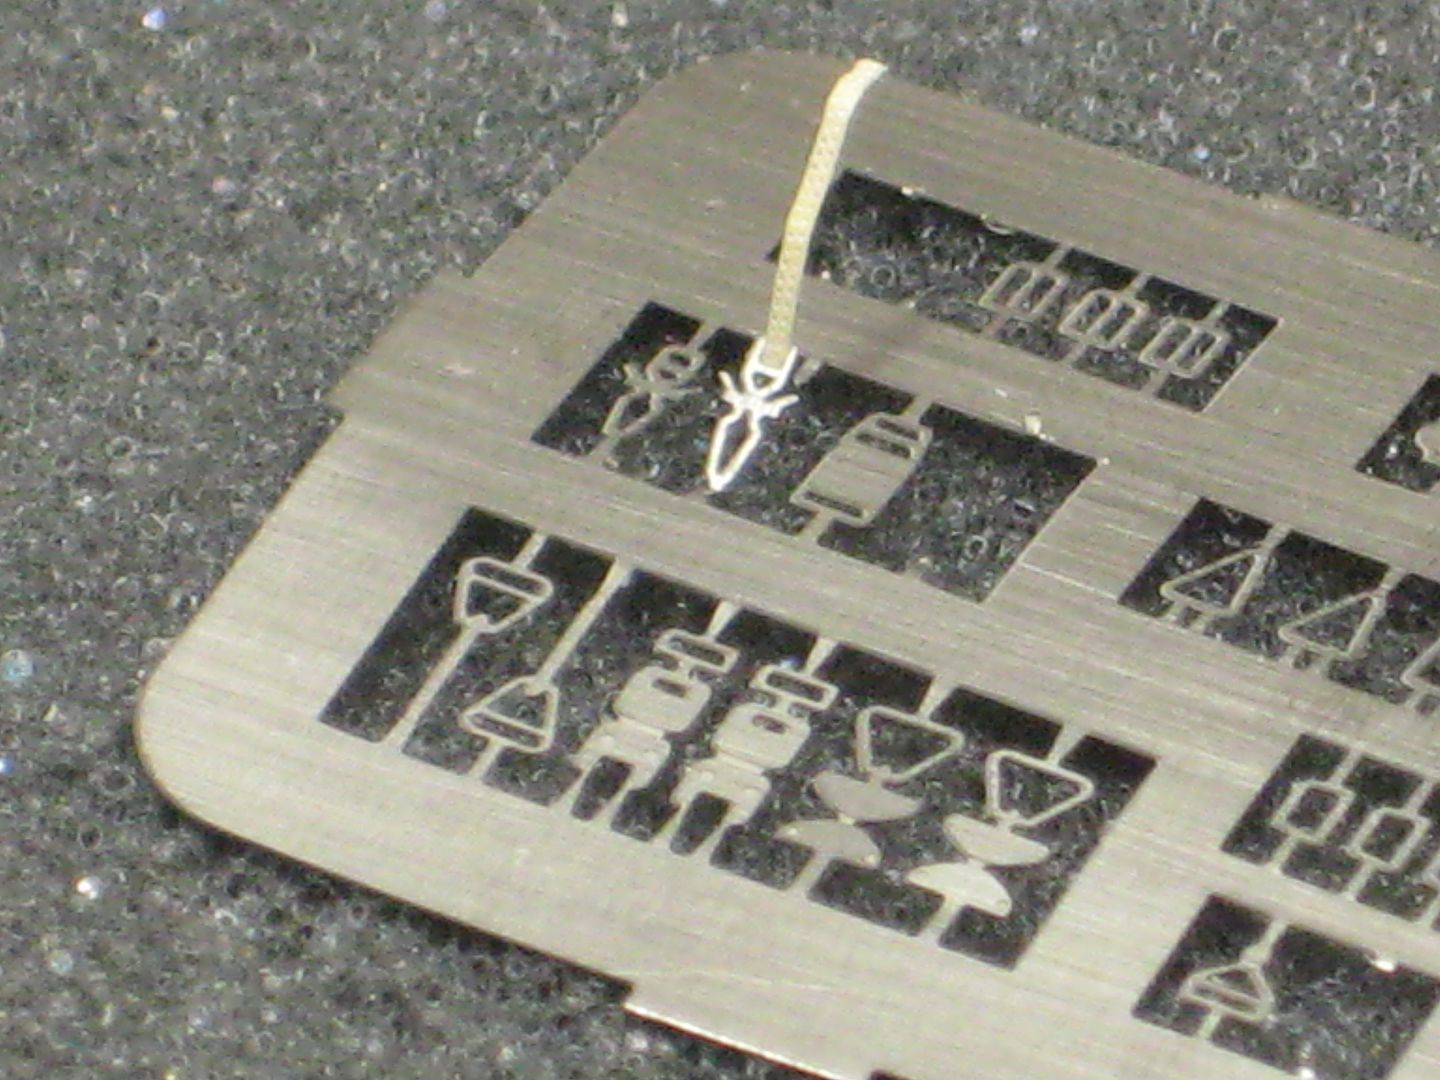
Here are a few "in process" photos and description of my harness build-up. First I studied the instructions and parts. As is usual with Eduard, a few extra parts are included on the PE fret. These include three types of shoulder harness mounting hardware, the part that attaches to the aircraft seat or structure at the top. It is up to the builder to research the correct type of terminal to use depending on the mounting on the aircraft being built. Also a few spare parts are included to help combat the Carpet Monster, and it is a good thing as I lost one adjusting buckle. Thankfully a spare was on the fret! :-ok

Next I trimmed the first belt from the textile fret. After cutting the belt from the fret there is a backing paper that must be removed. Then I simply selected the correct hardware to install on the belt and cut only the slotted end loose from the PE fret. Then I bent the hardware up so that the belt could be inserted and looped around the buckle with tweezers. Assembling the parts this way does two things--it makes the tiny PE parts harder to lose, and makes assembling the belt to the PE easier. After looping and gluing the belt, the other end of the hardware was cut from the tree. I followed this same method for each new piece of hardware on each belt until it was complete and to the correct length:
http://i174.photobucket.com/albums/w117/2AF/IMG_1494_zps4989cda5.jpg

http://i174.photobucket.com/albums/w117/2AF/IMG_1496_zps3f868e98.jpg

http://i174.photobucket.com/albums/w117/2AF/IMG_1512_zps222dc841.jpg


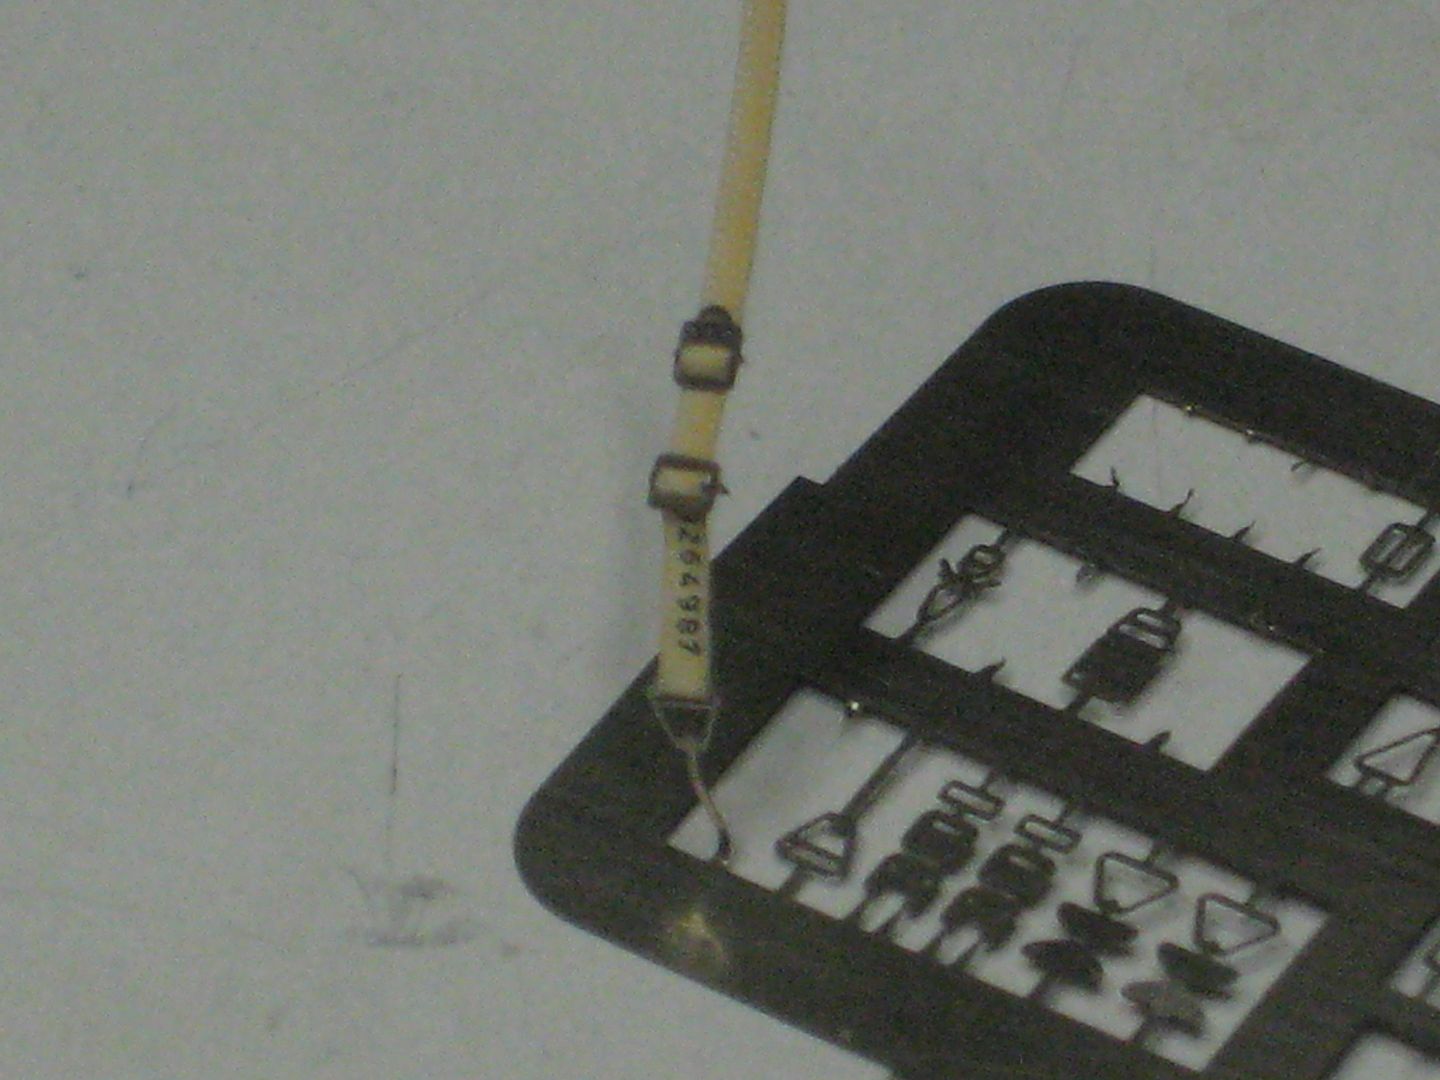
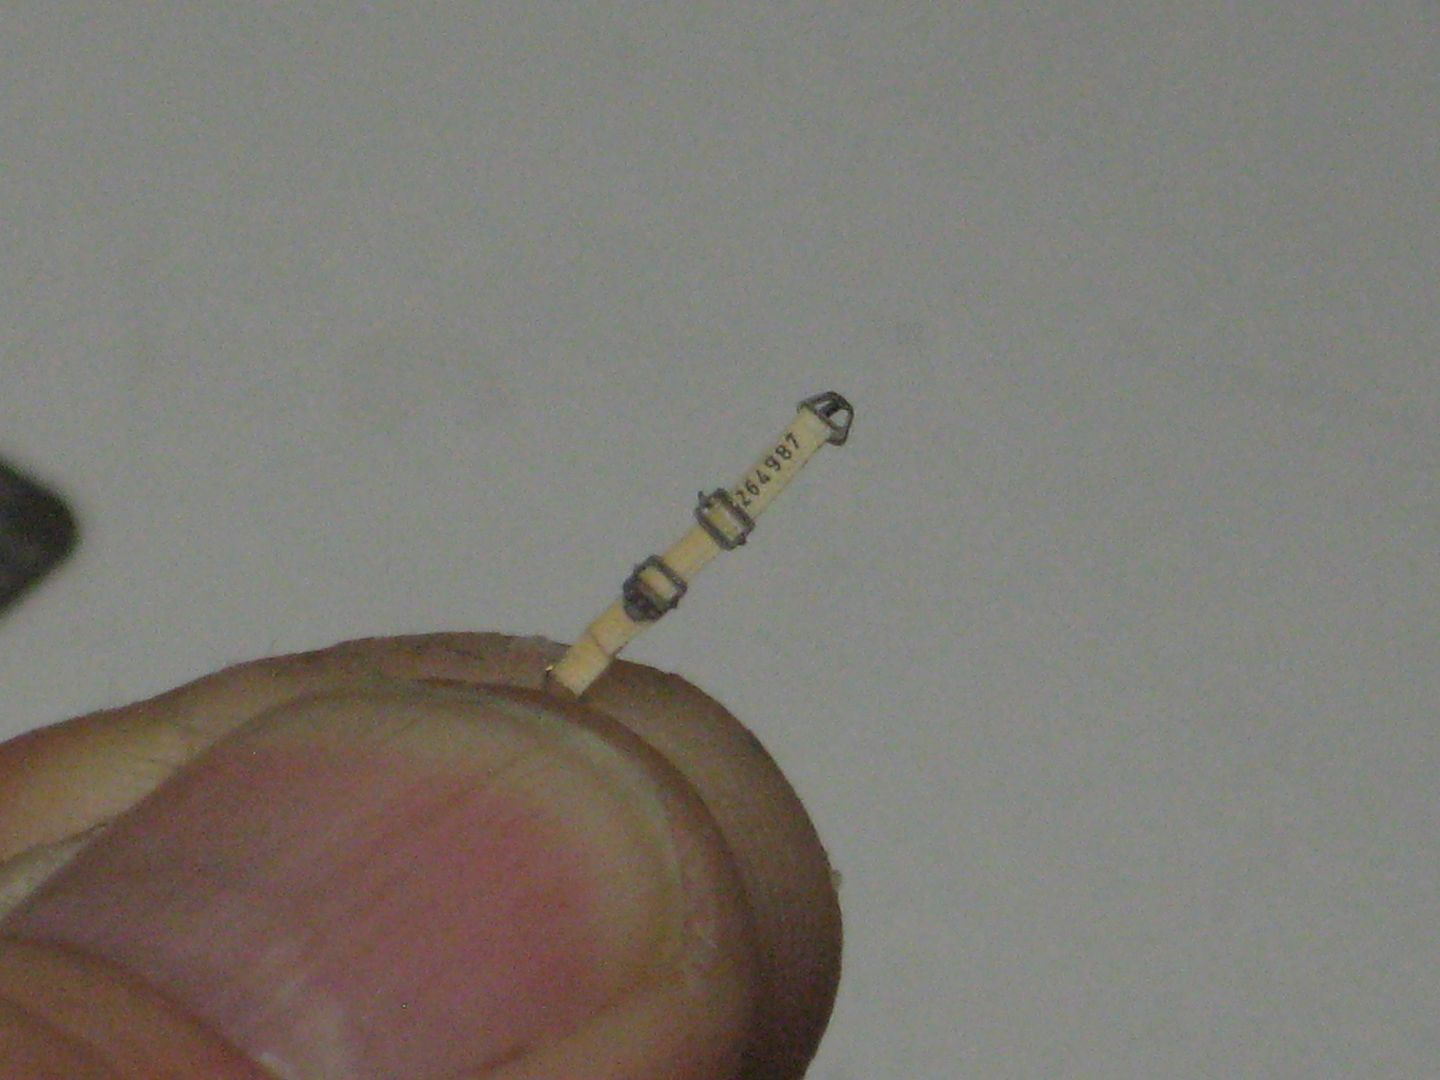
Here is a finished shoulder belt complete with all hardware. Also notice that Eduard was able to print a serial number on the belts (different on each strap) during the coloring process--a really beautiful feature!
http://i174.photobucket.com/albums/w117/2AF/IMG_1513_zpse4a68d56.jpg


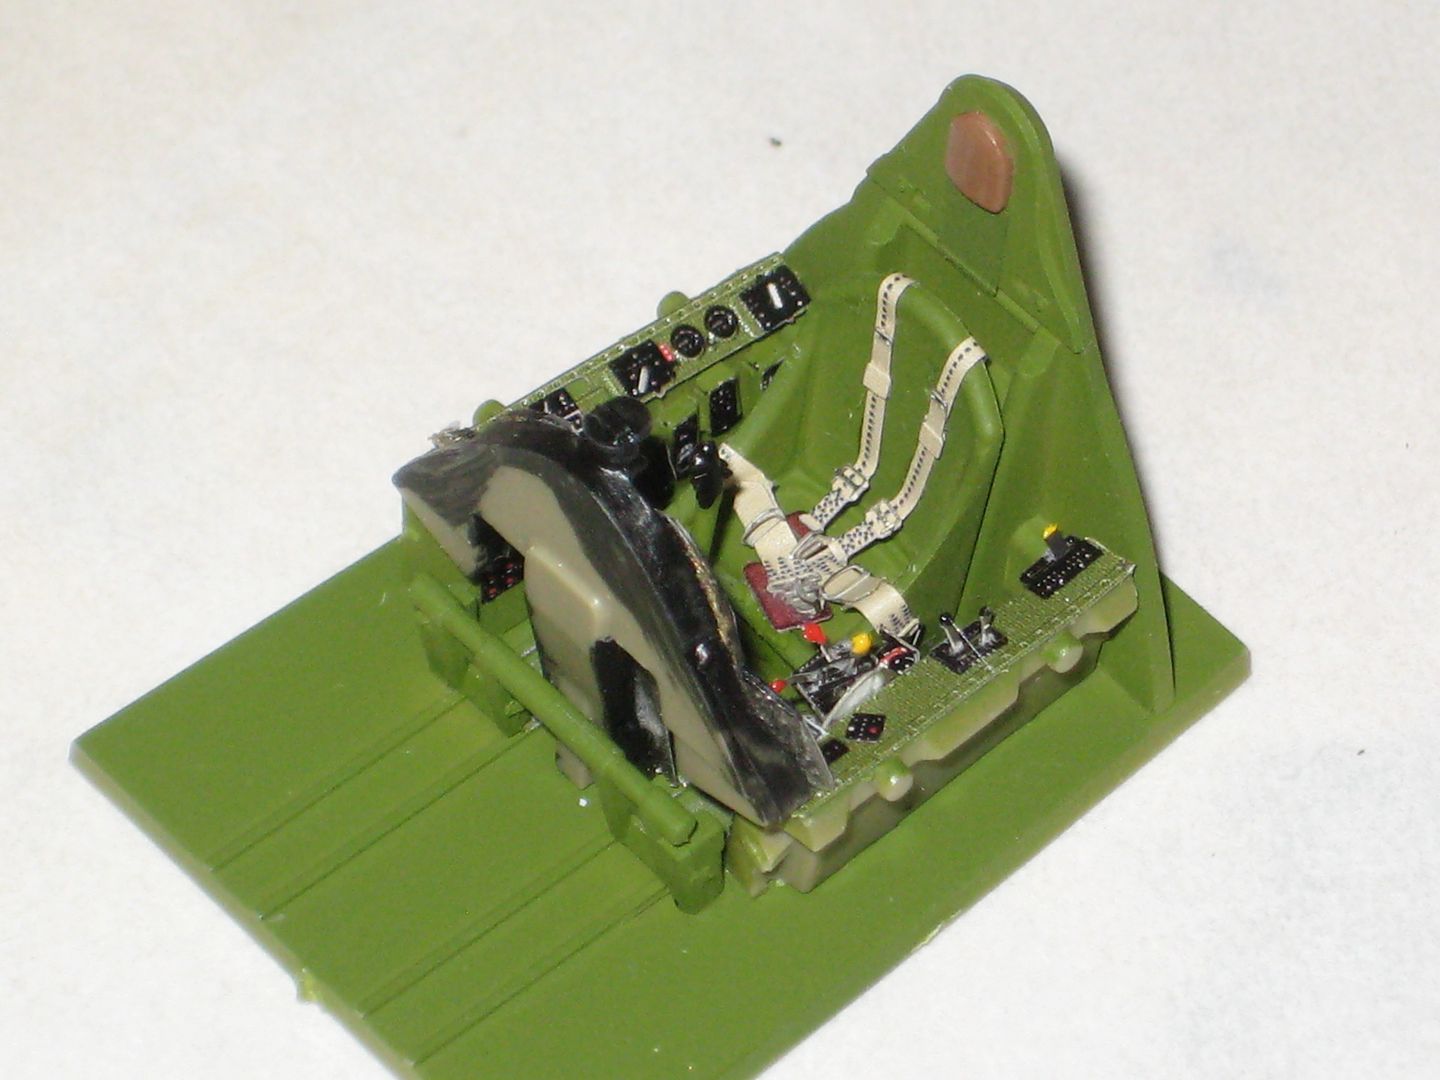
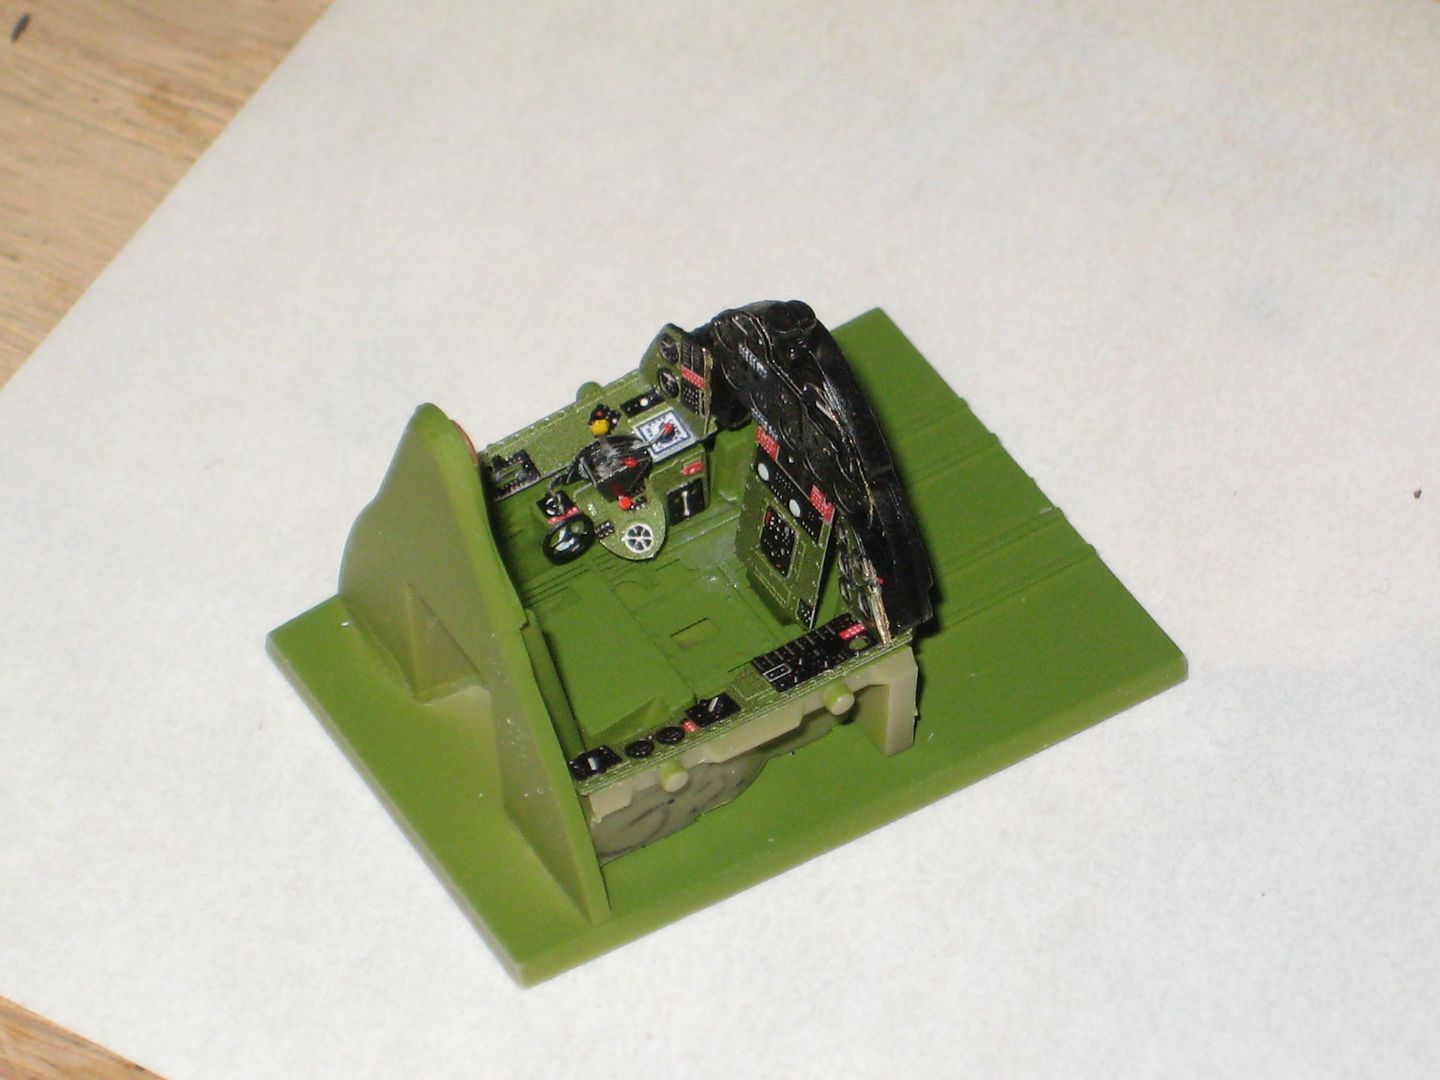
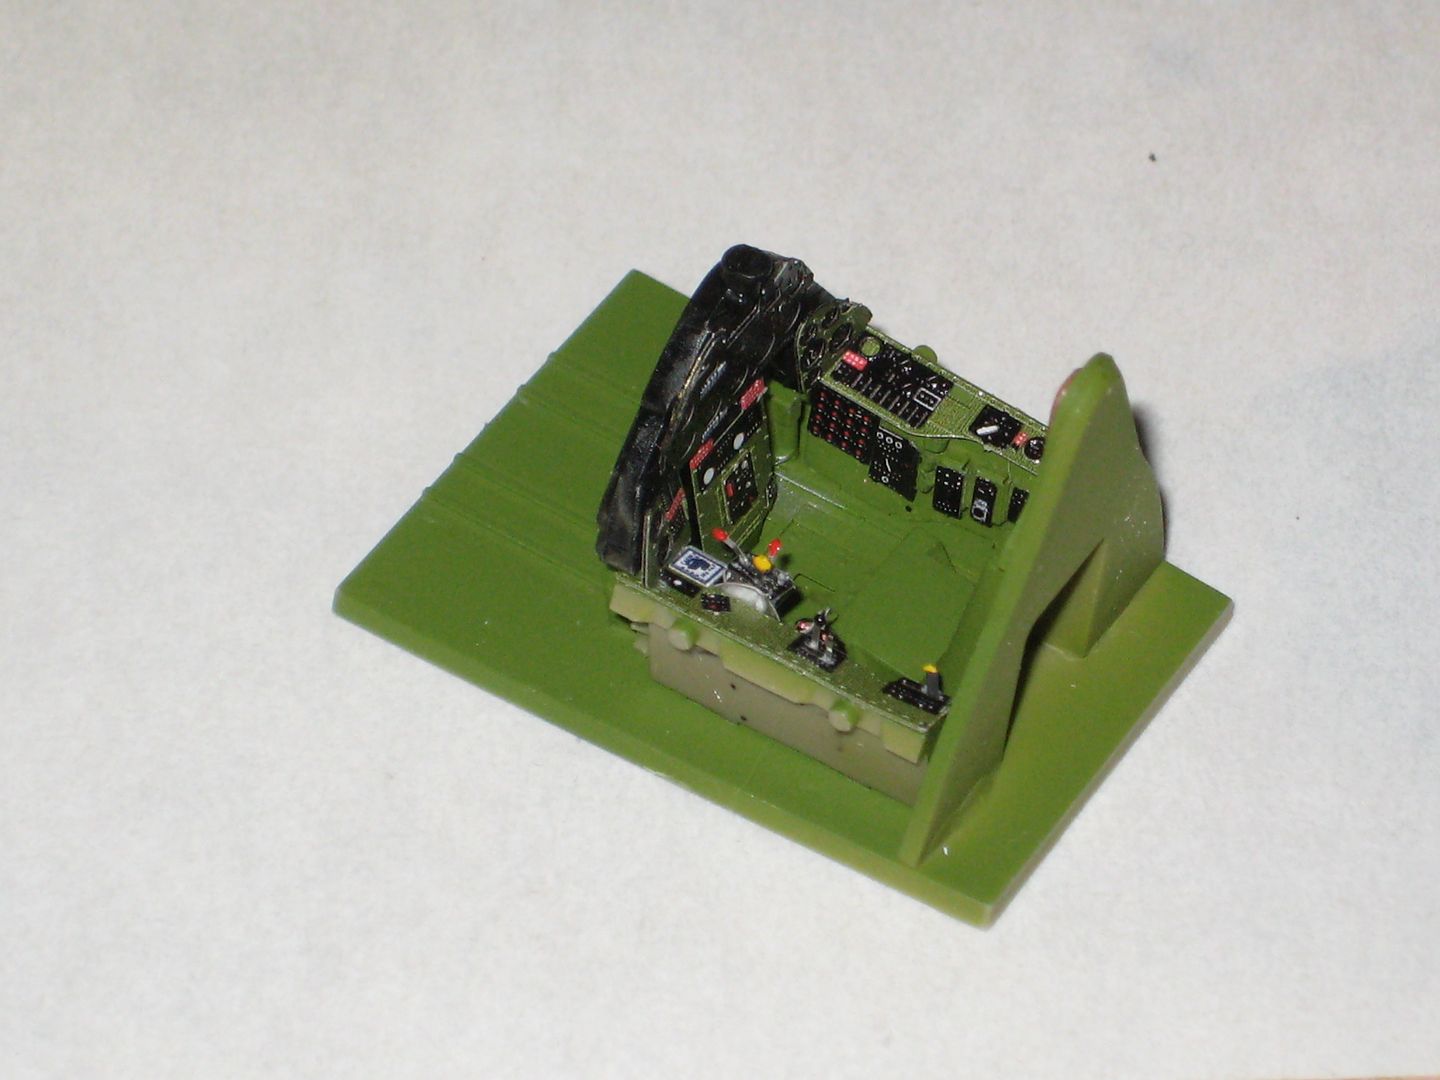
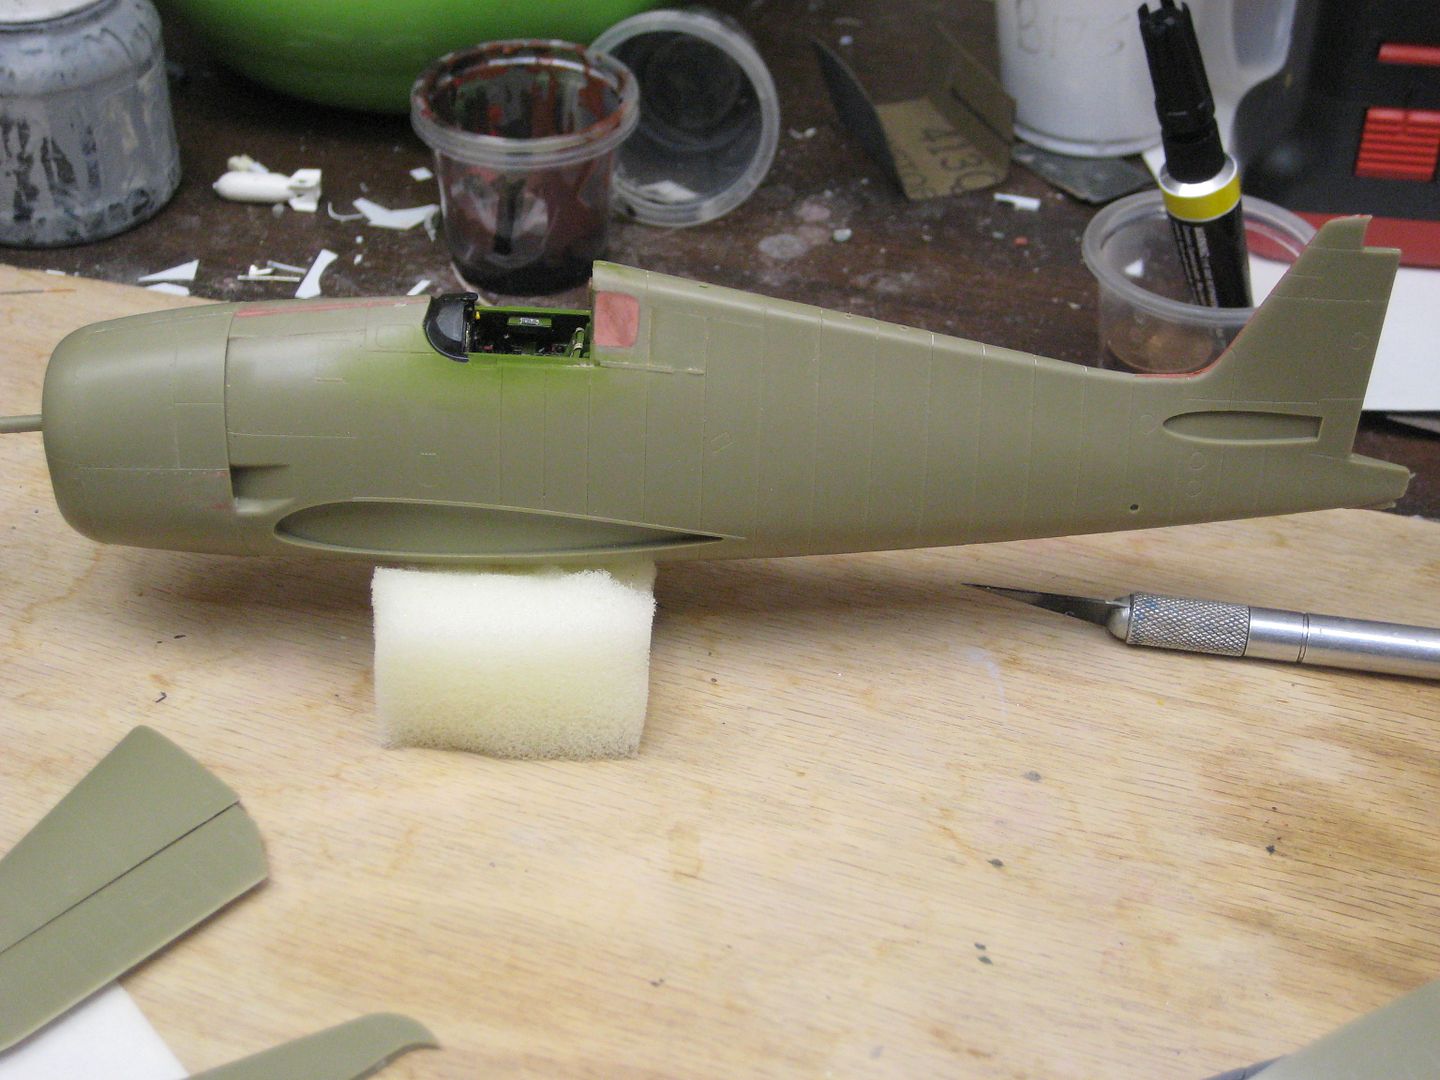
After build-up of the belts it was a simple effort to apply them to the seat. In this application I'm using the cockpit of an Eduard Fw 190A-8 for the "test-mule". First the lap belts went on. Notice the manufacturer data tag on the right lap belt, another fine printing example:
http://i174.photobucket.com/albums/w117/2AF/IMG_1498_zps19a6b450.jpg

http://i174.photobucket.com/albums/w117/2AF/IMG_1508_zpsede9676b.jpg


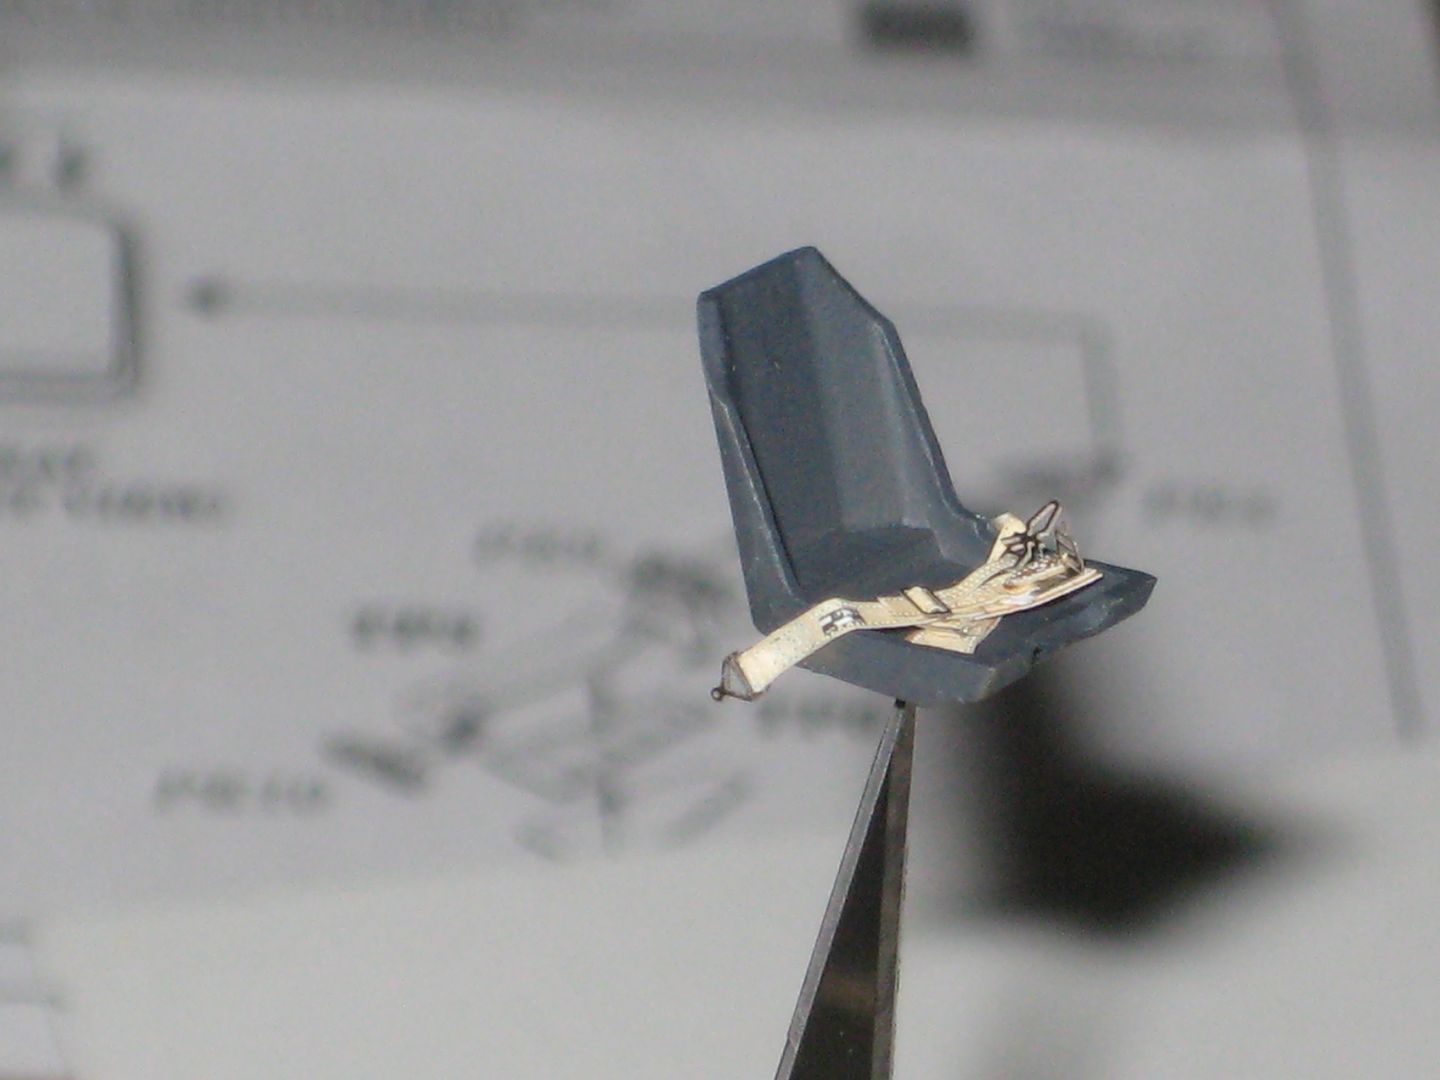
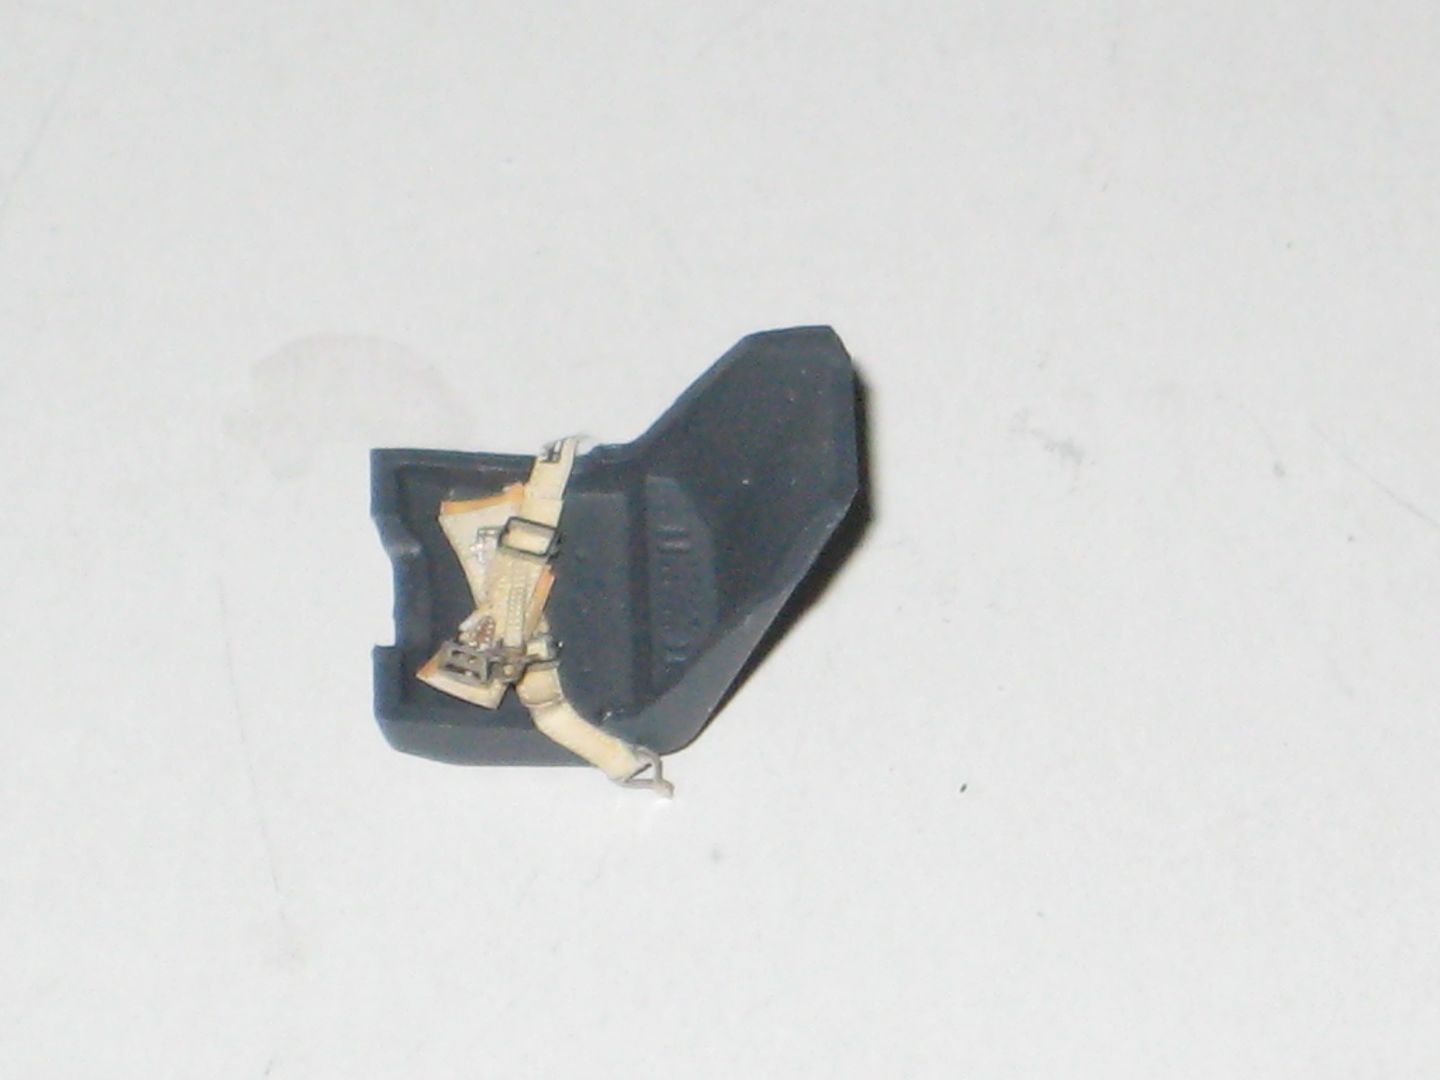
Then the shoulder straps were installed, mounted at the top of the seat frame as on the real thing. Also note the natural way the fabric belts drape on the seat. It would be quite easy with this set to have the shoulder harness draped outside the canopy rail as is often shown on wartime photos:
http://i174.photobucket.com/albums/w117/2AF/IMG_1514_zpsb61926a5.jpg

http://i174.photobucket.com/albums/w117/2AF/IMG_1516_zpsd21022b7.jpg


I congratulate Eduard on this new offering. Building the harnesses is really not difficult in any way but does demand a steady hand and good eyesight (or proper magnification for those of us who wear glasses). I highly recommend this kit to anyone who wishes to add more realism to the seat of their next 1/48 Luftwaffe fighter!

My thanks to Eduard for the product, and No.1 for sending it to me for review.


71
Aircraft Modeling / 1/48 Eduard Tempest Part II
« on: February 14, 2013, 03:24:18 AM »
Some months back No.1 built an Eduard Tempest V. Thanks to Eduard :-flo and Srecko :-flo I have also started one of these. Not much has gotten done yet but I did trim the pour stubs and other small amount of flash off of the resin cockpit components. Then these got a bath to clean any possible mold release.
http://i174.photobucket.com/albums/w117/2AF/IMG_1373_zpsfd148564.jpg


I must say that this looks like it will be quite fun to build. The Tempest is HUGE compared to the tiny Bf 109s I've been building and I had to find extra space on the workbench to fit all the parts! :-eek

72
Aircraft Modeling / 1/48 Monogram Fw 190D-11
« on: December 31, 2012, 03:06:56 PM »
Time to post progress and kit review on the old Monogram Fw 190 kit that's been under construction for the last few months. This was another kit that I purchased at an "antique" store locally. The kit had been opened but work was never started on it by the first owner. I actually began tinkering on this in September and simply did a little bit whenever I had spare time.
http://i174.photobucket.com/albums/w117/2AF/IMG_1227_zpsf5ff77e2.jpg


This Monogram Pro Modeler kit was actually produced from the old Trimaster molds and I found it to be pretty nicely detailed and molded. In fact, for being such an old kit (first released in 1988), I found it only slightly inferior to the modern Eduard Dora. One area of inaccuracy is the wheelwells--this kit represents the older wheel housings that seal off the engine accessory section. This should be removed and a scratchbuilt aft engine bay installed for total accuracy. Other than that it was a relaxing build. Here are a few photos--obviously this is one of the airfield protection machines of JV 44! The kit decals provide the option of Red 4 so this is the machine I'm building.
http://i174.photobucket.com/albums/w117/2AF/IMG_1196_zps94ade655.jpg

http://i174.photobucket.com/albums/w117/2AF/IMG_1197_zpsaf4cdbc7.jpg

http://i174.photobucket.com/albums/w117/2AF/IMG_1212_zps38278e3f.jpg


73
Aircraft Modeling / Me 262 V-3
« on: December 10, 2012, 03:47:50 AM »
Now that I've found the source for decals, it's time to start my 1/48 Me 262 prototype. I'll be building PC+UC, the third machine built and first to fly with turbine power only.

The beautiful Tamiya kit will be the basis for this conversion:
http://i174.photobucket.com/albums/w117/2AF/IMG_1098.jpg


It's actually a shame to cut up this wonderful kit that comes with a full gun bay and so many other fine details. Most of the fine parts will end up in the spares bin and everything I use will be modified in some way or other.

The first item on the agenda is moving the landing gear openings in the wing. The V-3 was equipped with conventional landing gear so the mains were located much further forward than the tricycle version. It took a bit of filing to fit the gear doors and then they were securely glued in place. Next was an application of filler:
http://i174.photobucket.com/albums/w117/2AF/IMG_1093.jpg

http://i174.photobucket.com/albums/w117/2AF/IMG_1099.jpg


Second item tackled was the beginning of modification to the engine nacelles. The very early machines had quite different cowlings. This entailed carefully filing away the fillet fairing on each nacelle half where they meet the lower wing. Also more filing and sanding to remove the aft tailcone fairing and filler in the turbine section cooling vents. This photo is poor but shows the beginnings of these modifications next to an untouched half:
http://i174.photobucket.com/albums/w117/2AF/IMG_1100.jpg


More updates as things move forward...... ;)

74
Aircraft Modeling / Vought OS2U
« on: November 30, 2012, 07:29:41 AM »
Some of you will remember that about a year ago I started my SAAB B 17 project and thought I could use an old Monogram Kingfisher for the fuselage.
http://i174.photobucket.com/albums/w117/2AF/IMG_9237.jpg


After deciding this was unrealistic I boxed the kit back up and it went on the shelf. Recently I had some free time to tinker with the OS2U and I'll post a couple of photos of the finished machine later.

75
Aircraft Modeling / Yak and LaGG Series GB
« on: October 12, 2012, 04:27:42 PM »
Time to start something that has been in the unbuilt pile for a significant time. I purchased two or three ICM Yaks some time ago so it's time to build one. This is a T/DD/K variant with a few optional parts:
http://i174.photobucket.com/albums/w117/2AF/IMG_0862.jpg


Here are the parts trees on the drying towel. There is a lot of mold release on my sample that was washed off with soap and water:
http://i174.photobucket.com/albums/w117/2AF/IMG_0861.jpg


Decal sheet that I robbed from for my VVS Airacobra last year:
http://i174.photobucket.com/albums/w117/2AF/IMG_0863.jpg


Pages: 1 ... 3 4 [5] 6 7 8