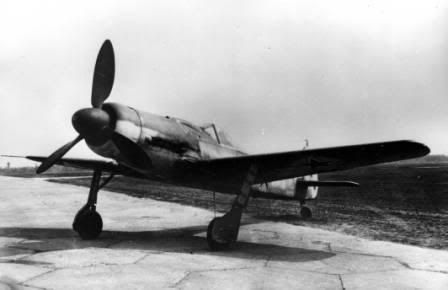
Fir a last nine years I did not make any plastic kit. In the meantime I have buy couple of them but keep it away from work bench. Some time ago I have search and got some very interesting photos of the famous German WW2 fighter Focke Wulf 190D and among them was few with this plane in Soviet markings. And I have a wish to make it as a scale model...
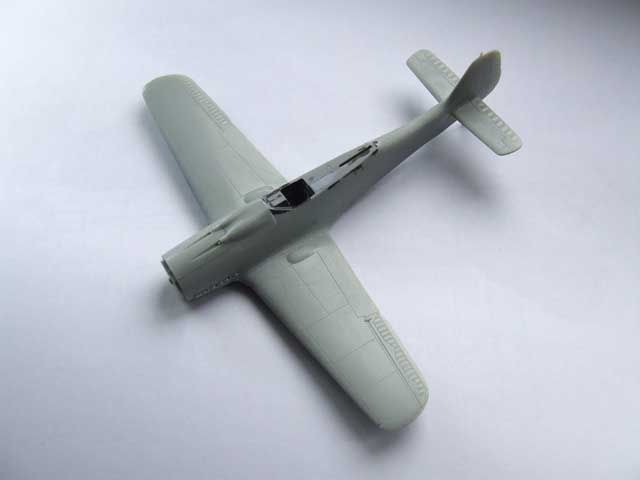
It was not easy for me to make a choice which one kit to choose. In my box I had an Airfix and Italeri one. Airfix is very correct in shape but have to be reingraved and maybe some detail to redesign. Italeri... better stay away. On internet I did not find anything which model in 1/72 scale is perfect so I get one Academy sample. Maybe not as good at all but it is good start for me. Interior of the kit is very simple and regard to the photos enough acurate. Most of the interior are black gey RLM66 and I have place on all areas and parts which going inside.
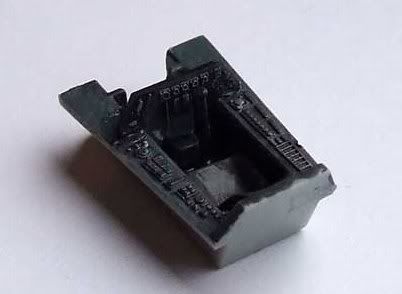
Cockpit hub I have paint with this color but also allpy two coat of very thinned mid grey and grey brown color which give some fading and wethering efect. Deatils are made in black and pale grey color.
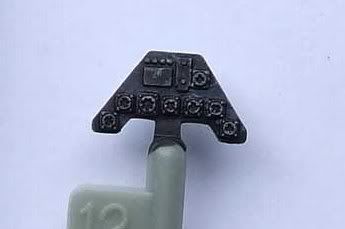
Instrument panel is good work but to small and as well it is placed to deep inside I did not have any attempt to give' em high details. Anyway my goal was not to make superdetailed kit but just something new- kit with Soviet markings.
Hub is placed correct in place with all of this part. Parts are pilot seat and stick. In front coming instrument panel. One more interior paint I have used is the silver for the interior of air intake.
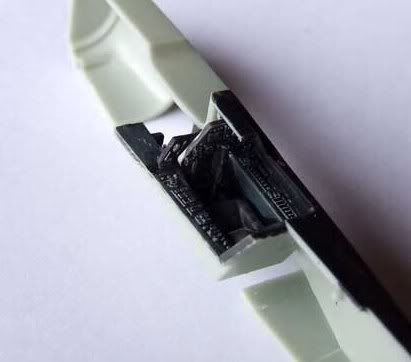
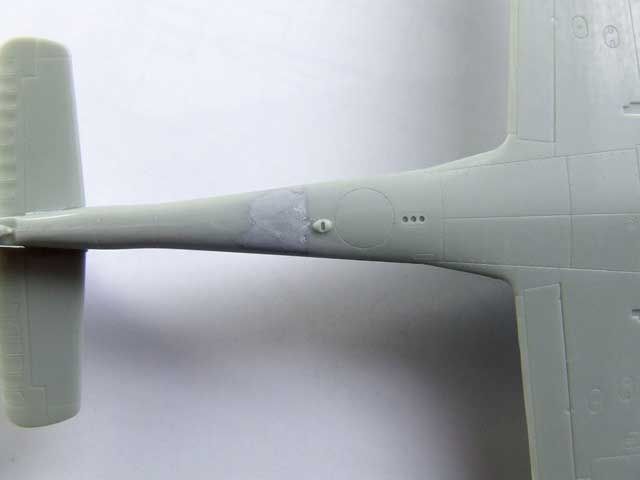
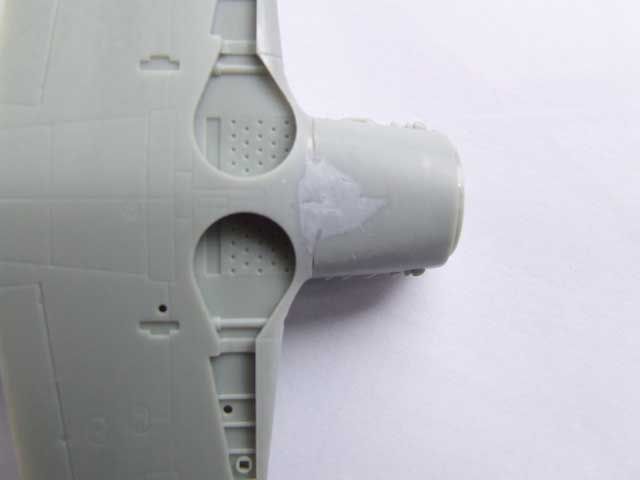
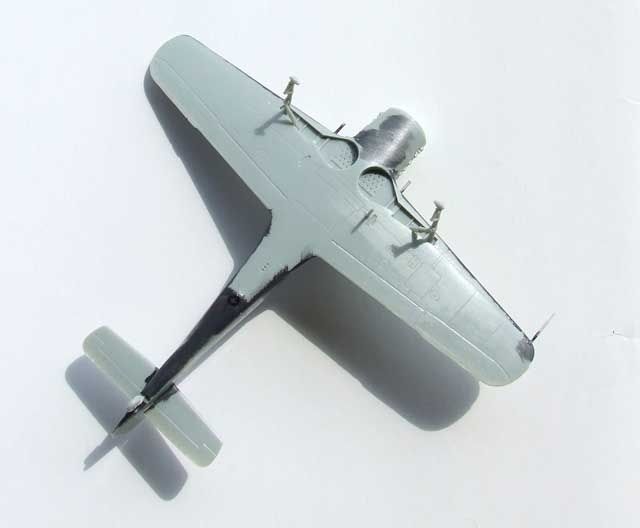
Assembled parts are not fit perfect so filler is important to cover of some places. I found it on the rear part of the cockpit, underside of the engine cowling and wing fit to the fuselage. I have a problem to fit wings so I have to cut rear part of the lower wing assembly to make it fit in place.
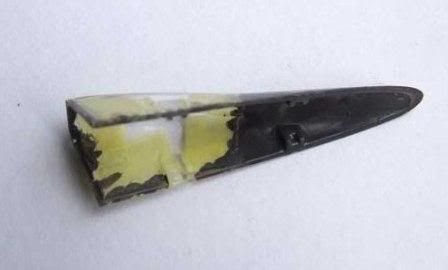
First strokes of paint I have add to the rear of the cockpit as well inside of the cockpit canopy and the windscreen. Interior paint used is RLM66. I use White Esign color which is perfect match of this color.
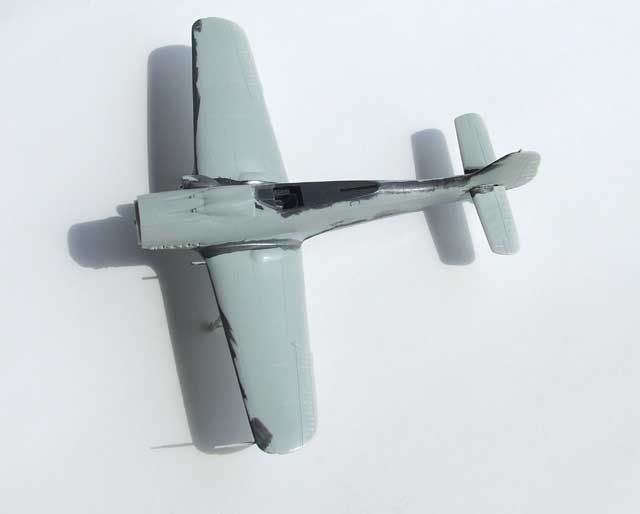
Maybe this could be old fashioned to all of you but I still prefer a coat of dense paint over the areas of the parts connection. This give to me nice overview about possible gaps or surface omisions. I have found some and I have fill the place, sand it and after few more attempt surface was flat an clean. Also I noted that Academy proposed wrong position of the pito tube so I remove it. On the photo it is on oposite side.
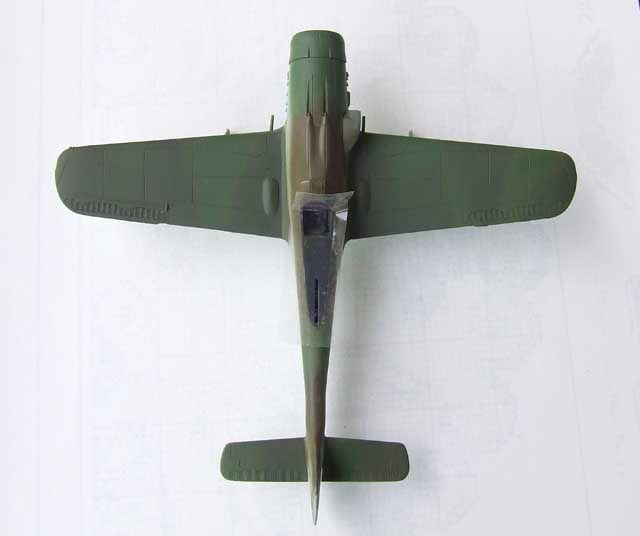
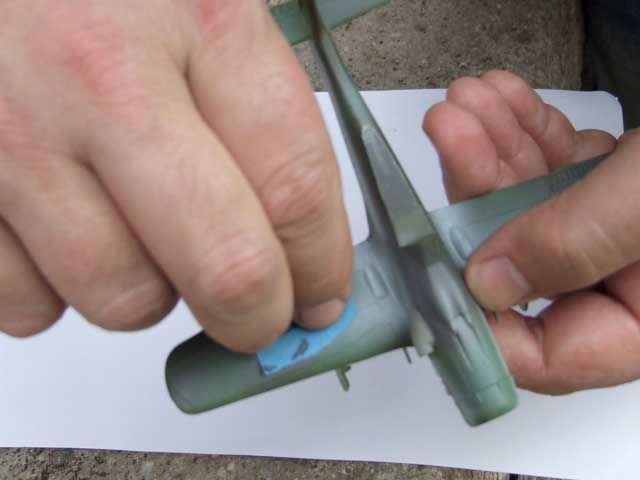
Now coming the party- final finishing of the model. Original camouflage is consisted of the RLM 82 and RLM 83 color but the same camouflage on the sample plane is more then worn out, fad and very very dirt. In this way I decide to coat areas of this paints with other paints as first coat. Base for the RLM 83 I use RLM 62 and base for the RLM 82 I use Olive Drab. When dry I have overpaint with the regular colors RLM 83 and RLM 82. Photo show the kit with this colors and still wearing Olive Drab on the cowling which is sprayed in RLM 82 few minutes later.
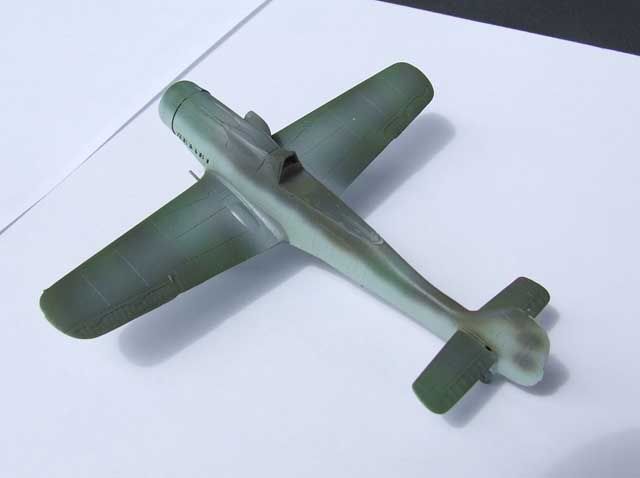
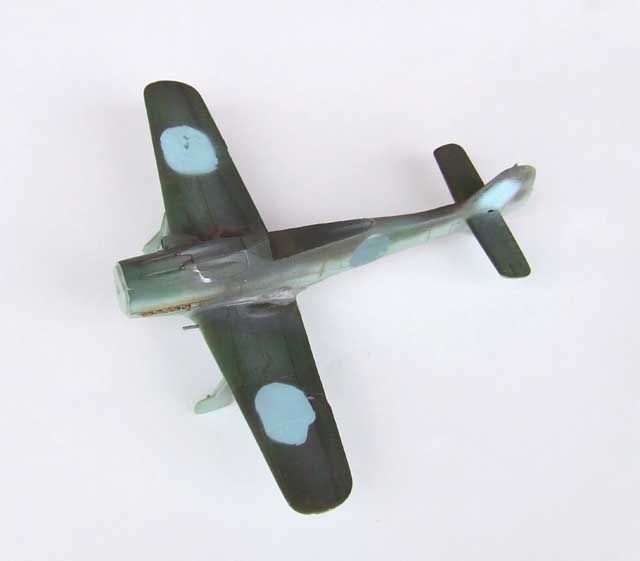
So it is the time for the intro to the dirt and fade. Plane is spayed on the underside in the RLM 76 paint and some paint had remained. I mx this color with gloss lacquer and spray over the green areas. When this mixture was on the bottom I add white and spary again. Result is in the bottom image... look ugly isn't it ?
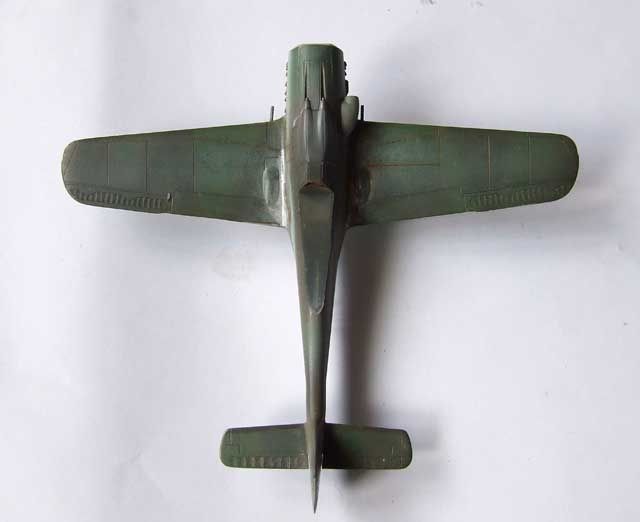
It's show time. With pencil I have draw all of the panel lines on the kit. When finished I took sanding paper 1500 grit and sand all surface of the kit.
... and result is bellow. Nice dirt area and bleached color on some sufaces. What is the point- 1500 anding paper is too fine to damege plasic surface but very good to penetrate on the top coat of the color. I have removed and damaged top surface gloss coat and penetrate throgh lower colors. Result is very authentic.
Sovie had by my personal opinion overapainted German national insignia with their own paint. So I use White Ensign colors to cover all of the insignia. Regard to the photo on the all of the places with German insignia was covered with underside color and on the fuselage side was add topside grey.
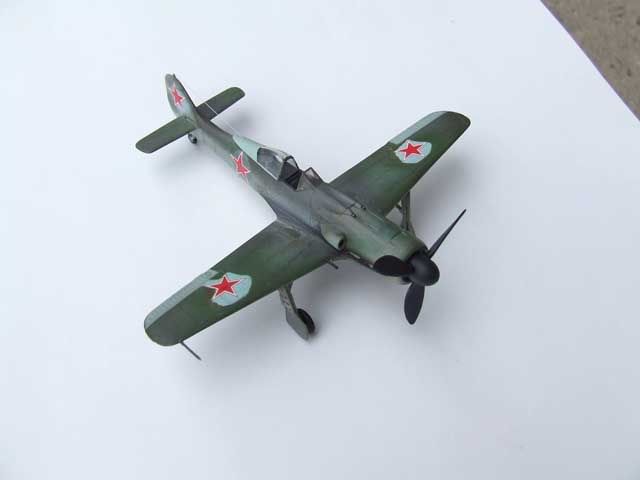
Final fittings include placing back of the front engine cowling with propeller and placing of the Soviet markings in place. I use large star with thin white and red border.
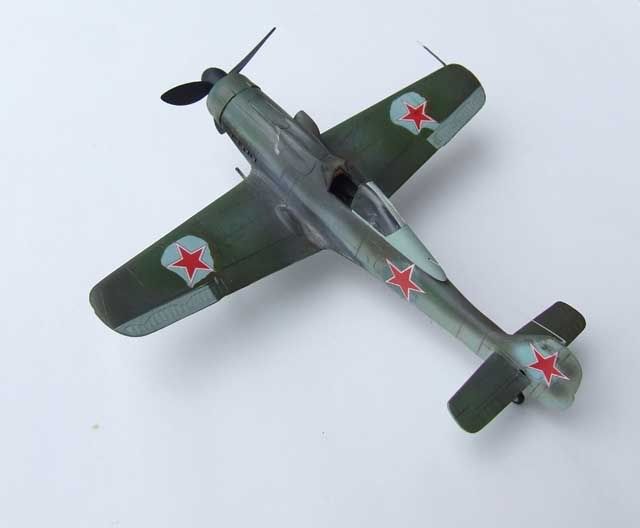
Same process of the fading and adding of dirt was apply on the lower suface. Note that the lower surface was finished in the W3 German standard which include that the lower surface have to be painted with RLM 75 front part, central panels remained in the natural color of metal and the rest is in the RLM 76 light blue. I add some more dirt line on ocer the kit and repeat sanding with fine grit sand paper.
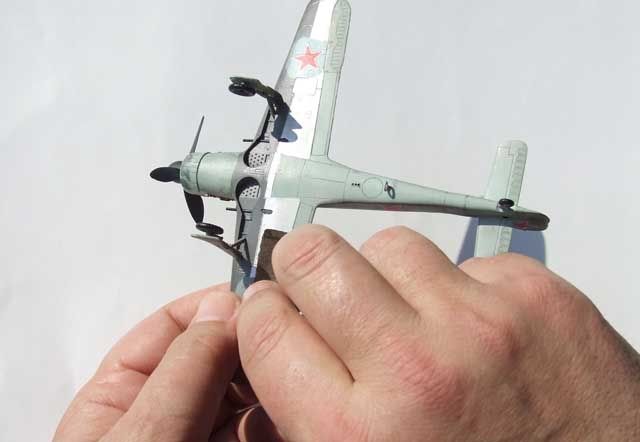
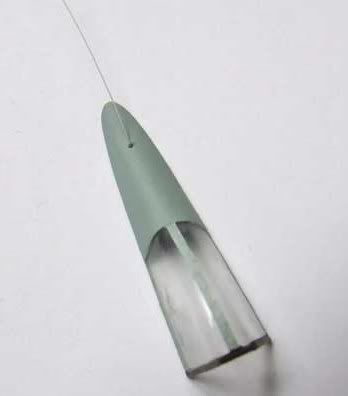
One detail is of interest- in Soviet service some planes had been maybe converted to use Soviet type of radio equipment and this result in the different position of the aerial wire. Not on the top of the canopy but on the rear side.
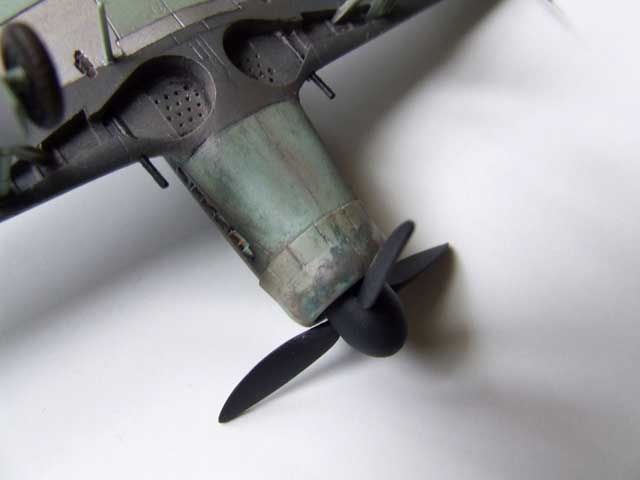
Final touch is the add of the dirt and the stain whenever I have to do with special attention to the some are. Here it is cowling underside. it feature except of amount of dirst damaged color with few different color visible. I use silver, RLM 75 and red primer in traces and dirt over it.
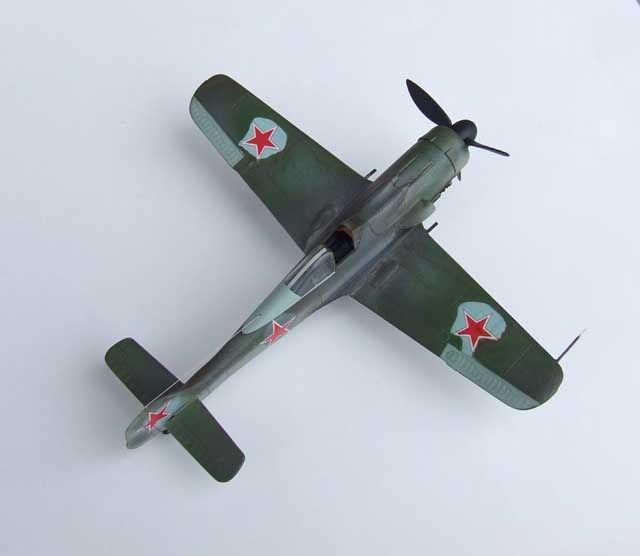
and the final images is the impression of the finished model